Page Summary
-
The ARCore SDK includes sample apps (
hello_ar_kotlinorhello_ar_java) using OpenGL that display detected planes and allow placing 3D models. -
To get started, set up your development environment by installing Android Studio 3.1+ with Android SDK Platform 7.0+ and clone the ARCore SDK GitHub repository.
-
You can run AR apps on a supported device or in the Android Emulator, making sure to update Google Play Services for AR.
-
After setting up and opening a sample project, connect your device or emulator and click "Run" in Android Studio to build and install the app.
-
The
hello_ar_javaapp allows placing a 3D ARCore pawn on detected planes and includes a sample rendering framework. -
The Instant Placement API allows placing an AR object without waiting for surface detection, with the pose refined in real time as the user moves.
-
Enabling Depth in ARCore allows placed objects to be occluded by real-world objects, increasing realism.
To get started using ARCore with Android, you can run either the hello_ar_kotlin or hello_ar_java sample app included with the ARCore SDK. These sample apps use OpenGL, a programming interface for rendering 2D and 3D vector graphics. The apps display any detected planes and allow the user to tap on a plane to place a 3D model.
Set up your development environment
Install Android Studio version 3.1 or higher with Android SDK Platform version 7.0 (API level 24) or higher.
If you are new to Android, see Building your first Android app.
Open a sample project
In Android Studio, clone the ARCore SDK GitHub repository.
There are many ways to do this:
For an established Android Studio installation:
- From the Git menu, select Clone.
- In the Version control drop-down, select Git as the version control system.
In the URL field, enter the following URL to the ARCore GitHub repository:
https://github.com/google-ar/arcore-android-sdk.git
You can also open a Terminal and issue the
git clonecommand as follows:git clone https://github.com/google-ar/arcore-android-sdk.git
Open one of the sample projects as follows (you must explicitly open a project in order to build and run it).
- From the File menu, select Open.
- In the arcore-android-sdk/samples folder, select either the hello_ar_kotlin or hello_ar_java folder, and click Open.
Prepare your device or emulator
You can run AR apps on a supported device or in the Android Emulator. You must update Google Play Services for AR on the emulator before running the app. See Run AR Apps in Android Emulator for more information.
Run the sample
Make sure your Android device is connected to the development machine and click
Run  in Android Studio.
Android Studio builds your project into a debuggable APK, installs the APK, and then runs the app on your device. For more information, see Build and Run Your App.
You may be prompted to install or update Google Play Services for AR if it is missing or out of date. Select CONTINUE to install it from Google Play Store, or manually update it as described in Update Google Play Services for AR.
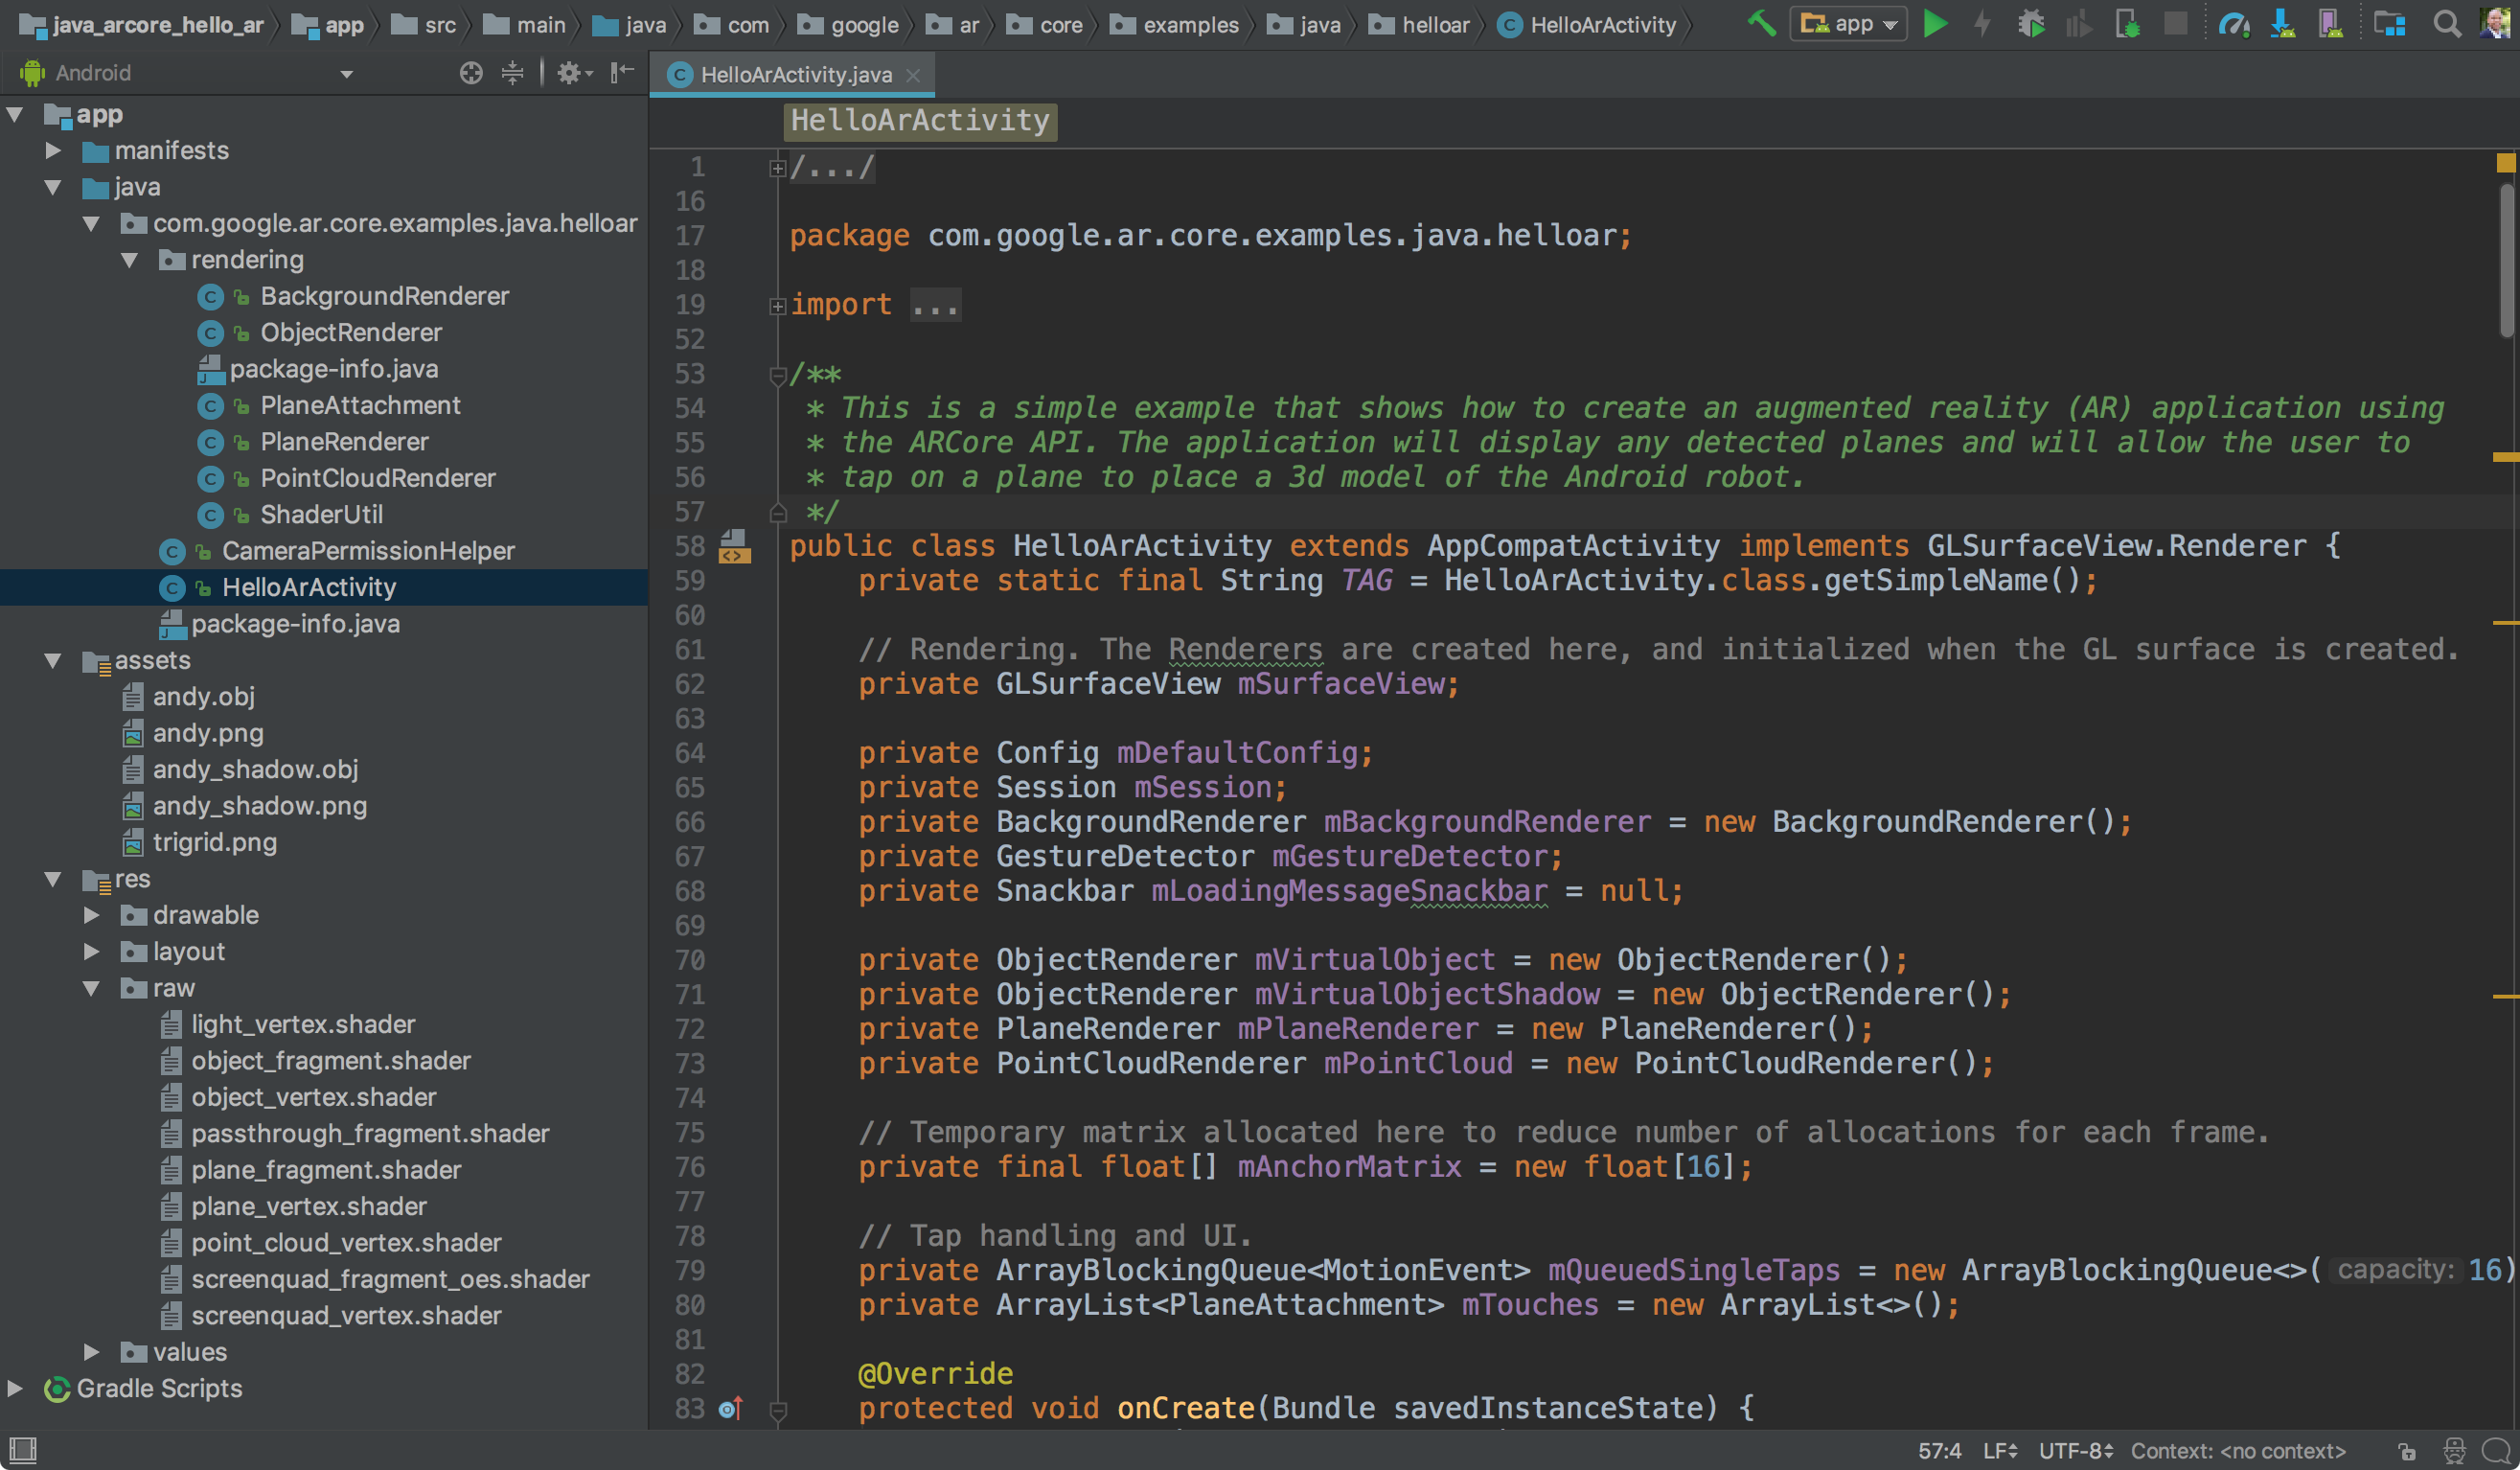
The hello_ar_java app lets you place a three-dimensional ARCore pawn on
detected AR plane surfaces. It is implemented with Android GL SurfaceView,
which is used to render the camera preview and basic AR objects such as Planes
and Anchors. hello_ar_java's sample rendering framework can be found in
com/google/ar/core/examples/java/common/samplerender.
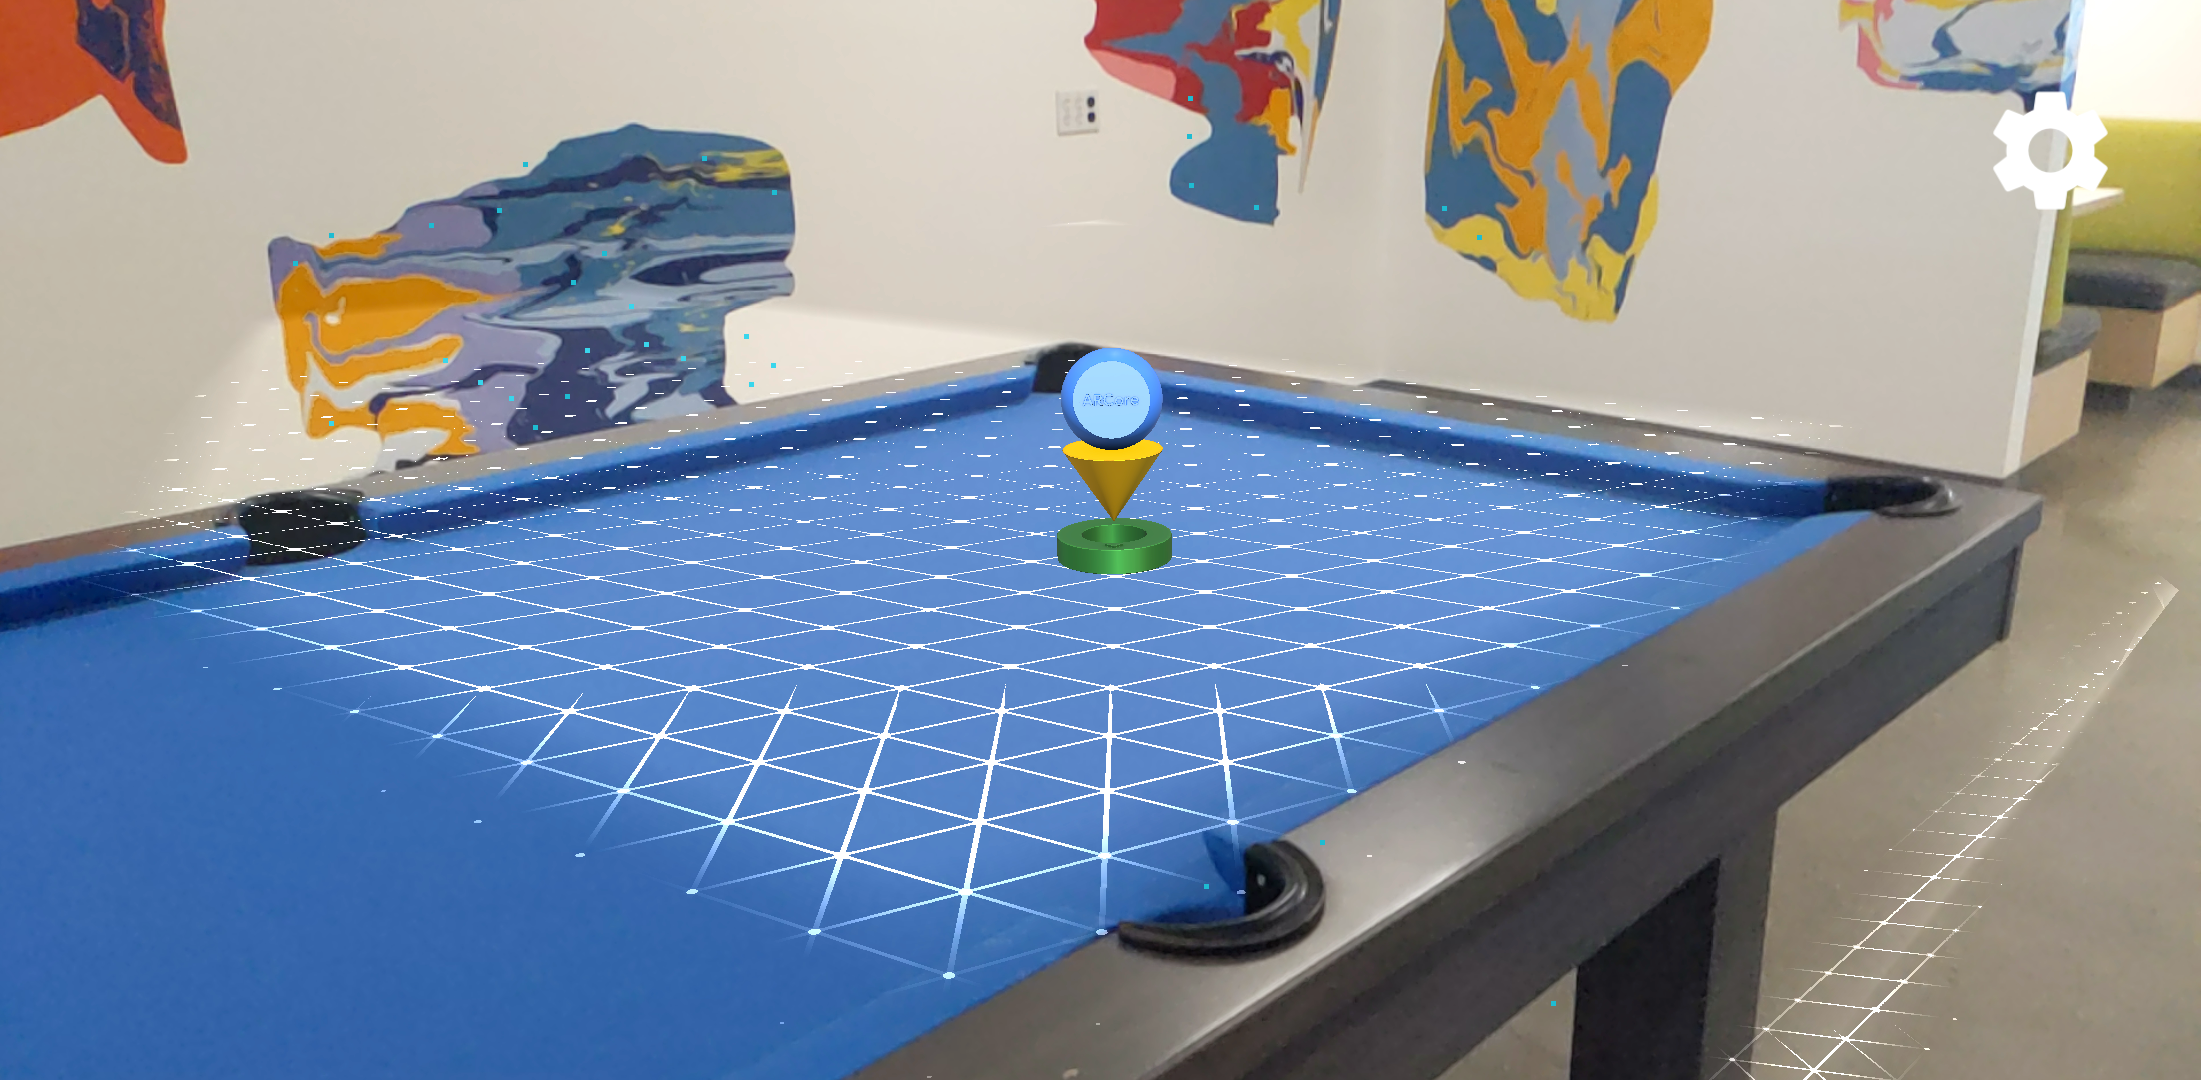
Use Instant Placement
The Instant Placement API allows the user to place an AR object on the screen without having to wait for ARCore to detect surface geometry. Object placement is refined in real time as the user moves further around the environment.
Tap on the screen to place an object. Make sure to continue moving the device around after seeing the holographic object appear on screen, so that ARCore can get sufficient data about your surroundings to accurately anchor the virtual object.
Once ARCore detects the surface geometry and establishes a trackable in the region where the object is placed, the object's pose is automatically updated for accuracy.

In Figure 1, Instant Placement is disabled and surface geometry is undefined. Objects placed on the floor to the right of the pool table (four small blue dots) appear knocked-over, their poses are undefined.
In Figure 2, Instant Placement is enabled from the menu under the gear icon.
In Figure 3, with Instant Placement enabled, a new object is placed in the scene. It appears in grayscale, instead of colored, to denote that it has not been corrected for an accurate pose yet.
In Figure 4, the new object becomes colored, and its pose is accurate, when the surface geometry (described by the trackable grid lines) is detected.
Use Depth
When Depth is enabled, ARCore takes into account the geometry and location of objects in the scene, and computes the location of objects placed in the scene relative to other objects in the scene. It allows placed objects to be occluded by objects in the scene, and lends realism to your app.

In Figure 1, Depth is disabled. An object is placed under the pool table.
In Figure 2, as the device moves around the pool table, the object appears to follow the device irrespective of objects in the scene.
In Figure 3, Depth is enabled.
In Figure 4, the object now appears occluded by the pool table as the device moves around the scene.
Next steps
- Try building and running other sample projects in the ARCore SDK.
- Check out the Augmented Reality codelabs for more sample apps that you can build and run.
- Learn how to Enable ARCore in your app.
- Review the Runtime Considerations.
- Review the Design Guidelines.