Page Summary
-
Unity's AR Foundation is a cross-platform framework for building augmented reality experiences for both Android and iOS devices using a single codebase.
-
The ARCore Extensions for AR Foundation package provides additional ARCore-specific features such as Cloud Anchors and Recording and Playback.
-
To use AR Foundation, you need a supported device or emulator and Unity 2019.4.3f1 or later with the appropriate build support.
-
Installing AR Foundation involves using the Unity Package Manager and configuring the render pipeline.
-
Platform-specific plugins like ARCore XR Plugin for Android and ARKit XR Plugin for iOS are required to enable AR features on target devices.
Unity's AR Foundation is a cross-platform framework that allows you to write augmented reality experiences once, then build for either Android or iOS devices without making any additional changes. The framework is available via Unity's AR Foundation package.
ARCore's optional ARCore Extensions for AR Foundation package adds additional functionality, enabling you to use features such as Cloud Anchors, Camera configuration filters, and Recording and Playback to your app.
Migrate or upgrade existing projects
- To migrate an existing project from the (deprecated) ARCore SDK for Unity to Unity's AR Foundation and optionally ARCore Extensions, see the migration guide.
- To upgrade an existing project from an earlier version of AR Foundation, see Unity's upgrade and migration guides.
Requirements
Depending on your target platform, the AR Foundation package requires the following:
Android
Hardware
- An ARCore supported Android device or emulator
- A USB cable for connecting your device to your development machine
Software
iOS
Hardware
- An ARCore supported iOS device
- A USB cable for connecting your device to your development machine
Software
Install AR Foundation
Follow these steps to install the AR Foundation Unity package.
- Open an existing Unity project, or create a new 3D project.
- Navigate to Window > Package Manager.
Next to Packages, select Unity Registry.
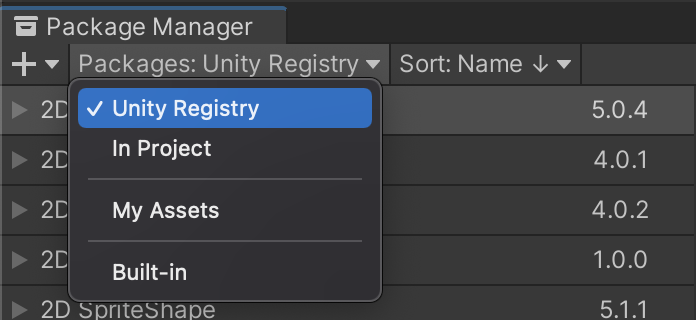
In the search bar, type "AR Foundation".

Click Install.

Configure the Render Pipeline
AR Foundation 4.x
AR Foundation 5.x
AR Foundation 6.x
Install and enable platform-specific plugin packages
The AR Foundation package presents an interface for Unity developers to use, but doesn't implement any AR features itself. To use AR Foundation on a target device, you'll also need to install separate packages and enable the corresponding plugin for each respective platform.
Android
The ARCore XR Plugin package lets you build augmented reality apps for Android devices. Follow these steps to install it in your Unity project if your application targets Android devices. Use the same version as the AR Foundation package to avoid any compatibility issues.
In your project, navigate to Window > Package Manager.
Next to Packages, select Unity Registry.
In the search bar, type "ARCore XR plugin".

Click Install.

Navigate to Edit > Project Settings. In XR Plug-in Management, open the Android tab and enable ARCore.

iOS
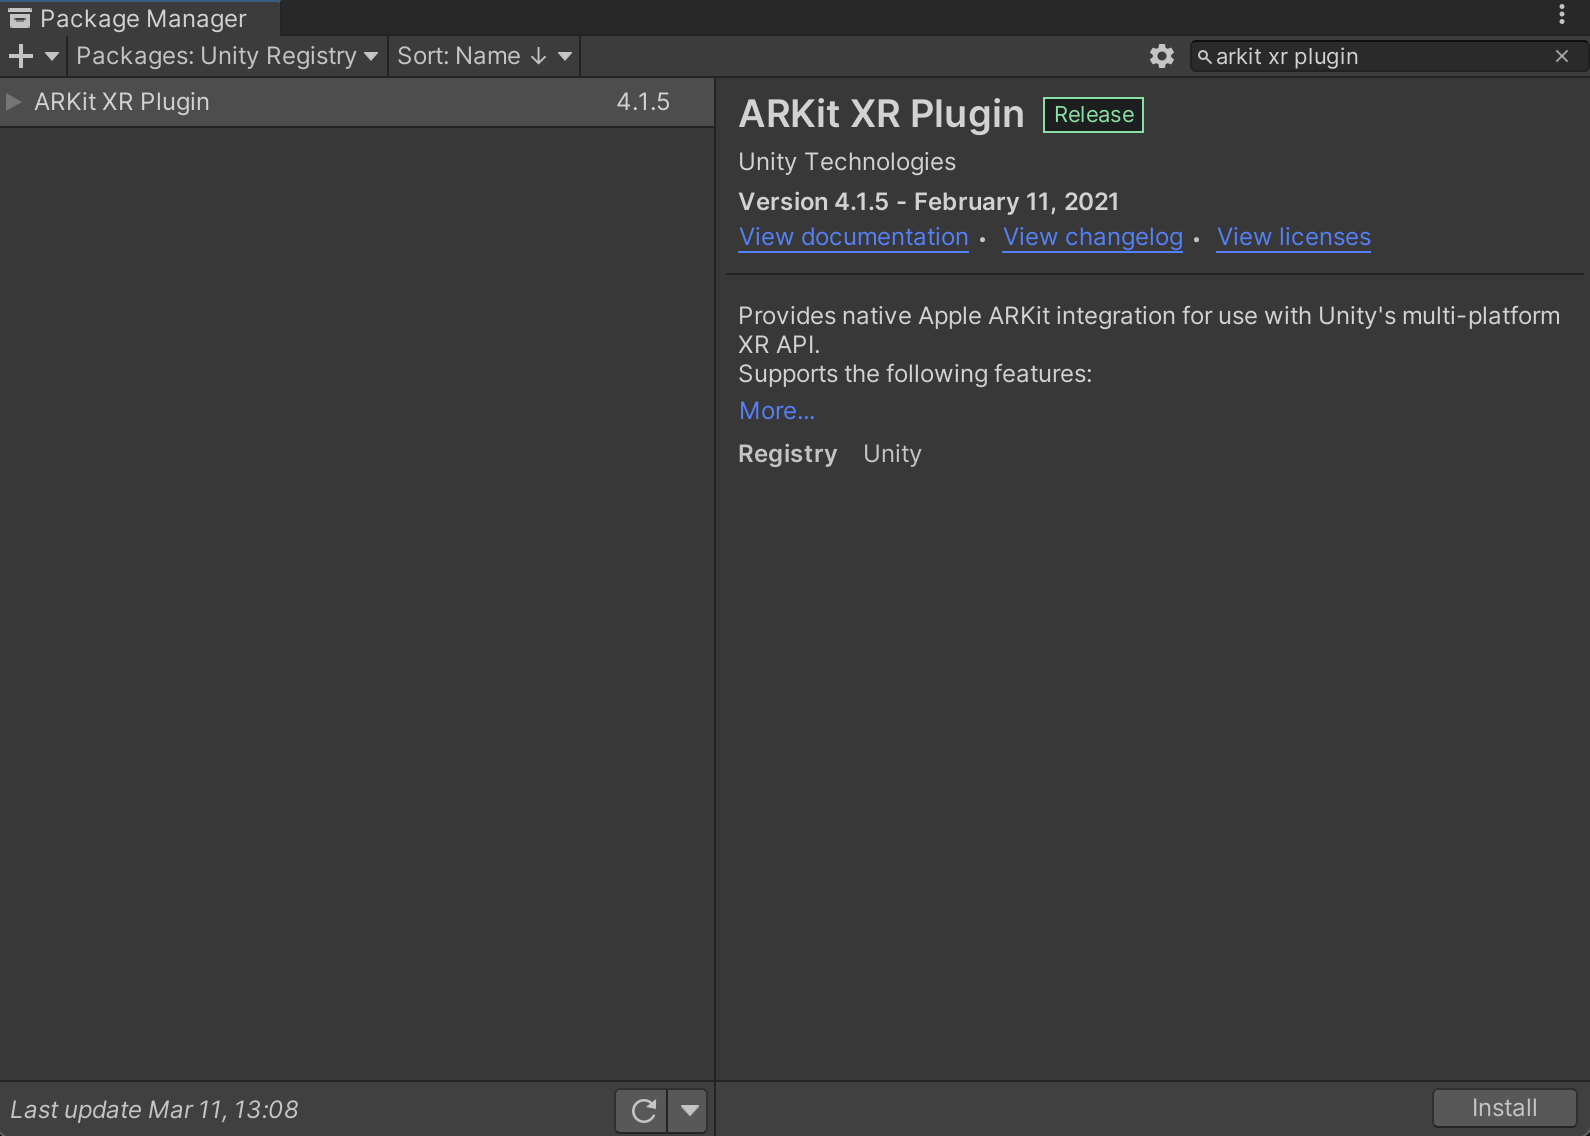
The ARKit XR Plugin allows you to build augmented reality apps for iOS devices. Follow these steps to install it in your Unity project if your application targets iOS devices. Use the same version as the AR Foundation package to avoid any compatibility issues.
In your project, navigate to Window > Package Manager.
Next to Packages, select Unity Registry.
In the search bar, type "ARKit XR plugin".

Click Install.
Navigate to Edit > Project Settings. In XR Plug-in Management, open the iOS tab and enable ARKit.

Configure an AR Session and add AR Foundation components to your scene
A scene needs an AR session to enable AR processes, such as motion tracking, environmental understanding, and lighting estimation. You will need the following game objects to support an AR session:
AR Foundation 4.x
AR Session: Controls the lifecycle of an AR experience.
AR Session Origin: Transforms AR coordinates into Unity world coordinates.
Before adding the new game objects, delete the default Main Camera. It will be replaced by a new AR Camera in the AR Session Origin.
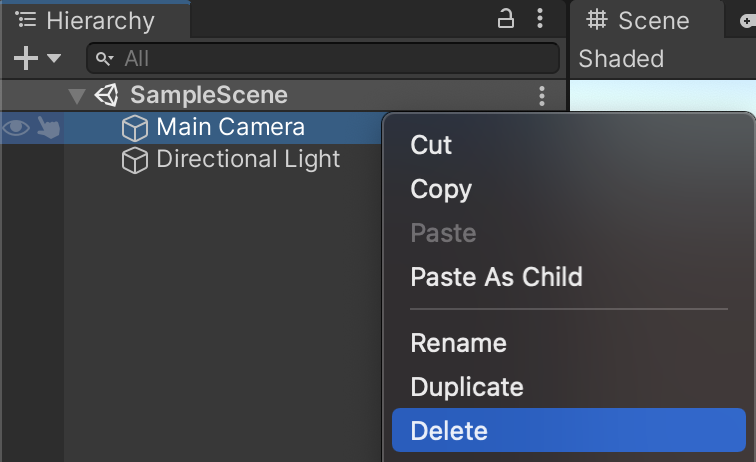
Add the new AR game objects to your scene: right-click the Hierarchy pane and select XR. Add a new AR Session and a new AR Session Origin game object.
AR Foundation 5.x
AR Session: Controls the lifecycle of an AR experience.
XR Origin: Transforms AR coordinates into Unity world coordinates.
Before adding the new game objects, delete the default Main Camera. It will be replaced by a new AR Camera in the XR Origin.
Add the new AR game objects to your scene: right-click the Hierarchy pane and select XR. Add a new AR Session and a new XR Origin game object.
AR Foundation 6.x
AR Session: Controls the lifecycle of an AR experience.
XR Origin: Transforms AR coordinates into Unity world coordinates.
Before adding the new game objects, delete the default Main Camera. It will be replaced by a new AR Camera in the XR Origin.
Add the new AR game objects to your scene: right-click the Hierarchy pane and select XR. Add a new AR Session and a new XR Origin game object.
Configure Player Settings
Android
- Navigate to File > Build Settings to open the Build Settings window.
- Under Platform, choose Android and click Switch Platform.
- Click Player Settings.
Apply the following changes:
Player Settings > … Value Other Settings > Rendering Uncheck Auto Graphics API.
If Vulkan is listed under Graphics APIs, remove it as Vulkan is not yet supported by ARCore.Other Settings > Package Name Create a unique app ID using a Java package name format.
For example, usecom.example.helloAR.Other Settings > Minimum API Level If you are building an AR Required app, specify Android 7.0 'Nougat' (API Level 24) or higher.
If you are building an AR Optional app, specify Android API Level 19 or higher.Other Settings > Scripting Backend Select IL2CPP instead of Mono to allow ARM64 support to be enabled in the next step. During development:
- Use Mono + 32-bit (ARMv7)
- Install a FAT (32-bit + 64-bit) ARCore APK
When shipping to the Play Store:
- Use IL2CPP
- Enable both 32-bit (ARMv7) and 64-bit (ARM64) to meet Play Store 64-bit requirements
- Optional (supported in 2018.3+): In Build Settings, enable Android App Bundles
Other Settings > Target Architectures To meet the Google Play 64-bit requirement, enable ARM64 (64-bit ARM). Leave ARMv7 (32-bit ARM) enabled to support 32-bit devices.
iOS
- Navigate to File > Build Settings to open the Build Settings window.
- Under Platform, choose iOS and click Switch Platform.
- Click Player Settings.
Configure the following settings:
Player Settings > … Value Other Settings > Bundle Identifier Add your app's name in a reverse DNS format.
For example, usecom.mycompany.myapp.Other Settings > Camera usage description Enter a description to explain your use of AR (for example, ARKit). Other Settings > Target minimum iOS version 11.0 or higher Other Settings > Architecture ARM64
What's next
- Get started with the optional ARCore Extensions package, which provides additional ARCore functionality for the AR Foundation framework.
- Create an AR game using Unity's AR Foundation (codelab).