ב-FeatureStyleFunction מגדירים לוגיקה לעיצוב סלקטיבי של תכונות במערך נתונים. הפונקציה מחזירה FeatureStyleOptions על סמך הלוגיקה הזו. אם לא נדרשת לוגיקה של סגנון, אפשר להשתמש ב-FeatureStyleOptions
כדי להגדיר סגנונות ישירות. בדף הזה מוסבר איך להוסיף מערך נתונים למפה ולהחיל סגנון.
דרישות מוקדמות
לפני שממשיכים, צריך לוודא שיש לכם מזהה מפה, סגנון מפה ומזהה מערך נתונים.
שיוך מזהה של מערך נתונים לסגנון מפה
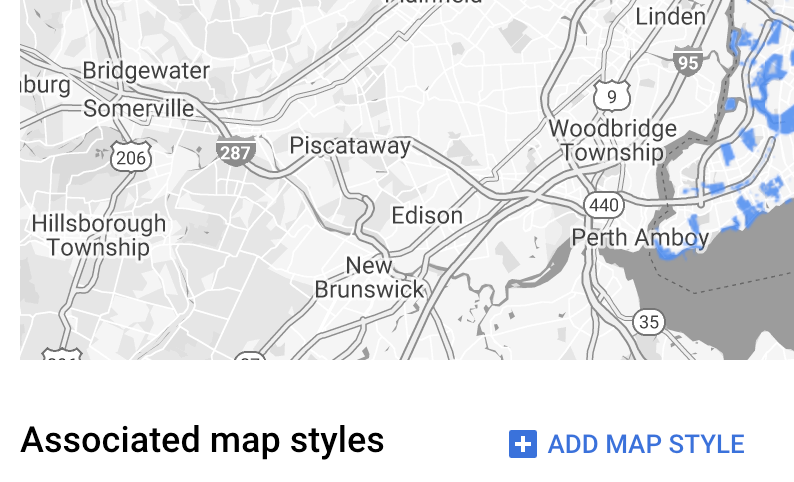
כדי לשייך את מערך הנתונים לסגנון המפה שבה אתם משתמשים, פועלים לפי השלבים הבאים:
- במסוף Google Cloud, עוברים לדף Datasets.
- לוחצים על השם של מערך הנתונים. יופיע הדף Dataset details (פרטי קבוצת הנתונים).
- לוחצים על הכרטיסייה תצוגה מקדימה.
- גוללים אל הוספת סגנון מפה ולוחצים.

- מסמנים את תיבות הסימון של סגנונות המפה שרוצים לשייך ולוחצים על שמירה.
שימוש בכללי סגנון פשוטים
הדרך הכי פשוטה לעצב רכיבים היא להעביר FeatureStyleOptions כדי להגדיר מאפייני סגנון כמו צבע, אטימות ועובי קו. אפשר להחיל אפשרויות של סגנון תכונה ישירות על שכבת תכונות של מערך נתונים, או להשתמש בהן בשילוב עם FeatureStyleFunction.
TypeScript
const styleOptions = { strokeColor: 'green', strokeWeight: 2, strokeOpacity: 1, fillColor: 'green', fillOpacity: 0.3, };
JavaScript
const styleOptions = { strokeColor: 'green', strokeWeight: 2, strokeOpacity: 1, fillColor: 'green', fillOpacity: 0.3, };
שימוש בכללי סגנון הצהרתיים
אפשר להשתמש ב-FeatureStyleFunction כדי להגדיר כללי סגנון באופן הצהרתי, ולהחיל אותם על כל מערך הנתונים. החלת FeatureStyleOptions על תכונה על סמך ערכי מאפיינים של מערך נתונים. אפשר גם להחזיר null מהפונקציה של סגנון התכונה, למשל אם רוצים שקבוצת משנה של תכונות תישאר בלתי נראית. בדוגמה הזו מוצגת פונקציית סגנון שצובעת קבוצה של נקודות על סמך מאפייני נתונים:
TypeScript
function setStyle(/* FeatureStyleFunctionOptions */ params) { // Get the dataset feature, so we can work with all of its attributes. const datasetFeature = params.feature; // Get all of the needed dataset attributes. const furColors = datasetFeature.datasetAttributes['CombinationofPrimaryandHighlightColor']; // Apply styles. Fill is primary fur color, stroke is secondary fur color. switch (furColors) { case 'Black+': return /* FeatureStyleOptions */ { fillColor: 'black', pointRadius: 8 }; break; case 'Cinnamon+': return /* FeatureStyleOptions */ { fillColor: '#8b0000', pointRadius: 8 }; break; case 'Cinnamon+Gray': return /* FeatureStyleOptions */ { fillColor: '#8b0000', strokeColor: 'gray', pointRadius: 6 }; break; case 'Cinnamon+White': return /* FeatureStyleOptions */ { fillColor: '#8b0000', strokeColor: 'white', pointRadius: 6 }; break; case 'Gray+': return /* FeatureStyleOptions */ { fillColor: 'gray', pointRadius: 8 }; break; case 'Gray+Cinnamon': return /* FeatureStyleOptions */ { fillColor: 'gray', strokeColor: '#8b0000', pointRadius: 6 }; break; case 'Gray+Cinnamon, White': return /* FeatureStyleOptions */ { fillColor: 'silver', strokeColor: '#8b0000', pointRadius: 6 }; break; case 'Gray+White': return /* FeatureStyleOptions */ { fillColor: 'gray', strokeColor: 'white', pointRadius: 6 }; break; default: // Color not defined. return /* FeatureStyleOptions */ { fillColor: 'yellow', pointRadius: 8 }; break; } }
JavaScript
function setStyle(/* FeatureStyleFunctionOptions */ params) { // Get the dataset feature, so we can work with all of its attributes. const datasetFeature = params.feature; // Get all of the needed dataset attributes. const furColors = datasetFeature.datasetAttributes['CombinationofPrimaryandHighlightColor']; // Apply styles. Fill is primary fur color, stroke is secondary fur color. switch (furColors) { case 'Black+': return /* FeatureStyleOptions */ { fillColor: 'black', pointRadius: 8 }; break; case 'Cinnamon+': return /* FeatureStyleOptions */ { fillColor: '#8b0000', pointRadius: 8 }; break; case 'Cinnamon+Gray': return /* FeatureStyleOptions */ { fillColor: '#8b0000', strokeColor: 'gray', pointRadius: 6 }; break; case 'Cinnamon+White': return /* FeatureStyleOptions */ { fillColor: '#8b0000', strokeColor: 'white', pointRadius: 6 }; break; case 'Gray+': return /* FeatureStyleOptions */ { fillColor: 'gray', pointRadius: 8 }; break; case 'Gray+Cinnamon': return /* FeatureStyleOptions */ { fillColor: 'gray', strokeColor: '#8b0000', pointRadius: 6 }; break; case 'Gray+Cinnamon, White': return /* FeatureStyleOptions */ { fillColor: 'silver', strokeColor: '#8b0000', pointRadius: 6 }; break; case 'Gray+White': return /* FeatureStyleOptions */ { fillColor: 'gray', strokeColor: 'white', pointRadius: 6 }; break; default: // Color not defined. return /* FeatureStyleOptions */ { fillColor: 'yellow', pointRadius: 8 }; break; } }
החלת סגנון על שכבת מאפיינים של מערך הנתונים
כדי להחיל את הסגנונות בפונקציית הסגנון של התכונה:
- מקבלים את שכבת התכונות של מערך הנתונים על ידי קריאה ל-
map.getDatasetFeatureLayer(), והעברת מזהה מערך הנתונים. - מחילים את הסגנון על ידי הגדרת אפשרויות הסגנון של התכונה (למשל
styleOptions) או פונקציה (למשלsetStyle) בשכבת מערך הנתונים.
TypeScript
// Dataset ID for NYC park data. const datasetId = 'a75dd002-ad20-4fe6-af60-27cd2ed636b4'; const datasetLayer = innerMap.getDatasetFeatureLayer(datasetId); datasetLayer.style = styleOptions;
JavaScript
// Dataset ID for NYC park data. const datasetId = 'a75dd002-ad20-4fe6-af60-27cd2ed636b4'; const datasetLayer = innerMap.getDatasetFeatureLayer(datasetId); datasetLayer.style = styleOptions;
הסרת סגנון משכבה
כדי להסיר סגנון משכבה, מגדירים את style ל-null:
featureLayer.style = null;
אפשר גם להחזיר null מהפונקציה של סגנון התכונה, למשל אם רוצים שקבוצת משנה של תכונות תישאר בלתי נראית.
הוספת טקסט לציון קרדיט
כשמציגים במפות Google מערכי נתונים שהועלו, צריך להציג במפה את כל הקרדיטים הנדרשים. אסור שהטקסט של הקרדיט יסתיר את הלוגו של Google או יפריע לו.
אחת הדרכים להוסיף טקסט של שיוך היא באמצעות אמצעי בקרה בהתאמה אישית כדי למקם HTML שרירותי במיקומים סטנדרטיים במפה. קטעי הקוד הבאים מראים את ה-HTML ואת ה-CSS שמשמשים לשיוכים בדוגמה הזו:
<gmp-map center="40.757815, -73.933123" zoom="11" map-id="5cd2c9ca1cf05670" map-type-control="false"> <div id="attribution" slot="control-block-end-inline-start">Data source: NYC Open Data</div> </gmp-map>
#attribution { background-color: rgba(255, 255, 255, 0.7); font-family: "Roboto", "Arial", "sans-serif"; font-size: 10px; padding: 2px; margin: 2px; }
