
This tutorial walks you through the steps to create and use a light mode map style that highlights the road network:
Create and publish a map style so it's available to use.
Create and connect a map ID that lets you use your style in apps and websites.
Add the map ID to your apps and websites so your apps use your map style.
Step 1: Create and publish a map style
Open cloud-based maps styling
Go to the Google Cloud console, and select Map Styles. Select or create a project, if needed.
Select Create Style.
Select Light.
At the bottom of the dialog, select Customize.
Style the Road network
Under Map Features, expand Infrastructure, then select Road network.
In the Road network style panel, under Polyline, then Fill color, select the color box.
Choose a bright color. Changing the color automatically checks the Fill color box.
Under Stroke width, set the stroke width to 5px.
On the map, zoom in and out to see the effect of your changes. Because you selected a map feature that is relatively high in the hierarchy, all road types underneath it have inherited your changes.

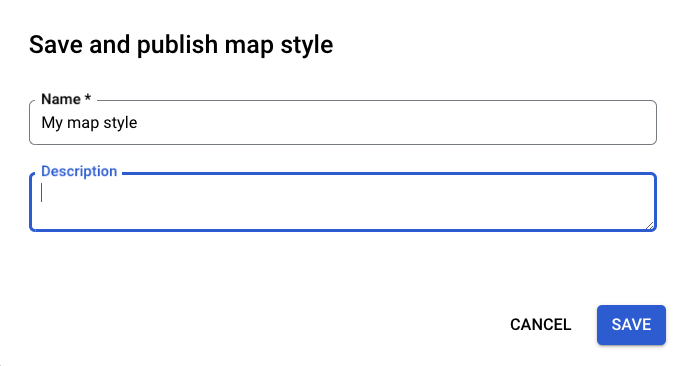
Save and publish your map style
At the top right, select Save.
In Save and publish map style, enter a name and, optionally, a description for your map style.
Select Save. Your map style is saved and published.
Step 2: Create and connect a map ID
A map ID lets you use your map style on apps and websites. If you make changes to the map style associated with a map ID, your style changes go live when you publish, so no software or app updates are needed.
Create a map ID
In the Google Cloud console, select Map Management.
At the top, select Create map ID.

Add a name for your map ID, and optionally, a description.
Select the map type for the map ID, depending on where you want to use your map style.
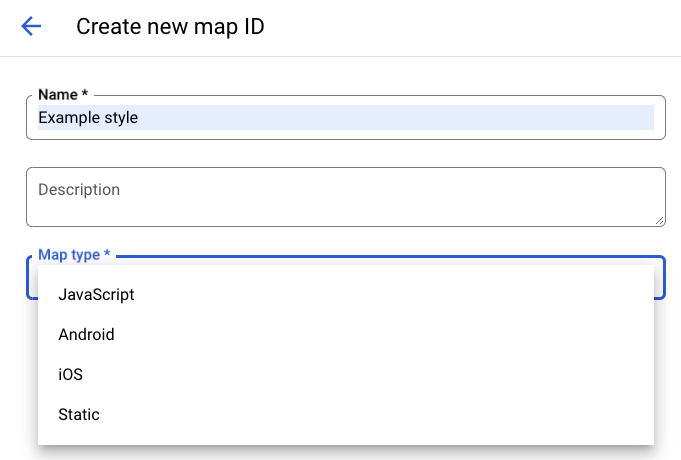
At the bottom of the page, select Save. Your map ID is created.
Connect the map ID to your map style
Under Map styles, select Change Light mode style for Light mode.
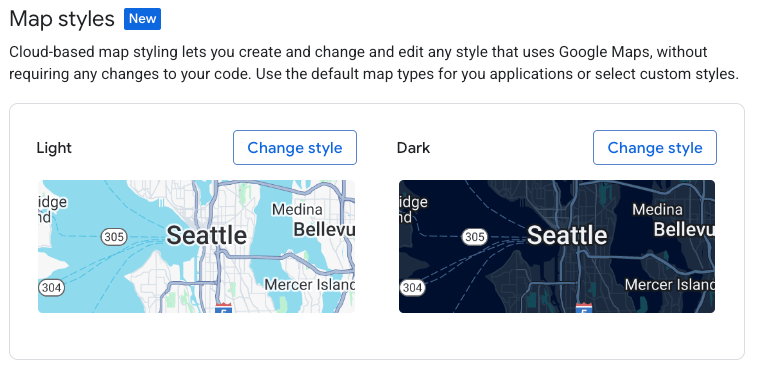
Under Change light style, choose what map style to use for light mode in your apps, and select Done.

Select Save. Your map ID is now associated with your map styles.
Step 3: Add the map ID to your apps or websites
Now that you have a map ID that is associated with a published map style, you can add it to your apps or websites and test to make sure it functions as expected.
For more information about adding a map ID, see Add the map ID to your map.
What's next
Here are some things you can try next:
Update a style. To make changes to your map style and publish it, see Change a style.
Understand how your style applies to different map types. For more information, see Learn about modes and map types.
Test your map style updates. If you want to test your style changes before they go live, see Test map style updates.
Make styles that for specific zoom levels. For example, you can customize what specific map features look like when you are zoomed out compared to when you zoom in to the map. For more information, see Style zoom levels.
Use the map feature hierarchy to efficiently get the styles you want. For example, you can style the high-level map feature Natural>Land, and all of the land map features under it inherit the styling. You can then do custom styling on just the child map features that you want to be different. For more information, see Understand map style inheritance and hierarchy.