
Page Summary
-
To create a custom renderer, you need to subclass the
Rendererclass or one of the built-in renderers. -
The actual shape of the block is determined by the subcomponents of the renderer, which can be customized individually.
-
After subclassing renderer components, you need to override the renderer's factory methods for those components.
-
Finally, you must register your custom renderer to associate it with a string for use in configuration options.
To create a custom renderer, you need to subclass the Renderer
class. Refer to the renderer concept docs for more
information about what a renderer is and what it does.
class CustomRenderer extends Blockly.blockRendering.Renderer {
  constructor() {
    super();
  }
}
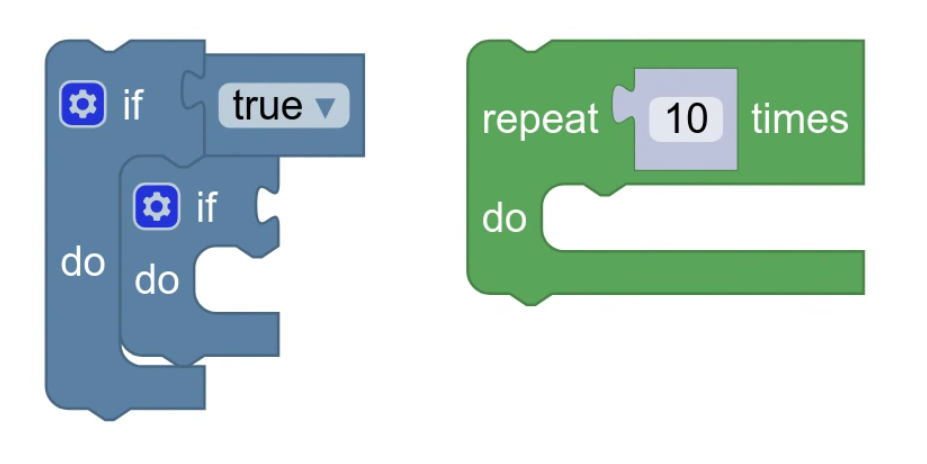
Without any customization, the default renderer looks like this:
You can also subclass one of the other built-in renderers and then override parts of it.
class CustomRenderer extends Blockly.thrasos.Renderer {
  constructor() {
    super();
  }
}
Subclass other renderer components
The actual shape of the block is determined by the subcomponents of the renderer.
By default, the Renderer class provides working versions of
all the renderer components. This lets you modify a
single component, without having to worry about the others.
For example, if you want to change the shapes of connections, you can override the constants without having to touch the other components.
Check out the renderer component docs for more information about what each individual component does.
Override factory methods
After subclassing the renderer components, you need to
override the Renderer's factory methods for the components you
subclassed. This lets the renderer properly wire the different components
together.
There is a method for each kind of component:
makeConstants_makeRenderInfo_makePathObject(note there is no underscore)makeDrawer_
Register the renderer
Finally, once you've completed the creation of your custom renderer, you need to register it. This associates the renderer with a string so that you can pass it to your configuration options.
Blockly.blockRendering.register('custom_renderer', CustomRenderer);

const workspace = Blockly.inject(blocklyDiv, {
  renderer: 'custom_renderer',
});