1. Before you begin
What you'll build
In this codelab, you'll learn how to build an Android app with Structured Data Capture Library. Your app will use the Structured Data Capture Library to render and process FHIR Questionnaires and responses.
What you'll learn
- How to integrate Structured Data Capture Library into your Android application
- How to display a Questionnaire
- How to get answers as a
QuestionnaireResponse - How to extract FHIR resources from a
QuestionnaireResponse
What you'll need
- A recent version of Android Studio (v4.1.2+)
- Android Emulator or a physical Android device
- The sample code
- Basic knowledge of Android development in Kotlin
This codelab is focused on Structured Data Capture Library. Non-relevant concepts and code blocks are glossed over and are provided for you to simply copy and paste. If you haven't built Android apps before, you can start by building your first app.
2. Get set up
Download the Code
To download the code for this codelab, clone the Android FHIR SDK repo: git clone https://github.com/ohs-foundation/android-fhir.git
The starter project for this codelab is located in codelabs/datacapture.
Import the app into Android Studio
Let's start by importing the starter app into Android Studio.
Open Android Studio, select Import Project (Gradle, Eclipse ADT, etc.) and choose the codelabs/datacapture folder from the source code that you have downloaded earlier.

Run the starter app
Now that you have imported the project into Android Studio, you are ready to run the app for the first time.
Connect your Android device via USB to your host, or Start the Android Studio emulator, and click Run ( ) in the Android Studio toolbar.
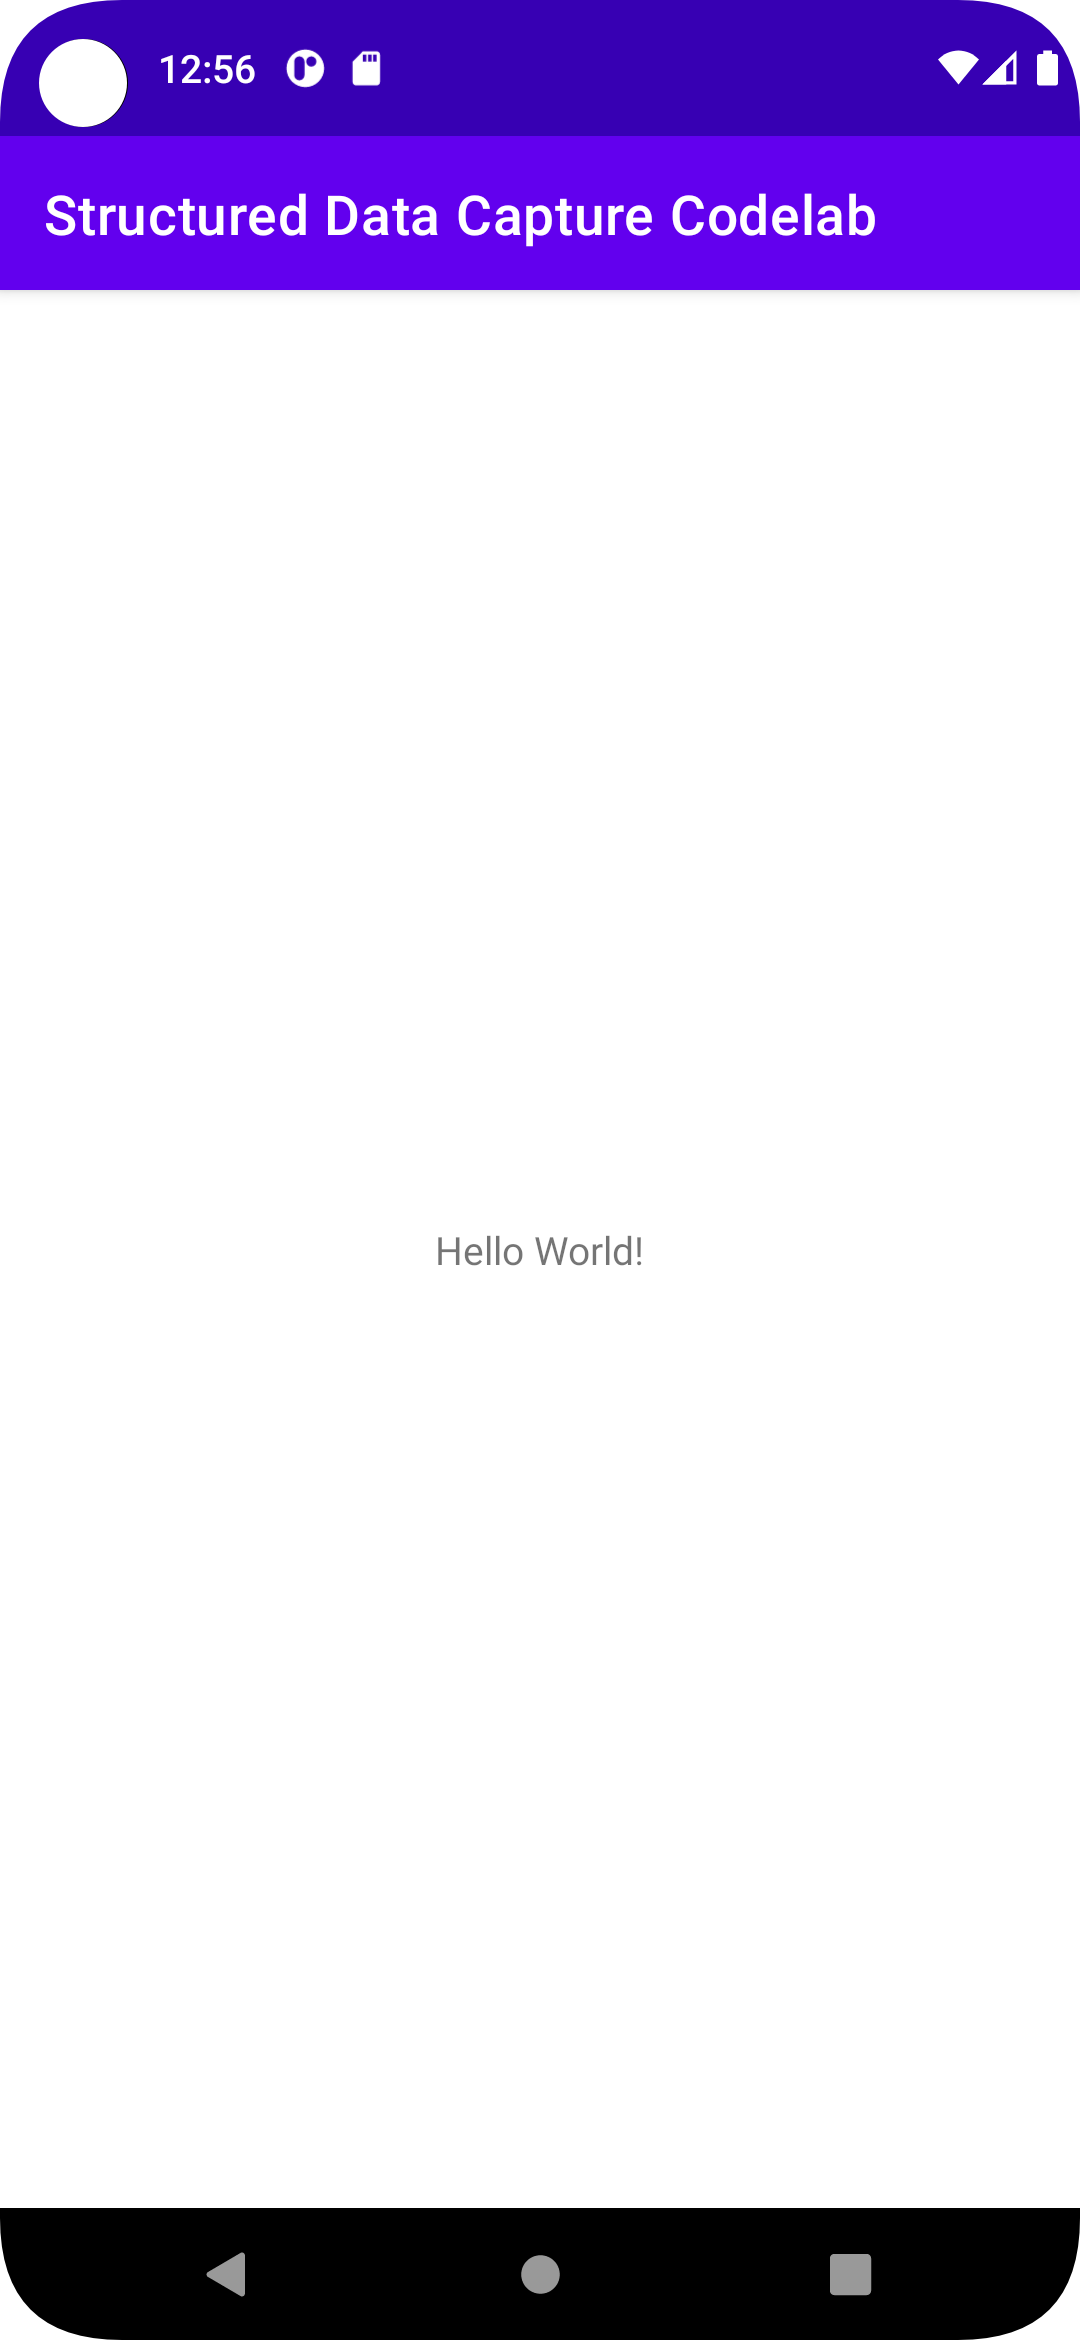
As you can see there isn't much here yet, so let's get right into displaying a questionnaire in your app!
3. Add Structured Data Capture Library to the project
Add the dependencies for Structured Data Capture Library
The Structured Data Capture Library dependencies allow you to integrate the Structured Data Capture Library in your app. Add the following lines to the end of the app/build.gradle.kts file of your project:
dependencies {
    // ...

    implementation("com.google.android.fhir:data-capture:1.2.0")
    implementation("androidx.fragment:fragment-ktx:1.6.0")
}
Sync your project with Gradle files
To be sure that all dependencies are available to your app, you should sync your project with gradle files at this point.
Select Sync Project with Gradle Files ( ) from the Android Studio toolbar. You an also run the app again to check the dependencies are working correctly.
4. Display a Questionnaire
In this step, you will add the functionality to the starter app to render a questionnaire in a FragmentContainerView.
Along the way, Android Studio will prompt you to add the necessary imports:
androidx.core.os.bundleOfandroidx.fragment.app.addandroidx.fragment.app.commitandroid.util.Logcom.google.android.fhir.datacapture.QuestionnaireFragment
Step 1: Add a FragmentContainerView
Add a FragmentContainerView to the application's layout. This is where the QuestionnaireFragment that you will create later will be displayed.
- Open
activity_main.xml(res > layout > activity_main.xml). - Find the options for Code, Split, and Design views in the upper right of the Layout Editor.
- Select the Code view.

- You don't need the
TextView, so delete it. Be sure to delete everything from the<TextViewto the closing/>. - Add a
FragmentContainerViewinside theConstraintLayout. Youractivity_main.xmlfile should look similar to this:<?xml version="1.0" encoding="utf-8" ?> <androidx.constraintlayout.widget.ConstraintLayout xmlns:android="http://schemas.android.com/apk/res/android" xmlns:app="http://schemas.android.com/apk/res-auto" xmlns:tools="http://schemas.android.com/tools" android:layout_width="match_parent" android:layout_height="match_parent" tools:context=".MainActivity" > <androidx.fragment.app.FragmentContainerView android:id="@+id/fragment_container_view" android:layout_width="match_parent" android:layout_height="match_parent" app:layout_constraintTop_toTopOf="parent" /> </androidx.constraintlayout.widget.ConstraintLayout>
Step 2: Configure a QuestionnaireFragment
QuestionnaireFragment requires a JSON encoded FHIR Questionnaire for it to render. Since the questionnaire is small (<512 KB), you will include it as a String in a Bundle of arguments that will be used to create the fragment. Larger questionnaires should be provided as a URI for performance reasons.
You can look at the questionnaire.json file if you want, but one of the benefits of the Structured Data Capture Library is that you don't need to know the structure of the FHIR Questionnaire (or anything about FHIR) to get it to render it! You'll look more closely at this file later in the codelab.
Create a QuestionnaireFragment using its builder, and set the questionnaire using the setter function. To display the QuestionnaireFragment within the layout container, use the FragmentManager to create a FragmentTransaction.
Open MainActivity.kt and add the following code to the MainActivity class:
// Step 2: Configure a QuestionnaireFragment
questionnaireJsonString = getStringFromAssets("questionnaire.json")

val questionnaireFragment =
  QuestionnaireFragment.builder().setQuestionnaire(questionnaireJsonString!!).build()
Step 3: Add the QuestionnaireFragment to the FragmentContainerView
To display the QuestionnaireFragment within the layout container, use the FragmentManager to create a FragmentTransaction. The FragmentManager handles instantiation using the previously created questionnaireParams.
Add the following code to the MainActivity class:
// Step 3: Add the QuestionnaireFragment to the FragmentContainerView
if (savedInstanceState == null) {
  supportFragmentManager.commit {
    setReorderingAllowed(true)
    add(R.id.fragment_container_view, questionnaireFragment)
  }
}
// Submit button callback
supportFragmentManager.setFragmentResultListener(
  QuestionnaireFragment.SUBMIT_REQUEST_KEY,
  this,
) { _, _ ->
  submitQuestionnaire()
}
Learn more about how to use fragments.
Let's run the codelab by clicking Run () in the Android Studio toolbar. You should see something similar to this:
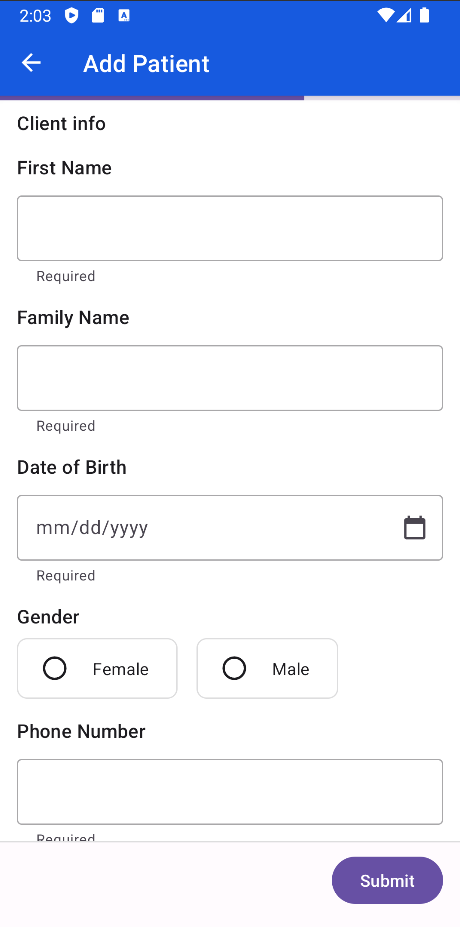
Navigate through the questionnaire and try entering some answers. There are a few different answer widgets used, including booleans, text, and dates, which were automatically rendered based on the underlying type in the original FHIR questionnaire.
Technically, that's all you need to do to render a questionnaire! Congratulations!
A questionnaire isn't very helpful if you can't see the answers that users input though. Let's go on to the next step of getting a Questionnaire Response!
5. Get a Questionnaire Response
In the previous steps, you rendered a FHIR questionnaire in your app.
In this section, you'll get the answers from the questionnaire as a QuestionnaireResponse.
Find the submitQuestionnaire() method and add the following code:
// Get a questionnaire response
val fragment = supportFragmentManager.findFragmentById(R.id.fragment_container_view)
        as QuestionnaireFragment
val questionnaireResponse = fragment.getQuestionnaireResponse()

// Print the response to the log
val jsonParser = FhirContext.forCached(FhirVersionEnum.R4).newJsonParser()
val questionnaireResponseString =
    jsonParser.encodeResourceToString(questionnaireResponse)
Log.d("response", questionnaireResponseString)
To get the questionnaire response, you retrieve the questionnaire fragment created earlier then use the getQuestionnaireResponse() method. This returns a HAPI FHIR QuestionnaireResponse which you can use directly or with other parts of the Android FHIR SDK. This codelab uses other HAPI FHIR libraries to convert it to a JSON string to view in the log.
Run the app again to rebuild it with your latest changes. Once it is running, enter some information into the questionnaire and tap Submit. In the log, you should see a message containing the QuestionnaireResponse as JSON.
D/response: {"resourceType":"QuestionnaireResponse","item":[{"linkId":"PR","text":"Patient information","item":[{"linkId":"PR-name","text":"Name","item":[{"linkId":"PR-name-given","text":"First Name","answer":[{"valueString":"Dani"}]},{"linkId":"PR-name-family","text":"Family Name","answer":[{"valueString":"Lee"}]}]},{"linkId":"PR-birthdate","text":"Date of Birth","answer":[{"valueDate":"1990-02-14"}]},{"linkId":"PR-id","text":"Identifying information","item":[{"linkId":"PR-name-id-url"},{"linkId":"PR-name-id","text":"Patient Id","answer":[{"valueString":"12345"}]}]}]}]}
6. Extract FHIR Resources from a QuestionnaireResponse
The questionnaire included with the starter project is for a simple patient registration flow, so you may ultimately want to use the questionnaire responses to create a FHIR Patient resource based on them. This conversion from a questionnaire response to FHIR resources is called data extraction. We can do this with the ResourceMapper class of the Structured Data Capture Library.
To perform data extraction, your questionnaire must be authored to include information on how to perform the data extraction. Luckily, the sample questionnaire is already set up for Definition-based extraction.
Find the submitQuestionnaire() method and add the following code:
lifecycleScope.launch {
  val questionnaire =
    jsonParser.parseResource(questionnaireJsonString) as Questionnaire
  val bundle = ResourceMapper.extract(questionnaire, questionnaireResponse)
  Log.d("extraction result", jsonParser.encodeResourceToString(bundle))
}
ResourceMapper.extract() requires a HAPI FHIR Questionnaire, which you can create by parsing the questionnaire JSON string from earlier, and a QuestionnaireResponse, which we already got earlier. It returns a HAPI FHIR transaction Bundle containing one or more extracted resources–in this case a single Patient resource.
Run the app again to rebuild it with your latest changes. Once it is running, enter some information and tap Submit. In the log, you should now see a message extraction result containing the JSON representation of the extracted FHIR Bundle.
D/extraction result: {"resourceType":"Bundle","type":"transaction","entry":[{"resource":{"resourceType":"Patient","identifier":[{"value":"12345"}],"name":[{"family":"Lee","given":["Dani"]}],"birthDate":"1990-02-14"}}]}
7. Congratulations!
You have used the Structured Data Capture Library to process FHIR questionnaires and responses in your app:
- Display a Questionnaire
- Get a Questionnaire Response
- Extract FHIR Resources from a
QuestionnaireResponse
That is all you need to get it up and running!
As you proceed, you might like to work with FHIR resources in more ways throughout your application. Check out the FHIR Engine Library of the Android FHIR SDK to learn how to store and manage FHIR resources locally in your application and synchronize data with a remote FHIR server.
What we've covered
- How to add Structured Data Capture Library to your Android app
- How to use
QuestionnaireFragmentandResourceMapperto work with FHIR questionnaires
Next Steps
- Explore the documentation for the Structured Data Capture Library
- Customize the look and feel of rendered questionnaires
- Apply the Structured Data Capture Library in your own Android app