你可以使用 Google 訊息搭配 RCS 和 Google 錢包 設計流暢的登機報到流程:使用者完成登機報到後,即可直接在「訊息」應用程式中接收登機證,並將登機證新增至 Google 錢包。登機證新增至錢包後,如果航班詳細資料有異動,系統會自動更新。使用者可透過手機快速存取最新登機證。
本文說明實作 Google 錢包登機證流程的技術步驟。此外,這項工具也提供範例對話,並提供設計訣竅,協助您透過 RBM 打造流暢有效率的入住體驗。
技術導入
如要實作登機證至 Google 錢包的流程,請使用 Google 錢包 API 和 RBM API。
必要條件
如要開始使用 Google Wallet API,請按照下列必要步驟操作:
- 註冊錢包發卡機構帳戶,即可為 Google 錢包建立及發布票證。
- 如果您還沒有 Google Cloud (GCP) 專案,請先建立一個。
- 啟用 Google Wallet API。
- 建立服務帳戶和金鑰,以便呼叫 Google 錢包 API。
- 在 Google Pay 和錢包主控台中授權服務帳戶。
- 使用登機證範本建立新的 Boarding 類別。
Google Wallet API
如要建立登機證並為 RBM 產生「新增至 Google 錢包」網址,請按照這些步驟操作:
- 執行必要的驗證和授權。
- 建立票證物件。
- 取得已簽署的 JSON Web Token (JWT)。經過編碼的 JWT 長度上限為 2048 個字元。
- 使用 JWT 生成「新增至 Google 錢包」網址。
RBM API
如要透過 RBM 傳送「新增至 Google 錢包」建議,請傳送開啟網址動作。 在訊息酬載中執行下列操作:
- 針對
text輸入「新增至 Google 錢包」。 - 在「
url」中,輸入「新增至 Google 錢包」網址。
建議標籤會自動顯示 Google 錢包圖示。

對話設計
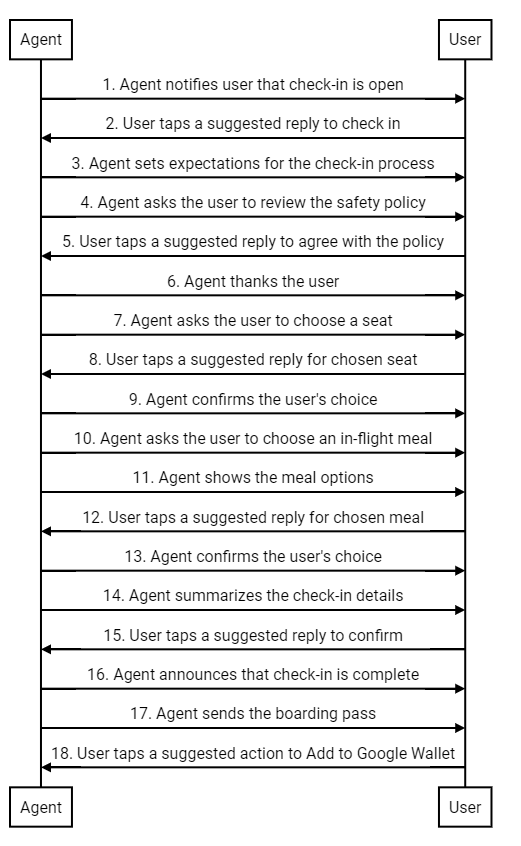
這個範例運用對話的獨特力量,引導使用者完成完整的入住流程。本範例會說明如何運用自然對話和豐富功能 (例如一鍵建議和複合式資訊卡),協助使用者達成目標。在本範例中,使用者的目標包括:(1) 自訂航班體驗、(2) 取得登機證,以及 (3) 將登機證新增至 Google 錢包,以便在機場快速存取。
接著是對話的摘要。接著會提供設計訣竅,並逐步說明流程。如要為代理程式實作類似設計,請參閱步驟後的程式碼範例。
設計建議
設計入住流程時,請謹記以下原則:
- 第一則訊息最為重要。簡要說明對話目的,讓使用者有參與的理由。
- 每則訊息都應提供一小段資訊,並提示使用者回覆。建議回覆和建議動作可協助使用者採取後續行動。
- 服務專員應能及時回應,而不是機械式回答。使用符合品牌語氣的語言。理想的品牌代表會如何與顧客對話?
- 使用者喜歡與眾不同。您可以根據使用者的航班記錄建議座位或餐點,打造個人化的辦理入住體驗。
- 複合式資訊卡和輪轉介面可讓對話更具動態感。你可以使用這些圖片和詳細資料,協助使用者從選項中做出選擇。
- 好的對話應該要圓滿結束。傳送登機證前,請先確認使用者的辦理登機詳細資料。加入友善的結尾,增添人情味。
入住流程
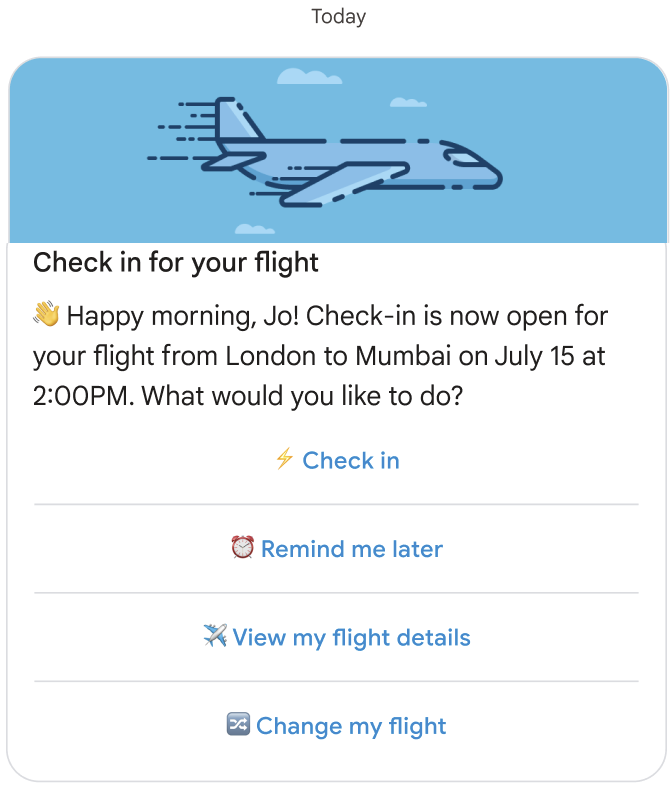
代理程式通知使用者可以辦理登機報到手續。
程式碼範例
const suggestions = [
  {
    reply: {
      text: '⚡ Check in',
      postbackData: 'checkIn',
    },
  },
  {
    reply: {
      text: '⏰ Remind me later',
      postbackData: 'remindMe',
    },
  },
  {
    reply: {
      text: '✈️ View my flight details',
      postbackData: 'flightDetails',
    },
  },
  {
    reply: {
      text: '🔀 Change my flight',
      postbackData: 'flightChange',
    },
  },
];

const params = {
  messageText: 'Check-in for your flight',
  messageDescription: '👏 Happy morning, Jo! Check-in is now open for your flight from London to Mumbai on ' + getFlightTime() + ' at 2:00PM. What would you like to do? ',
  msisdn: phoneNumber,
  suggestions: suggestions,
  imageUrl: getImageUrl('fly.png'),
  height: 'MEDIUM',
};

rbmApiHelper.sendRichCard(params);
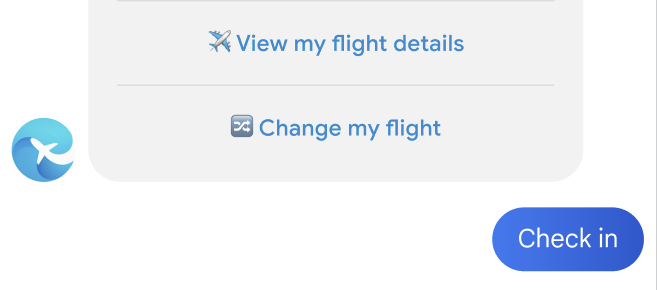
使用者輕觸建議回覆來回報狀況。
服務專員會說明入住程序。
程式碼範例
const params = {
  messageText: "OK, great. It's just 3 simple steps to check in. Here's the first step to get you onboard:",
  msisdn: msisdn,
};

let self = this;

rbmApiHelper.sendMessage(params, function (response, err) {
  self.sendPolicyImage(msisdn);
});
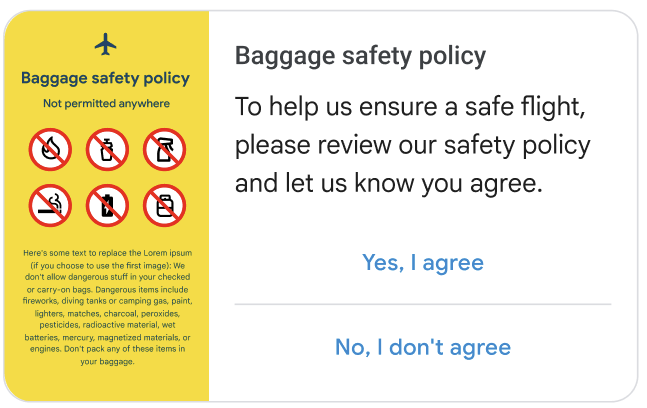
服務專員請使用者同意安全政策。
程式碼範例
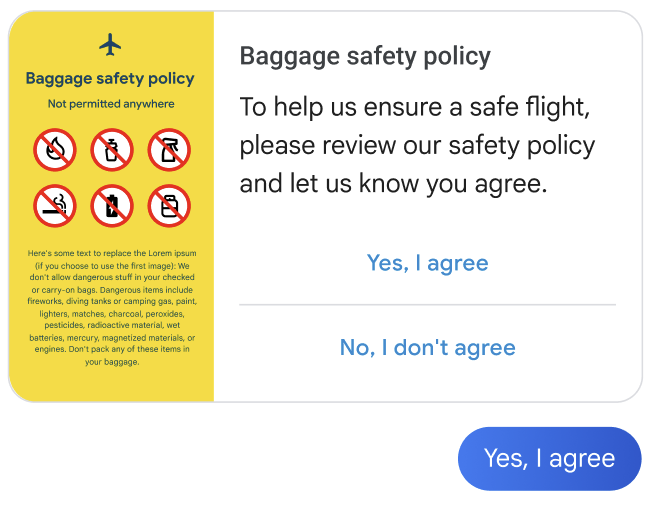
const suggestions = [
  {
    reply: {
      text: 'Yes, I agree',
      postbackData: 'policy_agree',
    },
  },
  {
    reply: {
      text: "No, I don't agree",
      postbackData: 'policy_nack',
    },
  },
];

const params = {
  messageText: 'Baggage safety policy',
  messageDescription: 'To help us ensure a safe flight, please review our safety policy and let us know you agree',
  msisdn: msisdn,
  suggestions: suggestions,
  imageUrl: getImageUrl('policyImage.png'),
  height: 'MEDIUM',
  orientation: 'HORIZONTAL',
  thumbnailImageAlignment: 'LEFT',
};

rbmApiHelper.sendRichCard(params);
使用者輕觸建議的回覆表示同意。
代理程式會感謝使用者,並說明下一個步驟。
程式碼範例
const params = {
  messageText: "Thank you - A safe passenger is a happy passenger! Here's the next step:",
  msisdn: msisdn,
};

let self = this;

rbmApiHelper.sendMessage(params, function (response, err) {
  self.sendPlan(msisdn);
});
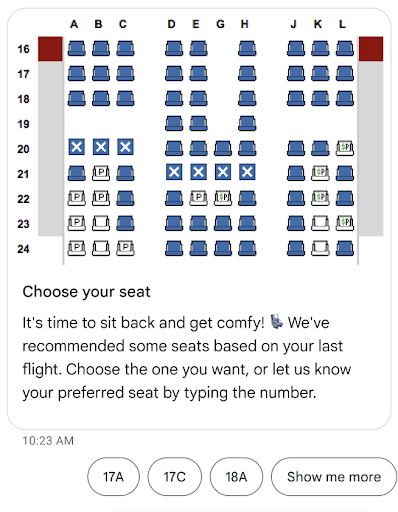
代理程式會提示使用者選擇座位。
程式碼範例
const suggestions = [
  {
    reply: {
      text: 'View the seat map',
      postbackData: 'view_seat_map',
    },
  },
];

const outerSuggestions = [
  {
    reply: {
      text: '17A',
      postbackData: 'seat_17A',
    },
  },
  {
    reply: {
      text: '17C',
      postbackData: 'seat_17C',
    },
  },
  {
    reply: {
      text: '18A',
      postbackData: 'seat_18A',
    },
  },
  {
    reply: {
      text: 'Show me more',
      postbackData: 'more',
    },
  },
];

const params = {
  messageText: 'Choose your seat',
  messageDescription: "It's time to sit back and get comfy! 💺 We've recommended some seats based on your last flight. Choose the one you want, or let us know your preferred seat by typing the number.",
  msisdn: msisdn,
  imageUrl: getImageUrl('seatMap.png'),
  height: 'TALL',
  orientation: 'VERTICAL',
  outerSuggestions: outerSuggestions
};

rbmApiHelper.sendRichCard(params);
使用者輕觸所選座位建議的回覆。
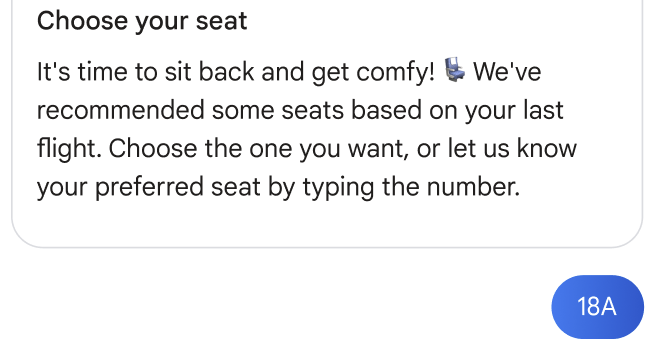
服務專員確認使用者的選擇。

程式碼範例
this.seatmap[msisdn] = seat;

const params = {
  messageText: `Seat ${seat}, you got it`,
  msisdn: msisdn,
};

let self = this;
  rbmApiHelper.sendMessage(params, function(res) {
    self.sendFoodOptions(msisdn);
});
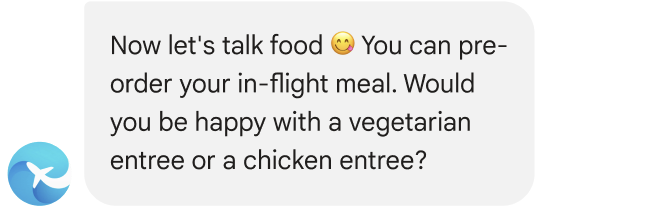
服務專員請使用者選擇機上餐點。
程式碼範例
const params = {
  messageText: `Now let's talk food 😋 You can pre-order your in-flight meal. Would you be happy with a vegetarian entree or a chicken entree?`,
  msisdn: msisdn,
};

let self = this;

rbmApiHelper.sendMessage(params, function(res) {
  self.sendFoodDetails(msisdn);
});
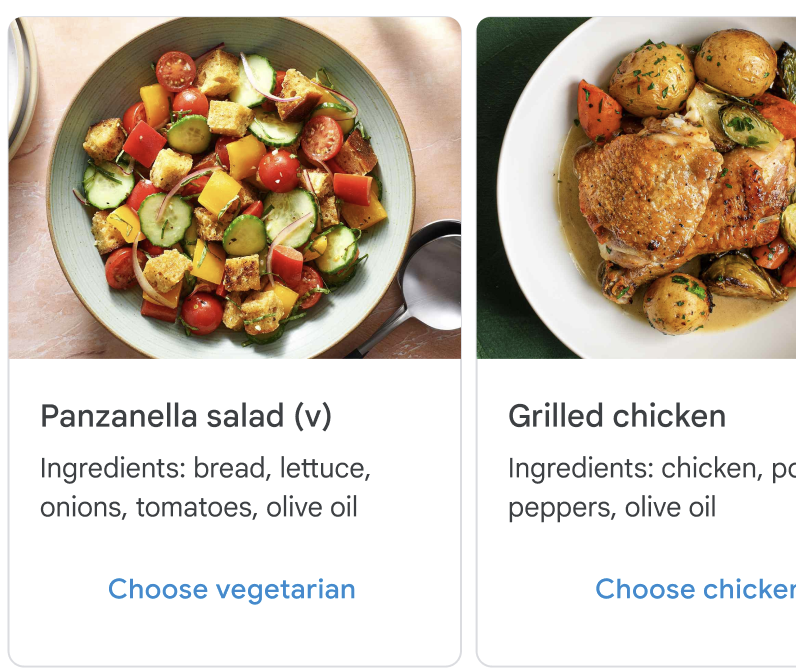
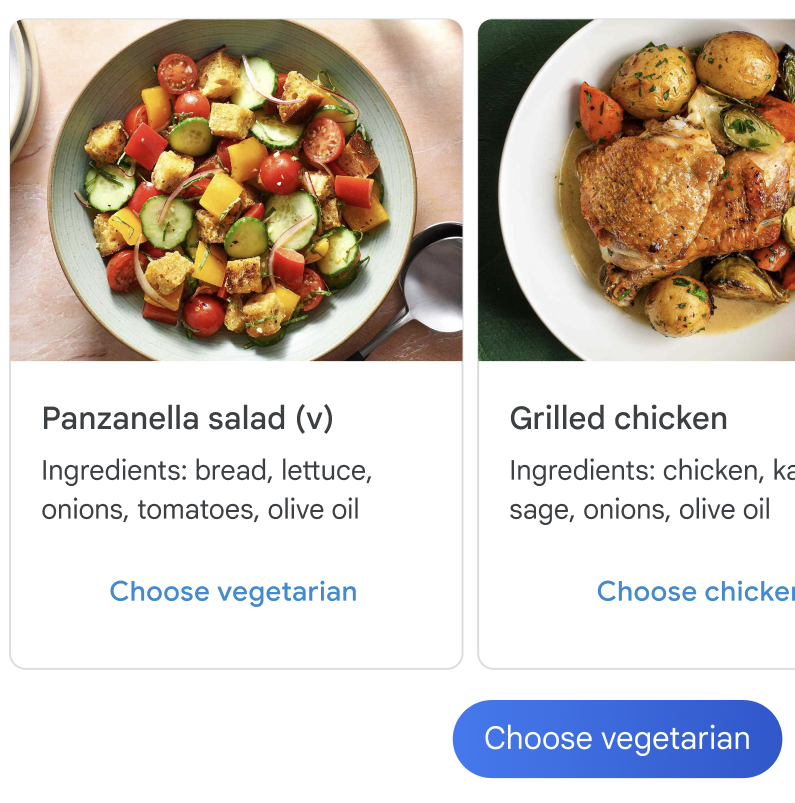
代理人會顯示餐點選項。
程式碼範例
const cardContents = [
  {
    title: 'Panzanella salad (v)',
    description: 'Ingredients: bread, lettuce, onions, tomatoes, olive oil',
    suggestions: [
      {
        reply: {
          text: 'Choose vegetarian',
          postbackData: 'veggie',
        },
      },
    ],
    media: {
      height: 'MEDIUM',
      contentInfo: {
        fileUrl: getImageUrl('salad.jpg'),
      },
    },
  },
  {
    title: 'Grilled chicken with greens',
    description: 'Ingredients: chicken, potatoes, peppers, olive oil',
    suggestions: [
      {
        reply: {
          text: 'Choose chicken',
          postbackData: 'chicken',
        },
      },
    ],
    media: {
      height: 'MEDIUM',
      contentInfo: {
        fileUrl: getImageUrl('chicken.png'),
      },
    },
  },
];

const params = {
  msisdn: msisdn,
  cardContents: cardContents,
};

rbmApiHelper.sendCarouselCard(params);
使用者輕觸所選餐點的建議回覆。
服務專員確認使用者的選擇。

程式碼範例
const params = {
  messageText: `Vegetarian it is 💚`,
  msisdn: msisdn,
};

let self = this;

rbmApiHelper.sendMessage(params, function (response, err) {
  self.sendAskConfirmation(msisdn);
});
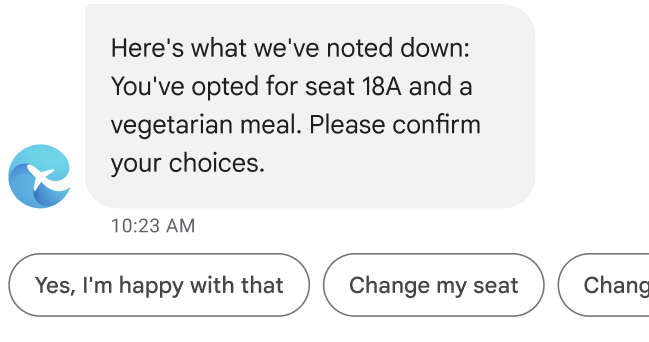
服務專員會總結入住詳細資料。
程式碼範例
let seat = this.seatmap[msisdn];

const suggestions = [
  {
    reply: {
      text: "Yes, I'm happy with that",
      postbackData: 'happy',
    },
  },
  {
    reply: {
      text: 'Change my seat',
      postbackData: 'change_seat',
    },
  },
  {
    reply: {
      text: 'Change my meal',
      postbackData: 'change_meal',
    },
  },
];

const params = {
  messageText: "Here's what we've noted down: You've opted for seat " + seat + " and a vegetarian meal. Please confirm your choices.",
  msisdn: msisdn,
  suggestions: suggestions
};

rbmApiHelper.sendMessage(params);
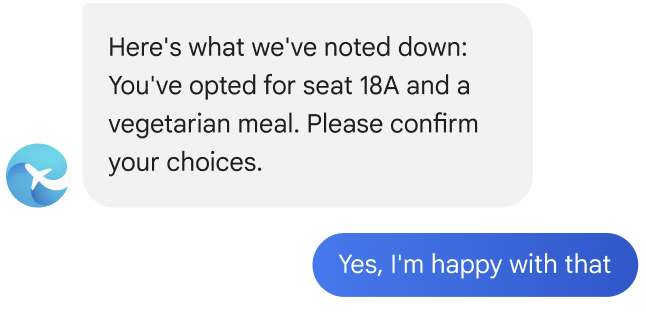
使用者輕觸建議回覆,確認入住詳細資料。
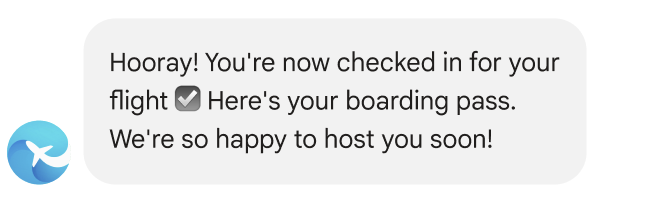
服務專員宣布辦理入住手續完成。
程式碼範例
const params = {
  messageText: "Hooray! You're now checked in for your flight ☑️ Here's your boarding pass. We're so happy to host you soon!",
  msisdn: msisdn,
};

let self = this;

rbmApiHelper.sendMessage(params, function (response, err) {
  self.sendWalletPass(msisdn);
});
代理傳送使用者的登機證。

程式碼範例
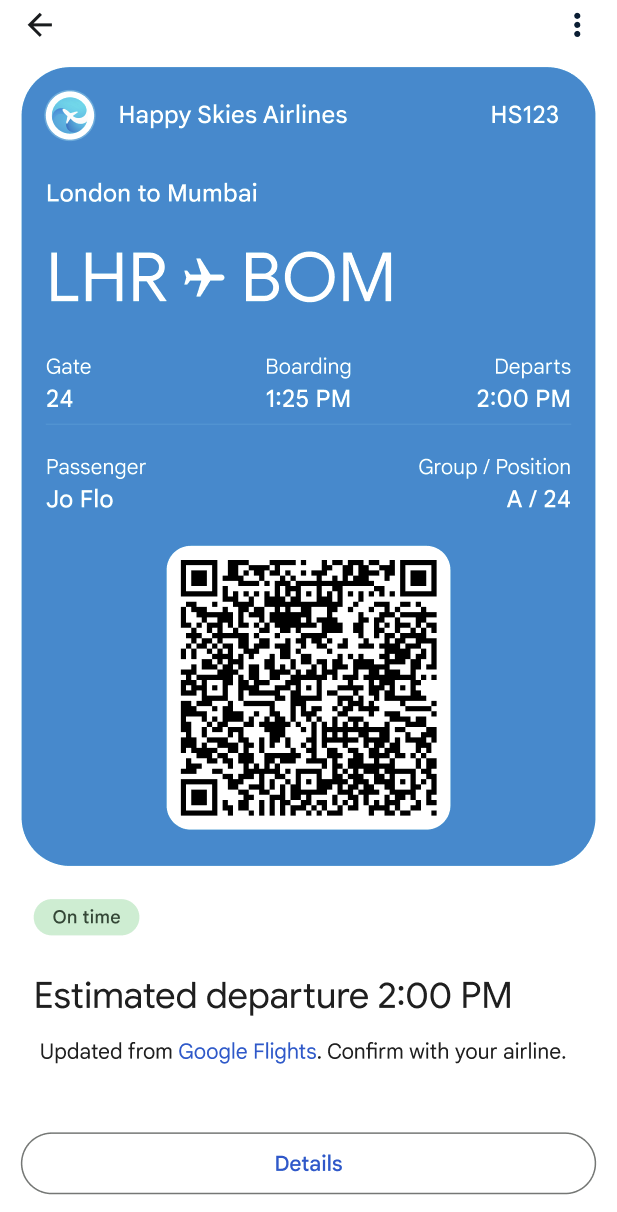
this.walletHelper.createFlightPassUrl(this.seatmap[msisdn]).then((url) => {
  let suggestions = [
    {
      action: {
        text: 'Add to Google Wallet',
        postbackData: 'addToWallet',
        openUrlAction: {
          url: url
        },
      },
    },
  ];

  const params = {
    messageText: 'HS123 LHR to BOM\nPassenger: Jo Flow',
    messageDescription: "We'll keep you up to date! You'll get a notification if your flight details change.",
    msisdn: msisdn,
    suggestions: suggestions,
    imageUrl: getImageUrl('boardingPass.png'),
    height: 'TALL',
    orientation: 'HORIZONTAL',
    thumbnailImageAlignment: 'LEFT',
  };

  rbmApiHelper.sendRichCard(params);
});
在這個橫向複合式資訊卡中,圖片是航空公司提供的完整登機證。圖片應顯示所有必要登機資訊,包括可掃描的條碼。使用者可以輕觸圖片,在 Google 訊息應用程式中查看及掃描登機證。
系統會在動態卡片上顯示「新增至 Google 錢包」建議。這項建議會觸發「開啟網址」動作,開啟 Google 錢包應用程式,讓使用者將登機證新增至錢包。(如果使用者的裝置上沒有該應用程式,系統會提示使用者安裝。)將憑證新增至 Google 錢包後,使用者會在航班資訊有異動時,自動收到航班提醒和狀態更新。
如果使用者未將票證新增至 Google 錢包,也應保持最新狀態。如果豐富資訊卡上顯示的登機資訊有任何變更,請傳送訊息通知使用者。
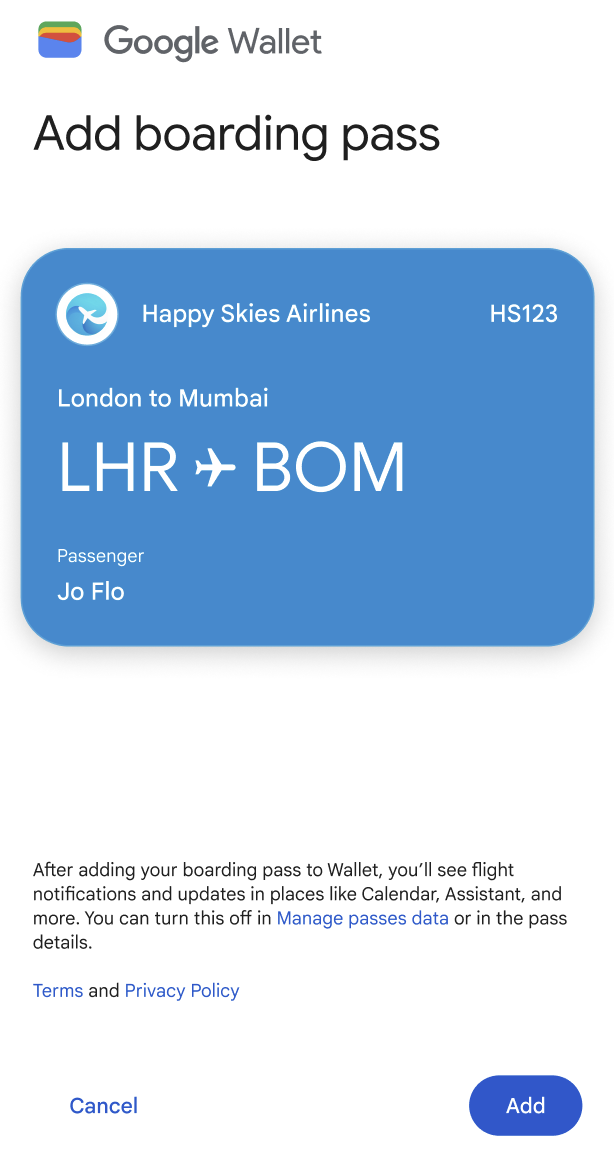
使用者輕觸建議的動作,將憑證新增至 Google 錢包。

系統會開啟 Google 錢包應用程式。使用者輕觸按鈕,將票證新增至錢包。
使用者輕觸按鈕即可查看票證。
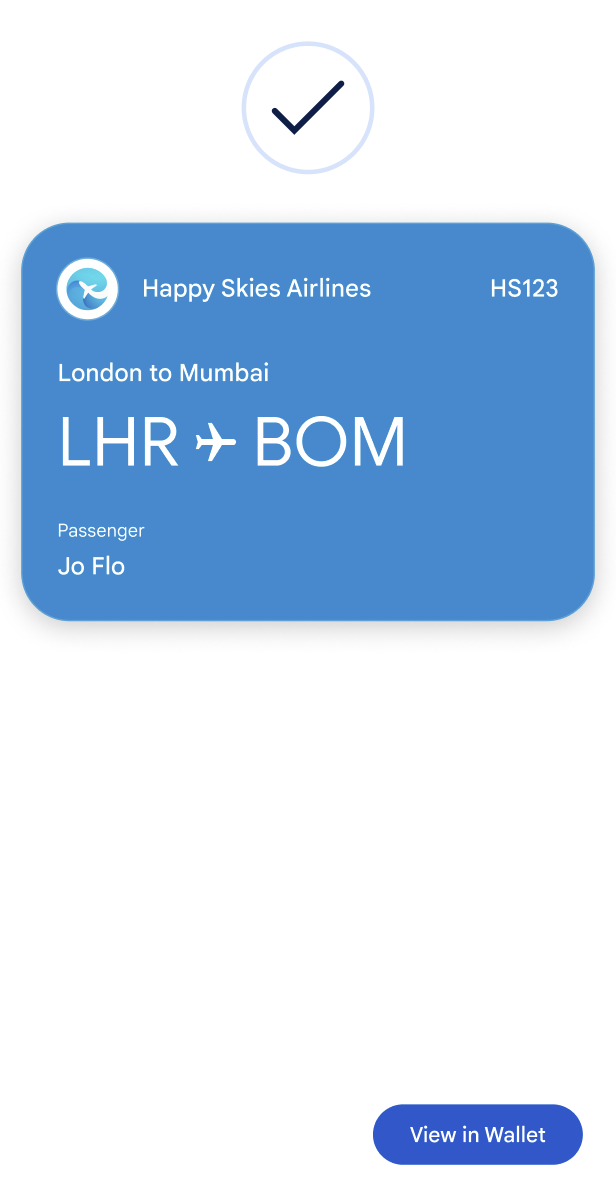
畫面上會顯示含有 QR code 的登機證。