Cloud VM Deployment Guide
Overview
The guide will show you how to install TaglessCRM on a single Compute Engine virtual machine in Google Cloud.
Prerequisites
- A domain name.
The domain name is necessary to secure the web administration site via HTTPS.
Installation Steps
Select or Create a GCP Project
Create a new
Google Cloud Platform project{target="_blank"},
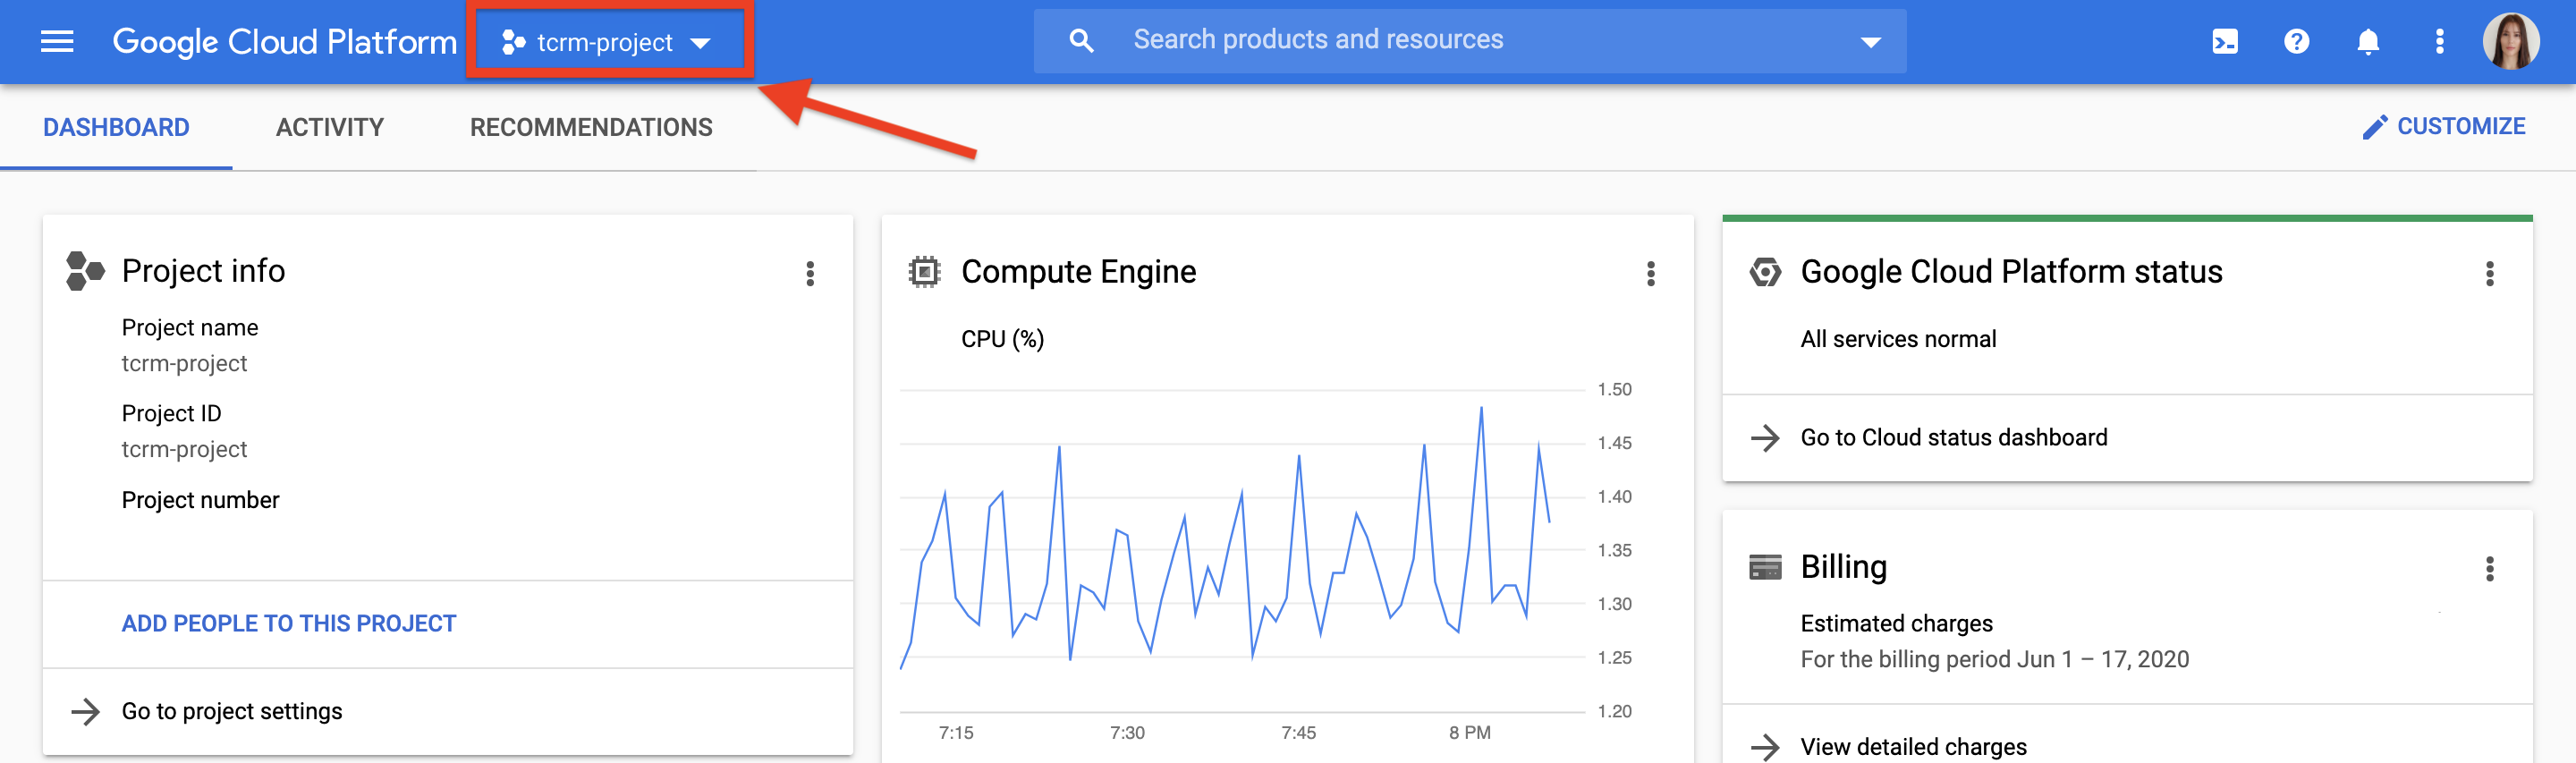
or use an existing one. Open it and make sure you can see the project name at
the top of the page.
Setup OAuth2 Consent Screen
Enter "api & services" in the search box in the top center. The search result will automatically appear below the textbox. Click on "API & Services".

In the API & Services page, click on the OAuth consent screen item on the left menu, then click on the EDIT APP button.

Enter the following items:
- App name: The app name which shows on the consent screen.
- User support email: The support email which shows on the consent screen.
- Authorized domains: The domain name for the web administration site.
Developer contact info: The contact email which shows on the consent screen.

Nothing needs to be entered. Click on SAVE AND CONTINUE at the bottom of the page.

Click on the ADD USER button.

Enter a valid email address, then click on ADD button.

Click on SAVE AND CONTINUE at the bottom of the page.

The last page is a summary. Click on SAVE AND CONTINUE at the bottom of the page.
Create OAuth2 Credentials
Click Credentials and then click the CREATE CREDENTIALS button.

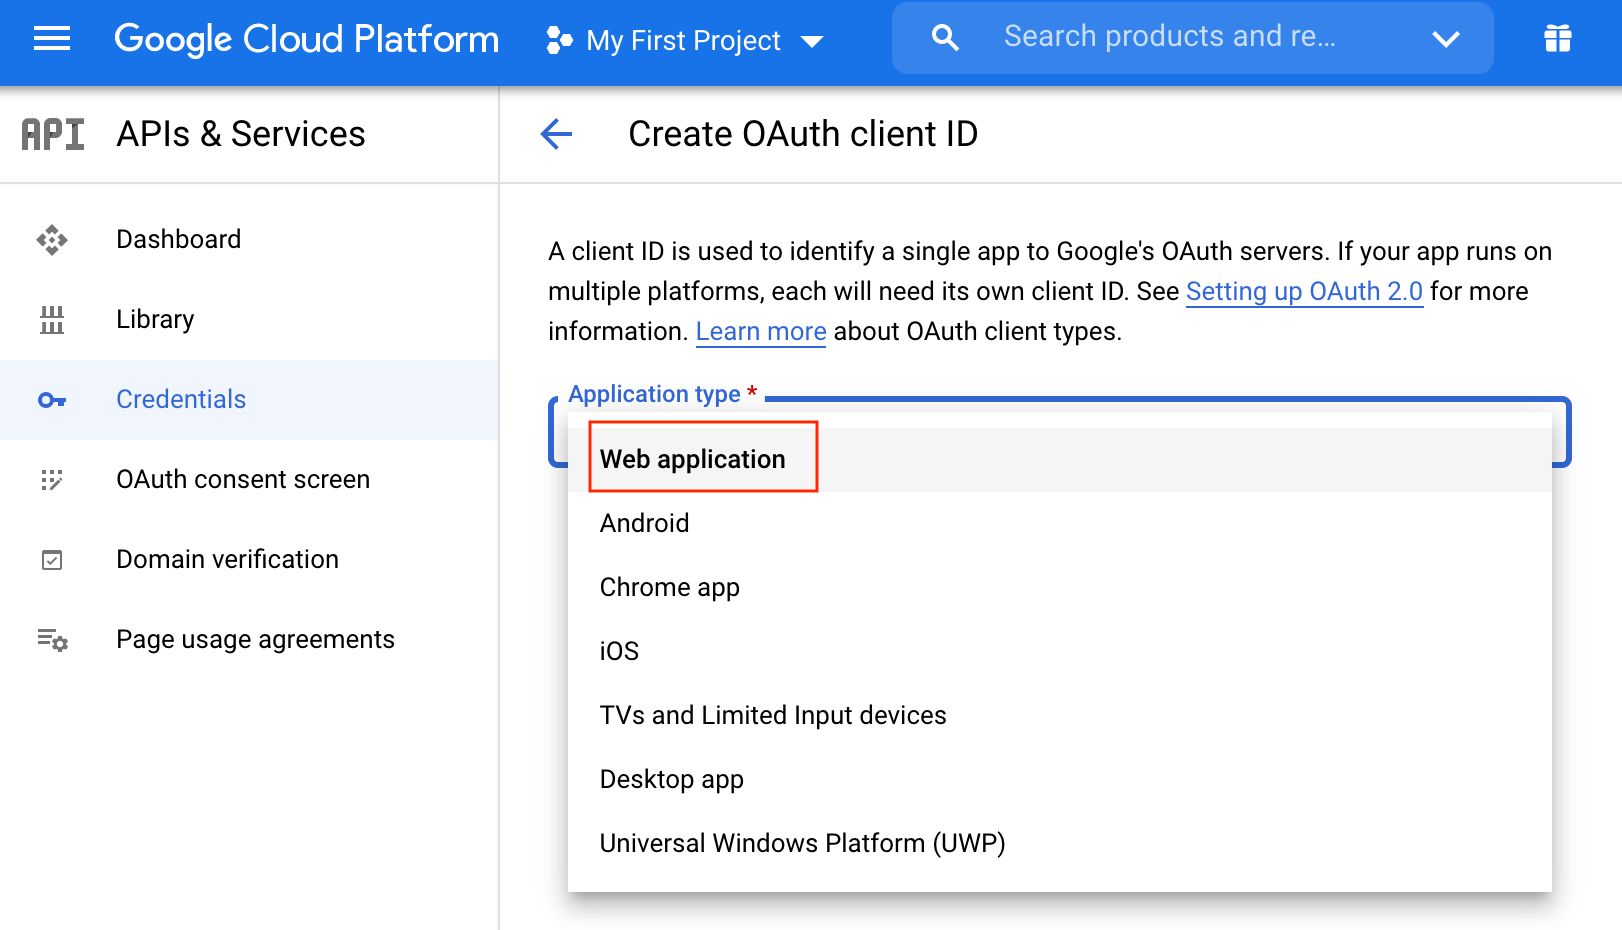
Click on OAuth client ID.

In the Application type drop down, Select Web Application.
Enter any text as the name of the OAuth Client ID in the Name textbox.
Then, click on the ADD URI button under the Authorized redirect URIs label.
In the textbox, enter https://yourdomain.com/oauth-authorized/google, replacing yourdomain.com with the pre-prepared domain.
Then, click on the CREATE button.

Take note of the Client ID and Secret.

Create a virtual machine
Click the icon on the top right of any page to open a Cloud shell.


Execute the command below to clone the TaglessCRM repository from Github.
git clone https://github.com/google/TaglessCRM.git

Change directory to TaglessCRM/vm_setup and execute vm_create.sh. The command prompt will ask which GCP project to create the new virtual machine. Press enter without entering any text to use the default GCP project showing in the brackets.
cd TaglessCRM
cd vm_setups
./vm_create.sh
Input the project ID or press enter to use the default project ID.

Next, you will be asked the name of the VM. Press enter without entering text to use the default name: tcrm-vm

Then you will be asked for your preferred zone. Press enter to accept the default or enter an alternative zone. See the following page for a list of available zones.

Next, select your machine type. You can select the default or enter your choice. See the following page for a description of the available machines.

You will then need to select your disk size. Press enter to select the default disk size or enter one of the options from this page.

Next, choose the service account name to be used with Airflow. As with prior steps, select the default or enter your preferred name.

To complete the configuration, you'll need to confirm that you've entered the correct info. If so, you can press Enter, or you can re-enter the details if an error was made.

Setup DNS Mapping
Once the VM has been created, take note of the external IP that will be shown on the cloud shell. You will then use that IP to modify your DNS record for your domain. See the example below as to what this might look like. Note that this will vary depending upon your domain name provider. As a verification step, you can ping the domain after the IP has been mapped to the domain and confirm that the correct IP is being resolved.

Install TCRM
Once the VM has been created and the DNS has been configured, please execute the command below to continue installing TCRM.
./tcrm_install.sh
First, the email address of the current user of the cloud shell is shown to indicate that this email address will be used as the administrator for the TCRM web administration site.

Next, input the domain name and press enter.

The script will verify the DNS configuration. If the IP has been correctly mapped with the domain, then you can continue to input the OAUTH2 client id.

Next, input the OAUTH2 secret.

Then, please confirm all the above inputs by inputting yes or Y.

Once setup is complete, you will be able to access the web administration site through the registered domain name (https://domain.name).
To login in, click on the G icon and then click on the Sign In button.

Then a popup window is shown. Input the email address as the user name mentioned at the beginning of this section.