
הוספת מפה עם סמן
במדריך הזה מוסבר איך להוסיף למדריך מפת Google עם סמן באפליקציית iOS. המדריך מתאים לאנשים עם ידע בסיסי או בינוני ב-Swift או ב-Objective-C, ועם ידע כללי ב-Xcode. מדריך מתקדם ליצירת מפות זמין במדריך למפתחים.
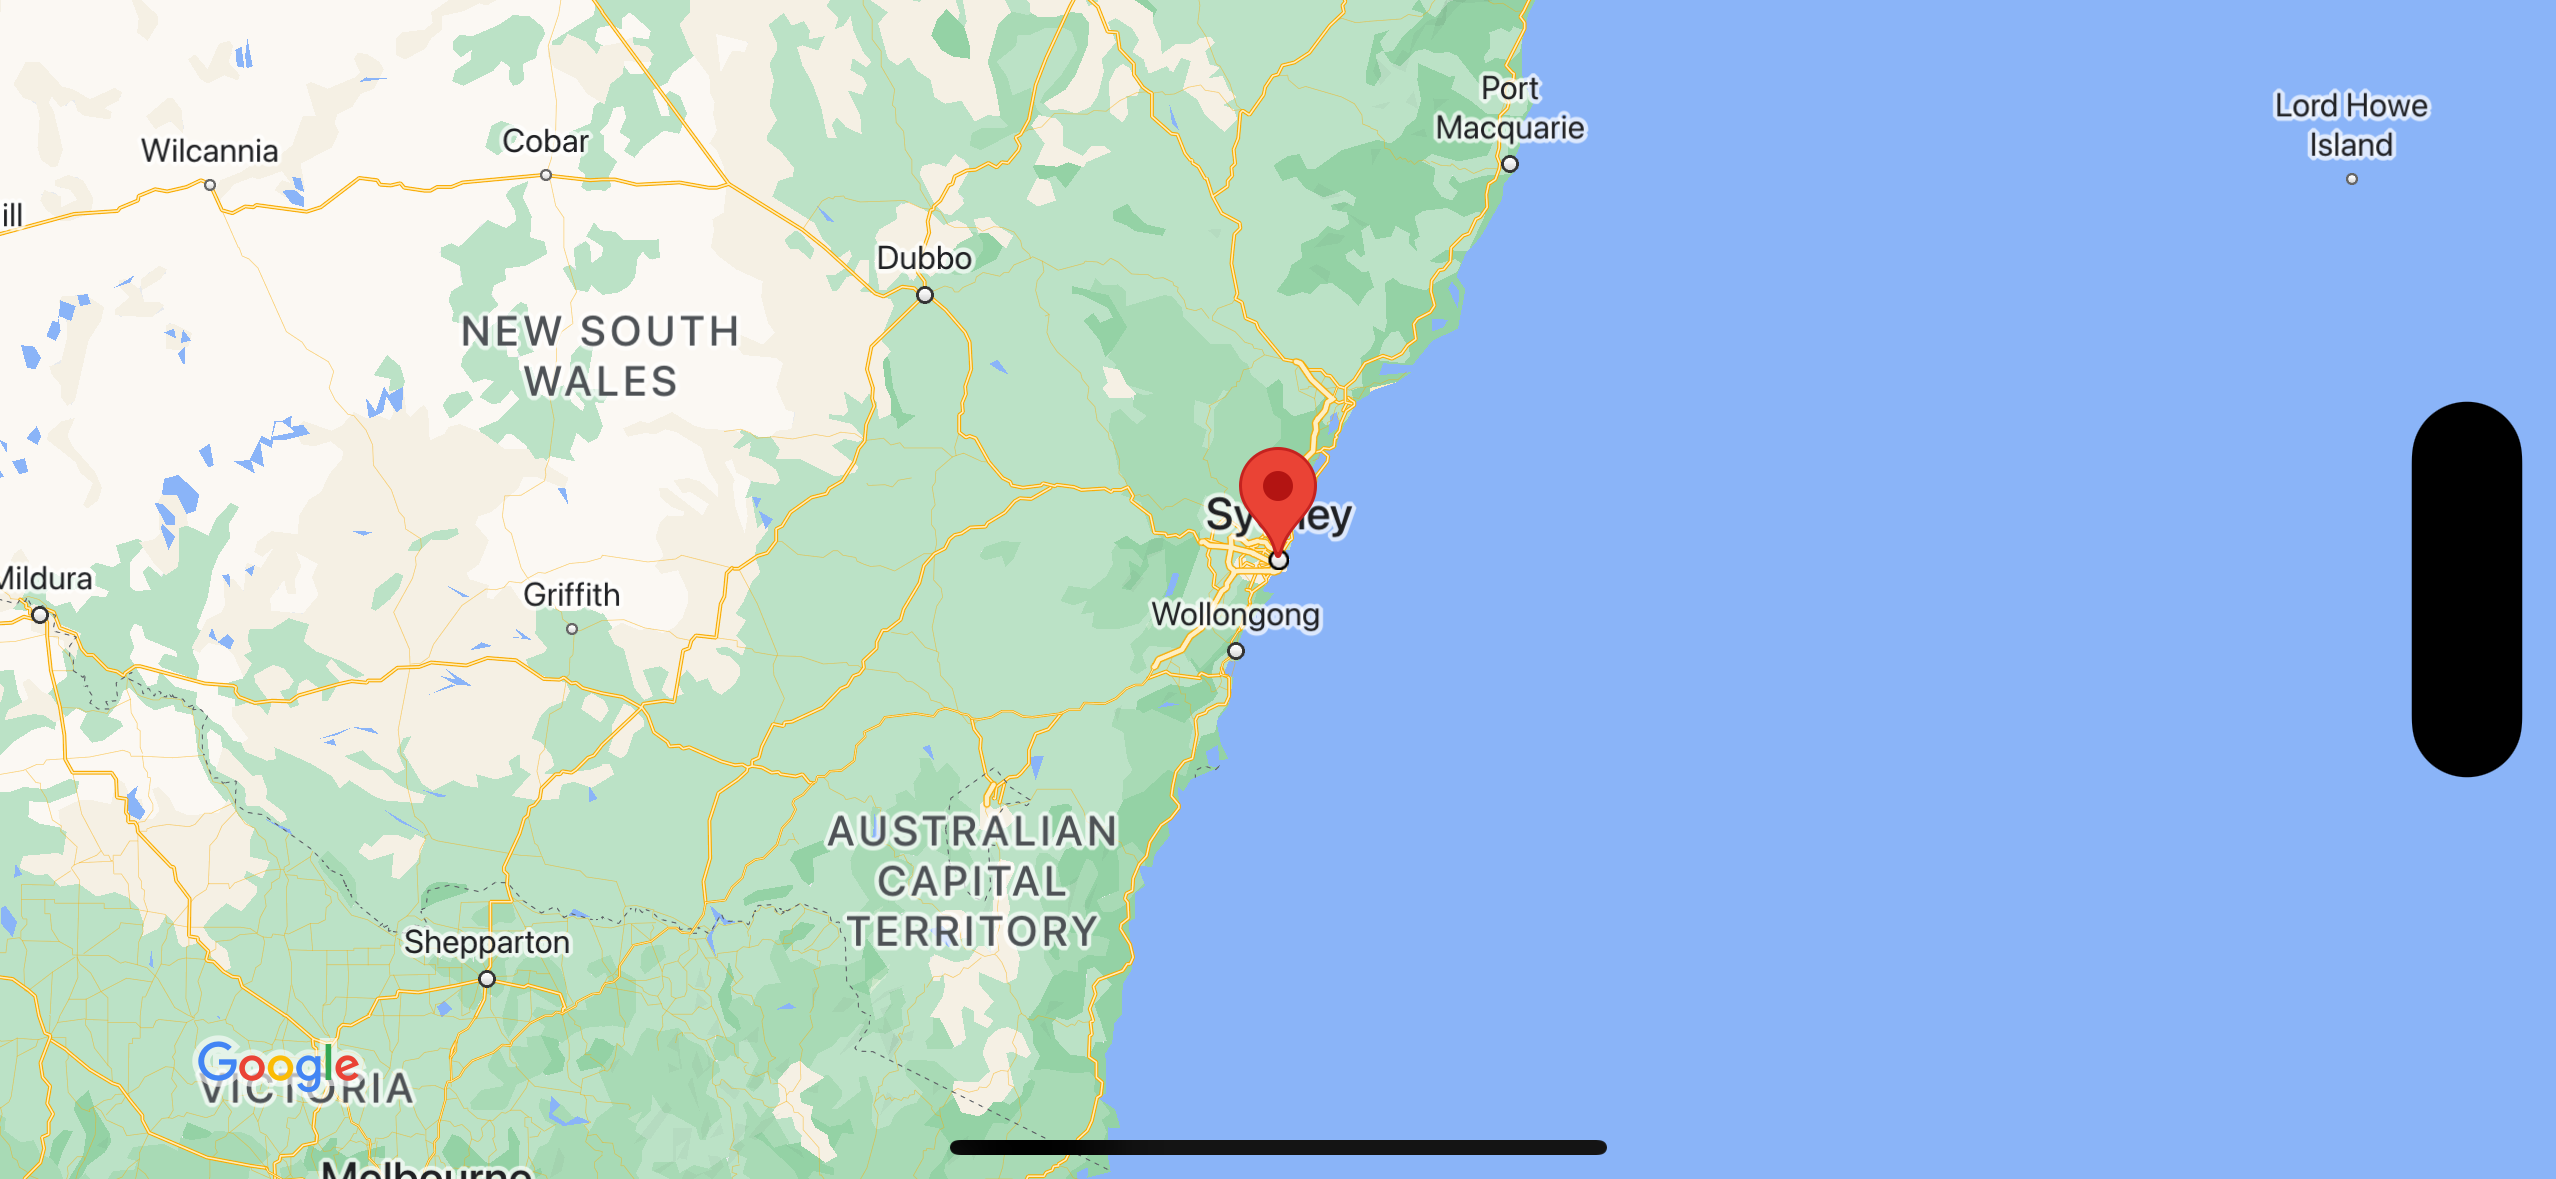
במדריך הזה נלמד איך ליצור את המפה הבאה. הסמן ממוקם בסידני, אוסטרליה.
קבל את הקוד
משכפלים או מורידים את מאגר הדוגמאות של מפות Google ל-iOS ב-GitHub.
אפשר גם ללחוץ על הלחצן הבא כדי להוריד את קוד המקור:
Swift
import UIKit
import GoogleMaps

class ViewController: UIViewController {

    override func viewDidLoad() {
        super.viewDidLoad()
        // Do any additional setup after loading the view.
        // Create a GMSCameraPosition that tells the map to display the
        // coordinate -33.86,151.20 at zoom level 6.
        let camera = GMSCameraPosition.camera(withLatitude: -33.86, longitude: 151.20, zoom: 6.0)
        let mapView = GMSMapView.map(withFrame: self.view.frame, camera: camera)
        self.view.addSubview(mapView)

        // Creates a marker in the center of the map.
        let marker = GMSMarker()
        marker.position = CLLocationCoordinate2D(latitude: -33.86, longitude: 151.20)
        marker.title = "Sydney"
        marker.snippet = "Australia"
        marker.map = mapView
  }
}
Objective-C
#import "ViewController.h"
#import <GoogleMaps/GoogleMaps.h>

@interface ViewController ()

@end

@implementation ViewController

- (void)viewDidLoad {
    [super viewDidLoad];
  // Do any additional setup after loading the view.
  // Create a GMSCameraPosition that tells the map to display the
  // coordinate -33.86,151.20 at zoom level 6.
  GMSCameraPosition *camera = [GMSCameraPosition cameraWithLatitude:-33.86
                                                          longitude:151.20
                                                               zoom:6];
  GMSMapView *mapView = [GMSMapView mapWithFrame:self.view.frame camera:camera];
  mapView.myLocationEnabled = YES;
  [self.view addSubview:mapView];

  // Creates a marker in the center of the map.
  GMSMarker *marker = [[GMSMarker alloc] init];
  marker.position = CLLocationCoordinate2DMake(-33.86, 151.20);
  marker.title = @"Sydney";
  marker.snippet = @"Australia";
  marker.map = mapView;
}

@end
שנתחיל?
Swift Package Manager
אפשר להתקין את SDK של מפות ל-iOS באמצעות Swift Package Manager.
- מסירים את כל התלויות הקיימות ב-SDK של מפות ל-iOS.
- פותחים חלון טרמינל ועוברים לספרייה
tutorials/map-with-marker. - סוגרים את סביבת העבודה של Xcode ומריצים את הפקודות הבאות:
sudo gem install cocoapods-deintegrate cocoapods-clean
pod deintegrate
pod cache clean --all
rm Podfile
rm map-with-marker.xcworkspace
- פותחים את פרויקט Xcode ומוחקים את ה-podfile.
- עוברים אל File > Add Package Dependencies (קובץ > הוספת תלות בחבילה).
- מזינים את כתובת ה-URL https://github.com/googlemaps/ios-maps-sdk, מקישים על Enter כדי למשוך את החבילה ולוחצים על Add Package (הוספת חבילה).
- יכול להיות שתצטרכו לאפס את מטמון החבילות באמצעות קובץ > חבילות > איפוס מטמון החבילות.
שימוש ב-CocoaPods
- מורידים ומתקינים את Xcode גרסה 26.0 ואילך.
- אם עדיין לא התקנתם את CocoaPods, אתם יכולים להתקין אותו ב-macOS על ידי הפעלת הפקודה הבאה מהטרמינל:
sudo gem install cocoapods
- מנווטים לספרייה
tutorials/map-with-marker. - מריצים את הפקודה
pod install. הפעולה הזו תתקין את Maps SDK שצוין ב-Podfile, יחד עם יחסי תלות. - מריצים את הפקודה
pod outdatedכדי להשוות בין גרסת ה-Pod המותקנת לבין עדכונים חדשים. אם מזוהה גרסה חדשה, מריצים את הפקודהpod updateכדי לעדכן אתPodfileולהתקין את ה-SDK העדכני. פרטים נוספים זמינים במדריך CocoaPods. - פותחים (לחיצה כפולה) את הקובץ map-with-marker.xcworkspace של הפרויקט כדי לפתוח אותו ב-Xcode. כדי לפתוח את הפרויקט, צריך להשתמש בקובץ
.xcworkspace.
קבלת מפתח API והפעלת ממשקי ה-API הנדרשים
כדי להשלים את המדריך הזה, צריך מפתח API של Google שמורשה להשתמש ב-SDK של מפות ל-iOS. כדי לקבל מפתח ולהפעיל את ה-API, לוחצים על הכפתור הבא.
קדימה, מתחיליםפרטים נוספים זמינים במאמר קבלת מפתח API.
הוספת מפתח ה-API לאפליקציה
מוסיפים את מפתח ה-API ל-AppDelegate.swift באופן הבא:
- שימו לב שהצהרת הייבוא הבאה נוספה לקובץ:
import GoogleMaps
- עורכים את השורה הבאה בשיטה
application(_:didFinishLaunchingWithOptions:), ומחליפים את YOUR_API_KEY במפתח ה-API שלכם:GMSServices.provideAPIKey("YOUR_API_KEY")
איך יוצרים ומריצים את האפליקציה
- מחברים מכשיר iOS למחשב או בוחרים סימולטור מהתפריט של סכימת Xcode.
- אם משתמשים במכשיר, מוודאים ששירותי המיקום מופעלים. אם אתם משתמשים בסימולטור, בוחרים מיקום מהתפריט תכונות.
- ב-Xcode, לוחצים על אפשרות התפריט Product/Run (או על סמל לחצן ההפעלה).
- מערכת Xcode בונה את האפליקציה ואז מריצה אותה במכשיר או בסימולטור.
- אמורה להופיע מפה עם סמן במרכז סידני בחוף המזרחי של אוסטרליה, בדומה לתמונה שבדף הזה.
פתרון בעיות:
- אם לא רואים מפה, צריך לוודא שקיבלתם מפתח API והוספתם אותו לאפליקציה, כמו שמתואר למעלה. בודקים במסוף ניפוי הבאגים של Xcode אם יש הודעות שגיאה לגבי מפתח ה-API.
- אם הגבלתם את מפתח ה-API לפי מזהה החבילה של iOS, עורכים את המפתח כדי להוסיף את מזהה החבילה של האפליקציה:
com.google.examples.map-with-marker. - מוודאים שיש חיבור Wi-Fi או GPS טוב.
- אפשר להשתמש בכלים לניפוי באגים ב-Xcode כדי לראות את היומנים ולנפות באגים באפליקציה.
הסבר על הקוד
- יוצרים מפה ומגדירים אותה כתצוגה ב-
viewDidLoad().Swift
// Create a GMSCameraPosition that tells the map to display the
// coordinate -33.86,151.20 at zoom level 6.
let camera = GMSCameraPosition.camera(withLatitude: -33.86, longitude: 151.20, zoom: 6.0)
let mapView = GMSMapView.map(withFrame: CGRect.zero, camera: camera)
view = mapView
Objective-C
// Create a GMSCameraPosition that tells the map to display the
// coordinate -33.86,151.20 at zoom level 6.
GMSCameraPosition *camera = [GMSCameraPosition cameraWithLatitude:-33.86
                                                        longitude:151.20
                                                             zoom:6.0];
GMSMapView *mapView = [[GMSMapView alloc] initWithFrame: CGRectZero camera:camera];
self.view = mapView;
- מוסיפים סמן למפה ב-
viewDidLoad().Swift
// Creates a marker in the center of the map.
let marker = GMSMarker()
marker.position = CLLocationCoordinate2D(latitude: -33.86, longitude: 151.20)
marker.title = "Sydney"
marker.snippet = "Australia"
marker.map = mapView
Objective-C
// Creates a marker in the center of the map.
GMSMarker *marker = [[GMSMarker alloc] init];
marker.position = CLLocationCoordinate2DMake(-33.86, 151.20);
marker.title = @"Sydney";
marker.snippet = @"Australia";
marker.map = mapView;
כברירת מחדל, כשמשתמש מקיש על סמן, התוכן של חלון המידע מוצג ב-SDK של מפות ל-iOS. אם אתם מרוצים מההתנהגות שמוגדרת כברירת מחדל, אתם לא צריכים להוסיף handler לקליקים על הסמן.
מזל טוב! פיתחתם אפליקציית iOS שמציגה מפת Google עם סמן שמציין מיקום מסוים. למדתם גם איך להשתמש ב- SDK של מפות ל-iOS.
השלבים הבאים
מידע נוסף על אובייקט המפה ועל מה שאפשר לעשות עם סמנים.