
मार्कर के साथ मैप जोड़ना
इस ट्यूटोरियल में, iOS ऐप्लिकेशन में मार्कर के साथ Google मैप जोड़ने का तरीका बताया गया है. यह उन लोगों के लिए सही है जिन्हें Swift या Objective-C की बुनियादी या सामान्य जानकारी है. साथ ही, Xcode के बारे में सामान्य जानकारी है. मैप बनाने के बारे में बेहतर गाइड के लिए, डेवलपर गाइड पढ़ें.
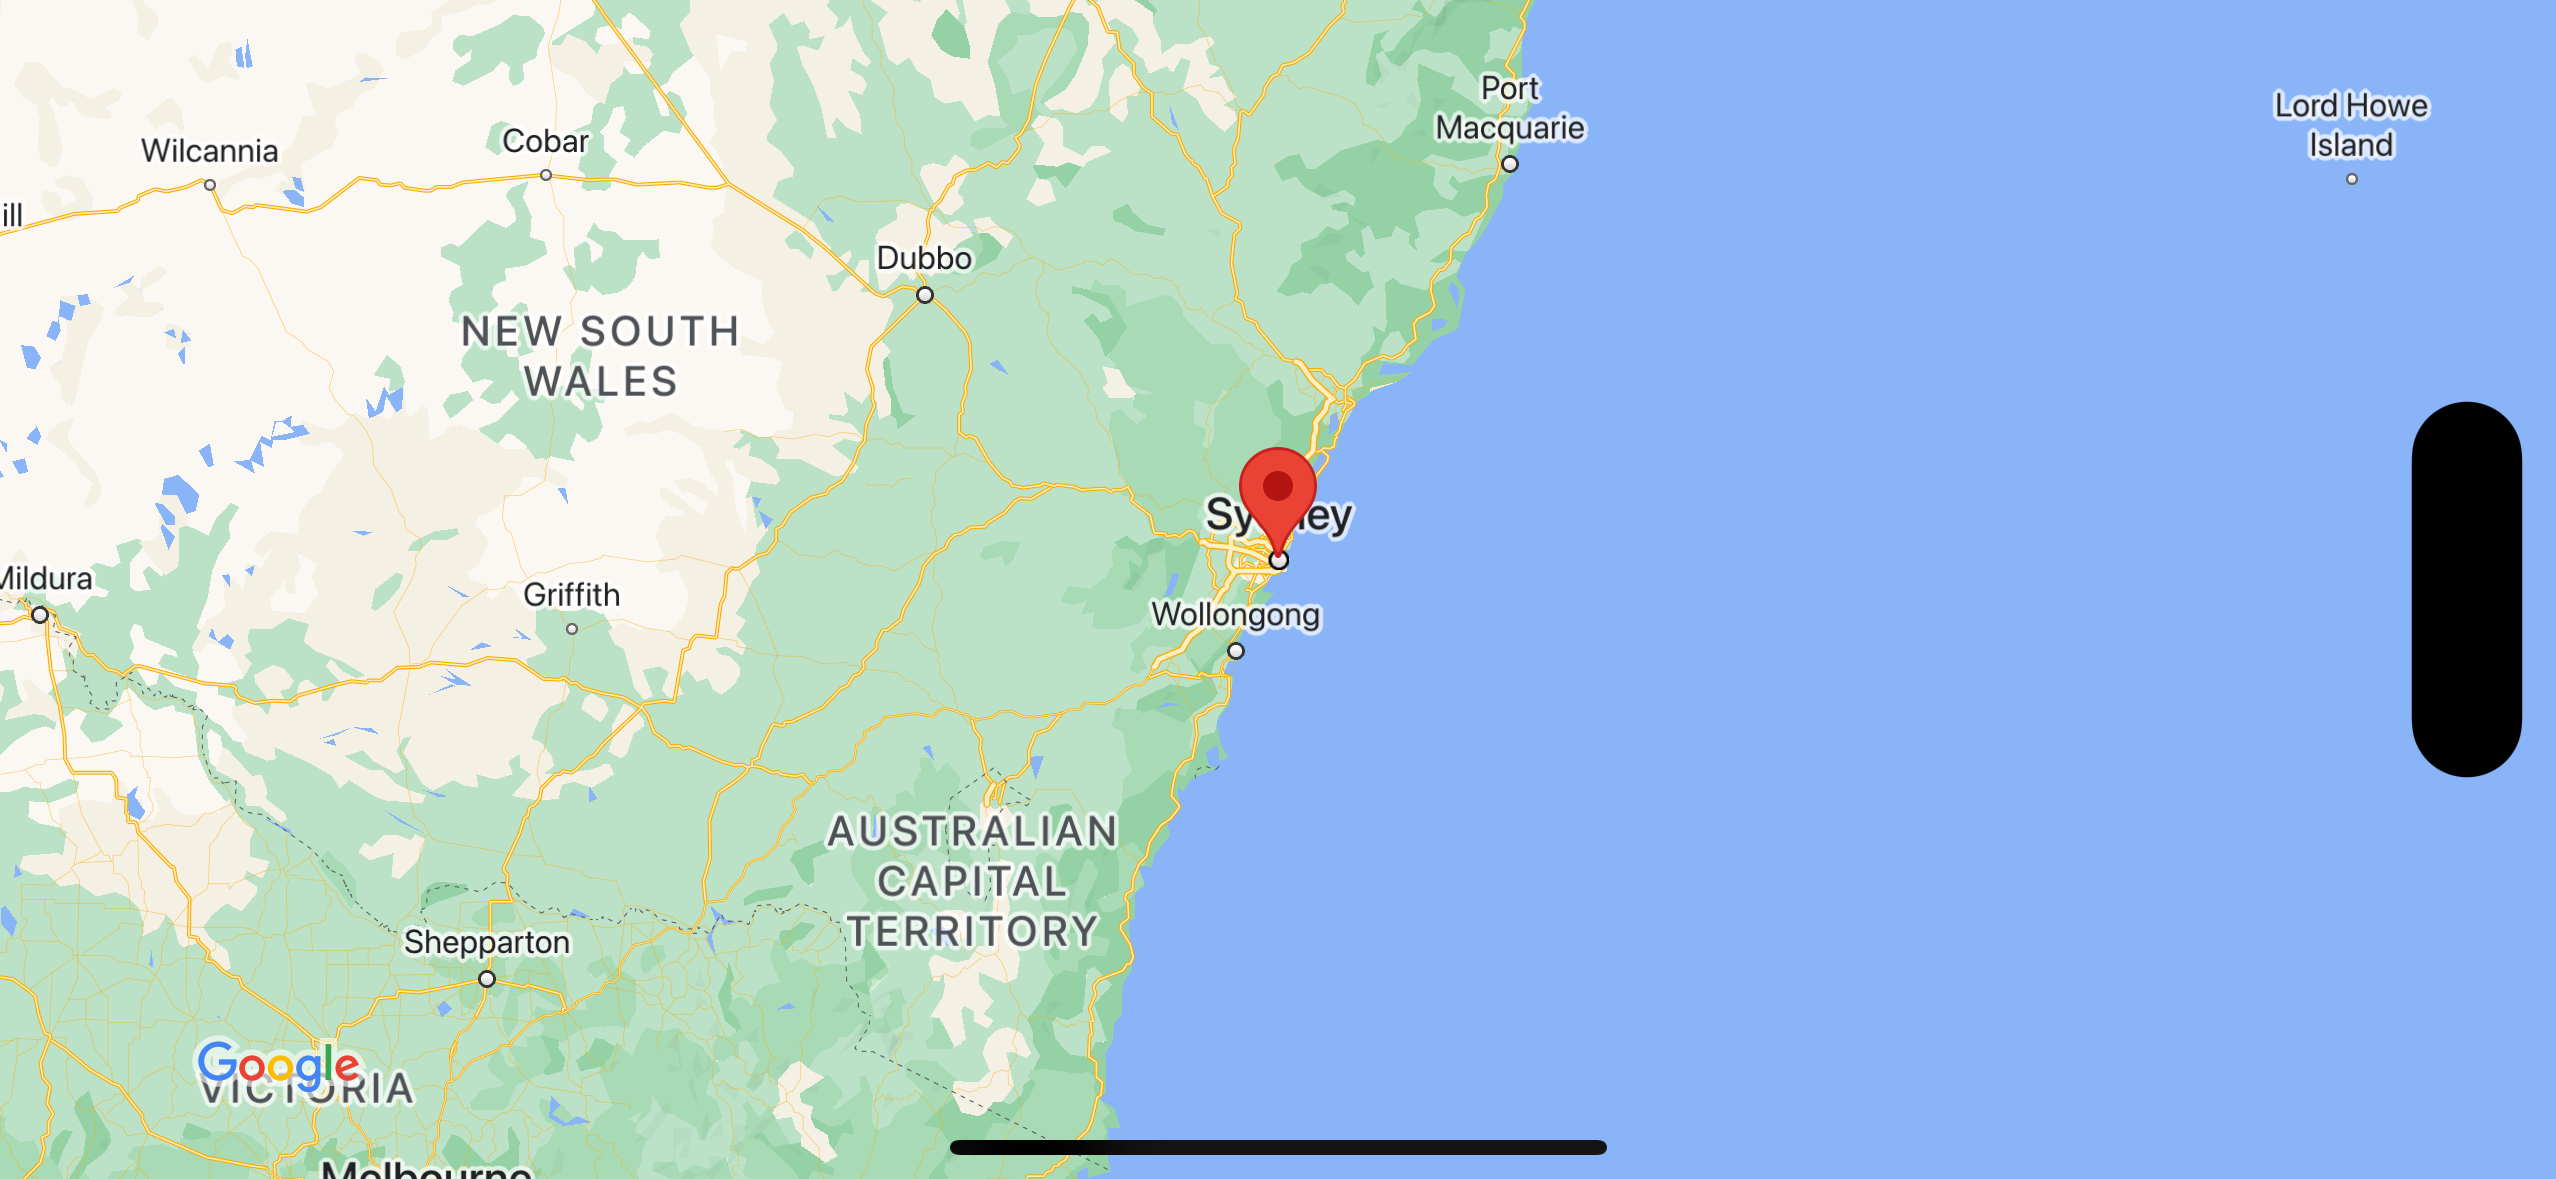
इस ट्यूटोरियल का इस्तेमाल करके, यह मैप बनाया जाएगा. मार्कर को ऑस्ट्रेलिया के सिडनी शहर में रखा गया है.
कोड प्राप्त करें
GitHub पर मौजूद Google Maps iOS के सैंपल की रिपॉज़िटरी को क्लोन करें या डाउनलोड करें.
इसके अलावा, सोर्स कोड को डाउनलोड करने के लिए, इस बटन पर क्लिक करें:
Swift
import UIKit
import GoogleMaps

class ViewController: UIViewController {

    override func viewDidLoad() {
        super.viewDidLoad()
        // Do any additional setup after loading the view.
        // Create a GMSCameraPosition that tells the map to display the
        // coordinate -33.86,151.20 at zoom level 6.
        let camera = GMSCameraPosition.camera(withLatitude: -33.86, longitude: 151.20, zoom: 6.0)
        let mapView = GMSMapView.map(withFrame: self.view.frame, camera: camera)
        self.view.addSubview(mapView)

        // Creates a marker in the center of the map.
        let marker = GMSMarker()
        marker.position = CLLocationCoordinate2D(latitude: -33.86, longitude: 151.20)
        marker.title = "Sydney"
        marker.snippet = "Australia"
        marker.map = mapView
  }
}
Objective-C
#import "ViewController.h"
#import <GoogleMaps/GoogleMaps.h>

@interface ViewController ()

@end

@implementation ViewController

- (void)viewDidLoad {
    [super viewDidLoad];
  // Do any additional setup after loading the view.
  // Create a GMSCameraPosition that tells the map to display the
  // coordinate -33.86,151.20 at zoom level 6.
  GMSCameraPosition *camera = [GMSCameraPosition cameraWithLatitude:-33.86
                                                          longitude:151.20
                                                               zoom:6];
  GMSMapView *mapView = [GMSMapView mapWithFrame:self.view.frame camera:camera];
  mapView.myLocationEnabled = YES;
  [self.view addSubview:mapView];

  // Creates a marker in the center of the map.
  GMSMarker *marker = [[GMSMarker alloc] init];
  marker.position = CLLocationCoordinate2DMake(-33.86, 151.20);
  marker.title = @"Sydney";
  marker.snippet = @"Australia";
  marker.map = mapView;
}

@end
अपनी प्रोफ़ाइल बनाना शुरू करें
Swift Package Manager
iOS के लिए Maps SDK को Swift Package Manager का इस्तेमाल करके इंस्टॉल किया जा सकता है.
- Maps SDK for iOS की किसी भी मौजूदा डिपेंडेंसी को हटाएं.
- टर्मिनल विंडो खोलें और
tutorials/map-with-markerडायरेक्ट्री पर जाएं. - Xcode वर्कस्पेस बंद करें और ये कमांड चलाएं:
sudo gem install cocoapods-deintegrate cocoapods-clean
pod deintegrate
pod cache clean --all
rm Podfile
rm map-with-marker.xcworkspace
- अपना Xcode प्रोजेक्ट खोलें और podfile मिटाएं.
- File > Add Package Dependencies पर जाएं.
- यूआरएल के तौर पर https://github.com/googlemaps/ios-maps-sdk डालें. इसके बाद, पैकेज को पुल करने के लिए Enter दबाएं और Add Package पर क्लिक करें.
- आपको File > Packages > Reset Package Cache का इस्तेमाल करके, पैकेज कैश मेमोरी को रीसेट करना पड़ सकता है.
CocoaPods का इस्तेमाल करना
- Xcode version 26.0 या इसके बाद का वर्शन डाउनलोड और इंस्टॉल करें.
- अगर आपके पास पहले से CocoaPods नहीं है, तो macOS पर इसे इंस्टॉल करें. इसके लिए, टर्मिनल में यह कमांड डालें:
sudo gem install cocoapods
tutorials/map-with-markerडायरेक्ट्री पर जाएं.pod installकमांड चलाएं. इससेPodfileमें बताया गया Maps SDK और उससे जुड़ी सभी डिपेंडेंसी इंस्टॉल हो जाएंगी.- इंस्टॉल किए गए पॉड के वर्शन की तुलना नए अपडेट से करने के लिए,
pod outdatedचलाएं. अगर कोई नया वर्शन मिलता है, तोPodfileको अपडेट करने और एसडीके का नया वर्शन इंस्टॉल करने के लिए,pod updateचलाएं. ज़्यादा जानकारी के लिए, CocoaPods गाइड देखें. - प्रोजेक्ट की map-with-marker.xcworkspace फ़ाइल को Xcode में खोलने के लिए, उसे खोलें (दो बार क्लिक करें). प्रोजेक्ट खोलने के लिए, आपको
.xcworkspaceफ़ाइल का इस्तेमाल करना होगा.
एपीआई पासकोड पाएं और ज़रूरी एपीआई चालू करें
इस ट्यूटोरियल को पूरा करने के लिए, आपके पास Google API कुंजी होनी चाहिए. इस कुंजी को Maps SDK for iOS का इस्तेमाल करने की अनुमति मिली हो. एपीआई को चालू करने और पासकोड पाने के लिए, यहां दिए गए बटन पर क्लिक करें.
शुरू करेंज़्यादा जानकारी के लिए, एपीआई कुंजी पाना लेख पढ़ें.
अपने ऐप्लिकेशन में एपीआई पासकोड जोड़ना
अपनी एपीआई कुंजी को AppDelegate.swift में इस तरह जोड़ें:
- ध्यान दें कि फ़ाइल में यह इंपोर्ट स्टेटमेंट जोड़ा गया है:
import GoogleMaps
- अपने
application(_:didFinishLaunchingWithOptions:)तरीके में इस लाइन में बदलाव करें. साथ ही, YOUR_API_KEY को अपने एपीआई पासकोड से बदलें:GMSServices.provideAPIKey("YOUR_API_KEY")
अपना ऐप्लिकेशन बनाना और उसे चलाना
- किसी iOS डिवाइस को अपने कंप्यूटर से कनेक्ट करें या Xcode स्कीम मेन्यू से सिम्युलेटर चुनें.
- अगर किसी डिवाइस का इस्तेमाल किया जा रहा है, तो पक्का करें कि जगह की जानकारी की सेवाएं चालू हों. अगर सिम्युलेटर का इस्तेमाल किया जा रहा है, तो सुविधाएं मेन्यू से कोई जगह चुनें.
- Xcode में, Product/Run मेन्यू विकल्प पर क्लिक करें या प्ले बटन आइकॉन पर क्लिक करें.
- Xcode, ऐप्लिकेशन बनाता है. इसके बाद, उसे डिवाइस या सिम्युलेटर पर चलाता है.
- आपको एक मैप दिखेगा. इसमें ऑस्ट्रेलिया के पूर्वी तट पर मौजूद सिडनी शहर को मार्कर से हाइलाइट किया गया होगा. यह मैप, इस पेज पर मौजूद इमेज की तरह दिखेगा.
समस्या का हल:
- अगर आपको मैप नहीं दिख रहा है, तो पक्का करें कि आपने एपीआई पासकोड हासिल कर लिया हो और उसे ऐप्लिकेशन में जोड़ दिया हो. इसके बारे में पहले बताया जा चुका है. एपीआई पासकोड से जुड़ी गड़बड़ी के मैसेज देखने के लिए, Xcode के डीबगिंग कंसोल को देखें.
- अगर आपने एपीआई कुंजी को iOS बंडल आइडेंटिफ़ायर के हिसाब से सीमित किया है, तो ऐप्लिकेशन के लिए बंडल आइडेंटिफ़ायर जोड़ने के लिए, कुंजी में बदलाव करें:
com.google.examples.map-with-marker. - पक्का करें कि आपके पास अच्छा वाई-फ़ाई या जीपीएस कनेक्शन हो.
- ऐप्लिकेशन को डीबग करने और लॉग देखने के लिए, Xcode के डीबग टूल का इस्तेमाल करें.
कोड को समझना
- एक मैप बनाएं और उसे
viewDidLoad()में व्यू के तौर पर सेट करें.Swift
// Create a GMSCameraPosition that tells the map to display the
// coordinate -33.86,151.20 at zoom level 6.
let camera = GMSCameraPosition.camera(withLatitude: -33.86, longitude: 151.20, zoom: 6.0)
let mapView = GMSMapView.map(withFrame: CGRect.zero, camera: camera)
view = mapView
Objective-C
// Create a GMSCameraPosition that tells the map to display the
// coordinate -33.86,151.20 at zoom level 6.
GMSCameraPosition *camera = [GMSCameraPosition cameraWithLatitude:-33.86
                                                        longitude:151.20
                                                             zoom:6.0];
GMSMapView *mapView = [[GMSMapView alloc] initWithFrame: CGRectZero camera:camera];
self.view = mapView;
viewDidLoad()में मैप पर मार्कर जोड़ें.Swift
// Creates a marker in the center of the map.
let marker = GMSMarker()
marker.position = CLLocationCoordinate2D(latitude: -33.86, longitude: 151.20)
marker.title = "Sydney"
marker.snippet = "Australia"
marker.map = mapView
Objective-C
// Creates a marker in the center of the map.
GMSMarker *marker = [[GMSMarker alloc] init];
marker.position = CLLocationCoordinate2DMake(-33.86, 151.20);
marker.title = @"Sydney";
marker.snippet = @"Australia";
marker.map = mapView;
डिफ़ॉल्ट रूप से, Maps SDK for iOS, उपयोगकर्ता के मार्कर पर टैप करने पर जानकारी वाली विंडो का कॉन्टेंट दिखाता है. अगर आपको डिफ़ॉल्ट व्यवहार का इस्तेमाल करना है, तो मार्कर के लिए क्लिक लिसनर जोड़ने की ज़रूरत नहीं है.
बधाई हो! आपने एक iOS ऐप्लिकेशन बनाया है. यह ऐप्लिकेशन, Google मैप दिखाता है. इसमें किसी जगह को दिखाने के लिए मार्कर का इस्तेमाल किया जाता है. आपने iOS के लिए Maps SDK का इस्तेमाल करने का तरीका भी सीखा है.
अगले चरण
मैप ऑब्जेक्ट के बारे में ज़्यादा जानें. साथ ही, यह भी जानें कि मार्कर का इस्तेमाल कैसे किया जा सकता है.