
Page Summary
-
This guide explains how to set up parameters for recommended and custom events on your website using either the Google tag (gtag.js) or Google Tag Manager to collect more information from your events.
-
Event parameters provide additional details about user interactions on your website, such as product information when a user views a product.
-
You can set up parameters for a single event using the
eventcommand or for every event on a page by updating theconfigcommand or using thesetcommand in your Google tag snippet. -
You can view your events and parameters in Google Analytics using the Realtime and DebugView reports.
-
To see values for custom event parameters in Google Analytics, you need to create corresponding custom dimensions and metrics.
This guide shows you how to set up parameters for recommended events and custom events on your website so you can collect more information from your events. For information about how to add item-scoped parameters, see Measure ecommerce.
Audience
You want to collect more information about your users' activity through the events you've already set up.
You use either the Google tag (gtag.js) or Google Tag Manager on your website. If you want to set up event parameters for a mobile app, see Log events.
Before you begin
This guide assumes that you've done the following:
- Create a Google Analytics account and property
- Create a web data stream for your website
- Place the Tag Manager snippets on your website
- Install the Google tag in Tag Manager
It also assumes that you have the following:
- Access to the Tag Manager container for the website
- The Editor (or above) role to the Google Analytics account
You should also read Set up events before reading this guide.
Understand event parameters
Parameters provide additional information about the ways users interact with your website. For example, when someone views a product you sell, you can include parameters that describe the product they viewed, such as the name, category, and price.
The automatically collected and enhanced measurement events include parameters by default. Google also provides a set of required and optional parameters to include with each recommended event. Additionally, you can add more event parameters when you need them.
Set up event parameters
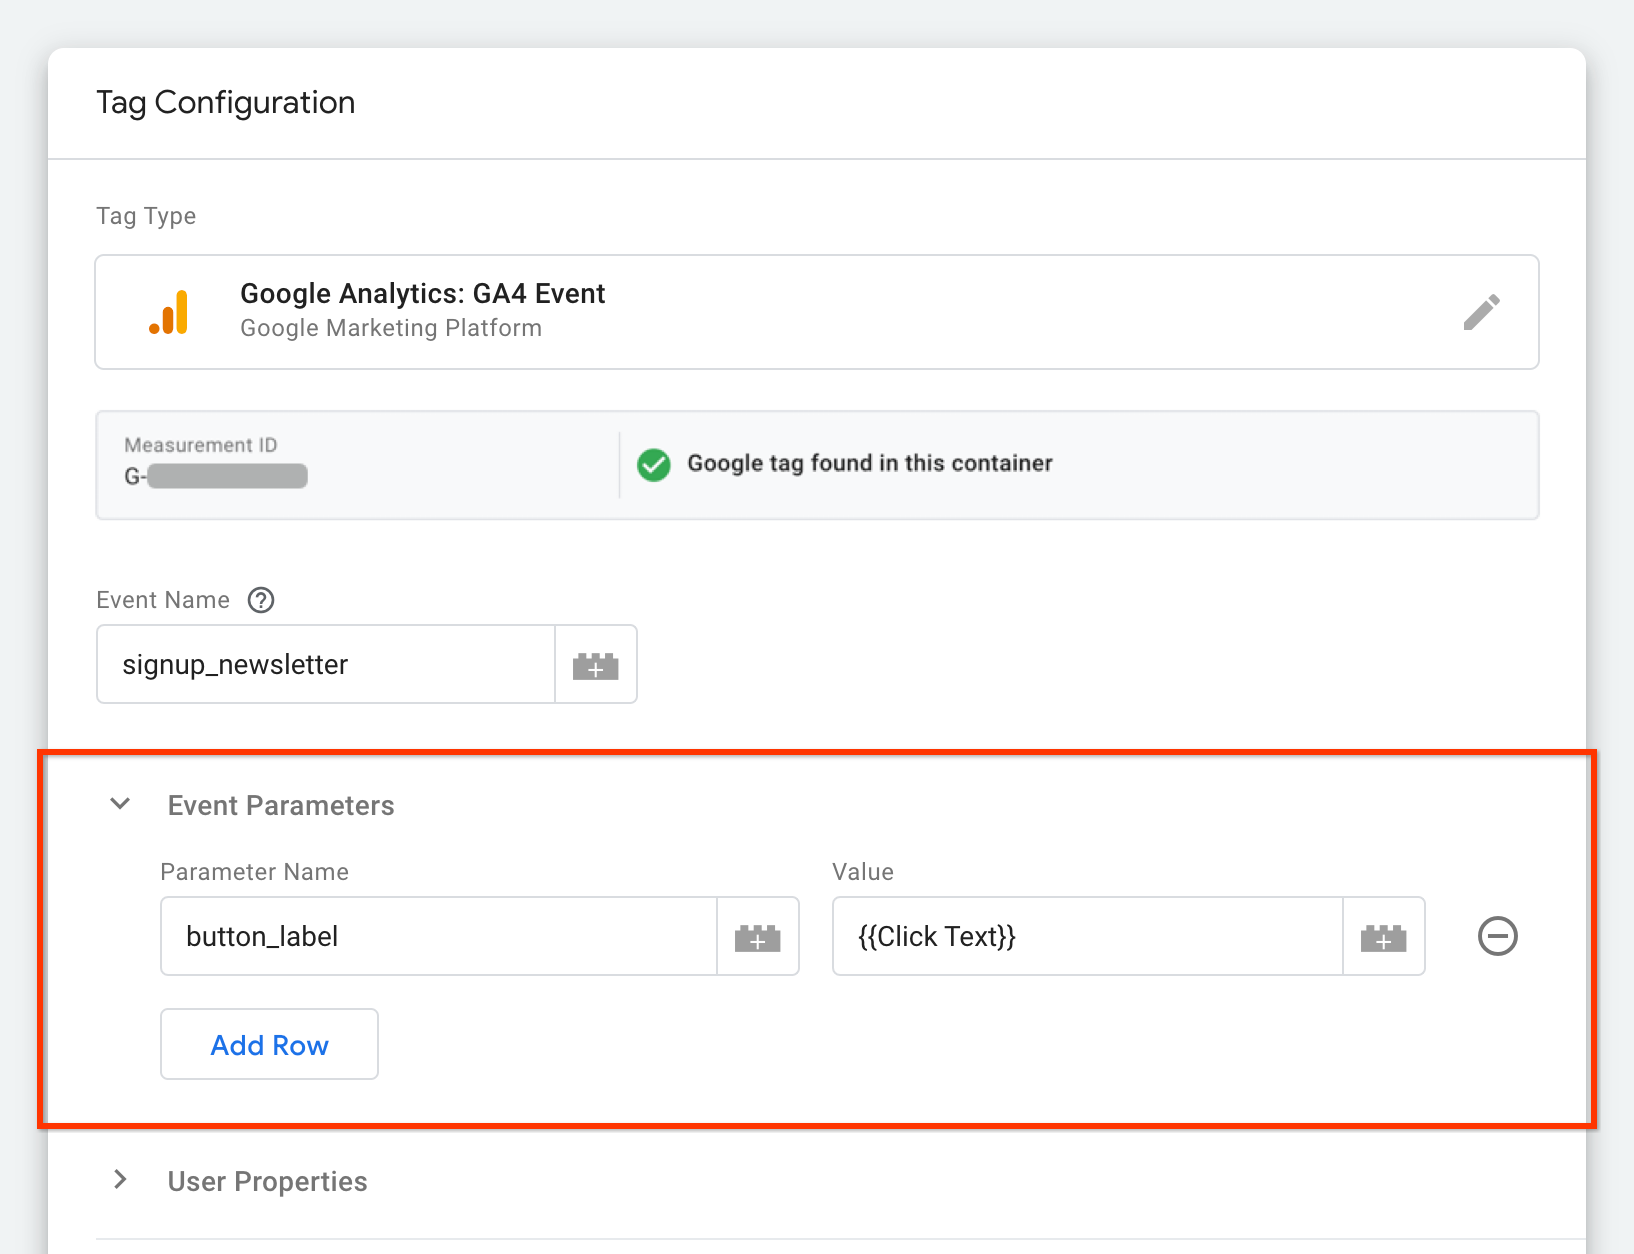
The following steps show you how to add parameters to a custom event called "Signup newsletter" so that the event includes the label of the button that the user clicked. These steps assume that you've followed the steps in Set up events.
Step 1: Create variables for the event parameters
- In Google Tag Manager,
go to
 Tags.
Tags. - Open your Google Analytics: GA4 Event tag.
- In Tag Configuration, expand Event Parameters.
- In Parameter Name, enter a name for the parameter, such as
button_label. - In Value, click
 next to the field to add a variable.
 Choose a variable for the value of the event parameter. For example, choose Click Text for the text of the button clicked.
If you use a data layer object, you can select + in the top right and choose Data Layer Variable.
Save your changes and publish your container.
Your configuration might look something like this:
Step 2: Preview your changes
Before you publish your new event in Tag Manager, click Preview to see the data that's recorded when you click the "Sign up for the newsletter" button.
You can use preview mode to test changes to your container before you publish those changes to your website. Learn more about preview mode.
Important: Register custom parameters
Sending custom parameters in your code is only the first step. For Google Analytics to display and allow you to analyze data from any custom parameters in standard reports and explorations, you must register them as custom dimensions or metrics within the Google Analytics interface. Without this registration, the parameter data is collected but isn't available for reporting.
See your events in Analytics
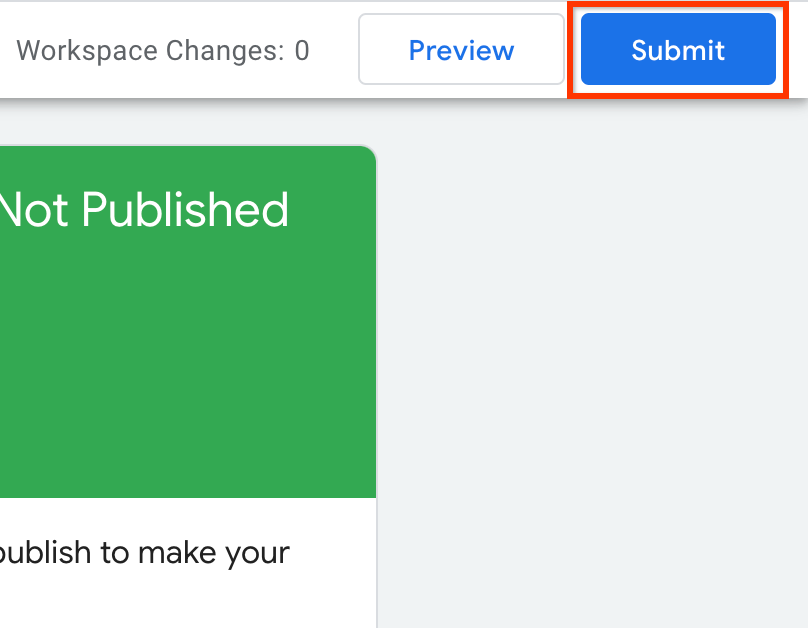
When you are ready to publish your changes, click Submit.
You can verify that your events and parameters are being sent correctly by using the Realtime and DebugView reports. These reports show data as it arrives. Note that the DebugView report requires some additional configuration before you can use it.
However, to see and analyze the values of any custom parameters you send within the broader Google Analytics reporting interface (such as in Explorations or standard reports), you must first register them as custom dimensions or metrics. After you register a custom dimension or metric, it can take up to 48 hours for the data to become available in your reports.
Learn about custom dimensions and metrics.
Verify in DebugView
When using the DebugView report, parameters defined with gtag('set') are
applied to all subsequent gtag('event') invocations on the page. To verify,
make sure the gtag('set') command is executed before the event fires.
Then, select an event in DebugView and examine its Parameters tab to see the
merged list of parameters, including those globally set.
Some parameters automatically populate prebuilt dimensions and metrics in Google Analytics. For example, the parameters on the automatically collected and enhanced measurement events, as well as the required and optional parameters you send with the recommended events, populate prebuilt dimensions and metrics.
Other parameters require you to create custom dimensions and metrics to see the parameter values in Google Analytics.
Next steps
Create custom dimensions and metrics for your custom event parameters.