Page Summary
-
This project provides a simple Glassware implementation demonstrating the Google Mirror API's core features.
-
A fully-working demo of the quick start project is available online.
-
Prerequisites for the project include PHP 5.3.x or higher, a web server, and potentially an Internet accessible hosting environment for subscriptions.
-
The process involves creating and configuring a Google APIs Console project and then deploying the Quick Start project to a host server.
-
Configuration requires entering API client credentials and a base URL into the
config.phpfile.
This project shows you how to implement a simple piece of Glassware that demos the major functionality of the Google Mirror API.
To see a fully-working demo of the quick start project, go to https://glass-python-starter-demo.appspot.com. Otherwise, read on to see how to deploy your own version.
Prerequisites
- PHP 5.3.x or higher
- A web server - You need a place to host your files. Apache httpd and nginx work great.
- To use subscriptions you also need an Internet accessible hosting environment with a valid SSL certificate signed by a trusted certificate authority.
Creating a Google APIs Console project
Next, enable access to the Google Mirror API:
- Go to the Google APIs console and create a new API project.
- Click Services and enable the Google Mirror API for your new project.

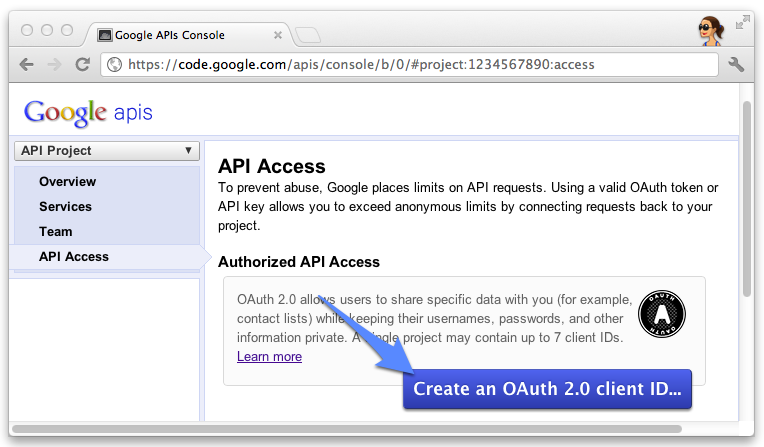
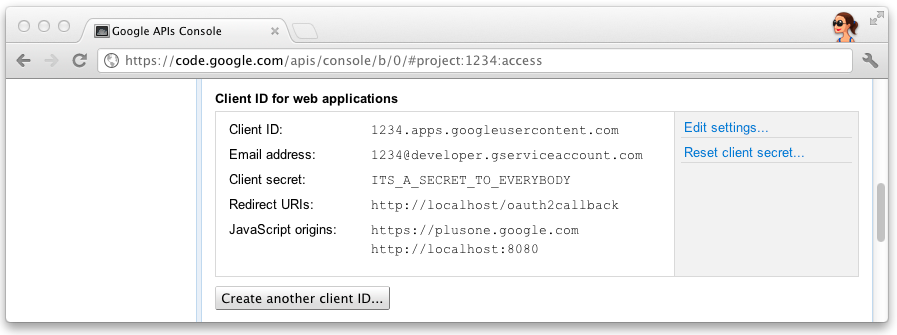
- Click API Access and create an OAuth 2.0 client ID for a web application.
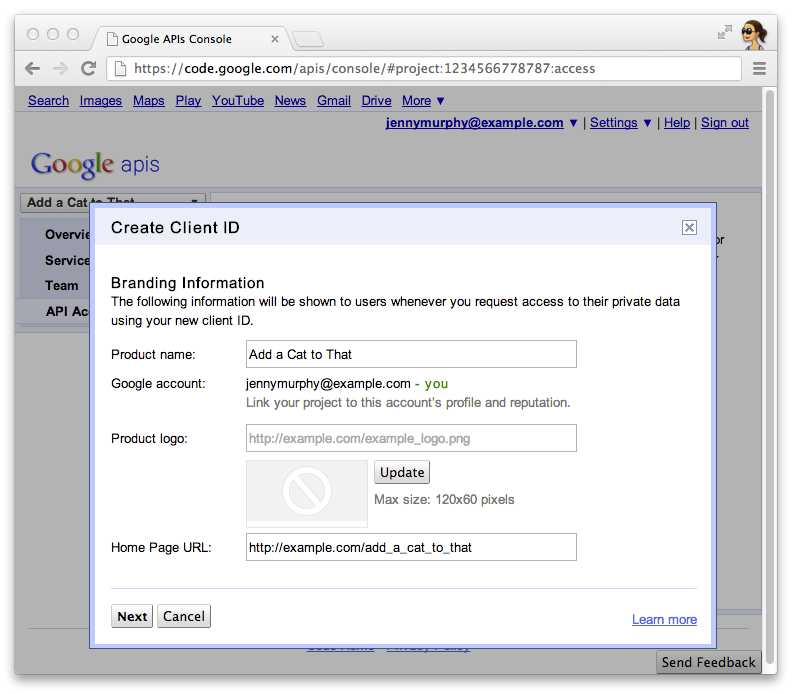
- Specify the product name and icon for your Glassware. These fields appear on the OAuth grant
screen presented to your users.
- Select Web application and specify any value for the hostname, such as
localhost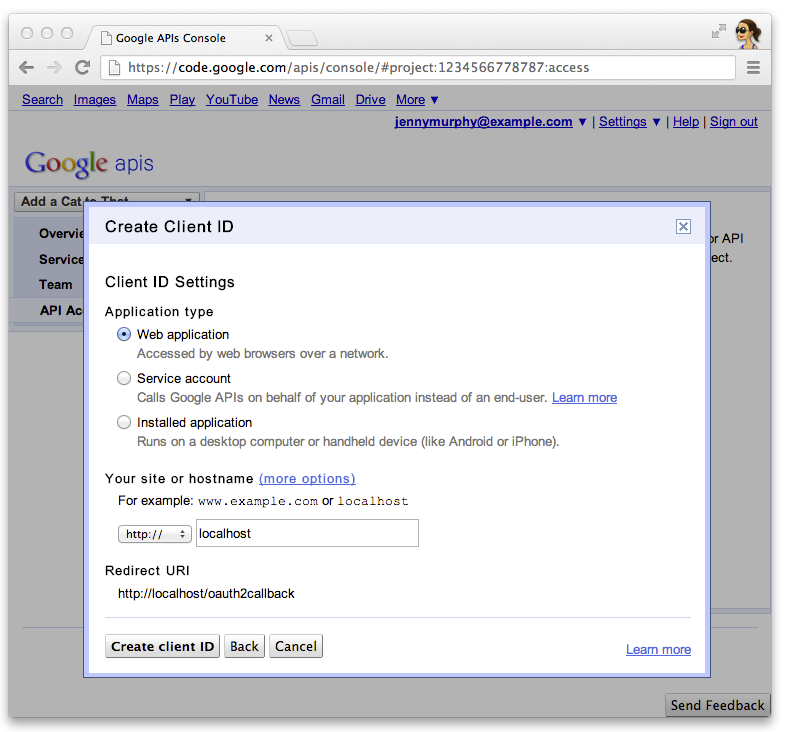
- Click Edit settings... for the client ID to specify redirect URIs. Specify the callback URLs
for your local development web server, for example
http://localhost:8080/oauth2callback, and for your deployed web server, for examplehttps://example.com/oauth2callback.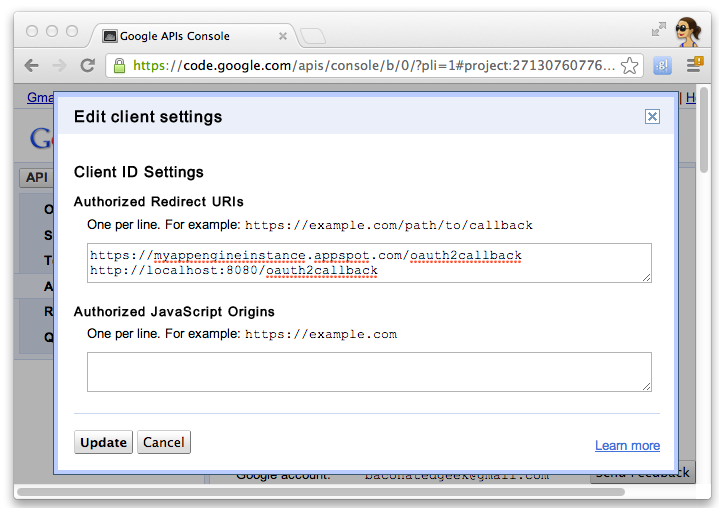
- Make note of the client ID and secret from the Google APIs Console. You'll need
it to configure the quick start project.
Configuring the project
Enter your client ID, secret, simple API key, a base URL and a location where a
SQLite database can be created in config.php:
$api_client_id = "1234.apps.googleusercontent.com";
$api_client_secret = "ITS_A_SECRET_TO_EVERYBODY";
$api_simple_key = "AIzaSyCCbHcqDeb0oycQ9niV8P3n0F0qM";

$base_url = "http://example.com/starter-project";

$sqlite_database = "/tmp/database.sqlite";
Deploying the project
Deploy the Quick Start project to your host server:
- Copy the PHP Quick Start directory to the documents directory of your HTTP web server.
Depending on your system configuration, you may need to pre-create a writable file for the SQLite database:
$ touch /tmp/database.sqlite
$ chmod 777 /tmp/database.sqlite