
您可以輕鬆建立、維護及擴充 App Engine 應用程式,因應流量和資料儲存空間需求變化。使用 App Engine 就不需要維護伺服器。只要上傳應用程式,就能開始使用。
App Engine 應用程式會根據傳入的流量自動調度資源。負載平衡、微服務、授權、SQL 和 NoSQL 資料庫、記憶體快取、流量拆分、記錄、搜尋、版本管理、推出和復原,以及安全性掃描,均受原生支援且高度可自訂。
App Engine 標準環境和 App Engine 彈性環境支援多種程式設計語言,包括 Java、Python、PHP、NodeJS 和 Go。這兩種環境可讓開發人員充分彈性地控制應用程式的行為。每個環境都有各自的優點。詳情請參閱「選擇 App Engine 環境」。
您將學會如何將 Spring Boot 應用程式部署至 App Engine 標準環境。標準環境會在無人使用時將資源調度降至零,並在有人使用時自動調度資源!
必要條件
- 熟悉 Java 程式設計語言和工具
- 瞭解標準 Linux 文字編輯器,例如 Vim、Emacs 和 nano
執行步驟
- 如何在 App Engine 上建立 Spring Boot Java 應用程式
軟硬體需求
- Google Cloud 專案
- 瀏覽器,例如 Google Chrome
自行設定環境

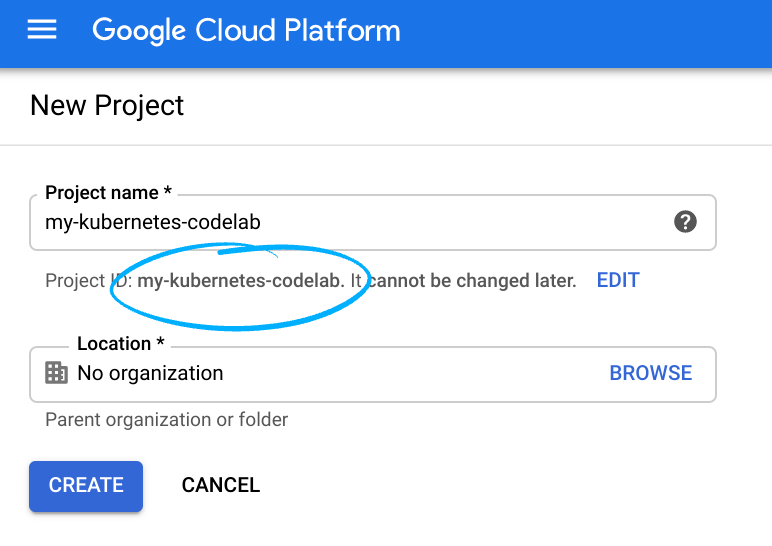
請記住專案 ID,這是所有 Google Cloud 專案中不重複的名稱 (上述名稱已遭占用,因此不適用於您,抱歉!)。本程式碼研究室稍後會將其稱為 PROJECT_ID。
- 接著,您必須在 Cloud 控制台中啟用帳單,才能使用 Google Cloud 資源。
完成這項程式碼研究室的費用不應超過數美元,但如果您決定使用更多資源,或是將資源繼續執行,則可能會增加費用。
Google Cloud 新使用者享有價值 $300 美元的免費試用期。
Cloud Shell
您將使用 Cloud Shell,這是 Google Cloud 中執行的指令列環境。
啟用 Cloud Shell
- 在 Cloud Shell 中,按一下「啟用 Cloud Shell」圖示
。

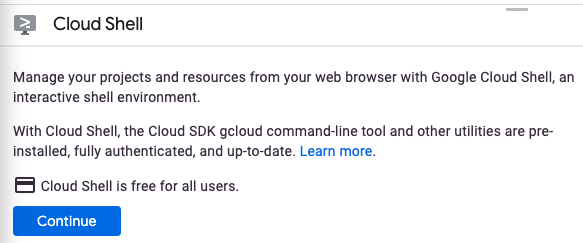
如果您從未啟動過 Cloud Shell,系統會顯示中間畫面 (摺疊式螢幕下方),說明 Cloud Shell 的用途。如果發生這種情況,請按一下「繼續」,之後就不會再看到這個畫面。一次性畫面如下所示:
佈建並連線至 Cloud Shell 的作業只需幾分鐘即可完成。

這部虛擬機器搭載各種您需要的開發工具,提供永久的 5 GB 主目錄,而且在 Google Cloud 中運作,可大幅提升網路效能和驗證功能。您只需使用瀏覽器或 Chromebook,即可完成本程式碼研究室的大部分 (甚至全部) 作業。
連線至 Cloud Shell 後,您應會發現自己通過驗證,且專案已設為您的專案 ID。
- 在 Cloud Shell 中執行下列指令,確認您已通過驗證:
gcloud auth list
指令輸出
 Credentialed Accounts
ACTIVE  ACCOUNT
*       <my_account>@<my_domain.com>

To set the active account, run:
$ gcloud config set account `ACCOUNT`gcloud config list project
指令輸出
[core]
project = <PROJECT_ID>
如未設定,請輸入下列指令設定專案:
gcloud config set project <PROJECT_ID>
指令輸出
Updated property [core/project].
啟動 Cloud Shell 後,您可以使用指令列,透過 Spring Initializr 產生新的 Spring Boot 應用程式。
$ curl https://start.spring.io/starter.tgz \
  -d bootVersion=2.1.8.RELEASE \
  -d dependencies=web \
  -d baseDir=gae-standard-example | tar -xzvf -
$ cd gae-standard-example
您可以透過兩種方式部署 Java 伺服器應用程式:使用 Maven App Engine 外掛程式或 Gradle App Engine 外掛程式,或是部署 war 套件目錄。您將使用 Maven App Engine 外掛程式部署應用程式。
新增 Maven App Engine 外掛程式
更新 pom.xml,加入可簡化部署程序的 Google Cloud 外掛程式。您可以使用 Vim、nano 或 Emacs 編輯檔案。
pom.xml
<?xml version="1.0" encoding="UTF-8"?>
<project xmlns="http://maven.apache.org/POM/4.0.0" ...>
  ...
  <build>
    <plugins>
      ...
      <plugin>
        <groupId>com.google.cloud.tools</groupId>
        <artifactId>appengine-maven-plugin</artifactId>
        <version>2.1.0</version>
        <configuration>
          <version>1</version>
          <projectId>GCLOUD_CONFIG</projectId>
        </configuration>
      </plugin>
      ...
    </plugins>
  </build>
</project>- 如要將應用程式部署至 App Engine 標準環境,您必須建立新的
src/main/appengine/app.yaml描述元檔案。
$ mkdir -p src/main/appengine/
$ touch src/main/appengine/app.yaml
- 編輯
src/main/appengine/app.yaml檔案,並新增下列內容:
src/main/appengine/app.yaml
runtime: java11
instance_class: F4新增在 DemoApplication.java 中傳回 "hello world!" 的控制器。
src/main/java/com/example/demo/DemoApplication.java
package com.example.demo;

...

// Add imports
import org.springframework.web.bind.annotation.*;

@SpringBootApplication
@RestController
public class DemoApplication {
  public static void main(String[] args) {
    SpringApplication.run(DemoApplication.class, args);
  }

  @GetMapping("/")
  public String hello() {
    return "hello world!";
  }
}- 您可以使用 Spring Boot 外掛程式啟動 Spring Boot 應用程式:
$ ./mvnw -DskipTests spring-boot:run
- 應用程式啟動後,請按一下 Cloud Shell 工具列中的「網頁預覽」
 ,然後選取「透過以下通訊埠預覽:8080」。

瀏覽器會開啟分頁,並連線至您啟動的伺服器。

- 首先,請初始化專案,以便執行 App Engine 應用程式。此外,請初始化專案,在美國中部區域執行。
$ gcloud app create --region us-central
You are creating an app for project [...].
WARNING: Creating an App Engine application for a project is irreversible and the region
cannot be changed. More information about regions is at
https://cloud.google.com/appengine/docs/locations
- 然後執行
mvn appengine:deploy,將應用程式部署至 App Engine 標準環境。
$ ./mvnw -DskipTests package appengine:deploy
... first time deploy may take a couple of minutes
- 應用程式部署完成後,您可以在網頁瀏覽器中開啟 http://<project-id>.appspot.com 網址,或在 Cloud Shell 中使用下列指令,即可存取應用程式:
$ gcloud app browse
... [It may print out the URL for your app]
您已學會編寫第一個 App Engine 網頁應用程式!