Page Summary
-
This project provides a simple Glassware demonstration of the Google Mirror API's main features.
-
To get started, you'll need the App Engine SDK for Python.
-
The process involves creating a Google App Engine instance and a Google APIs Console project with the Google Mirror API enabled.
-
You'll need to configure the quick start project with your API client information and deploy it to your App Engine instance.
This project shows you how to implement a simple piece of Glassware that demos the major functionality of the Google Mirror API.
To see a fully-working demo of the quick start project, go to https://glass-python-starter-demo.appspot.com. Otherwise, read on to see how to deploy your own version.
Prerequisites
The App Engine SDK for Python - The Python quick start project is implemented using App Engine. You need the Python App Engine SDK to develop and deploy your project. Run the installer if appropriate for your platform, or extract the zip file in a convenient place.
Creating a Google App Engine instance
You'll need to host the quick start project on an instance of Google App Engine:
- Go to http://appspot.com.
- Click Create Application and create a public Google App Engine instance hosted on
appspot.com. - Give the application an Application Identifier and leave the authentication Open to all Google Accounts users. You'll need the application identifier later to configure the quick start project.
Creating a Google APIs Console project
Next, enable access to the Google Mirror API:
- Go to the Google APIs console and create a new API project.
- Click Services and enable the Google Mirror API for your new project.

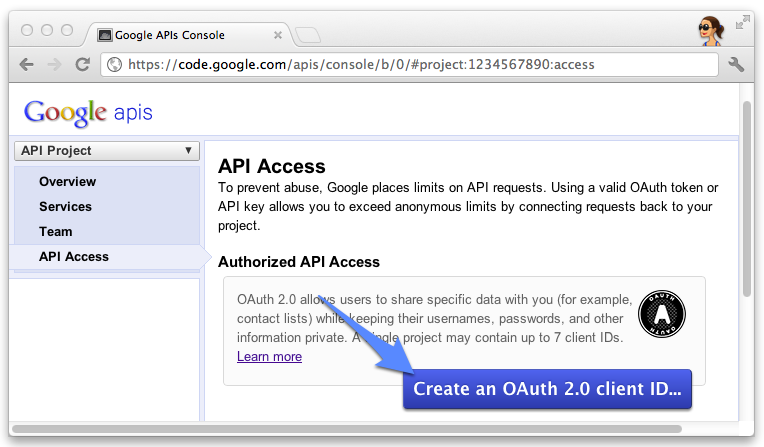
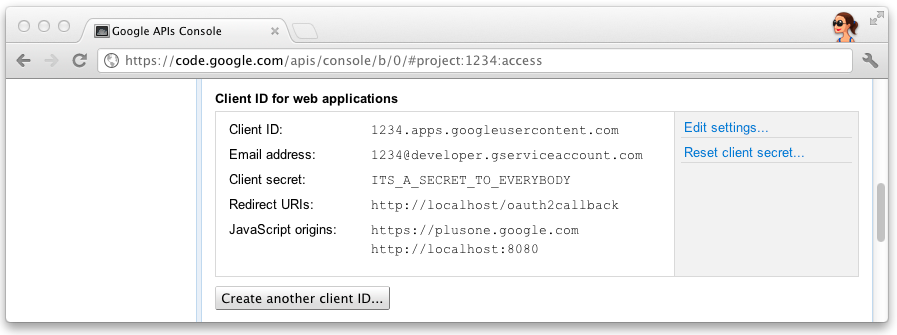
- Click API Access and create an OAuth 2.0 client ID for a web application.
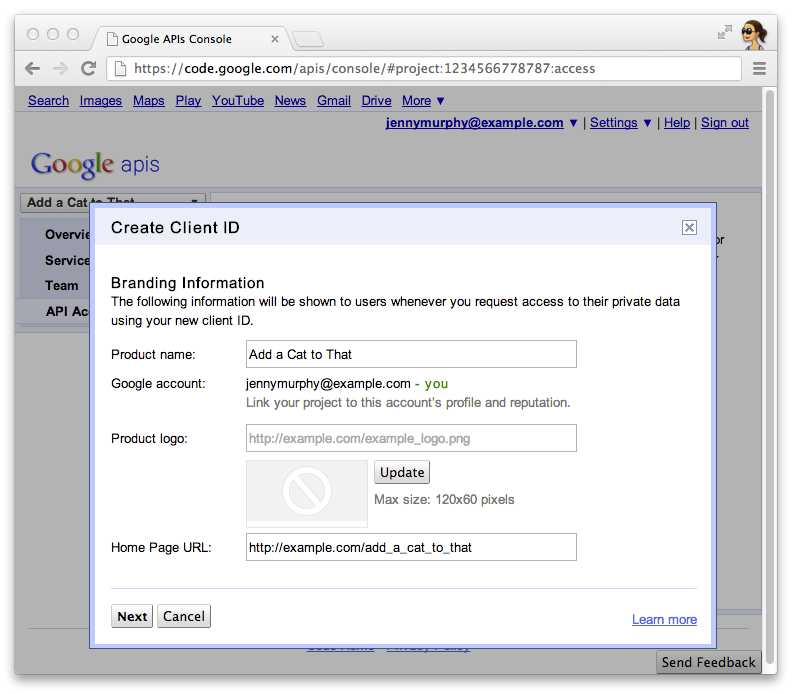
- Specify the product name and icon for your Glassware. These fields appear on the OAuth grant
screen presented to your users.
- Select Web application and specify any value for the hostname, such as
localhost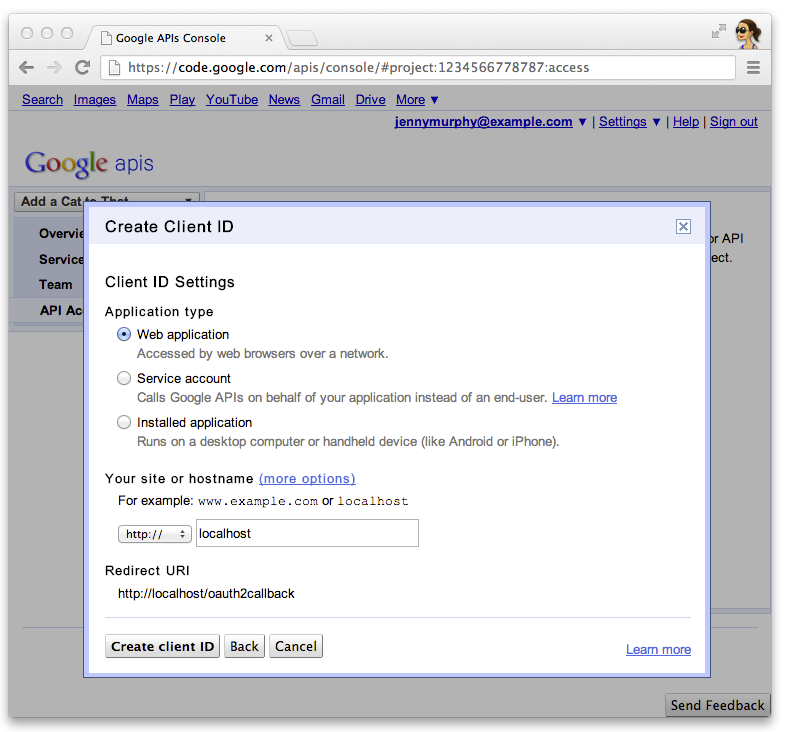
- Click Edit settings... for the client ID to specify redirect URIs. Specify
http://localhost:8080/oauth2callbackand the callback URL for your App Engine instance, for example,https://myappengineinstance.appspot.com/oauth2callback.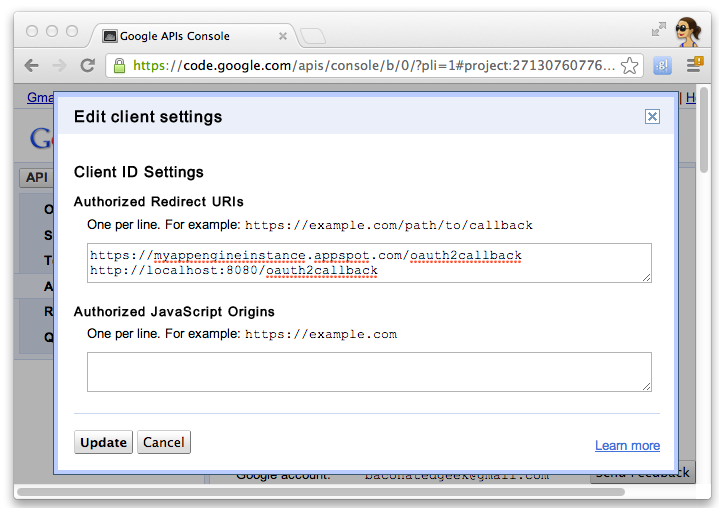
- Make note of the client ID and secret from the Google APIs Console. You'll need
it to configure the quick start project.
Configuring the project
Configure the Quick Start project to use your API client information:
- Enter your client ID and secret in
client_secrets.json:{ "web": { "client_id": "1234.apps.googleusercontent.com", "client_secret": "ITS_A_SECRET_TO_EVERYBODY", "redirect_uris": [ ], "auth_uri": "https://accounts.google.com/o/oauth2/auth", "token_uri": "https://accounts.google.com/o/oauth2/token" } }
- Generate a
session.secretfile to store session cookies:$ python -c "import os; print os.urandom(64)" > session.secret
- Edit
app.yamlto enter your App Engine application ID:application: your_app_engine_application_id version: 1 runtime: python27 api_version: 1 threadsafe: true ...
Deploying the project
Press the blue Deploy button in the App Engine Launch GUI interface or run this shell command to deploy your code:
$ appcfg.py --oauth2 update .