
이 Codelab에서는 CameraX를 사용하여 뷰파인더를 표시하고, 사진을 찍고, 카메라에서 이미지 스트림을 분석하는 카메라 앱을 만드는 방법을 알아봅니다.
이를 위해 뷰파인더 표시부터 프레임 실시간 분석에 이르기까지 다양한 카메라 작업에 사용할 수 있는 사용 사례 개념을 CameraX에 도입합니다.
학습할 내용
- CameraX 종속 항목을 추가하는 방법
- 활동에서 카메라 미리보기를 표시하는 방법 (미리보기 사용 사례)
- 사진을 촬영하여 저장소에 저장하는 방법 (ImageCapture 사용 사례)
- 실시간으로 카메라의 프레임을 분석하는 방법 (ImageAnalysis 사용 사례)
필요한 하드웨어
- Android 기기(Android 스튜디오의 에뮬레이터도 괜찮음) 지원되는 최소 API 수준은 21입니다.
필요한 소프트웨어
- Android 스튜디오 3.3 이상
Android 스튜디오 메뉴를 사용하여 새 프로젝트를 시작하고 메시지가 표시되면 Empty Activity를 선택합니다.

다음으로 원하는 이름을 선택할 수 있습니다. 여기서는 'CameraX App'을 선택했습니다. 언어가 Kotlin으로 설정되어 있고, 최소 API 수준이 21 (CameraX에 필요한 최소 수준)이며, AndroidX 아티팩트를 사용하는지 확인해야 합니다.

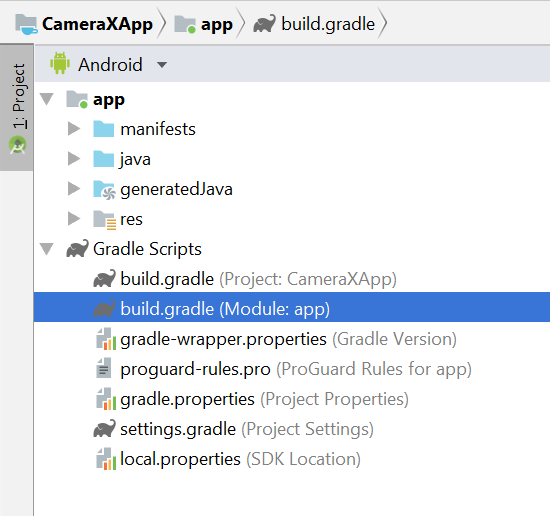
시작하려면 dependencies 섹션 내의 앱 Gradle 파일에 CameraX 종속 항목을 추가합니다.
// Use the most recent version of CameraX, currently that is alpha04
def camerax_version = "1.0.0-alpha04"
implementation "androidx.camera:camera-core:${camerax_version}"
implementation "androidx.camera:camera-camera2:${camerax_version}"
메시지가 표시될 때 Sync Now를 클릭하면 앱에서 CameraX를 사용할 수 있습니다.
SurfaceTexture를 사용하여 카메라 뷰파인더를 표시합니다. 이 Codelab에서는 고정 크기의 정사각형 형식으로 뷰파인더를 표시합니다. 반응형 뷰파인더를 보여주는 더 포괄적인 예는 공식 샘플을 확인하세요.
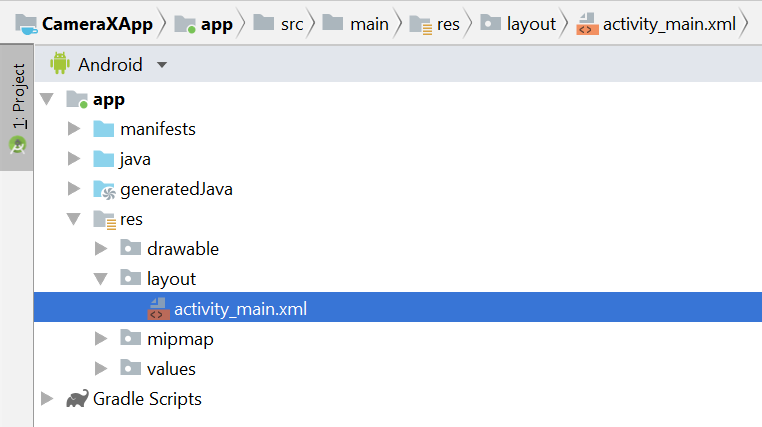
res > layout > activity_main.xml에서 activity_main 레이아웃 파일을 수정해 보겠습니다.
<?xml version="1.0" encoding="utf-8"?>
<androidx.constraintlayout.widget.ConstraintLayout
        xmlns:android="http://schemas.android.com/apk/res/android"
        xmlns:tools="http://schemas.android.com/tools"
        xmlns:app="http://schemas.android.com/apk/res-auto"
        android:layout_width="match_parent"
        android:layout_height="match_parent"
        tools:context=".MainActivity">

    <TextureView
            android:id="@+id/view_finder"
            android:layout_width="640px"
            android:layout_height="640px"
            app:layout_constraintTop_toTopOf="parent"
            app:layout_constraintBottom_toBottomOf="parent"
            app:layout_constraintStart_toStartOf="parent"
            app:layout_constraintEnd_toEndOf="parent" />

</androidx.constraintlayout.widget.ConstraintLayout>
카메라를 사용하는 프로젝트에 기능을 추가하는 데 있어 중요한 부분은 적절한 카메라 권한을 요청하는 것입니다. 먼저 Application 태그 앞에 매니페스트에서 선언해야 합니다.
<uses-permission android:name="android.permission.CAMERA" />그런 다음 MainActivity 내에서 런타임에 권한을 요청해야 합니다. java > com.example.cameraxapp > MainActivity.kt 아래의 MainActivity 파일에서 변경사항을 적용합니다.

파일 상단에서 MainActivity 클래스 정의 외부에 다음 상수와 가져오기를 추가합니다.
// Your IDE likely can auto-import these classes, but there are several
// different implementations so we list them here to disambiguate
import android.Manifest
import android.util.Size
import android.graphics.Matrix
import java.util.concurrent.TimeUnit

// This is an arbitrary number we are using to keep tab of the permission
// request. Where an app has multiple context for requesting permission,
// this can help differentiate the different contexts
private const val REQUEST_CODE_PERMISSIONS = 10

// This is an array of all the permission specified in the manifest
private val REQUIRED_PERMISSIONS = arrayOf(Manifest.permission.CAMERA)
MainActivity 클래스 내부에 권한을 요청하고 모든 권한이 부여된 것을 알게 되면 코드를 트리거하는 데 사용되는 다음 필드와 도우미 메서드를 추가합니다.
class MainActivity : AppCompatActivity(), LifecycleOwner {

    override fun onCreate(savedInstanceState: Bundle?) {
        ...
    }

    // Add this after onCreate

    private lateinit var viewFinder: TextureView

    private fun startCamera() {
        // TODO: Implement CameraX operations
    }

    private fun updateTransform() {
        // TODO: Implement camera viewfinder transformations
    }

    /**
     * Process result from permission request dialog box, has the request
     * been granted? If yes, start Camera. Otherwise display a toast
     */
    override fun onRequestPermissionsResult(
        requestCode: Int, permissions: Array<String>, grantResults: IntArray) {
        if (requestCode == REQUEST_CODE_PERMISSIONS) {
            if (allPermissionsGranted()) {
                viewFinder.post { startCamera() }
            } else {
                Toast.makeText(this,
                    "Permissions not granted by the user.",
                    Toast.LENGTH_SHORT).show()
                finish()
            }
        }
    }

    /**
     * Check if all permission specified in the manifest have been granted
     */
    private fun allPermissionsGranted() = REQUIRED_PERMISSIONS.all {
        ContextCompat.checkSelfPermission(
               baseContext, it) == PackageManager.PERMISSION_GRANTED
    }
}
마지막으로 onCreate 내부에 모든 것을 넣어 적절한 경우 권한 요청을 트리거합니다.
override fun onCreate(savedInstanceState: Bundle?) {
    ...

    // Add this at the end of onCreate function

    viewFinder = findViewById(R.id.view_finder)

    // Request camera permissions
    if (allPermissionsGranted()) {
        viewFinder.post { startCamera() }
    } else {
        ActivityCompat.requestPermissions(
            this, REQUIRED_PERMISSIONS, REQUEST_CODE_PERMISSIONS)
    }

    // Every time the provided texture view changes, recompute layout
    viewFinder.addOnLayoutChangeListener { _, _, _, _, _, _, _, _, _ ->
        updateTransform()
    }
}
이제 애플리케이션이 시작되면 적절한 카메라 권한이 있는지 확인합니다. 지원하는 경우 `startCamera()` 를 직접 호출합니다. 그렇지 않으면 권한을 요청하고 권한이 부여되면 `startCamera()`를 호출합니다.
대부분의 카메라 애플리케이션에서 사용자에게 뷰파인더를 표시하는 것은 매우 중요합니다. 그렇지 않으면 사용자가 카메라를 올바른 위치로 향하기가 매우 어렵습니다. CameraX `Preview` 클래스를 사용하여 뷰파인더를 구현할 수 있습니다.
미리보기를 사용하려면 먼저 구성을 정의해야 이를 사용하여 사용 사례 인스턴스를 만들 수 있습니다. 결과 인스턴스는 CameraX 수명 주기에 바인딩해야 하는 대상입니다. 이 작업은 `startCamera()` 메서드 내에서 진행합니다. 다음 코드로 구현을 작성합니다.
private fun startCamera() {

    // Create configuration object for the viewfinder use case
    val previewConfig = PreviewConfig.Builder().apply {
        setTargetAspectRatio(Rational(1, 1))
        setTargetResolution(Size(640, 640))
    }.build()

    // Build the viewfinder use case
    val preview = Preview(previewConfig)

    // Every time the viewfinder is updated, recompute layout
    preview.setOnPreviewOutputUpdateListener {

        // To update the SurfaceTexture, we have to remove it and re-add it
        val parent = viewFinder.parent as ViewGroup
        parent.removeView(viewFinder)
        parent.addView(viewFinder, 0)

        viewFinder.surfaceTexture = it.surfaceTexture
        updateTransform()
    }

    // Bind use cases to lifecycle
    // If Android Studio complains about "this" being not a LifecycleOwner
    // try rebuilding the project or updating the appcompat dependency to
    // version 1.1.0 or higher.
    CameraX.bindToLifecycle(this, preview)
}
이제 알 수 없는 `updateTransform()` 메서드를 구현해야 합니다. `updateTransform()` 내에서 목표는 기기 방향의 변경사항을 보정하여 뷰파인더를 똑바로 회전하여 표시하는 것입니다.
private fun updateTransform() {
    val matrix = Matrix()

    // Compute the center of the view finder
    val centerX = viewFinder.width / 2f
    val centerY = viewFinder.height / 2f

    // Correct preview output to account for display rotation
    val rotationDegrees = when(viewFinder.display.rotation) {
        Surface.ROTATION_0 -> 0
        Surface.ROTATION_90 -> 90
        Surface.ROTATION_180 -> 180
        Surface.ROTATION_270 -> 270
        else -> return
    }
    matrix.postRotate(-rotationDegrees.toFloat(), centerX, centerY)

    // Finally, apply transformations to our TextureView
    viewFinder.setTransform(matrix)
}
프로덕션 준비가 완료된 앱을 구현하려면 공식 샘플을 참고하여 처리해야 하는 다른 사항을 확인하세요. 이 Codelab을 간결하게 유지하기 위해 몇 가지 단축키를 사용합니다. 예를 들어 레이아웃 변경 리스너를 트리거하지 않는 180도 기기 회전과 같은 일부 구성 변경사항은 추적하지 않습니다. 정사각형이 아닌 뷰파인더는 기기가 회전할 때 가로세로 비율이 변경되는 것을 보정해야 합니다.
앱을 빌드하고 실행하면 이제 라이브 미리보기가 표시됩니다. 좋은 소식입니다.

사용자가 이미지를 캡처할 수 있도록 res > layout > activity_main.xml의 텍스처 뷰 뒤에 레이아웃의 일부로 버튼을 제공합니다.
<ImageButton
        android:id="@+id/capture_button"
        android:layout_width="72dp"
        android:layout_height="72dp"
        android:layout_margin="24dp"
        app:srcCompat="@android:drawable/ic_menu_camera"
        app:layout_constraintBottom_toBottomOf="parent"
        app:layout_constraintEnd_toEndOf="parent"
        app:layout_constraintStart_toStartOf="parent" />
다른 사용 사례는 미리보기와 매우 유사한 방식으로 작동합니다. 먼저 실제 사용 사례 객체를 인스턴스화하는 데 사용되는 구성 객체를 정의해야 합니다. 캡처 버튼을 누르면 사진을 캡처하기 위해 `startCamera()` 메서드를 업데이트하고 CameraX.bindToLifecycle 호출 전에 코드 몇 줄을 끝에 추가해야 합니다.
private fun startCamera() {
...
// Add this before CameraX.bindToLifecycle
// Create configuration object for the image capture use case
val imageCaptureConfig = ImageCaptureConfig.Builder()
.apply {
setTargetAspectRatio(Rational(1, 1))
// We don't set a resolution for image capture; instead, we
// select a capture mode which will infer the appropriate
// resolution based on aspect ration and requested mode
setCaptureMode(ImageCapture.CaptureMode.MIN_LATENCY)
}.build()
// Build the image capture use case and attach button click listener
val imageCapture = ImageCapture(imageCaptureConfig)
findViewById<ImageButton>(R.id.capture_button).setOnClickListener {
val file = File(externalMediaDirs.first(),
"${System.currentTimeMillis()}.jpg")
imageCapture.takePicture(file,
object : ImageCapture.OnImageSavedListener {
override fun onError(error: ImageCapture.UseCaseError,
message: String, exc: Throwable?) {
val msg = "Photo capture failed: $message"
Toast.makeText(baseContext, msg, Toast.LENGTH_SHORT).show()
Log.e("CameraXApp", msg)
exc?.printStackTrace()
}
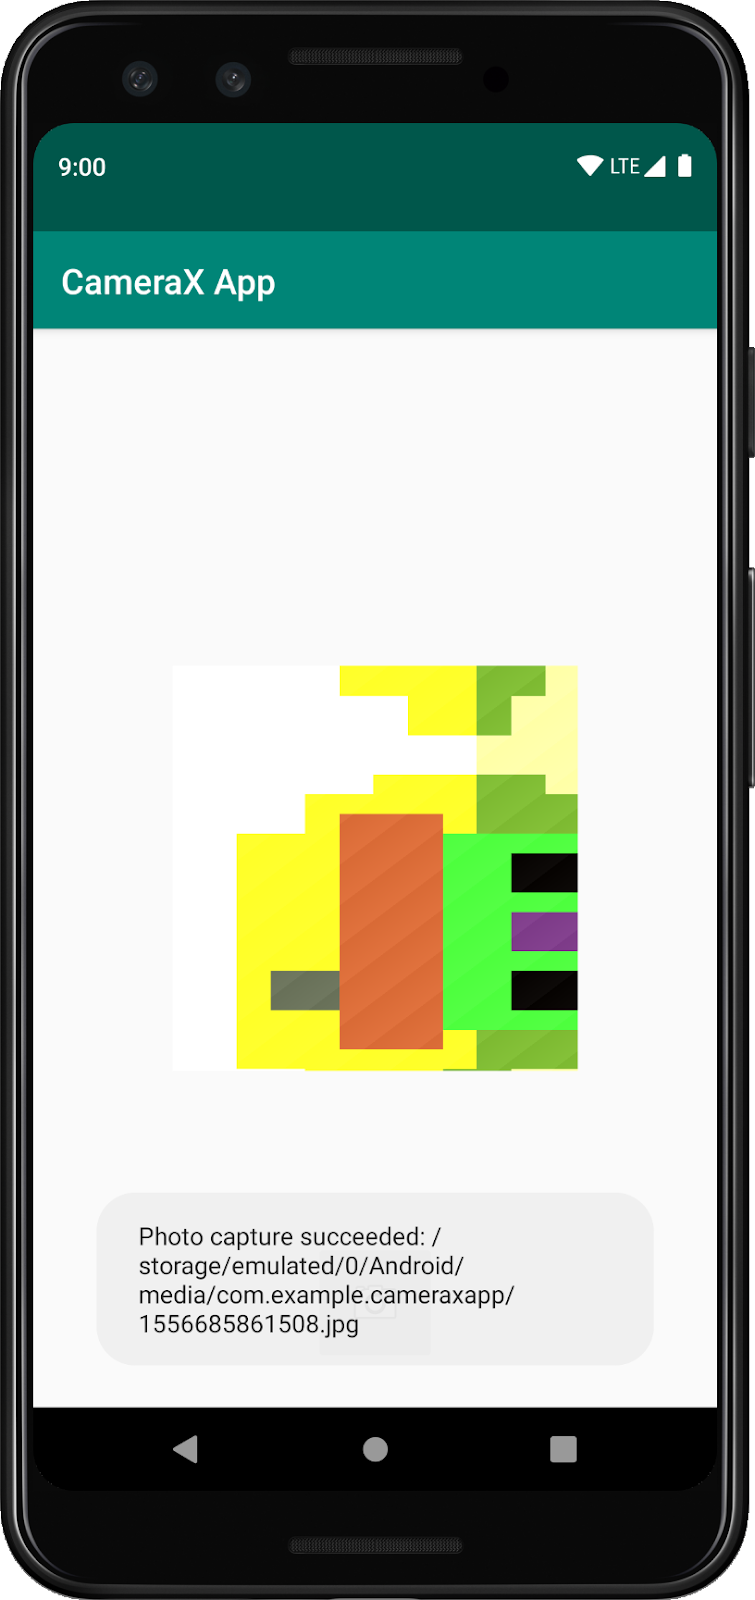
override fun onImageSaved(file: File) {
val msg = "Photo capture succeeded: ${file.absolutePath}"
Toast.makeText(baseContext, msg, Toast.LENGTH_SHORT).show()
Log.d("CameraXApp", msg)
}
})
}
// Bind use cases to lifecycle
// If Android Studio complains about "this" being not a LifecycleOwner
// try rebuilding the project or updating the appcompat dependency to
// version 1.1.0 or higher.
CameraX.bindToLifecycle(this, preview)
}그런 다음 새 사용 사례를 포함하도록 CameraX.bindToLifecycle 호출을 업데이트합니다.
CameraX.bindToLifecycle(this, preview, imageCapture)이렇게 하면 기능적인 사진 촬영 버튼이 구현됩니다.

CameraX의 매우 흥미로운 기능은 ImageAnalysis 클래스입니다. 이를 통해 ImageAnalysis.Analyzer 인터페이스를 구현하고, 수신되는 카메라 프레임으로 호출되는 맞춤 클래스를 정의할 수 있습니다. CameraX의 핵심 비전에 따라 카메라 세션 상태를 관리하거나 이미지를 삭제할 필요가 없습니다. 다른 수명 주기 인식 구성요소와 마찬가지로 앱에서 원하는 수명 주기에 바인딩하는 것으로 충분합니다.
먼저 맞춤 이미지 분석기를 구현합니다. 분석기는 매우 간단합니다. 이미지의 평균 휘도 (광도)만 기록하지만 임의로 복잡한 사용 사례에 필요한 작업을 보여줍니다. ImageAnalysis.Analyzer 인터페이스를 구현하는 클래스에서 `analyze` 함수를 재정의하기만 하면 됩니다. MainActivity 내에서 구현을 내부 클래스로 정의할 수 있습니다.
private class LuminosityAnalyzer : ImageAnalysis.Analyzer {
    private var lastAnalyzedTimestamp = 0L

    /**
     * Helper extension function used to extract a byte array from an
     * image plane buffer
     */
    private fun ByteBuffer.toByteArray(): ByteArray {
        rewind()    // Rewind the buffer to zero
        val data = ByteArray(remaining())
        get(data)   // Copy the buffer into a byte array
        return data // Return the byte array
    }

    override fun analyze(image: ImageProxy, rotationDegrees: Int) {
        val currentTimestamp = System.currentTimeMillis()
        // Calculate the average luma no more often than every second
        if (currentTimestamp - lastAnalyzedTimestamp >=
            TimeUnit.SECONDS.toMillis(1)) {
            // Since format in ImageAnalysis is YUV, image.planes[0]
            // contains the Y (luminance) plane
            val buffer = image.planes[0].buffer
            // Extract image data from callback object
            val data = buffer.toByteArray()
            // Convert the data into an array of pixel values
            val pixels = data.map { it.toInt() and 0xFF }
            // Compute average luminance for the image
            val luma = pixels.average()
            // Log the new luma value
            Log.d("CameraXApp", "Average luminosity: $luma")
            // Update timestamp of last analyzed frame
            lastAnalyzedTimestamp = currentTimestamp
        }
    }
}
ImageAnalysis.Analyzer 인터페이스를 구현하는 클래스를 사용하면 다른 모든 사용 사례와 마찬가지로 ImageAnalysis를 인스턴스화하고 CameraX.bindToLifecycle 호출 전에 `startCamera()` 함수를 다시 한번 업데이트하기만 하면 됩니다.
private fun startCamera() {

    ...

    // Add this before CameraX.bindToLifecycle

    // Setup image analysis pipeline that computes average pixel luminance
    val analyzerConfig = ImageAnalysisConfig.Builder().apply {
        // Use a worker thread for image analysis to prevent glitches
        val analyzerThread = HandlerThread(
            "LuminosityAnalysis").apply { start() }
        setCallbackHandler(Handler(analyzerThread.looper))
        // In our analysis, we care more about the latest image than
        // analyzing *every* image
        setImageReaderMode(
            ImageAnalysis.ImageReaderMode.ACQUIRE_LATEST_IMAGE)
    }.build()

    // Build the image analysis use case and instantiate our analyzer
    val analyzerUseCase = ImageAnalysis(analyzerConfig).apply {
        analyzer = LuminosityAnalyzer()
    }

    // Bind use cases to lifecycle
    // If Android Studio complains about "this" being not a LifecycleOwner
    // try rebuilding the project or updating the appcompat dependency to
    // version 1.1.0 or higher.
    CameraX.bindToLifecycle(this, preview, imageCapture)
}
또한 새 사용 사례를 바인딩하도록 CameraX.bindtoLifecycle 호출을 업데이트합니다.
CameraX.bindToLifecycle(
    this, preview, imageCapture, analyzerUseCase)
이제 앱을 실행하면 약 1초마다 logcat에 다음과 유사한 메시지가 생성됩니다.
D/CameraXApp: Average luminosity: ...앱을 테스트하려면 Android 스튜디오에서 Run 버튼을 클릭하기만 하면 됩니다. 그러면 선택한 기기나 에뮬레이터에서 프로젝트가 빌드, 배포, 실행됩니다. 앱이 로드되면 뷰파인더가 표시됩니다. 뷰파인더는 이전에 추가한 방향 처리 코드 덕분에 기기를 회전해도 똑바로 유지되며 버튼을 사용하여 사진을 찍을 수도 있습니다.
코드 실습을 완료했습니다. 지금까지 새 Android 앱에 다음 사항을 처음부터 구현했습니다.
- 프로젝트에 CameraX 종속 항목을 포함했습니다.
- 카메라 뷰파인더를 표시했습니다 (미리보기 사용 사례 사용).
- 사진 캡처, 저장소에 이미지 저장 (ImageCapture 사용 사례 사용) 구현
- ImageAnalysis 사용 사례를 사용하여 카메라의 프레임 분석을 실시간으로 구현했습니다.