
This codelab is part of the Advanced Android in Kotlin course. You'll get the most value out of this course if you work through the codelabs in sequence, but it is not mandatory. All the course codelabs are listed on the Advanced Android in Kotlin codelabs landing page.
Introduction
When building an Android app, there are many benefits that can come from supporting login for your users. By allowing users to create an identity within your app, you can provide them with more ways to engage with the app.
With personalized accounts, users can customize their in-app experience, engage with other users, and have their data persisted and transferred if they're using the app on another device (such as web or a new phone).
In this codelab, you will learn the basics of how to support login for your app using the FirebaseUI library. Among many other things, the FirebaseUI library makes it straightforward for developers who want to build a login flow, and handles the work of managing user accounts for you.
What you should already know
- Fundamentals of how to build an Android app
- LiveData and ViewModel
What you'll learn
- How to add Firebase to your project
- How to support login for your Android app
- How to observe the current authentication status of your app
- How to log out users
What you'll do
- Use the Firebase console to integrate Firebase in your app.
- Implement the login feature.
- Add customizations in the app for users who are logged in.
- Implement logging out users.
Learn more about LiveData and ViewModel
For the app in this codelab, you need a basic understanding of LiveData and ViewModel. Read through the LiveData and ViewModel overviews if you want a brief overview of these concepts.
You can also go through the Developing Android Apps with Kotlin course to learn about fundamental Android topics that you'll encounter as part of this codelab. That course is available as both a Udacity course and a codelabs course.
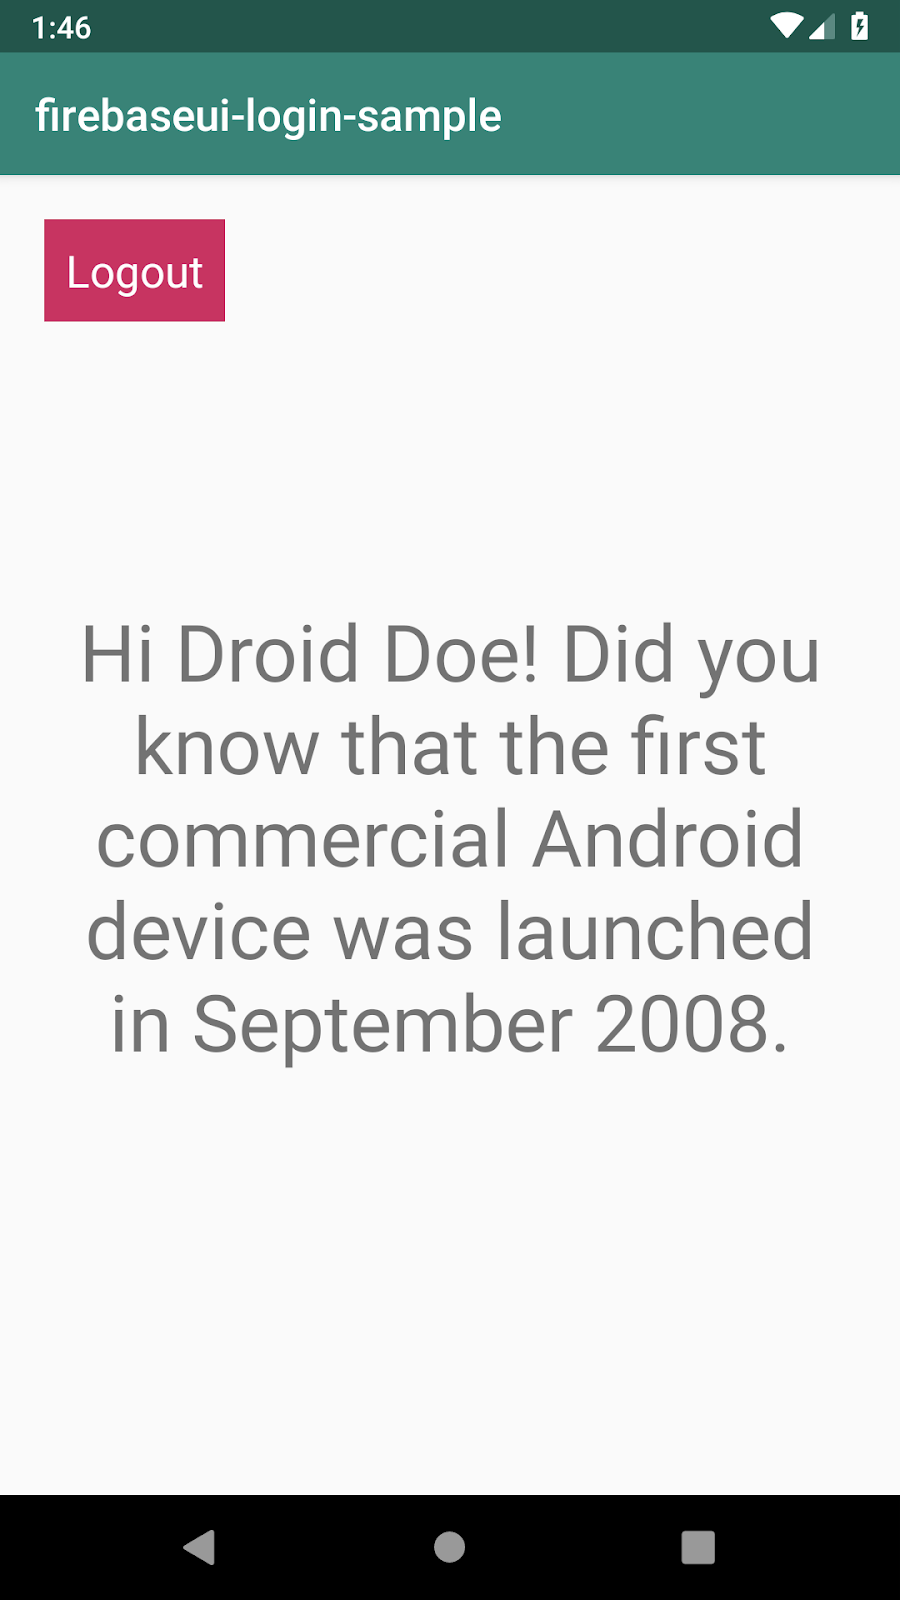
In this codelab, you'll build an app that displays fun Android facts. More importantly, the app will have a Login/Logout button. When the user is logged into the app, any displayed Android fact will include a greeting for the user as a way to add a touch of personalization.

Download the sample app, you can either:
... or clone the GitHub repository from the command line by using the following command and switch to the start branch of the repo:
$ git clone https://github.com/googlecodelabs/android-kotlin-login
Important: Since you will be integrating the app to use Firebase, the starter app requires some setup in order for it to build and run. You'll be doing that in the next step of the codelab.
Step 1: Create a Firebase project
Before you can add Firebase to your Android app, you need to create a Firebase project to connect to your Android app.
- In the Firebase console, click Add project.
- Select or enter a Project name. You can name your project anything, but try to pick a name relevant to the app you're building.
- Click Continue.
- You can skip setting up Google Analytics and chose the Not Right Now option.
- Click Create Project to finish setting up the Firebase project.
Step 2: Register your app with Firebase
Now that you have a Firebase project, you can add your Android app to it.
- In the center of the Firebase console's project overview page, click the Android icon to launch the setup workflow.
- Enter your app's application ID in the Android package name field. Make sure you enter the ID your app is using, since you cannot add or modify this value after you've registered your app with your Firebase project.
- An application ID is sometimes referred to as a package name.
- Find this application ID in your module (app-level) Gradle file, usually
app/build.gradle(example ID:com.yourcompany.yourproject). - Enter the debug signing certificate SHA-1. You can generate this key by entering the following command in your command line terminal.
keytool -alias androiddebugkey -keystore ~/.android/debug.keystore -list -v -storepass android
- Click Register app.
Step 3: Add the Firebase configuration file to your project
Add the Firebase Android configuration file to your app:
- Click Download google-services.json to obtain your Firebase Android config file (
google-services.json).
- You can download your Firebase Android config file again at any time.
- Make sure the config file is not appended with additional characters and should only be named
google-services.json
- Move your config file into the module (app-level) directory of your app.
Step 4: Configure your Android project to enable Firebase products
- To enable Firebase products in your app, add the google-services plugin to your Gradle files.
- In your root-level (project-level) Gradle file (
build.gradle), add rules to include the Google Services plugin. Check that you have Google's Maven repository, as well.
build.gradle
buildscript {

  repositories {
    // Check that you have the following line (if not, add it):
    google()  // Google's Maven repository
  }

  dependencies {
    // ...

    // Add the following line:
    classpath 'com.google.gms:google-services:4.3.0'  // Google Services plugin
  }
}

allprojects {
  // ...

  repositories {
    // Check that you have the following line (if not, add it):
    google()  // Google's Maven repository
    // ...
  }
}- In your module (app-level) Gradle file (usually
app/build.gradle), add a line to the bottom of the file.
app/build.gradle
apply plugin: 'com.android.application'

android {
  // ...
}

// Add the following line to the bottom of the file:
apply plugin: 'com.google.gms.google-services'  // Google Play services Gradle plugin
Step 4: Add Firebase dependency
In this codelab the main reason for integrating Firebase is to have a way to create and manage users. For this, you need to add a Firebase library that enables you to implement login.
- Add the following dependency in your
build.gradle (Module:app)file so that you can use the SDK in your app. Thefirebase-authSDK allows management of authenticated users of your application.
app/build.gradle:
implementation 'com.firebaseui:firebase-ui-auth:5.0.0'- Sync your project with gradle files to make sure that all dependencies are available to your app. If not prompted, elect File > Sync Project with Gradle Files in Android Studio, or from the toolbar.
Step 5: Run the app and inspect the code
- Run the app on an emulator or physical device to ensure that your environment is successfully set up to start development.
If successful, you should see the home screen display a fun Android fact and a login button on the top left corner. Tapping the login button doesn't do anything just yet.
At a high level, this is a single activity app with multiple fragments. The MainFragment contains all the UI you see on the screen below. (You'll be working with the LoginFragment and the SettingsFragment in a followup codelab.)
- Familiarize yourself with the code. In particular, notice:
FirebaseUserLiveDatais the class you will be implementing in order to observe the current Firebase user associated with the app. You will use theFirebaseAuthinstance as an entry point to get this user information in a later step.- The
MainFragmentis tied to theLoginViewModel.LoginViewModelis the class you will be implementing in order utilizeFirebaseUserLiveDatato create anauthenticationStatevariable. Using thisauthenticationStatevariable,MainFragmentcan then observe the value to update the UI accordingly.
In this step you'll use the Firebase Console to set up the authentication methods you want your app to support. For this codelab, you will focus on letting users login with an email address they provide or their Google account.
- Navigate to the Firebase console. (Note: If you are still in the Add Firebase workflow, click the X in the top left corner to return to the console.
- Select your project, if you are not already in your project.
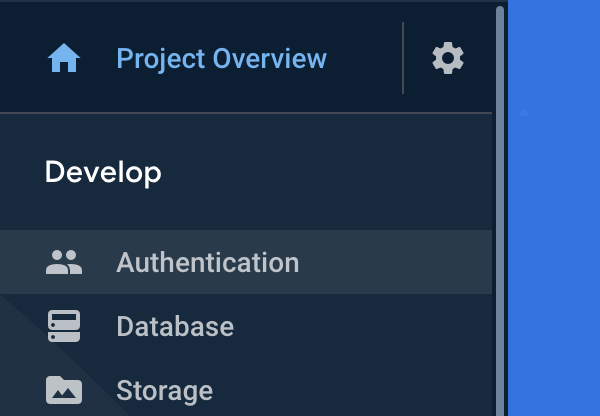
- Open the left-hand navigation and select Develop > Authentication.
- Select the Sign-in method tab on the top navigation bar.

- Click on the Email/Password row.
- In the popup, toggle the Enabled switch and click Save.
- Likewise, click on the Google row.
- Toggle the Enabled switch, enter a Project support email, and click Save.
In this task you'll implement the login feature for your users.
- Open
MainFragment.kt. - In the
MainFragment's layout, notice theauth_button. It's currently not set up to handle any user input. - In
onViewCreated(),add anonClickListenertoauth_buttonto calllaunchSignInFlow().
MainFragment.kt
binding.authButton.setOnClickListener { launchSignInFlow() }- Look for the
launchSignInFlow()method inMainFragment.kt. It currently contains aTODO. - Complete the
launchSignInFlow()function as shown below.
MainFragment.kt
private fun launchSignInFlow() {
   // Give users the option to sign in / register with their email or Google account.
   // If users choose to register with their email,
   // they will need to create a password as well.
   val providers = arrayListOf(
       AuthUI.IdpConfig.EmailBuilder().build(), AuthUI.IdpConfig.GoogleBuilder().build()

       // This is where you can provide more ways for users to register and
       // sign in.
   )

   // Create and launch sign-in intent.
   // We listen to the response of this activity with the
   // SIGN_IN_REQUEST_CODE
   startActivityForResult(
       AuthUI.getInstance()
           .createSignInIntentBuilder()
           .setAvailableProviders(providers)
           .build(),
       MainFragment.SIGN_IN_REQUEST_CODE
   )
}
This allows users to register and sign in with their email address or Google account. If the user chooses to register with their email address, the email and password combination they create is unique for your app. That means they will be able to login to your app with the email address and password combination, but it doesn't mean they can also login to any other Firebase supported app by with the same credentials.
- In
MainFragment.kt, you can listen for the result of the sign-in process by implementing theonActivityResult()method, as shown below. Since you started the sign in process withSIGN_IN_REQUEST_CODE, you can also listen to the result of the sign in process by filtering for whenSIGN_IN_REQUEST_CODEis passed back toonActivityResult(). Start by having some log statements to know whether the user has signed in successfully.
MainFragment.kt
override fun onActivityResult(requestCode: Int, resultCode: Int, data: Intent?) {
   super.onActivityResult(requestCode, resultCode, data)
   if (requestCode == SIGN_IN_REQUEST_CODE) {
       val response = IdpResponse.fromResultIntent(data)
       if (resultCode == Activity.RESULT_OK) {
           // User successfully signed in
           Log.i(TAG, "Successfully signed in user ${FirebaseAuth.getInstance().currentUser?.displayName}!")
       } else {
           // Sign in failed. If response is null the user canceled the
           // sign-in flow using the back button. Otherwise check
           // response.getError().getErrorCode() and handle the error.
           Log.i(TAG, "Sign in unsuccessful ${response?.error?.errorCode}")
       }
   }
}
Your app should now be able to handle registering and logging in users!
- Run the app and verify that tapping on the Login button brings up the login screen.
- You can now sign in with your email address and a password, or with your Google account.
- There will be no change in the UI after you login (you'll implement updating the UI in the next step), but if everything is working correctly, you should see the log message
Successfully signed in user ${your name}!after you go through the registration flow. - You can also go into the Firebase console and navigate to Develop > Authentication > Users to check that the app now has one registered user.
- Note that when users create an account for your app, this account is tied specifically to your app only, and not to any app that uses Firebase for the login functionality.
In this task, you'll implement updating the UI based on the authentication state. When the user is logged in, you can personalize their home screen by displaying their name. You will also update the Login button to be a Logout button when the user is logged in.
- Open the he
FirebaseUserLiveData.ktclass, which has already been created for you. The first thing you need to do is provide a way for other classes in the app to know when a user has logged in or out. However, the class doesn't do anything yet as the value of theLiveDataisn't being updated. - Since you are using the
FirebaseAuthlibrary, you can listen to changes to the logged in user with theFirebaseUser.AuthStateListenercallback that's implemented for you as part of the FirebaseUI library. This callback gets triggered whenever a user logs in or out of your app. - Notice that
FirebaseUserLiveData.ktdefines theauthStateListenervariable. You will use this variable to store the value of theLiveData. TheauthStateListenervariable was created so that you can properly start and stop listening to changes in the auth state based on the state of your application. For example, if the user puts the app into the background, then the app should stop listening to auth state changes in order to prevent any potential memory leaks. - Update
authStateListenerso that the value of yourFirebaseUserLiveDatacorresponds to the current Firebase user.
FirebaseUserLiveData.kt
private val authStateListener = FirebaseAuth.AuthStateListener { firebaseAuth ->
   value = firebaseAuth.currentUser
}- Open
LoginViewModel.kt. - In
LoginViewModel.kt, create anauthenticationStatevariable based off of theFirebaseUserLiveDataobject you just implemented. By creating thisauthenticationStatevariable, other classes can now query for whether the user is logged in or not through theLoginViewModel.
LoginViewModel.kt
val authenticationState = FirebaseUserLiveData().map { user ->
   if (user != null) {
       AuthenticationState.AUTHENTICATED
   } else {
       AuthenticationState.UNAUTHENTICATED
   }
}- Open
MainFragment.kt. - In
MainFragment.kt'sobserveAuthenticationState()you can use theauthenticationStatevariable you just added inLoginViewModeland change the UI accordingly. If there is a logged-in user,authButtonshould display Logout.
MainFragment.kt
private fun observeAuthenticationState() {
   val factToDisplay = viewModel.getFactToDisplay(requireContext())

   viewModel.authenticationState.observe(viewLifecycleOwner, Observer { authenticationState ->
       when (authenticationState) {
           LoginViewModel.AuthenticationState.AUTHENTICATED -> {
               binding.authButton.text = getString(R.string.logout_button_text)
               binding.authButton.setOnClickListener {
                   // TODO implement logging out user in next step
               }

                // TODO 2. If the user is logged in,
                 // you can customize the welcome message they see by
                 // utilizing the getFactWithPersonalization() function provided

           }
           else -> {
               // TODO 3. Lastly, if there is no logged-in user,
                // auth_button should display Login and
                //  launch the sign in screen when clicked.
           }
       }
   })
}- If the user is logged in, you can also customize the welcome message they see by utilizing the
getFactWithPersonalization()function provided inMainFragment.
MainFragment.kt
binding.welcomeText.text = getFactWithPersonalization(factToDisplay)- Lastly, if there is no logged-in user (when
authenticationStateis anything other thanLoginViewModel.AuthenticationState.AUTHENTICATED),auth_buttonshould display Login and launch the sign-in screen when clicked. There should also be no personalization of the message displayed.
MainFragment.kt
binding.authButton.text = getString(R.string.login_button_text)
binding.authButton.setOnClickListener { launchSignInFlow() }
binding.welcomeText.text = factToDisplay
With all the steps completed, your final observeAuthenticationState() method should look similar to the code below.
MainFragment.kt
private fun observeAuthenticationState() {
   val factToDisplay = viewModel.getFactToDisplay(requireContext())

   viewModel.authenticationState.observe(viewLifecycleOwner, Observer { authenticationState ->
        // TODO 1. Use the authenticationState variable you just added
         // in LoginViewModel and change the UI accordingly.
       when (authenticationState) {
            // TODO 2.  If the user is logged in,
             // you can customize the welcome message they see by
             // utilizing the getFactWithPersonalization() function provided
           LoginViewModel.AuthenticationState.AUTHENTICATED -> {
               binding.welcomeText.text = getFactWithPersonalization(factToDisplay)
               binding.authButton.text = getString(R.string.logout_button_text)
               binding.authButton.setOnClickListener {
                   // TODO implement logging out user in next step
               }
           }
           else -> {
                // TODO 3. Lastly, if there is no logged-in user,
                 // auth_button should display Login and
                 // launch the sign in screen when clicked.
               binding.welcomeText.text = factToDisplay

               binding.authButton.text = getString(R.string.login_button_text)
               binding.authButton.setOnClickListener {
                   launchSignInFlow()
               }
           }
       }
   })
}- Run your app. The UI should update according to whether a user is logged in or not. If everything is working properly, and you are logged in, the home screen should now greet you by your name in addition to displaying an Android fact. The Login button should also now display Logout.
In this task, you'll implement the logout feature.
Since the app allows users to log in, it should also provide them with a way to log out. Here's an example of how to log out a user with just one line of code:
AuthUI.getInstance().signOut(requireContext())- Open
MainFragment.kt. - In
MainFragment.kt'sobserveAuthenticationState(), add the logout logic so that theauth_buttonfunctions correctly when there is a logged in user. The final result of the method looks like the code below.
MainFragment.kt
private fun observeAuthenticationState() {
   val factToDisplay = viewModel.getFactToDisplay(requireContext())

   viewModel.authenticationState.observe(viewLifecycleOwner, Observer { authenticationState ->
       when (authenticationState) {
           LoginViewModel.AuthenticationState.AUTHENTICATED -> {
               binding.welcomeText.text = getFactWithPersonalization(factToDisplay)

               binding.authButton.text = getString(R.string.logout_button_text)
               binding.authButton.setOnClickListener {
                   AuthUI.getInstance().signOut(requireContext())
               }
           }
           else -> {
               binding.welcomeText.text = factToDisplay

               binding.authButton.text = getString(R.string.login_button_text)
               binding.authButton.setOnClickListener {
                   launchSignInFlow()
               }
           }
       }
   })
}- Run the app.
- Tap the Logout button and verify that the user is logged out, and the state of the button changes to Login.
You can find the final version of the completed app here https://github.com/googlecodelabs/android-kotlin-login.
In this codelab, you learned:
- How to add Firebase to your project by adding the necessary dependencies in your gradle file and setting up the project in the Firebase console.
- How to implement login for your app using the FirebaseUI library and specifying how you want to allow your users to login. Note that any account a user creates in your app is specific to your app only, and not shared with all apps that utilize Firebase for the login functionality.
- How to observe the current authentication status of your app using
LiveData. - How to log out users.
This codelab covered the basics of how to support login for an Android app.
In this codelab you allowed users to register and sign in with their email address. However, with the FirebaseUI library you can also support other authentication methods such as signing in with a phone number. To learn more about the capabilities of the FirebaseUI library and how to utilize other functionalities it provides, check out the following resources:
For more about best practices around login, check out these other resources:
Codelabs:
Android developer documentation:
Videos:
For links to other codelabs in this course, see the Advanced Android in Kotlin codelabs landing page.