
Today it is common for people to carry devices capable of augmented reality (AR) and virtual reality (VR) in their pockets. Increasingly, the content we share with each other on these devices is 3D. In this code lab you will learn how to use a web component called <model-viewer> to add 3D content to your website or Progressive Web App (PWA) as easily as you would add an image with HTML!
What you will build
A website containing an interactive 3D model with the ability to display AR holograms
What you'll learn
- How to install the
<model-viewer>web component on your website - How to use
<model-viewer>to present a 3D model in a standard web layout - How to customize
<model-viewer>to add flair to the presentation
What you'll need
- A web browser. We recommend Chrome, but any modern browser (Firefox, Safari, Edge) will work.
- Node.js and a text editor, or access to Glitch.
- Basic knowledge of HTML, CSS, JavaScript, and Chrome DevTools.
This codelab is focused on <model-viewer> and 3D models. Non-relevant concepts and code blocks are glossed over and are provided for you to simply copy and paste.
Option 1 - Glitch
You can use an online code editing tool like Glitch to host your project and see changes.
To get started with in Glitch, click the following button:
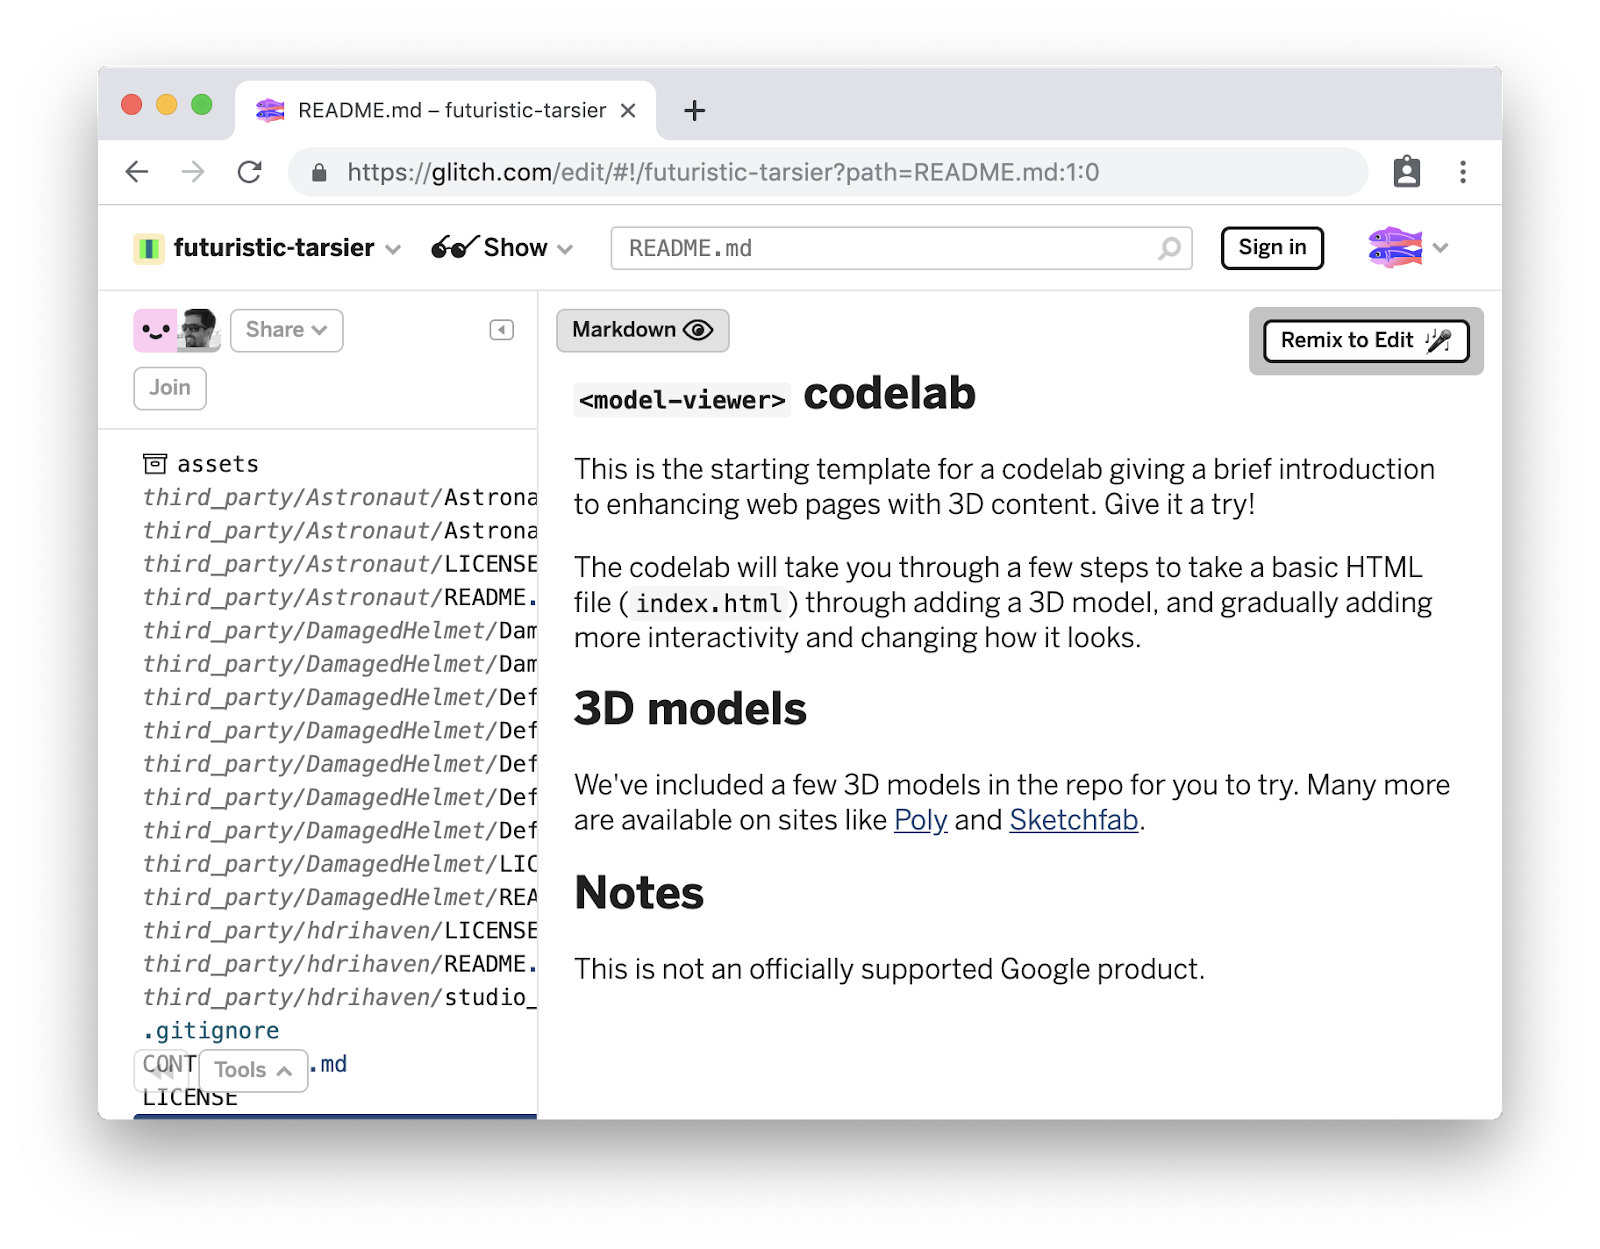
Open your pre-loaded Glitch environment
From here on, you can use the code editor on Glitch to modify your files, and once you are ready, start serving your application using the "Show Live" button. Try that now and you should see the following page:
Option 2 - Local server
A local server will let you use your preferred code editor.
Install the server
We'll need a way to serve local web pages. A simple way is through Node.js and serve, a simple static content server.
Check the Node.js website for instructions on how to install it on your operating system. After Node.js is installed, run this command to install serve:
npm install -g serve
Download the Code
A starting template, along with all the sample assets is available for download. Click the following link, and unzip the contents into the directory you want to contain your project:
Alternatively, use git to clone the repository:
git clone https://github.com/googlecodelabs/model-viewer-codelab.git
Running the server
From the template directory extracted above (or inside the cloned directory, if you used git), run the serve command to start a web server:

Visit that address (in the screenshot above, it's http://localhost:5000, but it may be different on your machine) to see a very simple starting point:

We'll begin by editing the index.html file, either through the Glitch web editor or - if you're using the local server - your favorite code editor.
Add the <model-viewer> library
We'll need to include a set of JavaScript files in order to use <model-viewer>.
The following section adds the <model-viewer> library to your page. Paste the following code at the end of <body>.
<!-- 💁 Include both scripts below to support all browsers! -->
<!-- Loads <model-viewer> for modern browsers: -->
<script type="module"
src="https://unpkg.com/@google/model-viewer/dist/model-viewer.js">
</script>
<!-- Loads <model-viewer> for old browsers like IE11: -->
<script nomodule
src="https://unpkg.com/@google/model-viewer/dist/model-viewer-legacy.js">
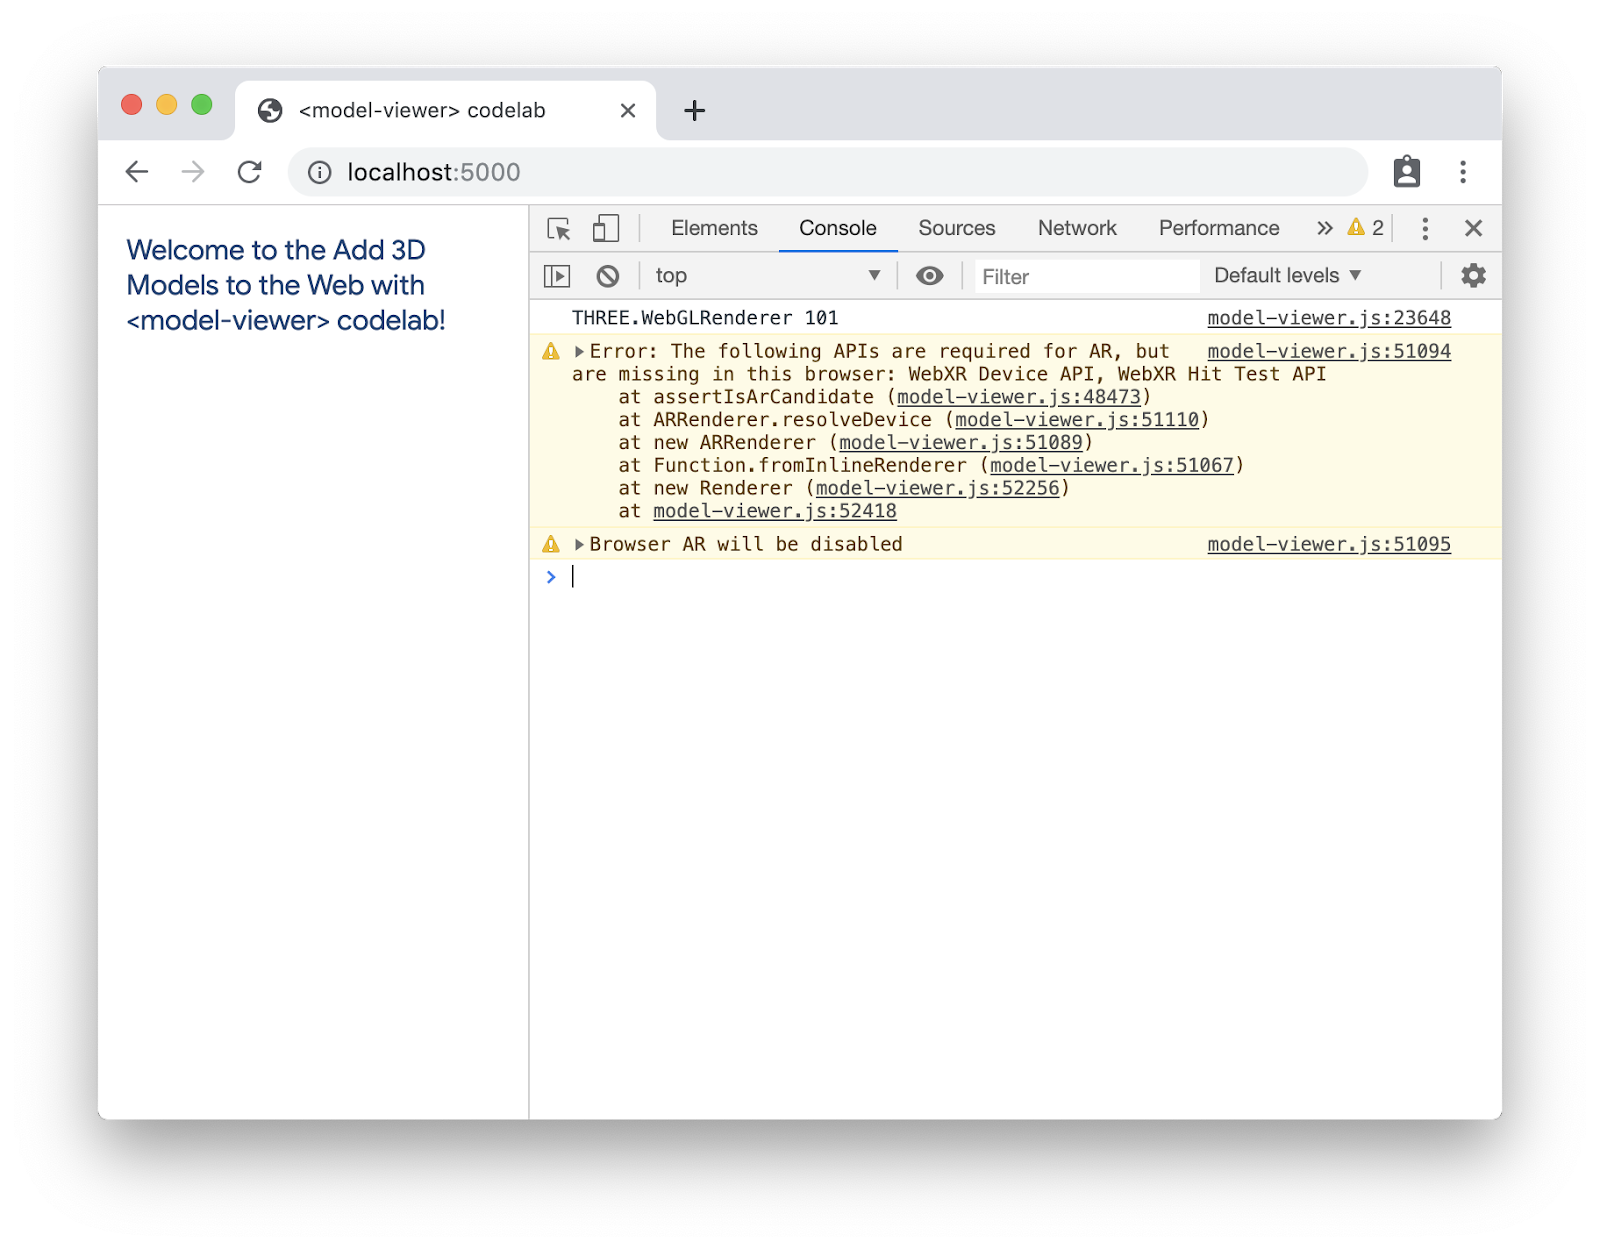
</script>We've just added libraries, without changing content - if you refresh your page, you'll see the same content. If you open the DevTools console, you may see some warnings about missing WebXR APIs, but these are expected until that API is fully released.
Maximizing Compatibility
Out of the box, <model-viewer> supports many modern browsers. However, if you'd like to extend the number of browsers that your page can support, you can include additional polyfills.
Our full recommended set is below. These will help you support a great experience on all modern browsers. See the <model-viewer> polyfills documentation for more information.
Paste the following code into <head>.
<!-- The following libraries and polyfills are recommended to maximize browser support -->
<!-- NOTE: you must adjust the paths as appropriate for your project -->

<!-- 🚨 REQUIRED: Web Components polyfill to support Edge and Firefox < 63 -->
<script src="https://unpkg.com/@webcomponents/webcomponentsjs@2.1.3/webcomponents-loader.js"></script>

<!-- 💁 OPTIONAL: Intersection Observer polyfill for better performance in Safari and IE11 -->
<script src="https://unpkg.com/intersection-observer@0.5.1/intersection-observer.js"></script>

<!-- 💁 OPTIONAL: Resize Observer polyfill improves resize behavior in non-Chrome browsers -->
<script src="https://unpkg.com/resize-observer-polyfill@1.5.1/dist/ResizeObserver.js"></script>

<!-- 💁 OPTIONAL: Fullscreen polyfill is required for experimental AR features in Canary -->
<!--<script src="https://unpkg.com/fullscreen-polyfill@1.0.2/dist/fullscreen.polyfill.js"></script>-->

<!-- 💁 OPTIONAL: Include prismatic.js for Magic Leap support -->
<!--<script src="https://unpkg.com/@magicleap/prismatic@0.18.2/prismatic.min.js"></script>-->
Add <model-viewer>
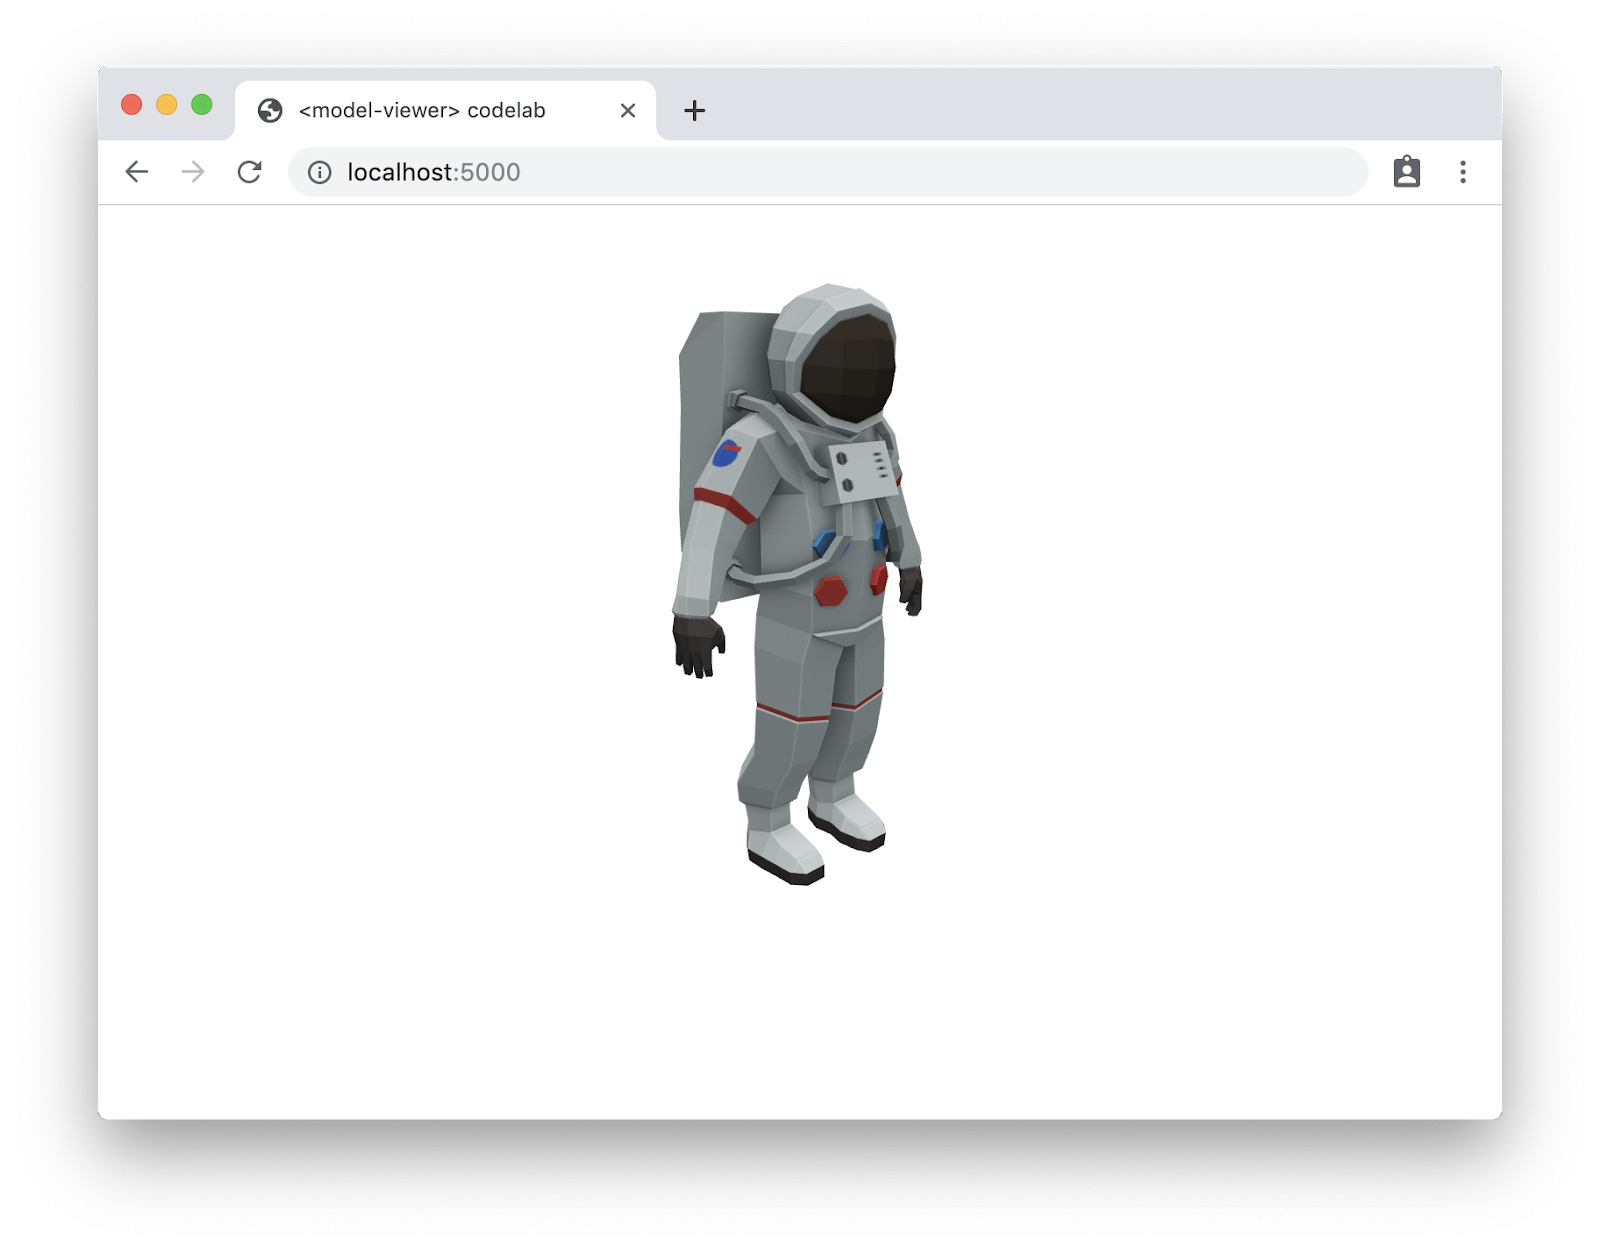
Now let's add the actual <model-viewer> tag to the page so we can see some 3D! Replace the existing <p> element with the following code:
<model-viewer src="third_party/Astronaut/Astronaut.glb"
              alt="A 3D model of an astronaut">
</model-viewer>
There are only two attributes to mention here:
- The
srcattribute specifies where to load the 3D model from. In this example, we've used an Astronaut model by Poly which has been made available under the CC-BY license. - The
altattribute contains an alternate text description of the model for accessibility.
You may notice that both of these attributes have strong parallels with attributes of the img tag.
A reload will show the astronaut:
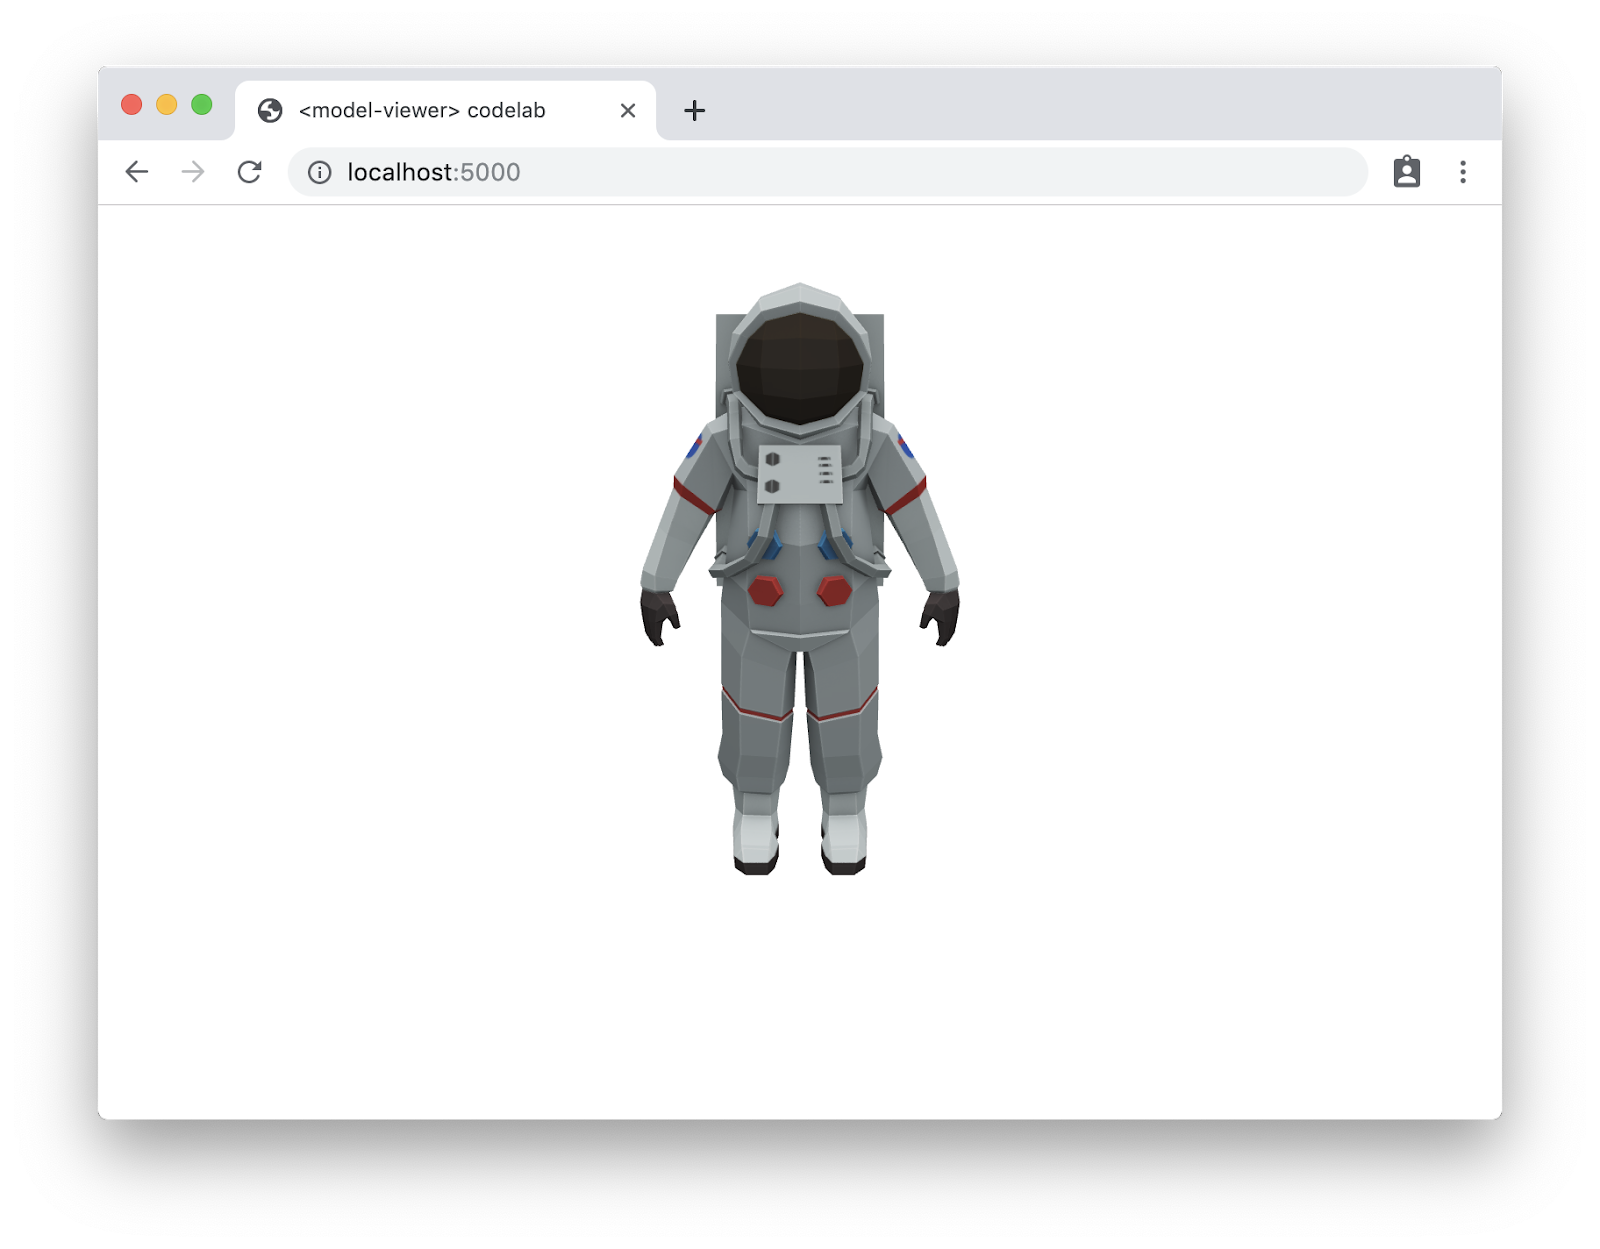
Nice! You have a 3D model on the web!
In the following steps, we'll experiment with more interactivity and motion, alter the appearance of the element, and dip our toes into AR.
Let's add a bit of interactivity to the model. We'll have the model spin by default, to give users a hint that the model is interactive (and also to show it off), and then we'll enable controls so that users can move the model themselves with their mouse or via touch.
To do this, simple add the auto-rotate and camera-controls attributes to the <model-viewer> element.
<model-viewer src="third_party/Astronaut/Astronaut.glb"
              auto-rotate camera-controls
              alt="A 3D model of an astronaut">
</model-viewer>
When you refresh the page, the Astronaut will be slowly spinning. If you try dragging the model (either by clicking and moving the mouse, or if you're on a touch-capable device by dragging your finger), the model will rotate.
Combined, these features give the user a hint that this is more than just a static image, and a sense of interactivity so they feel involved (and so they can see the back of your model!)
Now that we have some motion, let's see about tweaking the appearance to make the model really compelling.
Update the model
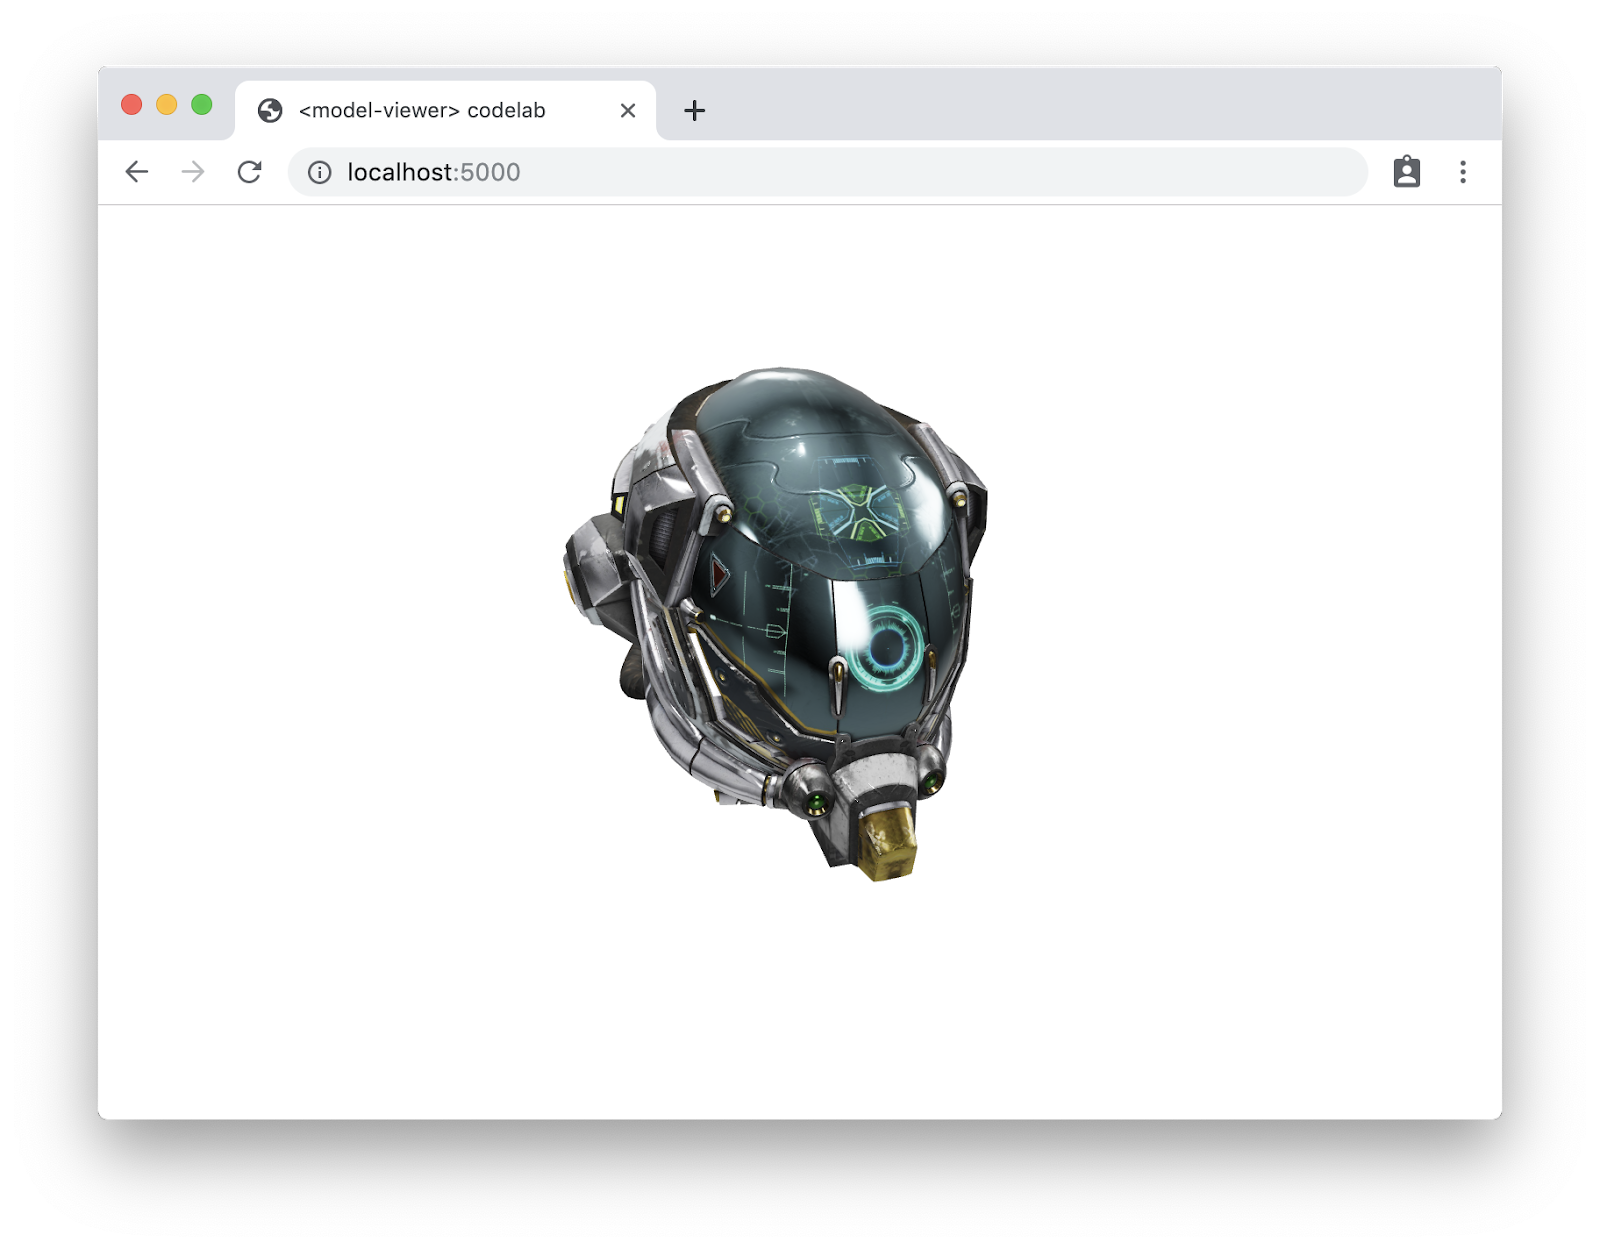
Some of these (particularly the lighting changes) will show up best with certain models. First, let's update the src attribute to point to a new model: third_party/DamagedHelmet/DamagedHelmet.gltf (released under a Creative Commons Attribution-NonCommercial license on Sketchfab). The source of the entire element should now read:
<model-viewer src="third_party/DamagedHelmet/DamagedHelmet.gltf"
              auto-rotate camera-controls
              alt="A 3D model of a damaged sci-fi helmet">
</model-viewer>
This model will show off some of the changes we're about to make!
Change the background color
First, let's change the background color to make the model pop against the page. Add the following attribute to your <model-viewer> tag:
background-color="#70BCD1"
Set the environment map
Environment maps are used to provide an enclosing scene that's reflected from the model and to specify lighting configuration. The default lighting is excellent (and compatible with the lighting of ARCore's Scene Viewer), but sometimes you may have a custom environment or may need lighting specific for the results you're trying to achieve. Let's specify the environment-image attribute (studio_small_07_1k.hdr is from hdrihaven.com).
environment-image="third_party/hdrihaven/studio_small_07_1k.hdr"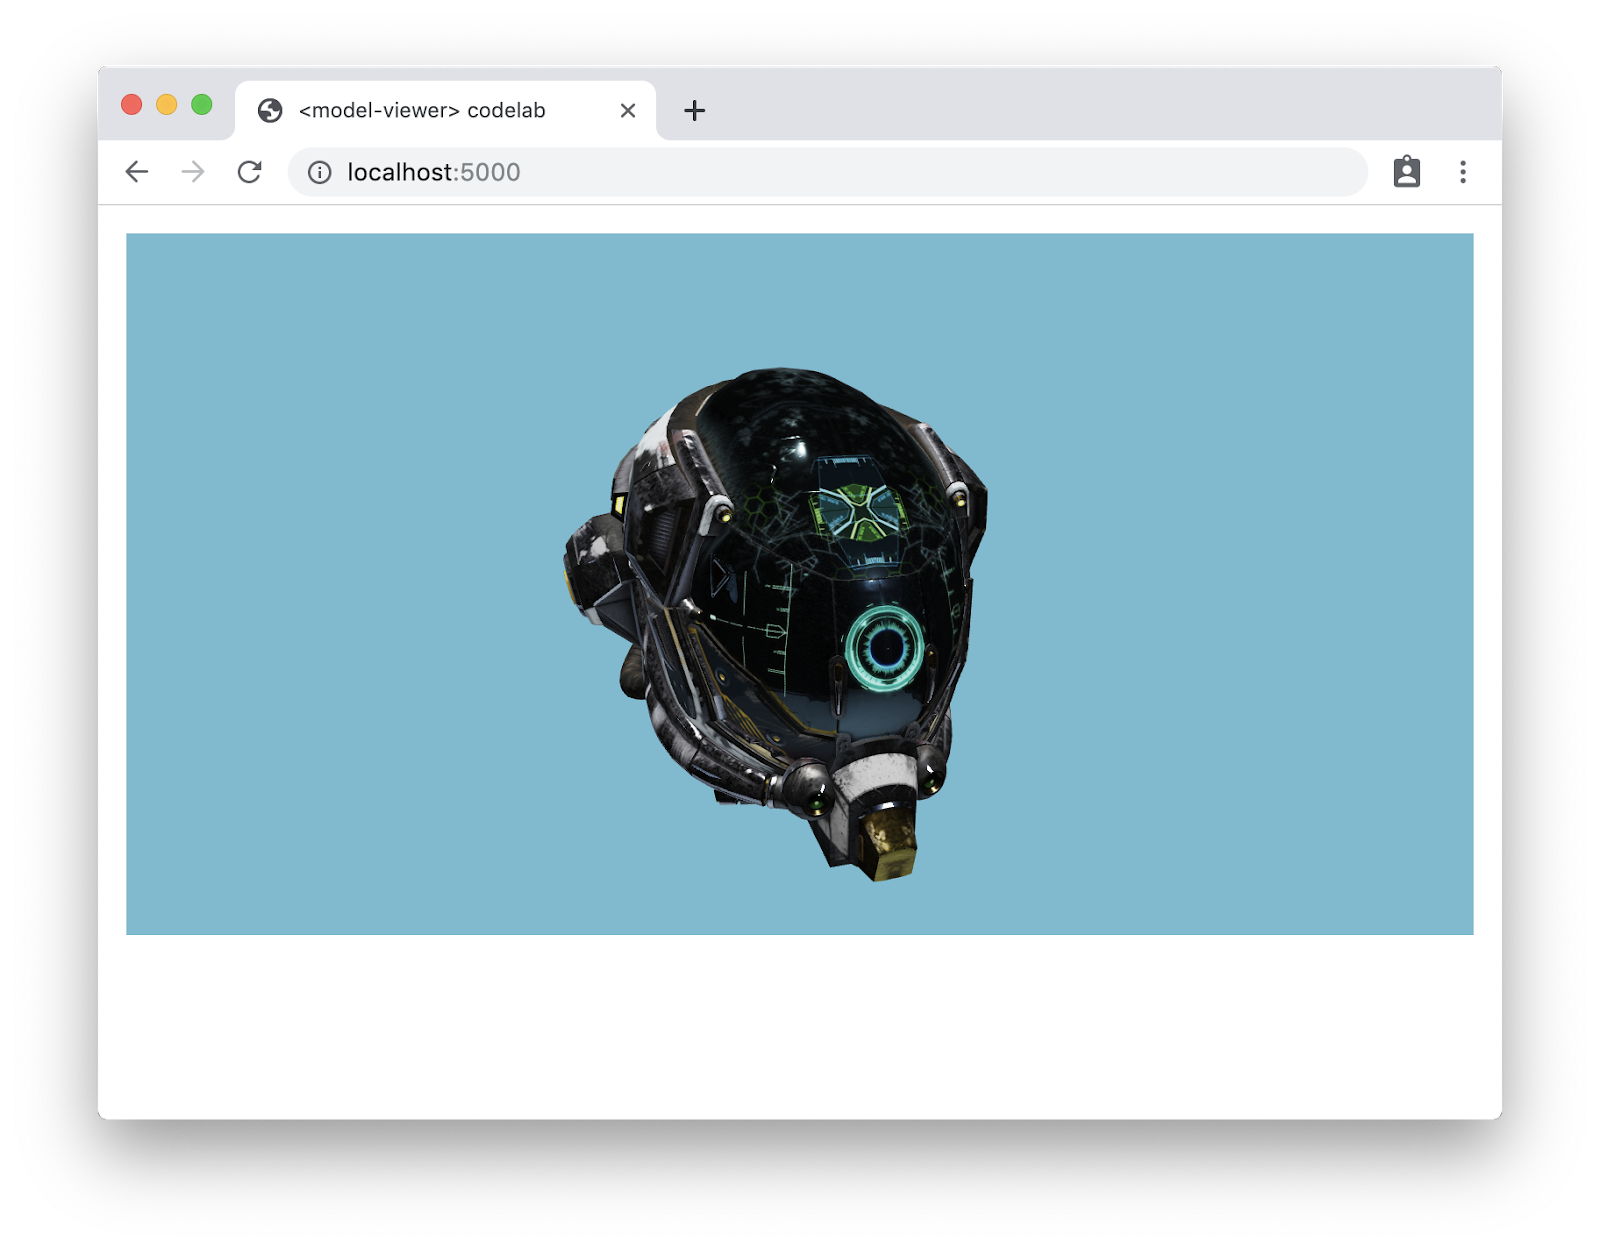
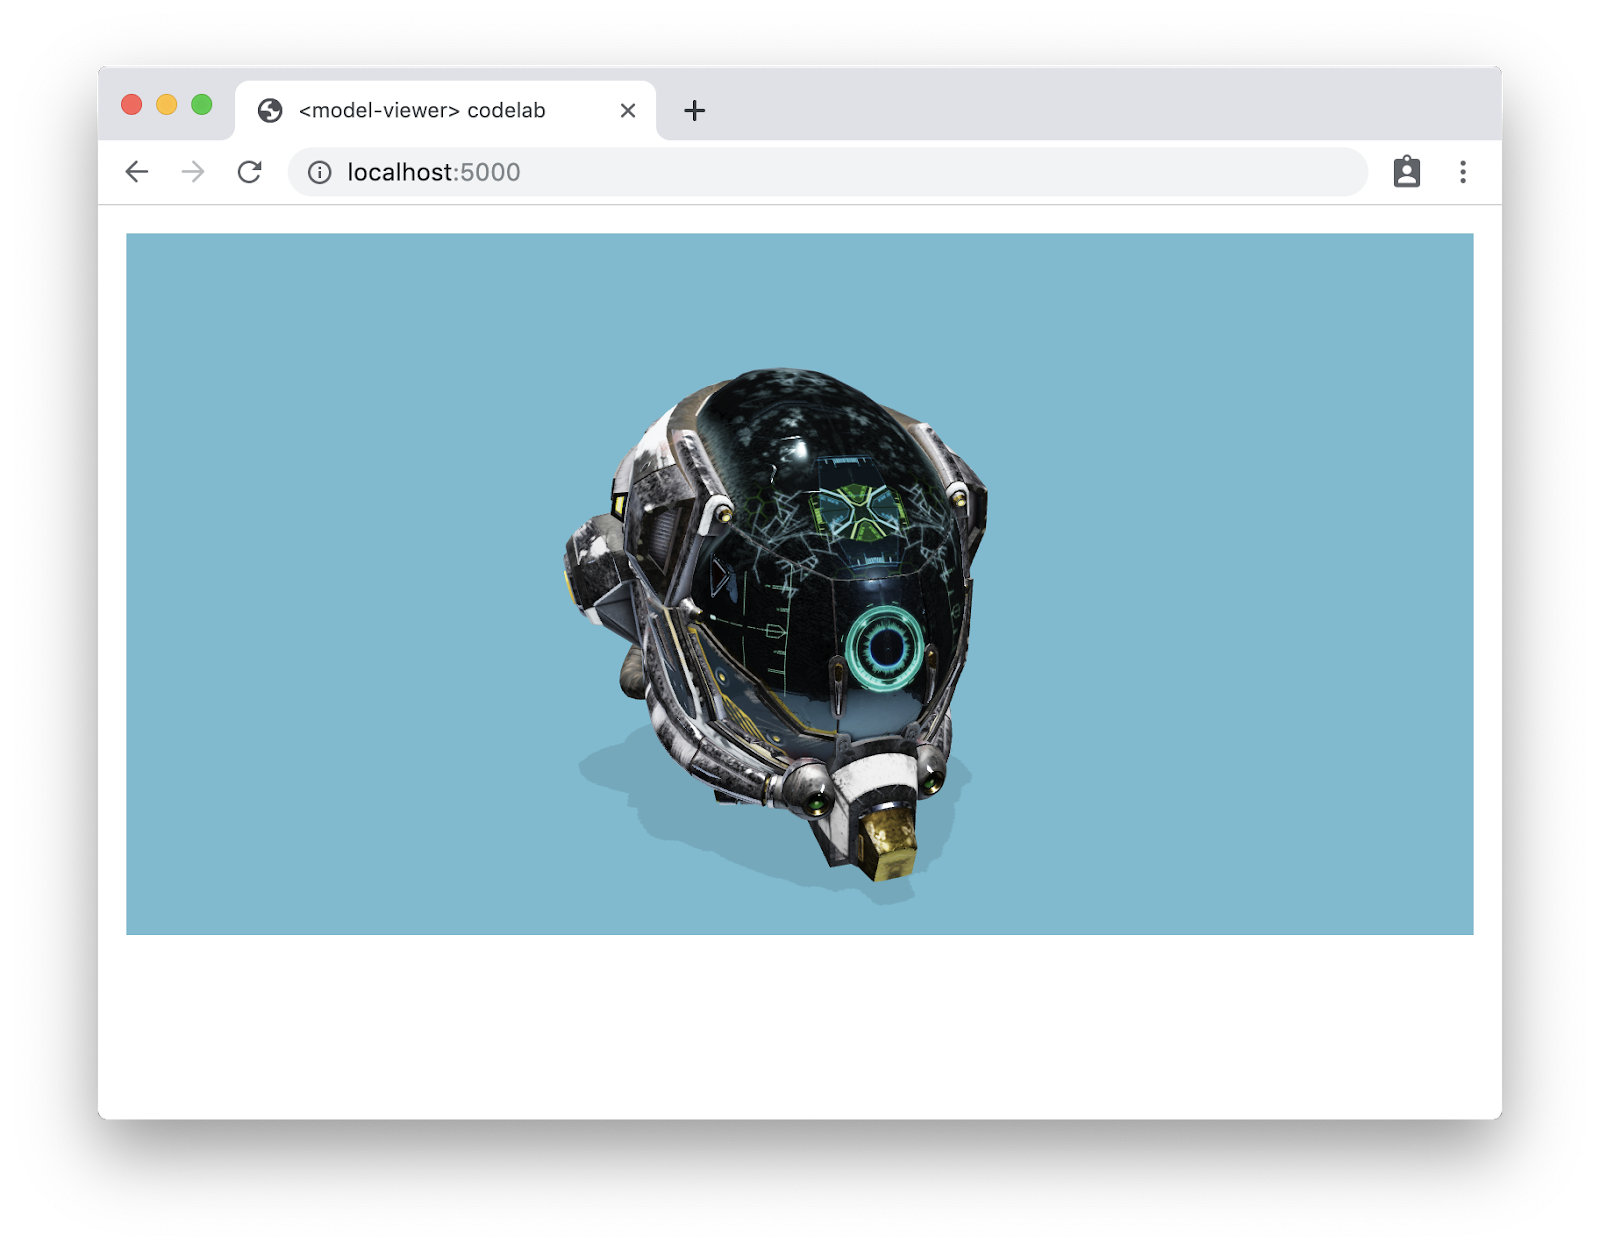
Add a shadow
Having the object cast a shadow gives extra depth to the scene. The following attribute, when added to our <model-viewer> element, will cast a shadow:
shadow-intensity="1"
Change the lighting intensity
The model is a bit dark; let's bring the lights up just a bit so we can see more of the details. Both the default stage lighting and the lighting from the environmap map we added can be adjusted independently. Add this:
stage-light-intensity="3" environment-intensity="2"Each of these changes was pretty small, but the model looks way better now!
Next up, we'll look at some alternative display modes.
More and more devices have some sort of augmented reality (AR) available. Some of these modes are difficult to trigger or require special code, but <model-viewer> can handle all that complexity for you!
ARCore's Scene Viewer
On supported devices, <model-viewer> can trigger ARCore's Scene Viewer. Add the ar attribute to your <model-viewer> element - and yes, this is all you'll need to do!
<model-viewer src="third_party/DamagedHelmet/DamagedHelmet.gltf"
ar
auto-rotate camera-controls
background-color="#70BCD1"
shadow-intensity="1"
alt="A 3D model of a damaged sci-fi helmet">
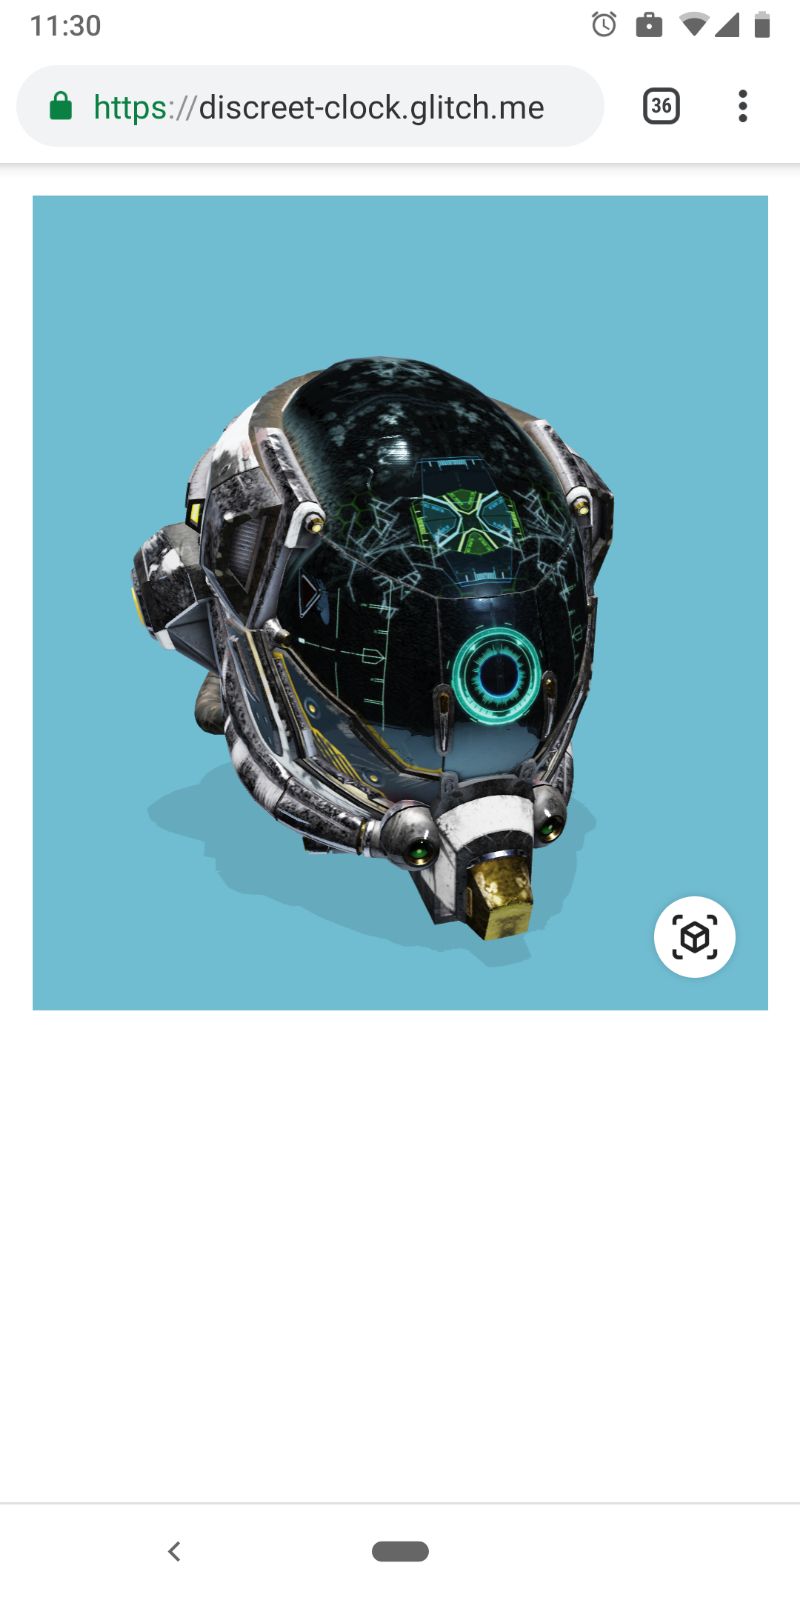
</model-viewer>Now if you view this on a supported device with a recent ARCore, you'll see an additional icon (as in the picture below). Clicking that will open your model in the Scene Explorer!
Other devices - iOS Quick Look, Magic Leap, WebXR
Many other devices need a bit more work.
On iOS, the ios-src attribute allows an additional USDZ version of the 3D model (which is required on iOS) to be specified. When this attribute is provided, the standard AR Quick Look icon will appear on the model for supported iOS devices. For more information on USDZ see Apple's developer documentation.
On Magic Leap devices, the magic-leap attribute will enable AR support. Note that you must also include the prismatic.js library (this is included, but commented out, in the optional polyfills) and the 3D model must be a .glb file (not a .gltf).
<script src="https://unpkg.com/@magicleap/prismatic@0.18.2/prismatic.min.js"></script>The initial angle and position of the camera can be controlled. This control allows us to show users a better default view of the helmet. Add the following snippet to your <model-viewer> tag:
camera-orbit="-20deg 75deg 2m"
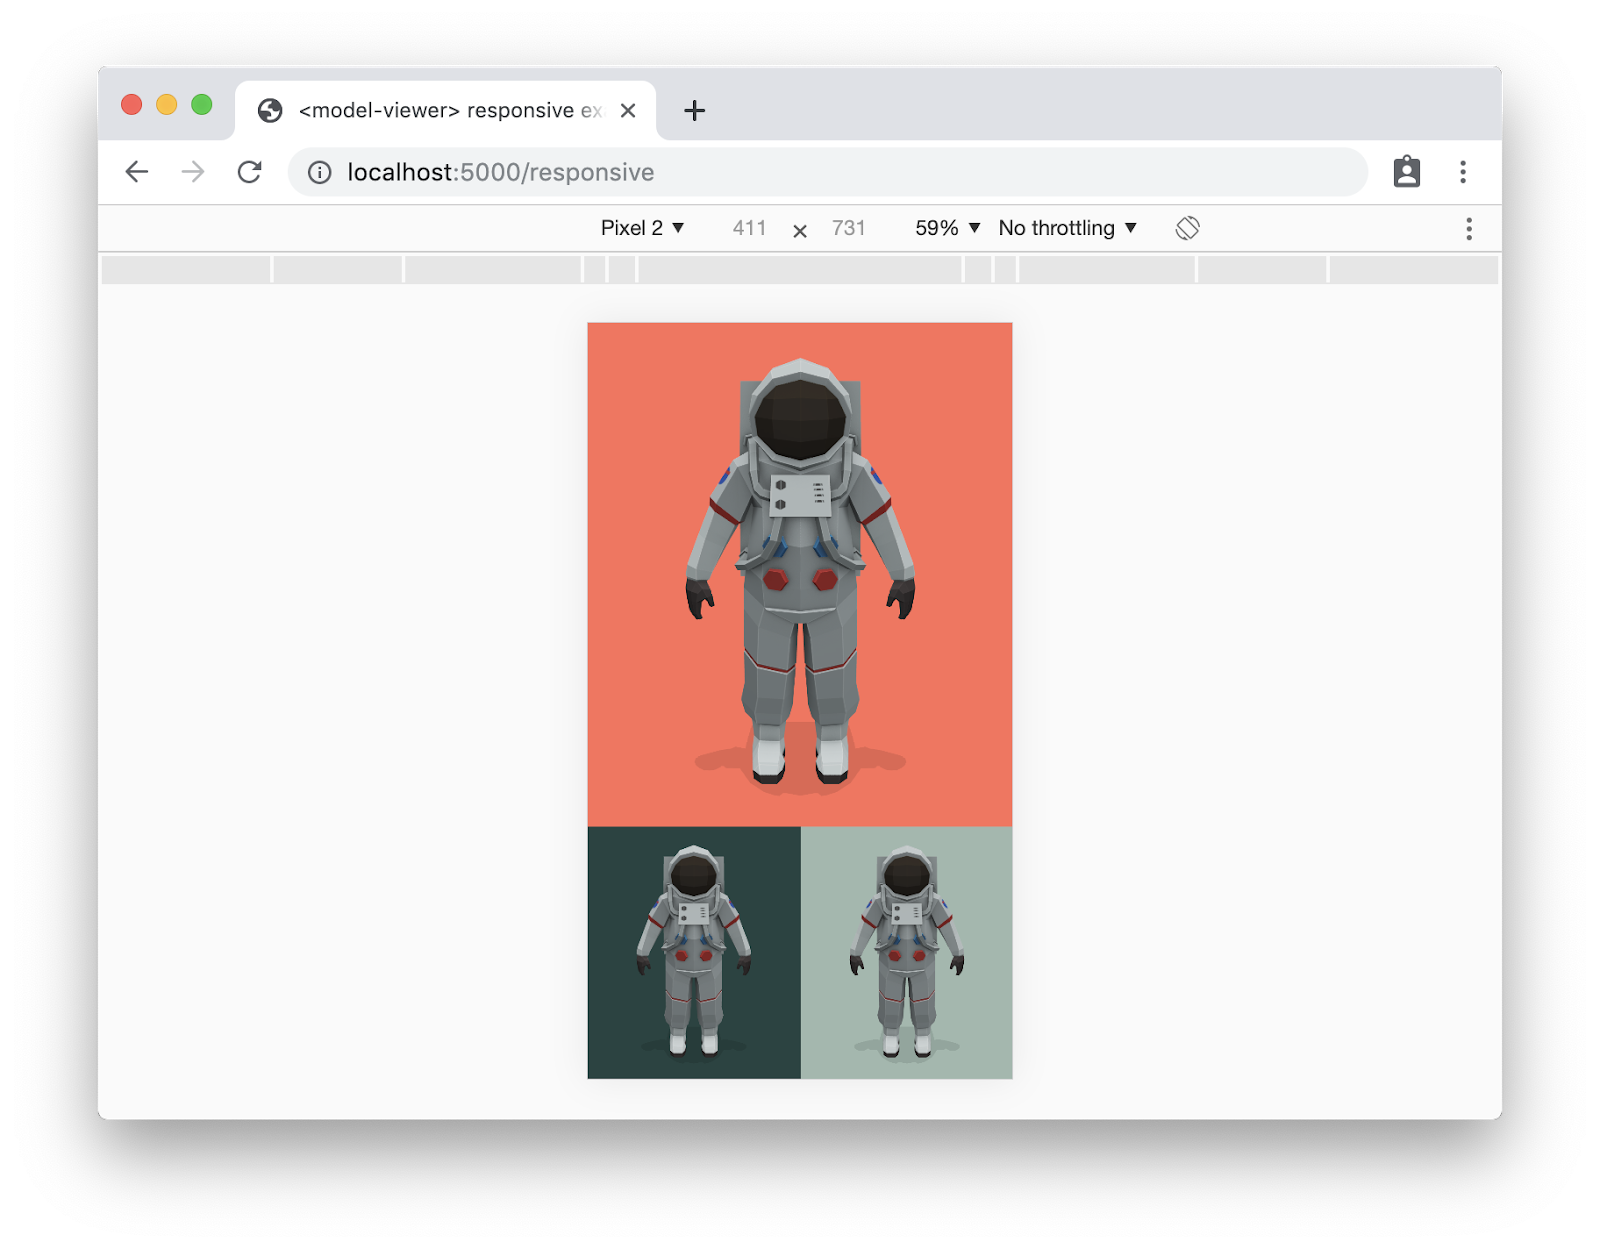
Of course these models can be used with your other content, including on responsive pages. Building a responsive web page is beyond the scope of this codelab, but check out Responsive Web Design Basics for additional information.
We've included a sample page in our repo. Check out responsive.html, in widescreen (like a desktop):

The same page, in a narrow viewport (such as a mobile device):
You've embedded a piece of 3D content into the web! Nice work!
What's next?
Many more configuration options exist. Check out our online documentation or the code for more information.
Once you have your models identified, some next steps you may want to think about:
- Some models can be quite large. In these cases, <model-viewer> provides several methods to still deliver excellent experiences. The Lazy loading documentation page has more information.
- Animated models can be really fun! Check out our Animations page for more information about enabling (and switching between) animations that are defined in your models.
- And this is still the web - models can be embedded into your web pages to supplement your content!
Our development process is open on GitHub. We'd love to hear from you!