
This codelab is part of the Android Kotlin Fundamentals course. You'll get the most value out of this course if you work through the codelabs in sequence. All the course codelabs are listed on the Android Kotlin Fundamentals codelabs landing page.
In this codelab, you learn about fragments, and you create a fragment inside a starter app called AndroidTrivia. In the next codelab, you learn more about navigation and do further work on the AndroidTrivia app.
What you should already know
- The fundamentals of Kotlin
- How to create basic Android apps in Kotlin
- How to work with layouts
What you'll learn
- How to add a Fragment statically to your app
What you'll do
- Create a fragment inside an activity.
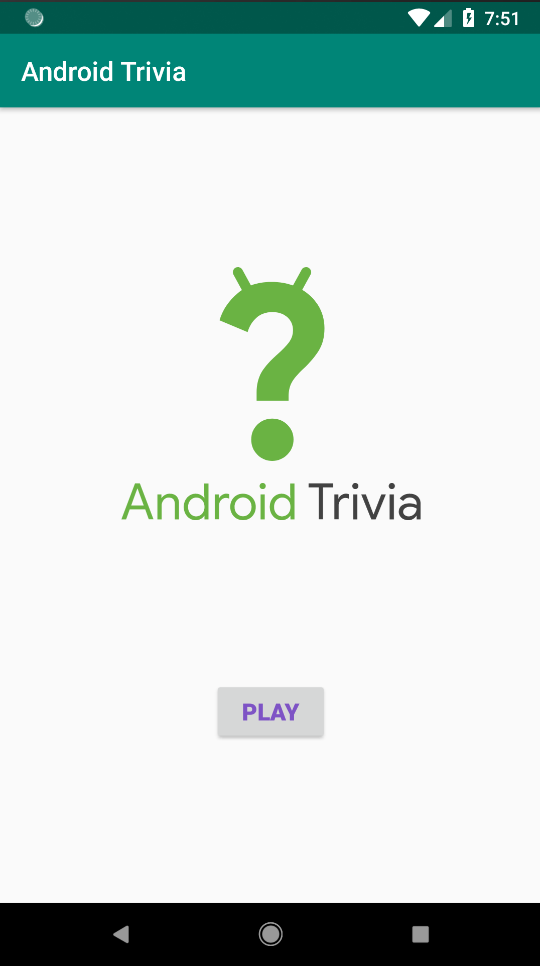
In the three codelabs that make up this lesson, you work on an app called AndroidTrivia. The completed app is a game in which the user answers three trivia questions about Android coding. If the user answers all three questions correctly, they win the game and can share their results.
|
|
|
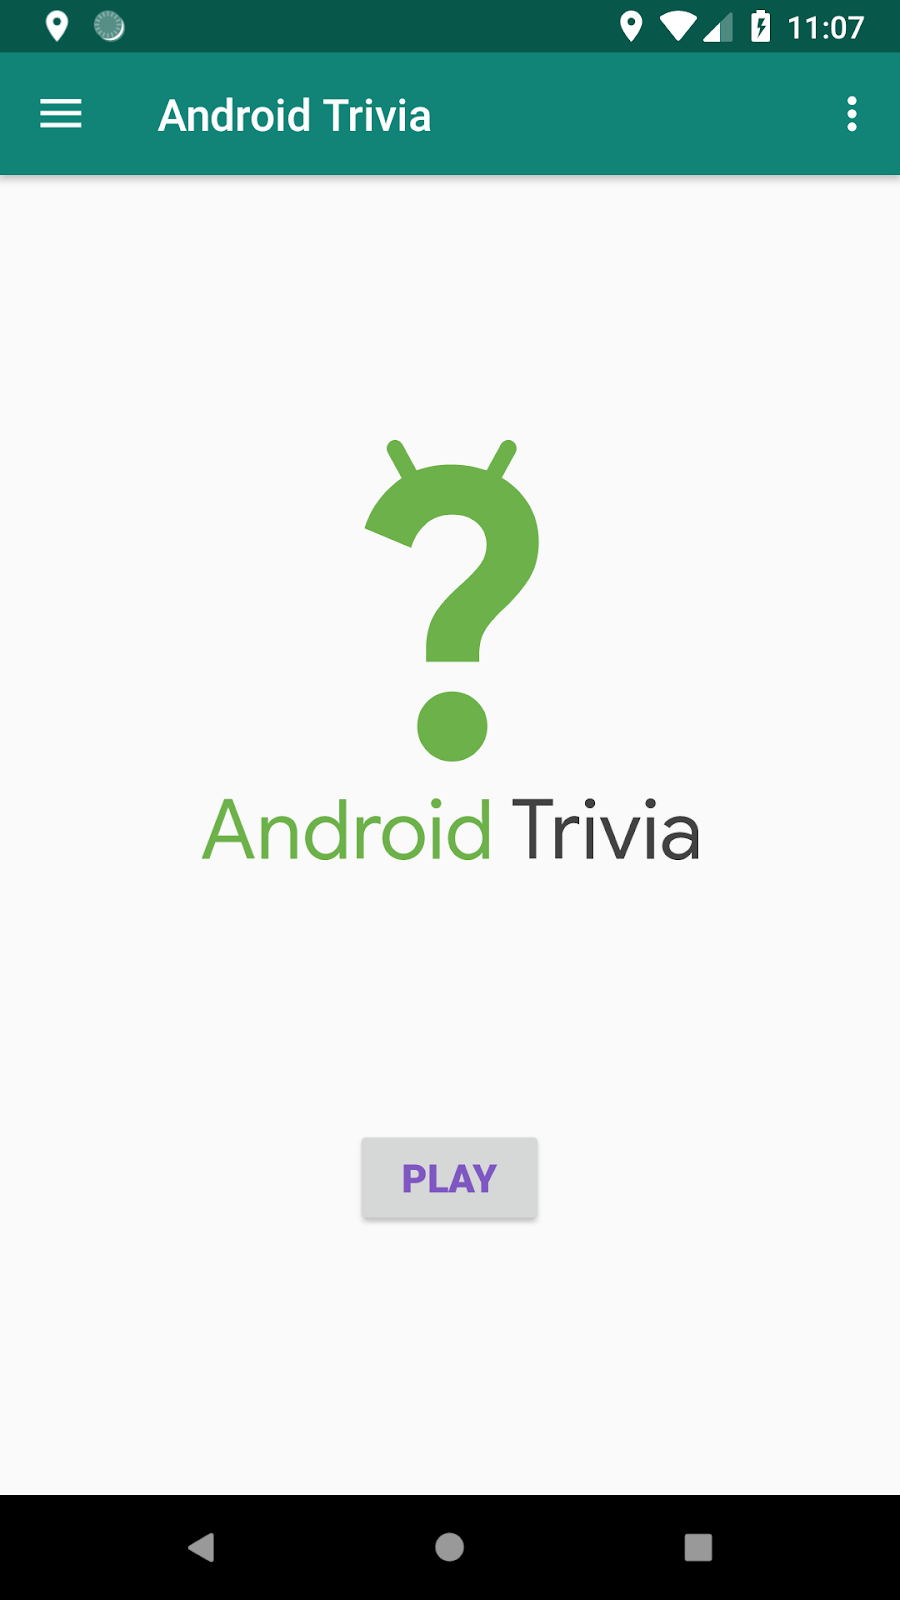
The AndroidTrivia app illustrates navigation patterns and controls. The app has several components:
- In the title screen, shown on the left in the screenshot above, the user starts the game.
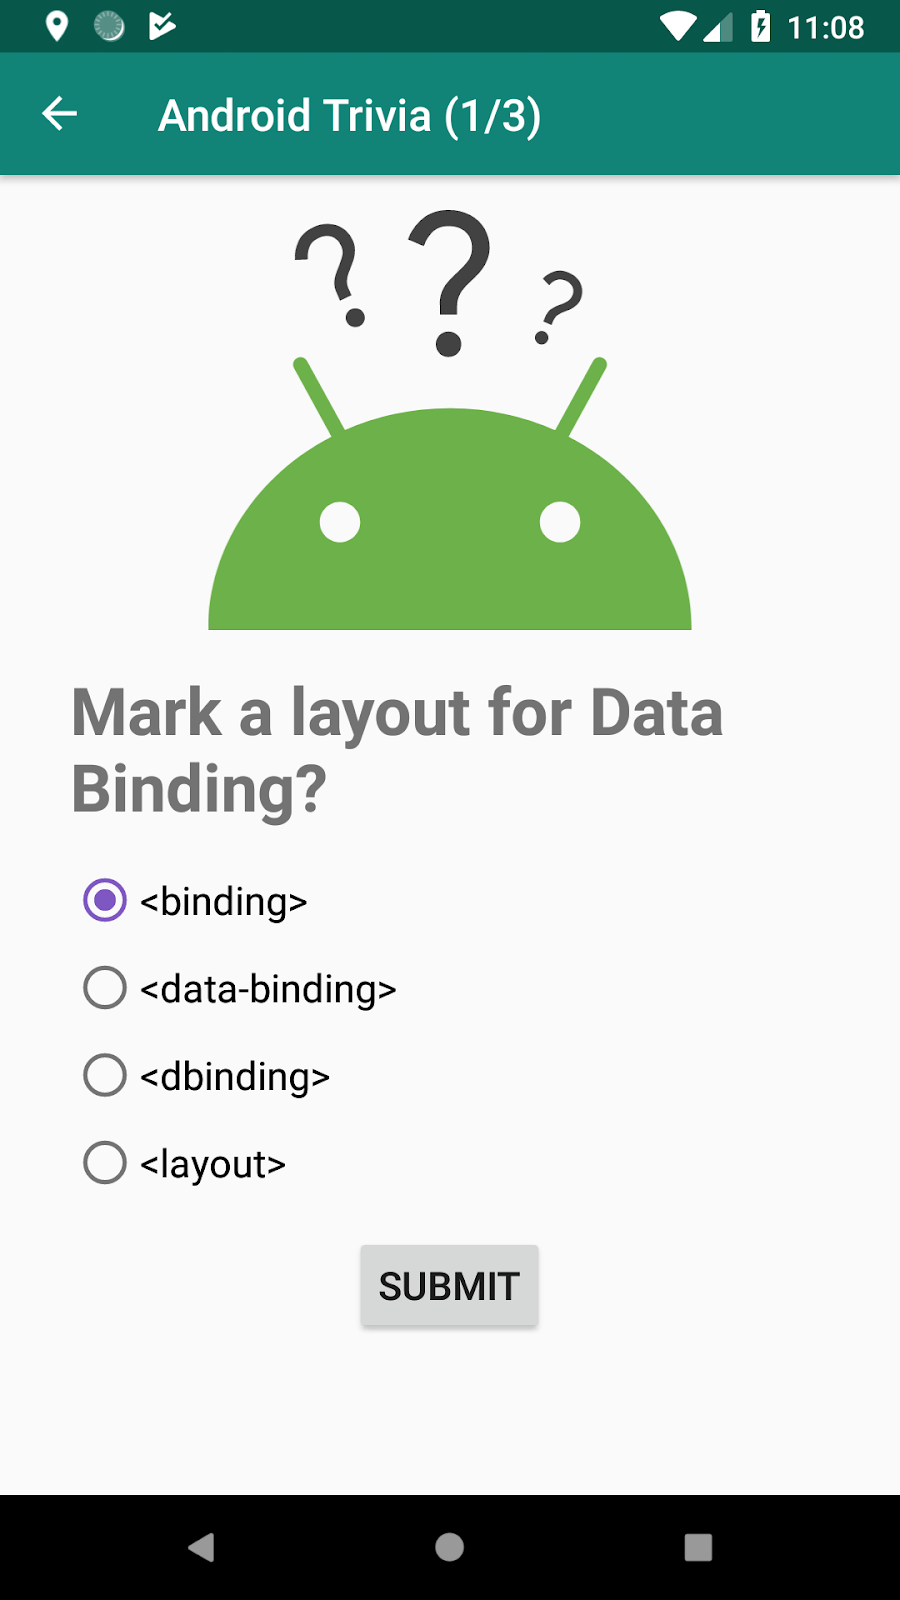
- In the game screen with questions, shown in the middle above, the user plays the game and submits their answers.
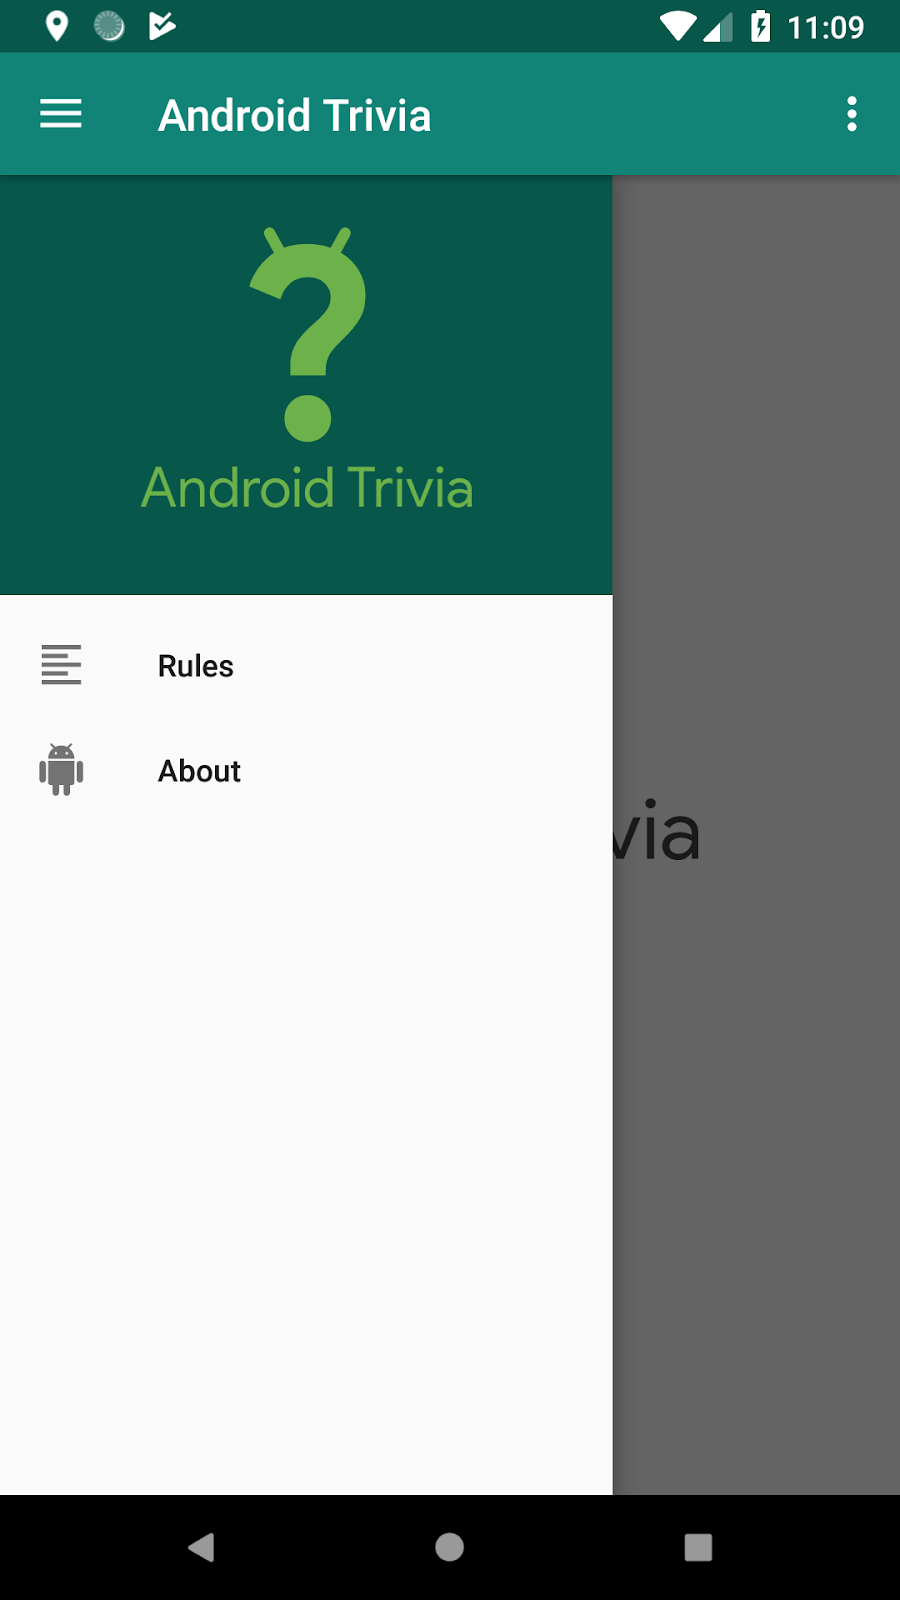
- The navigation drawer, shown on the right above, slides out from the side of the app and contains a menu with a header. The drawer icon
 opens the navigation drawer. The navigation-drawer menu contains a link to the About page and a link to the rules of the game.
The top of the app displays a colored view called the app bar, which is also known as the action bar.
In this codelab, you work from a starter app that provides template code and fragment classes that you need as you complete the Trivia app.
- Download the AndroidTrivia-Starter Android Studio project.
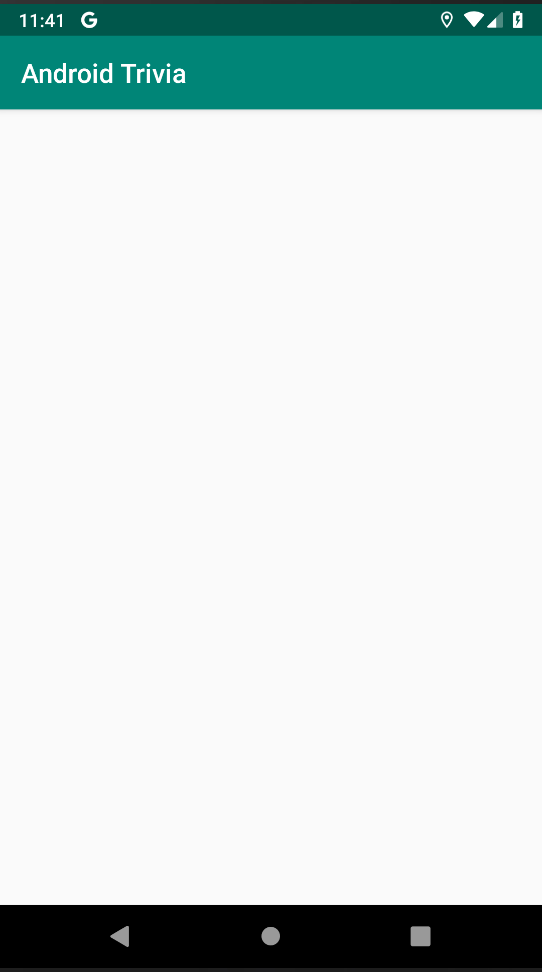
- Open the project in Android Studio and run the app. When the app opens, it doesn't do anything other than display the app name and a blank screen.
- In the Android Studio Project pane, open the Project: Android view to explore the project files. Open the app > java folder to see the
MainActivityclass and fragment classes.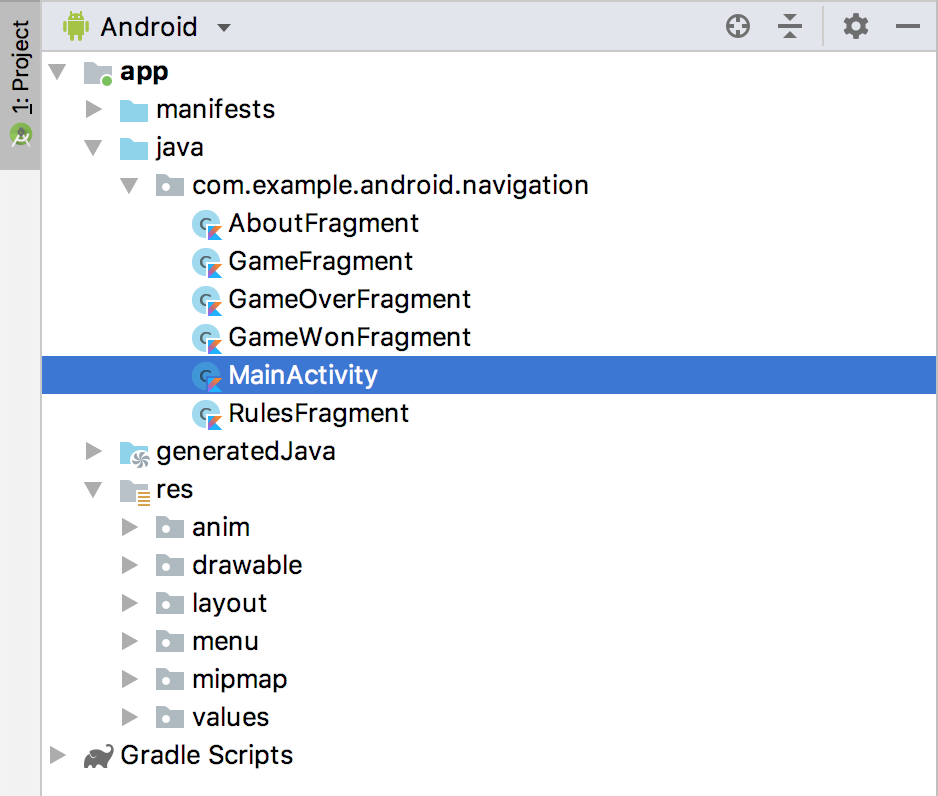
- Open the res > layout folder and double-click on activity_main.xml. The
activity_main.xmlfile appears in the Layout Editor. - Click the Design tab. The Component Tree for the
activity_main.xmlfile shows the root layout as verticalLinearLayout.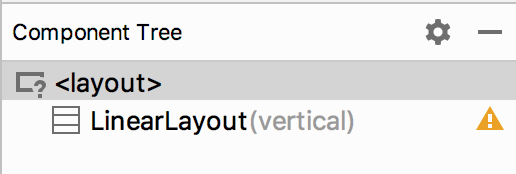
In a vertical linear layout, all the child views in the layout are aligned vertically.
A fragment represents a behavior or a portion of user interface (UI) in an activity. You can combine multiple fragments in a single activity to build a multi-pane UI, and you can reuse a fragment in multiple activities.
Think of a fragment as a modular section of an activity, something like a "sub activity" that you can also use in other activities:
- A fragment has its own lifecycle and receives its own input events.
- You can add or remove a fragment while the activity is running.
- A fragment is defined in a Kotlin class.
- A fragment's UI is defined in an XML layout file.
The AndroidTrivia app has a main activity and several fragments. Most of the fragments and their layout files have been defined for you. In this task, you create a fragment and add the fragment to the app's main activity.
Step 1: Add a fragment class
In this step, you create a blank TitleFragment class. Start by creating a Kotlin class for a new fragment:
- In Android Studio, click anywhere inside the Project pane to bring the focus back to the project files. For example, click the com.example.android.navigation folder.
- Select File > New > Fragment > Fragment (Blank).
- For the fragment name, use TitleFragment. Clear all the checkboxes, including create Layout XML, include fragment factory methods, and include interface callbacks.
- Click Finish.
- Open the
TitleFragment.ktfragment file, if it is not already open. It contains theonCreateView()method, which is one of the methods that's called during a fragment's lifecycle. - In
onCreateView(), remove thereturn TextView(activity).applysection, including the line that starts withsetText. TheonCreateView()function is left with only the following code:
override fun onCreateView(inflater: LayoutInflater, container: ViewGroup?,
                         savedInstanceState: Bundle?): View? {
}
Create a binding object
The fragment won't compile now. To make the fragment compile, you need to create a binding object and inflate the fragment's view (which is equivalent to using setContentView() for an activity).
- In the
onCreateView()method inTitleFragment.kt, create abindingvariable (val binding). - To inflate the fragment's view, call the
DataBindingUtil.inflate()method on the fragment'sBindingobject, which isFragmentTitleBinding.
Pass four parameters into the method:
inflater, which is theLayoutInflaterused to inflate the binding layout.- The XML layout resource of the layout to inflate. Use one of the layouts that is already defined for you,
R.layout.fragment_title. containerfor the parentViewGroup. (This parameter is optional.)falsefor theattachToParentvalue.
- Assign the binding that
DataBindingUtil.inflatereturns to thebindingvariable. - Return
binding.rootfrom the method, which contains the inflated view. YouronCreateView()method now looks like the following code:
override fun onCreateView(inflater: LayoutInflater, container: ViewGroup?,
                         savedInstanceState: Bundle?): View? {
   val binding = DataBindingUtil.inflate<FragmentTitleBinding>(inflater,
           R.layout.fragment_title,container,false)
   return binding.root
   }
Step 2: Add the new fragment to the main layout file
In this step, you add the TitleFragment to the app's activity_main.xml layout file.
- Open res > layout > activity_main.xml and click the Text tab to view the layout XML code.
- Inside the existing
LinearLayoutelement, add afragmentelement. - Set the fragment's ID to
titleFragment. - Set the fragment's name to the full path of the fragment class, which in this case is
com.example.android.navigation.TitleFragment. - Set the layout width and height to
match_parent.
<layout xmlns:android="http://schemas.android.com/apk/res/android"
    xmlns:app="http://schemas.android.com/apk/res-auto">

        <LinearLayout
            android:layout_width="match_parent"
            android:layout_height="match_parent"
            android:orientation="vertical">
            <fragment
                android:id="@+id/titleFragment"
                android:name="com.example.android.navigation.TitleFragment"
                android:layout_width="match_parent"
                android:layout_height="match_parent"
                />
        </LinearLayout>

</layout>- Run the app. The fragment has been added to your main screen.
Android Studio project: AndroidTriviaFragment
In this codelab, you added a fragment to the AndroidTrivia app, which you will keep working on in the next two codelabs in this lesson.
- A fragment is a modular section of an activity.
- A fragment has its own lifecycle and receives its own input events.
- Use the
<fragment>tag to define the layout for the fragment in the XML layout file. - Inflate the layout for a fragment in
onCreateView(). - You can add or remove a fragment while the activity is running.
Udacity course:
Android developer documentation:
This section lists possible homework assignments for students who are working through this codelab as part of a course led by an instructor. It's up to the instructor to do the following:
- Assign homework if required.
- Communicate to students how to submit homework assignments.
- Grade the homework assignments.
Instructors can use these suggestions as little or as much as they want, and should feel free to assign any other homework they feel is appropriate.
If you're working through this codelab on your own, feel free to use these homework assignments to test your knowledge.
Answer these questions
Question 1
What are some of the differences between fragments and activities? Select all the statements that are true.
- When creating a fragment, you inflate the layout in the
onCreateView()method. When creating an activity, you inflate the layout inonCreate(). - An activity has its own layout, but a fragment cannot have its own layout.
- An activity has its own lifecycle, but a fragment doesn't.
- When inflating the layout for either a fragment or an activity, you can reference the layout as
R.layout.layoutname.
Question 2
Which of the following statements about fragments are true? Select all that apply.
- You can use a fragment in more than one activity.
- One activity can have multiple fragments.
- After you define a fragment in a Kotlin class, the fragment is automatically added to the
activity_main.xmllayout file. - Use the
<fragment>tag to define the place in a layout file where a fragment is to be inserted.
Start the next lesson:
For links to other codelabs in this course, see the Android Kotlin Fundamentals codelabs landing page.