
Google Cloud Storage provides simple, scalable, unstructured storage. In this context, "unstructured" means that the Cloud Storage service treats your data as an ordered sequence of bytes, and does not pay any attention to any internal structure that your data may have. This stands in contrast to structured storage options, where the data is treated more like a table with rows and columns.
In Cloud Storage, "objects" are stored in "buckets". This is similar to how "files" are stored in "folders" or "directories", but unlike directories, buckets cannot be nested inside of other buckets to form hierarchies.
In this lab, we will create a new, empty Cloud Storage bucket and upload an object from local storage to the new bucket.
What you'll learn
- How to access the Cloud Storage Browser in the Google Cloud Console.
- How to create a Cloud Storage bucket.
- How to upload objects to a Cloud Storage bucket.
- How to delete a Cloud Storage bucket and all the object it contains.
What you'll need
How will you use use this tutorial?
How would you rate your experience with using Google Cloud Platform services and Firebase?
Self-paced environment setup
If you don't already have a Google Account (Gmail or Google Apps), you must create one. Sign-in to Google Cloud Platform console (console.cloud.google.com) and create a new project:


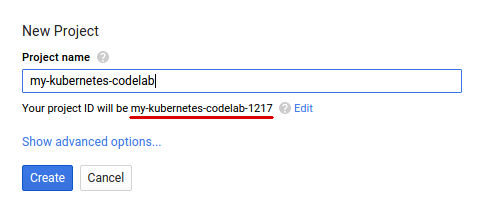
Remember the project ID, a unique name across all Google Cloud projects (the name above has already been taken and will not work for you, sorry!). It will be referred to later in this codelab as PROJECT_ID.
Next, you'll need to enable billing in the Cloud Console in order to use Google Cloud resources.
Running through this codelab shouldn't cost you more than a few dollars, but it could be more if you decide to use more resources or if you leave them running (see "cleanup" section at the end of this document).
New users of Google Cloud Platform are eligible for a $300 free trial.
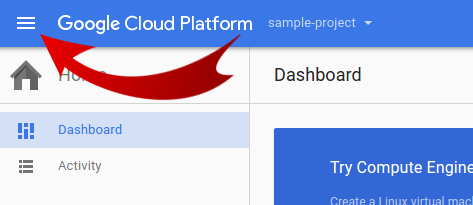
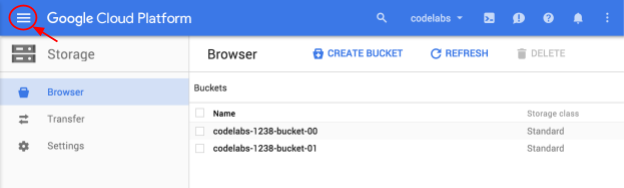
In the Google Cloud Console, click the Menu icon on the top left of the screen:
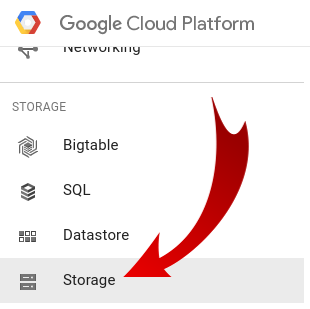
Scroll down and select Cloud Storage in the Storage subsection:
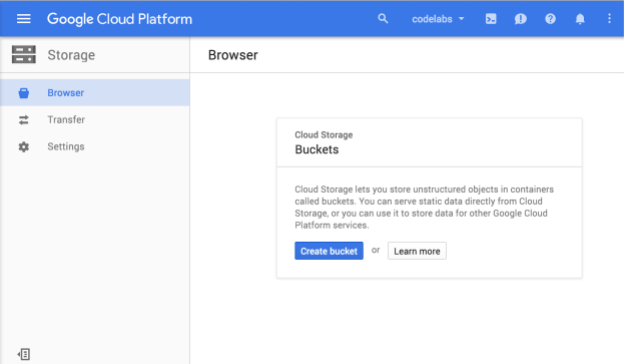
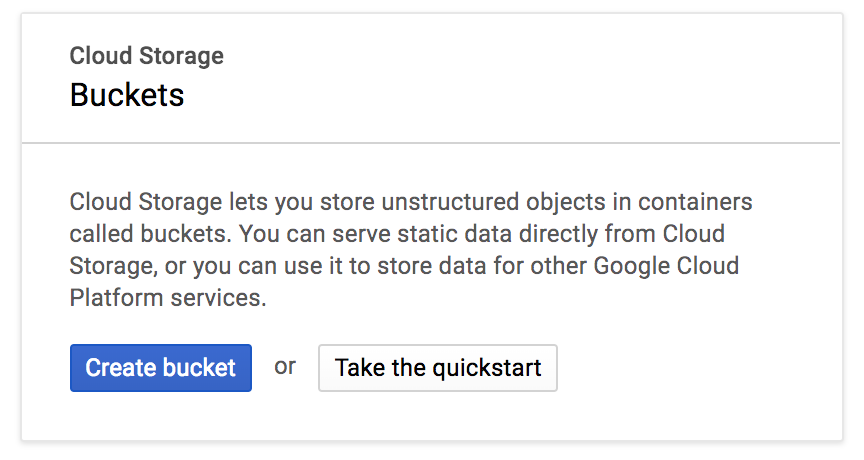
You should now see the Cloud Storage Browser, and assuming you are using a project that does not currently have any Cloud Storage buckets, you will see a dialog box inviting you to create a new bucket:
If you happen to be using a project that already has one or more buckets, you will instead see a list of those buckets:
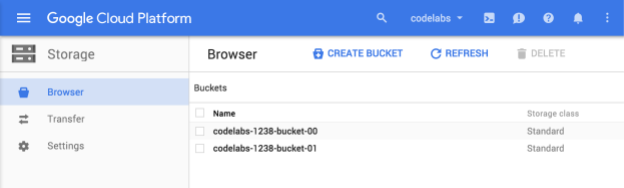
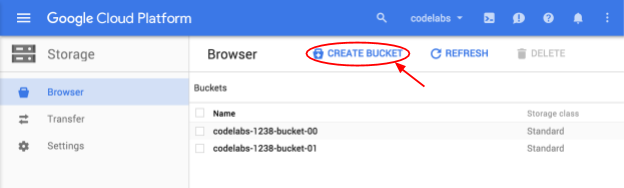
Assuming your project has no buckets, press the Create bucket button to create one:
If you are using a project that already has one or more buckets, press the Create Bucket button on the Buckets screen as shown here:
In either case, you should now see the Create a bucket dialog:

Enter a name for your bucket. As the dialog box notes, bucket names must be unique across all of Cloud Storage. So if you choose an obvious name, such as "test", you will probably find that someone else has already created a bucket with that name, and will receive an error like this one:
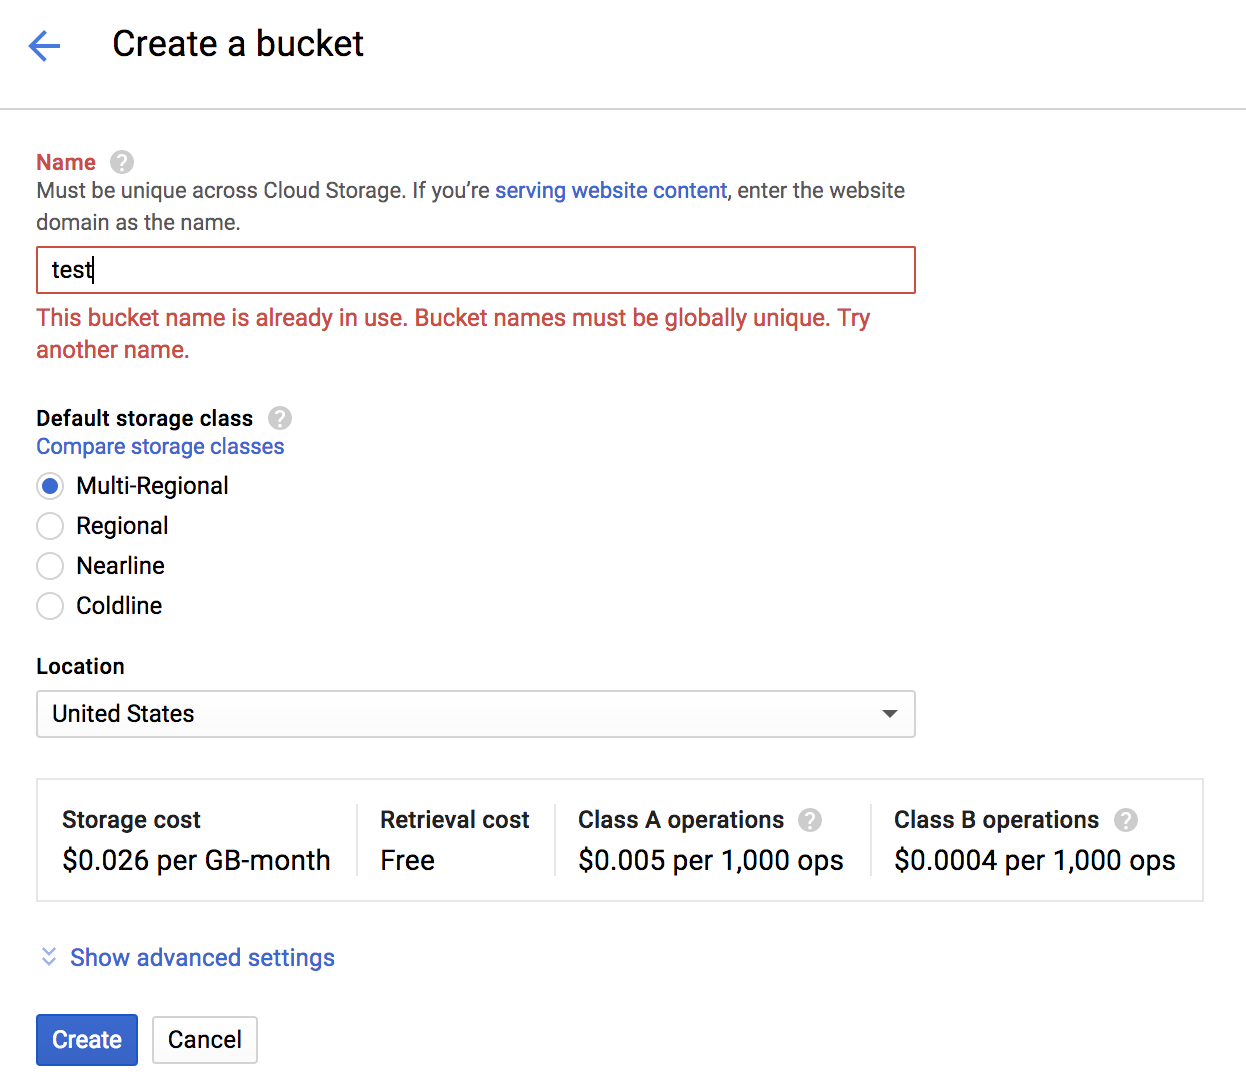
There are also some rules regarding what characters are allowed in bucket names. If you start and end your bucket name with a letter or number, and only use dashes in the middle, then you'll be fine. If you try to use special characters, or try to start or end your bucket name with something other than a letter or number, the dialog box will remind you of the rules.
Enter a unique name for your bucket and press Create. If you choose something that's already in use, you will see the error message shown above. When you have successfully created a bucket, you will be taken to your new, empty, bucket in the browser:

The bucket name you see will, of course, be different, since they must be unique across all projects.
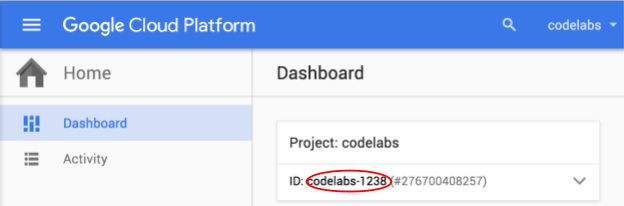
Note: If you're having trouble thinking up a unique name, you can be sure that your project ID is unique, and thus using it as a prefix for your bucket name will usually work, as shown in this example. You can find your project ID by returning to the home screen in the Cloud Console:

In this example we accepted the default Bucket Location and Storage Class, which will be fine for many scenarios. At the end of this codelab, you will find links to learn more about Bucket Locations and Storage Classes.
Now that you have a Cloud Storage bucket, we are going to see how to upload an object to it from your local machine. If you aren't in the storage view, return to it by navigating the left menu, or hitting "/" and type "storage, or use the magnifier glass on the top bar and search for storage. First we need something to upload. Download this object to the local storage of the machine you are using.
To upload an object, press Upload Files:

What happens next will depend on the type of computer you are using. A system dependant dialog will be displayed that will let you select a file from local storage to upload. Find the file you downloaded earlier, and select it.
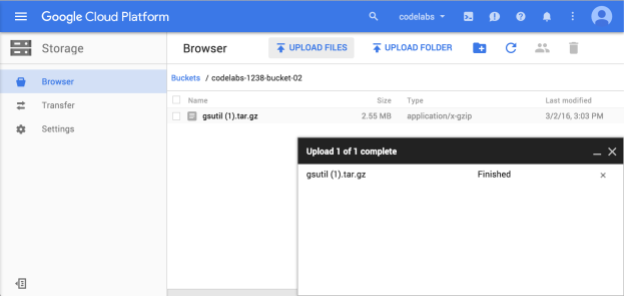
When the upload is complete, you will see the object listed in the bucket:
You can close the upload status window by pressing the X in the upper right corner.
You have now uploaded an object to Cloud Storage. Assuming you do not want to keep this example bucket and object, you should now delete them to avoid being charged for storing data you do not want.
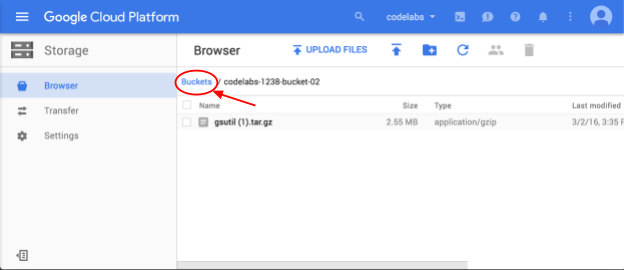
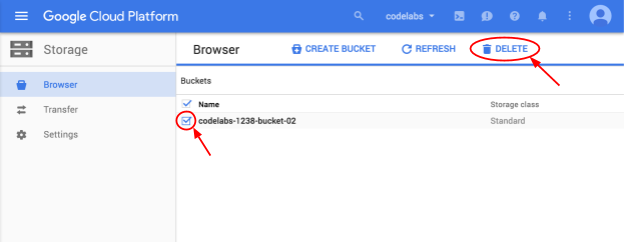
Return to the bucket list by clicking Buckets:
In the buckets page select the checkbox next to the bucket you want to delete, then press Delete:
You will be warned that deleting the bucket will also delete all the contents of the bucket. Confirm the deletion by pressing the Delete button:

You have now created and deleted buckets and objects using the Cloud Storage browser in the Google Cloud Console.
What we've covered
- Accessing the Cloud Storage Browser in the Google Cloud Console
- Creating a new Cloud Storage bucket
- Uploading an object to Cloud Storage from local storage
- Deleting a Cloud Storage bucket and all the objects it contains
Learn More
- View the Google Cloud Storage documentation
- Learn More about Bucket Locations
- Learn More about Storage Classes