
This codelab is part of the Advanced Android in Kotlin course. You'll get the most value out of this course if you work through the codelabs in sequence, but it is not mandatory. All the course codelabs are listed on the Advanced Android in Kotlin codelabs landing page.
This codelab builds on the Implementing Login on Android with FirebaseUI. While you can download the starter code for this codelab if you haven't done the previous codelab, you may find it beneficial to complete the Implementing Login on Android with FirebaseUI codelab first.
Introduction
If your app supports login, it's a common use case to reserve parts of the app only for logged in users. For example, you may want to reserve the Settings screen of your app for logged in users.
For such cases, you can use conditional navigation to bring users to the appropriate screen based on their authentication state.
In this codelab, you will build on top of an existing app to add a settings screen that will only be accessible to users if they are logged in. You'll be using Android's navigation components for this task.
What you should already know
- Android's Navigation component and how it's used in Android apps
- How login is implemented in your Android app with the FirebaseUI library. If you're not familiar with this concept, you should go through the Implementing Login on Android with FirebaseUI codelab.
What you'll learn
- How to navigate users to the appropriate screens of your app based on whether they are logged in or not.
What you'll do
- Properly handle navigating users to the correct screen after they successfully log in.
- Prevent users from accessing the Settings screen if they are not logged in, and instead redirect them to the Login screen.
In the previous codelab you worked on an app that displayed Android facts. Your app also allowed users to login and logout. For this codelab, you'll add a settings screen to the existing app. The settings screen will only be accessible to the user if they are logged in.
If the user is not logged in, then when they try to access the settings screen, the app will redirect them to the login screen. Once the login flow is completed successfully, the user will be brought back to the settings screen they originally tried to access.

This codelab builds on the Implementing Login on Android with FirebaseUI. While you can download the starter code for this codelab if you haven't done the previous codelab, you may find it beneficial to complete the Implementing Login on Android with FirebaseUI codelab first.
Download the sample app, you can either:
... or clone the GitHub repository from the command line by using the following command and switch to the start branch of the repo:
$ git clone https://github.com/googlecodelabs/android-kotlin-login-navigation
Once you have the project loaded in Android Studio:
- Run the app on an emulator or physical device to ensure that your environment has successfully been set up to start development.
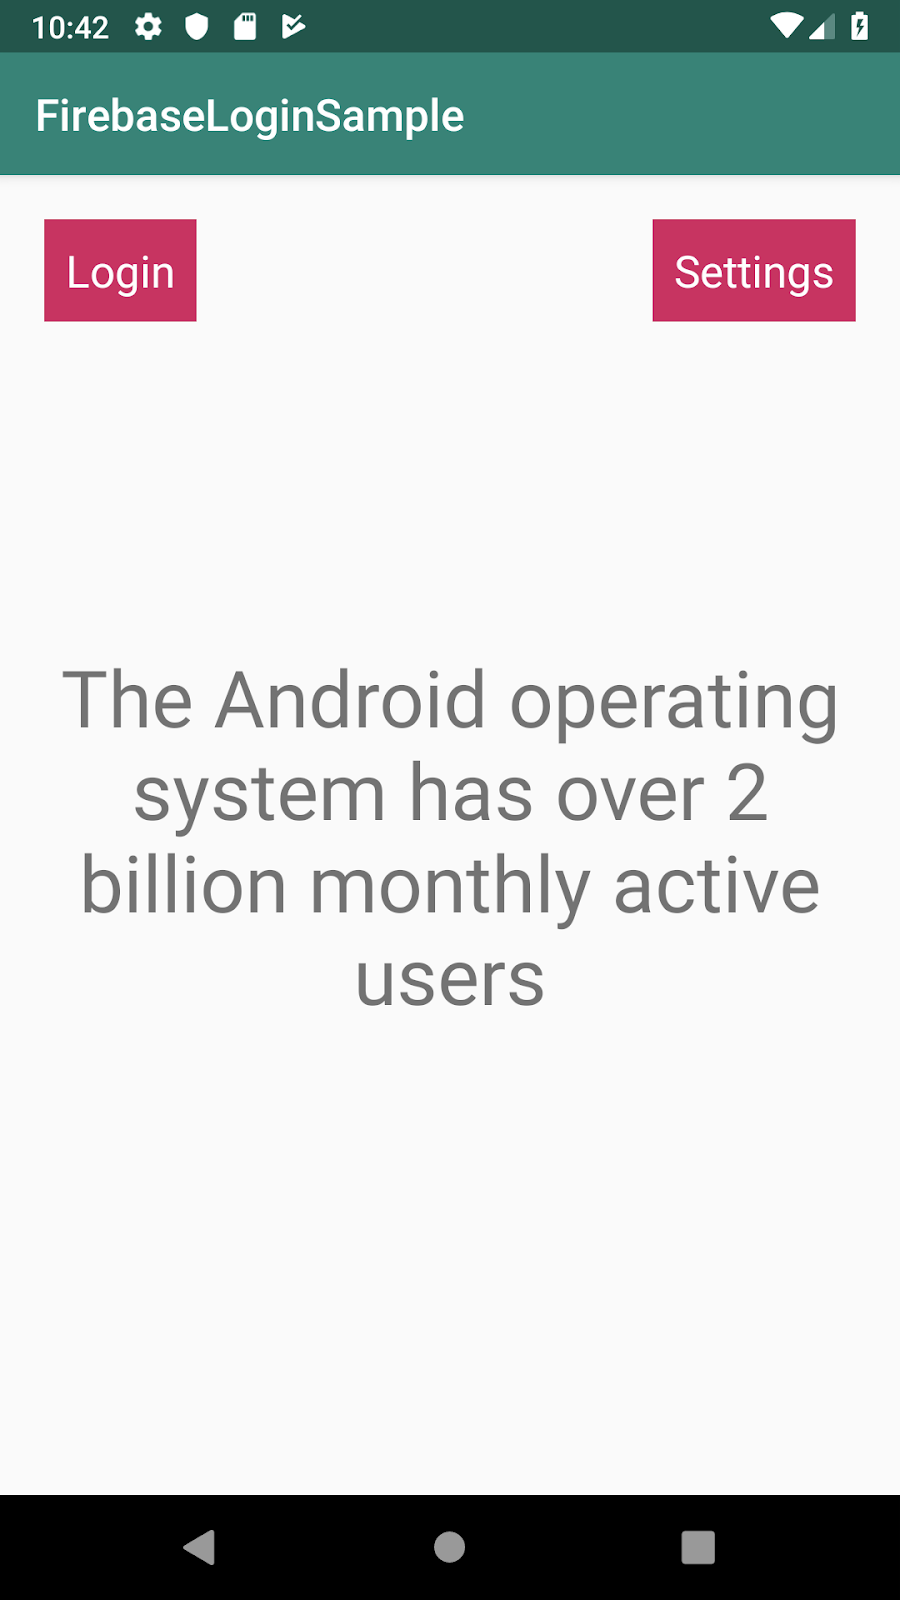
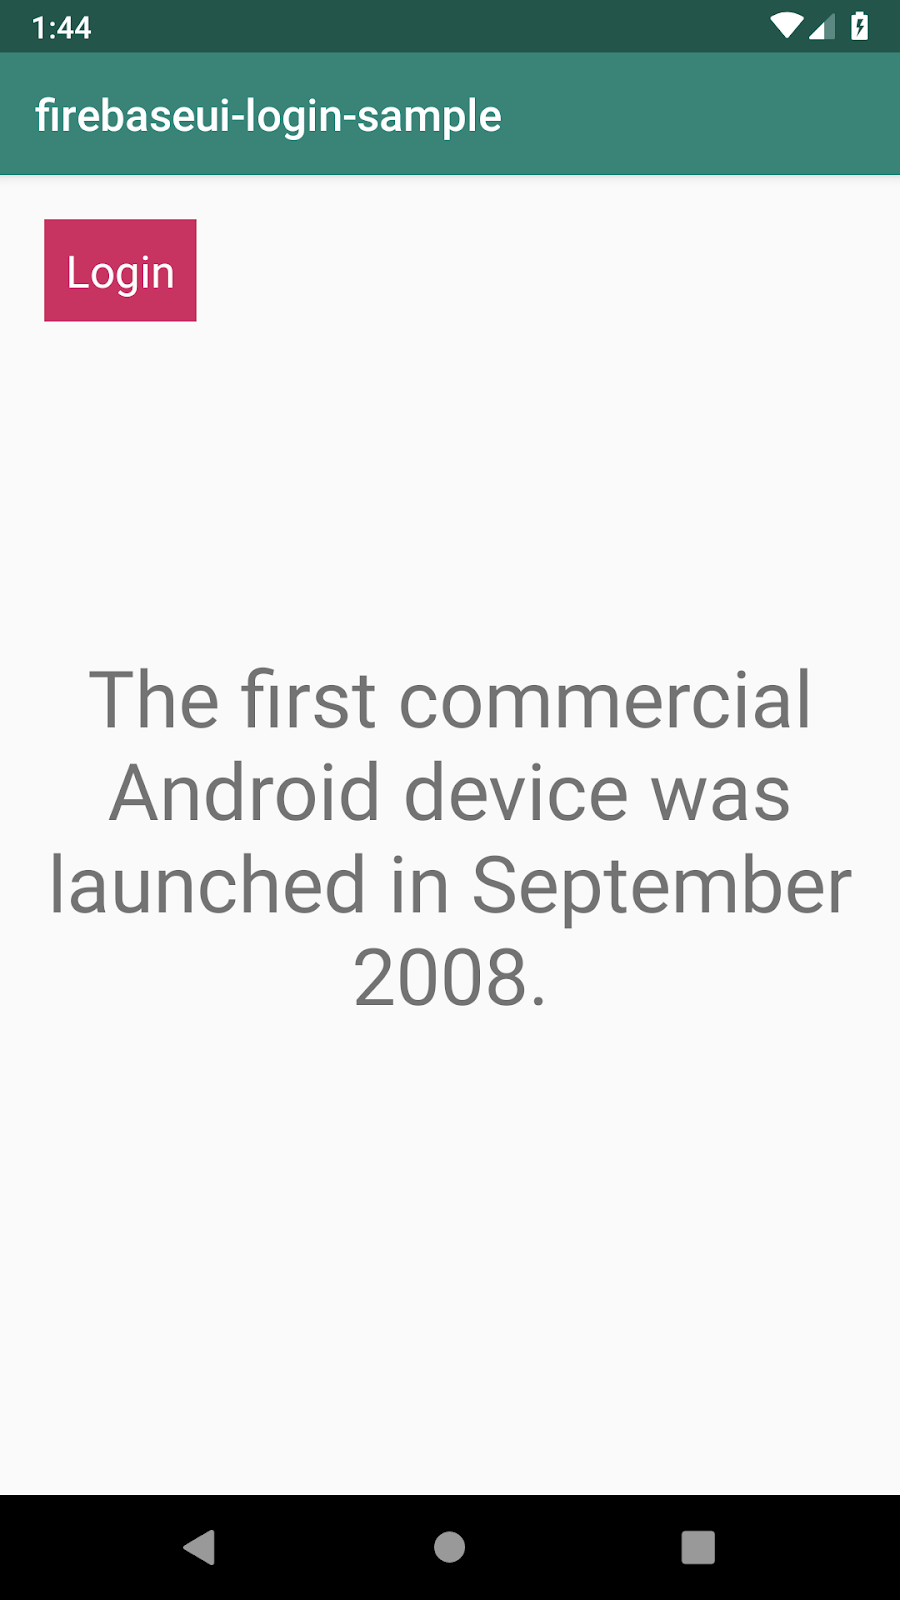
If successful, you should see the home screen displaying a fun Android fact and a login button on the top left corner.
Current features of the starter app:
- If the user is not logged in, tapping the Login button starts the login flow and allows the user to log in with an email address or Google account.
- If the user is logged in, the button changes to a Logout button that allows the user to log out.
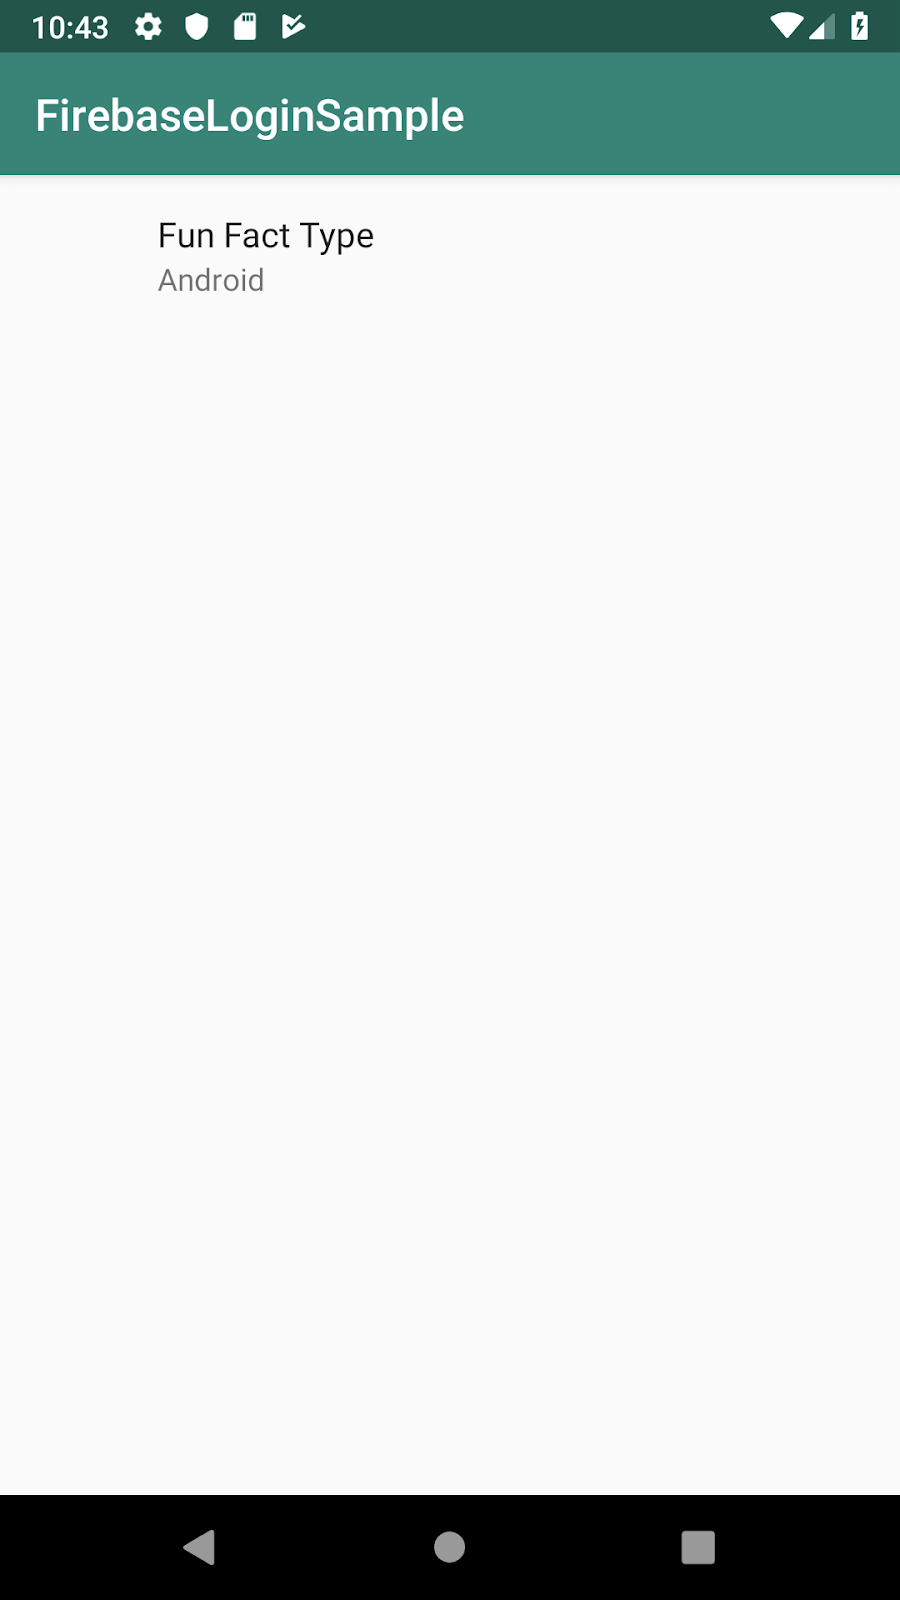
In this task, you will add a button on the home screen that allows the user to navigate to the settings screen. The settings screen will let the user pick what kind of fun facts they want displayed on the home screen. From the settings screen, they can either choose to see facts about Android or facts about the state of California.
- Open
fragment_main.xml. - In
fragment_main.xml,add a Settings button nested in theConstraintLayout, and position it at the top right corner of the screen.
fragment_main.xml
<TextView
       android:id="@+id/settings_btn"
       android:layout_width="wrap_content"
       android:layout_height="wrap_content"
       android:layout_margin="@dimen/text_margin"
       android:background="@color/colorAccent"
       android:padding="10dp"
       android:text="@string/settings_btn"
       android:textColor="#ffffff"
       android:textSize="20sp"
       app:layout_constraintRight_toRightOf="parent"
app:layout_constraintTop_toTopOf="parent"/>- Open
nav_graph.xml. - Add an action inside
mainFragment. Theidof the action isaction_mainFragment_to_customizeFragment, and the destination iscustomizeFragment.
nav_graph.xml
<fragment
       android:id="@+id/mainFragment"
       android:name="com.example.android.firebaseui_login_sample.MainFragment"
       android:label="MainFragment">
   <action
           android:id="@+id/action_mainFragment_to_settingsFragment"
           app:destination="@id/settingsFragment"/>
</fragment>- Open
MainFragment.kt. - In
onViewCreated(), set anonClickListenerforsettings_btn, so that tapping the button will navigate the user tocustomizeFragment.
MainFragment.kt
binding.settingsBtn.setOnClickListener {
   val action = MainFragmentDirections.actionMainFragmentToSettingsFragment()
   findNavController().navigate(action)
}- If you see unresolved errors, recompile the app from the Build menu to generate and use the new navigation actions you created.
- Relaunch the app. There should now be a functional Settings button on the top right corner.
- Click on the button which should take you to the Settings screen. The Settings screen only has one option, to let the user choose what type of fun fact they want to see displayed on the home screen.
- Click the back button of the Android device to get back to the home screen.
In this task, you will add code to navigate the user to the login screen if they attempt to access the settings screen when they are not logged in.
- Open
SettingsFragment.kt. - In
onViewCreated(), observe theauthenticationStateand redirect the user toLoginFragmentif they are not authenticated.
SettingsFragment.kt
override fun onViewCreated(view: View, savedInstanceState: Bundle?) {
   super.onViewCreated(view, savedInstanceState)
   val navController = findNavController()
   viewModel.authenticationState.observe(viewLifecycleOwner, Observer { authenticationState ->
       when (authenticationState) {
           LoginViewModel.AuthenticationState.AUTHENTICATED -> Log.i(TAG, "Authenticated")
           // If the user is not logged in, they should not be able to set any preferences,
           // so navigate them to the login fragment
           LoginViewModel.AuthenticationState.UNAUTHENTICATED -> navController.navigate(
               R.id.loginFragment
           )
           else -> Log.e(
               TAG, "New $authenticationState state that doesn't require any UI change"
           )
       }
   })
}
Since the app takes the user to the login screen if they try to access the settings screen, the app also needs to handle the back button behavior on the login screen. If the app doesn't customize handling the back button behavior, the user would be stuck in an infinite loop of trying to go back to the settings screen, but then be redirected to the login screen again.
- Open
LoginFragment.kt. - In
onViewCreated(), handle back button actions by bringing the user back to theMainFragment.
LoginFragment.kt
// If the user presses the back button, bring them back to the home screen
requireActivity().onBackPressedDispatcher.addCallback(viewLifecycleOwner) {
   navController.popBackStack(R.id.mainFragment, false)
}- Relaunch your app and confirm that if you're not logged in, attempts to access the settings screen will now redirect you to the login flow.
While you have successfully redirected the user to login, you haven't handled what happens after the user successfully logs in, so attempts to login will appear as if it's not working. You will fix this in the next step.
So far, you've successfully set up your app to redirect the user to the login screen if they try to access the settings screen without being logged in.
However, after you go through the sign-in flow, you are brought back to the login screen again. This is not a good user experience and can be confusing.
To provide the ideal user experience, the app should bring the user back to the settings screen after the user successfully logs in.
- Still in
LoginFragment.kt's, anywhere inonViewCreated(), observe theauthenticationStateand navigate the user back toSettingsFragmentwhen they are successfully authenticated.
LoginFragment.kt
// Observe the authentication state so we can know if the user has logged in successfully.
// If the user has logged in successfully, bring them back to the settings screen.
// If the user did not log in successfully, display an error message.
viewModel.authenticationState.observe(viewLifecycleOwner, Observer { authenticationState ->
   when (authenticationState) {
      // Since our login flow is only one screen instead of multiple
      // screens, we can utilize popBackStack(). If our login flow
      // consisted of multiple screens, we would have to call
      // popBackStack() multiple times.
       LoginViewModel.AuthenticationState.AUTHENTICATED -> navController.popBackStack()
       else -> Log.e(
           TAG,
           "Authentication state that doesn't require any UI change $authenticationState"
       )
   }
})- Run your app again and confirm that now when you successfully sign in, you land on the Settings page instead of the Login page.
You can check out the complete app with all the solution code at this Github repo https://github.com/googlecodelabs/android-kotlin-login-navigation.
In this codelab you learned best practices for how to create a good user experience in an app that supports login. By observing the authentication status of the app you were able to determine which screens the user can access and redirect them to the login screen when needed.
For more about best practices on Navigation in Android, check out the following resources:
Android developer documentation:
Codelabs:
For links to other codelabs in this course, see the Advanced Android in Kotlin codelabs landing page.