
IP addresses are used to balance, scatter, and manage traffic coming into your environment. This is built into the configurations of your routers, firewalls, and most hardware and software. Planning internal and external IP address logic is crucial in maintaining the flexibility and security of your cloud environment. As such, it is important to understand how IP addresses can affect your workloads and how they interact with internal and public network traffic. In this codelab, you will learn how to reserve and assign Compute Engine instance external IP addresses to enable communication to the public Internet.
What are IP addresses?
IP addresses are very important in TCP/IP networking. They are the addresses that are recognized and understood by instances and networking devices so that they can communicate with each other.
Each virtual machine (VM) instance in Google Cloud will have an internal IP address and typically an external IP address. The internal IP address is used to communicate between instances in the same Virtual Private Cloud (VPC) network, while the external IP address is used to communicate with instances in other networks or the internet. The IP addresses are ephemeral by default, but can be statically assigned.
Internal IPs are allocated to instances from the subnetwork's IP range via DHCP. By default, internal IPs are ephemeral and will be released if the instance is deleted. However, you can reserve a static internal IP address from the subnetwork's IP address range.
External IPs are also assigned via DHCP from a Google-provided pool. The IPs are mapped to the internal IPs of the VM instances for you. You can reserve static external IP addresses if needed. Static external IP addresses can be either global or regional depending on your requirements. For example, global static IP addresses are available for global forwarding rules used for global load balancing.
What you'll build
- A Compute Engine instance with Apache 2.0 installed
- An external IP address reservation
What you'll learn
- How to remove an IP address from an instance
- How to reserve an IP address and assign it to an instance
- Best practices around IP addresses
What you'll need
- A Google Account
Self-paced environment setup
If you don't already have a Google Account, then you must create one. Sign in to Google Cloud Console and create a new project.
Remember the project ID, a unique name across all Google Cloud projects. It will be referred to later in the codelab as PROJECT_ID.
Next, you need to enable billing in the Cloud Console to use Google Cloud resources. Running through this codelab shouldn't cost you more than a few dollars, but it could be more if you decide to use more resources or if you leave them running (see the cleanup section at the end). New users of Google Cloud are eligible for a $300 free trial.
Initialize your project environment
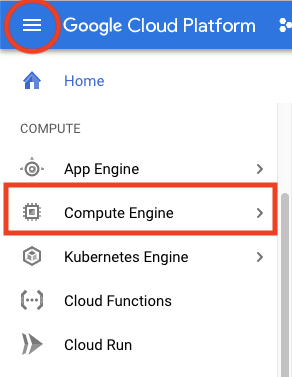
Navigate to Compute > Compute Engine > VM Instances.
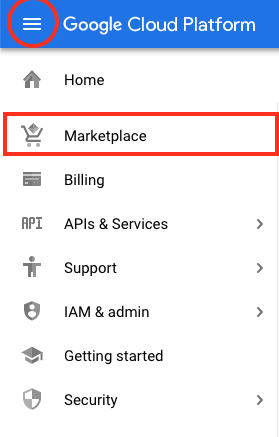
Google Cloud Marketplace offers ready-to-go development stacks, solutions, and services to accelerate development. You'll use a Compute Engine image from Google Cloud Marketplace to test external IP address functionality. Head to the Google Cloud Marketplace to deploy a preconfigured LAMP Stack on Compute Engine. Navigate to the menu, then click marketplace.
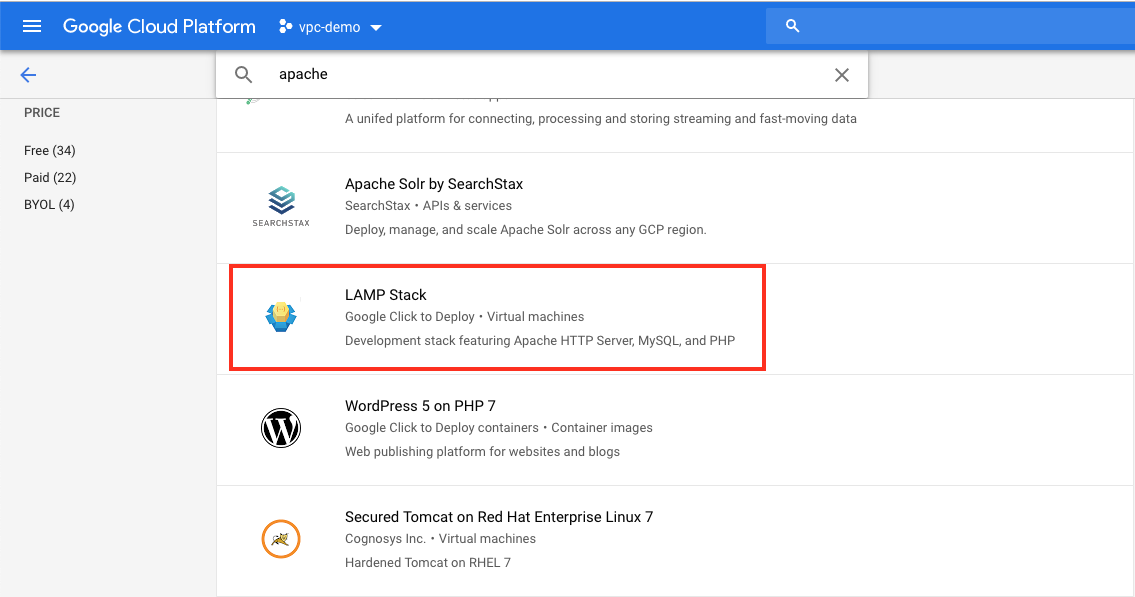
Search for the term "Apache." Select the LAMP Stack. Click to deploy image.
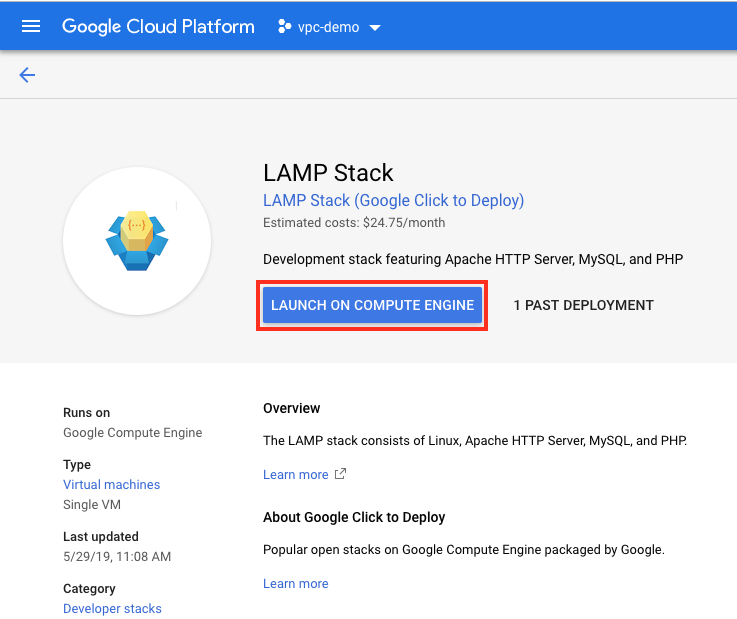
Click Launch On Compute Engine.
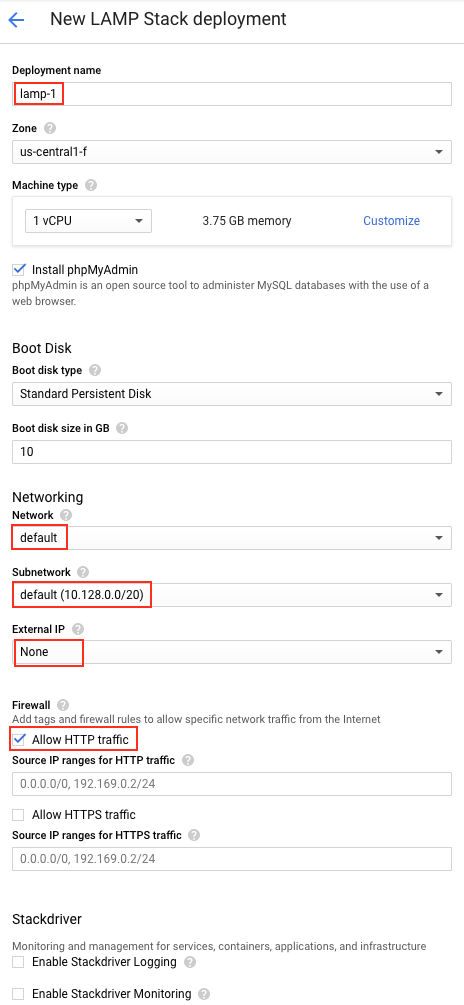
Give the instance the name lamp-1. Under networking, leave the instance in the default VPC network and the default subnetwork for the us-central1-f zone. Ensure the Allow HTTP traffic checkbox is selected. Change the external IP address option from ephemeral to none.
Click deploy.
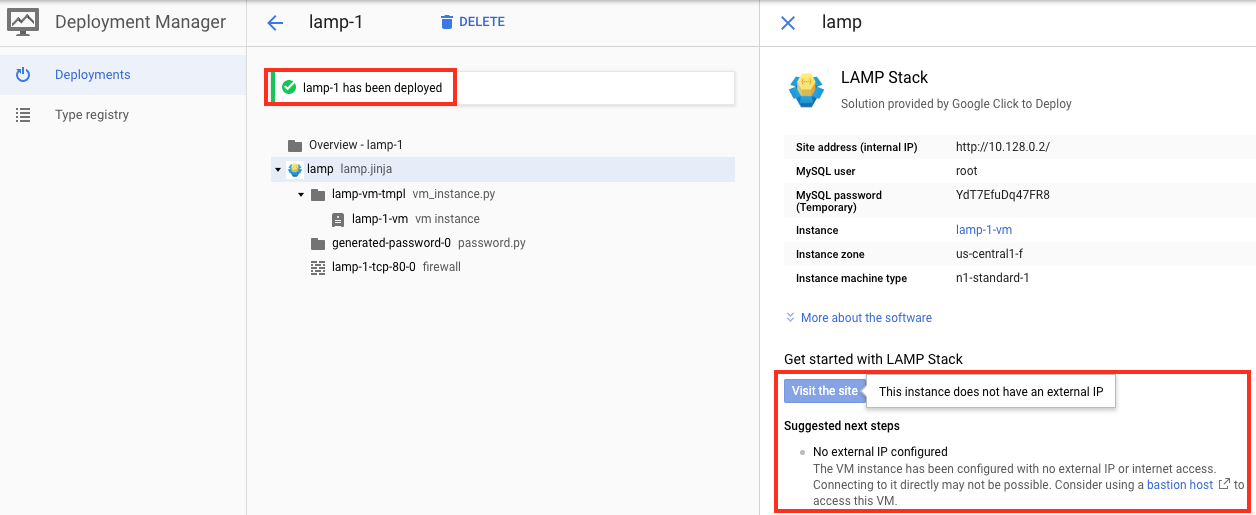
You will be brought to the Deployment Manager homepage and see that your resources are being spun up.
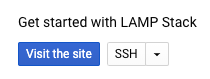
Once the stack is finished deploying, you will see a green check mark indicating completion. Notice that in the right-hand menu under the section about getting started with LAMP Stack, the visit the site option is greyed out. When you hover over it, it explains that it is inaccessible from the public internet because the instance does not have an external IP address.
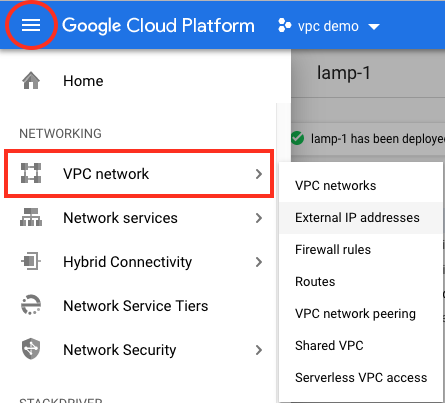
In order to access the site, you must reserve and assign an external IP address to the lamp-1 instance. Head to the IP addresses page by navigating to Networking > VPC network > External IP addresses.
Click reserve static address.Give it the name lamp-1-ip. Leave the rest as default, but assign the IPv4 address to your lamp-1 instance.

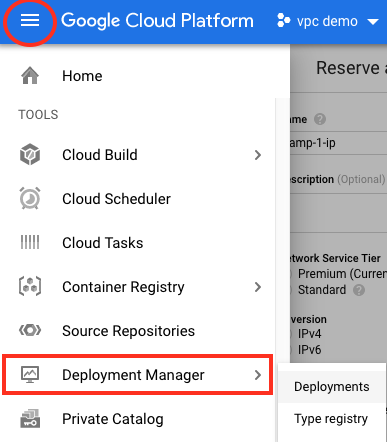
You should now be able to access the sample app that comes preinstalled on the lamp-1 instance. Head to the deployment manager homepage again by navigating to Tools > Deployment Manager > Deployments.
Click on the lamp-1 instance. Click visit the site, which should no longer be greyed out.
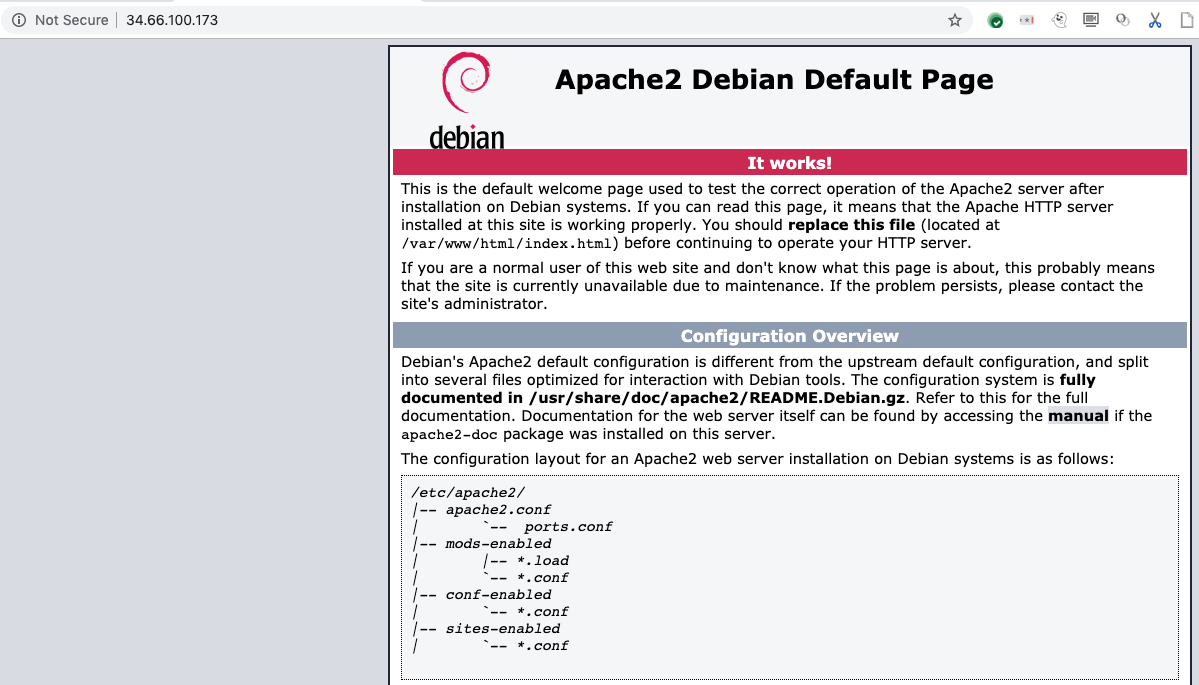
You can now see the default welcome page used to test the Apache server through the static external IP address.
You now know the basics of reserving and assigning a static external IP address to a Compute Engine instance in Google Cloud.
What you covered
- How instances are affected by external IP addresses
- How to deploy a preconfigured image using the Google Cloud Marketplace
- How to reserve and assign a static external IP address to a Compute Engine instance
Next steps
- Learn more about IP addresses in IP Addresses.
Delete the Compute Engine instances with the following commands in Cloud Shell: 
gcloud compute instances delete lamp-1
Delete the external IP address created with the following commands:
gcloud compute addresses delete lamp-1-ip