
Who this guide is for: Read this guide if you're a mobile developer responsible for building the turn-by-turn navigation experience for drivers of trucks, buses, or other large commercial vehicles.
What this guide covers: This guide explains how to take a truck-specific route generated by the Routes API or Route Optimization API and use it to power a turn-by-turn navigation session with the Navigation SDK for iOS.
What you'll learn
You'll learn how to do the following tasks:
- Use a
routeTokento connect backend route planning with the in-app navigation experience. - Configure the Navigation SDK to use a pre-planned truck route.
- Understand how truck-specific restrictions appear to the driver in the navigation UI.
Prerequisites
Before you begin, ensure you meet the following requirements:
1. Request access for your project
Large vehicle routing is available to a limited set of customers. To express interest and request access for your Google Cloud project, fill out the contact form. A Google representative will reach out with next steps.
Once Google grants access, ensure your Google Cloud project is provisioned for large vehicle routing.
If your organization uses separate Google Cloud projects for the backend routing APIs and the mobile Navigation SDK, contact Google to provision each project.
2. Set up backend route generation and obtain a route token
Before starting navigation on the device, your backend server must generate a
truck route and obtain a routeToken using one of the following APIs:
- Routes API: Recommended for calculating single truck routes between origins and destinations. For setup instructions, see Generate large vehicle routes & ETAs.
- Route Optimization API: Recommended for optimizing multi-stop routes across a fleet. For more information, see the Route Optimization API large vehicle routing guide.
Your backend request must specify travelMode: TRUCK along with the vehicle's
physical attributes (height, width, length, weight, axle count, and hazmat
cargo). The routing API returns a routeToken in its response, which your
backend server passes to your mobile app.
3. Meet minimum SDK and system requirements
Your app must use the minimum required Navigation SDK version 5.4.0 or later.In addition, your project must meet standard Navigation SDK setup requirements.
Limitations and operational guidelines
Before you begin, note the following limitations and operational guidelines:
- Geographic availability: Large vehicle routing is available in the contiguous 48 United States (Generally Available) and Japan (Experimental). It isn't available in Alaska, Hawaii, or US territories.
- Driver advisory and safety: Drivers mustn't rely solely on routes returned by the Navigation SDK to be safe or legal. Routes might not be suitable for the vehicle in all road conditions, and following them could expose drivers to hazards such as low clearances or weight-restricted roads. Drivers must always remain alert and obey posted road signs and local regulations.
- Best-effort routes: When the routing API can't find a route that fully
complies with vehicle restrictions, it returns a "best effort" route that
might still traverse restricted segments. For example, the Routes API sets
the
routeRestrictionsPartiallyIgnoredflag in its response. When navigating these routes, the Navigation SDK displays route callouts to highlight the relevant restrictions. Plan routes carefully in these cases and don't use a flagged route as a single source of truth for planning or navigation. - Unsupported features: Large vehicle routing doesn't support the
following features:
- Truck toll pricing
- Truck or heavy vehicle-specific speed limits
- Routing for radioactive hazardous materials
- Usage limits: Requests made to the Navigation SDK follow standard usage and quota limits. For more information, see Usage and billing.
Display truck-specific UI (route callouts)
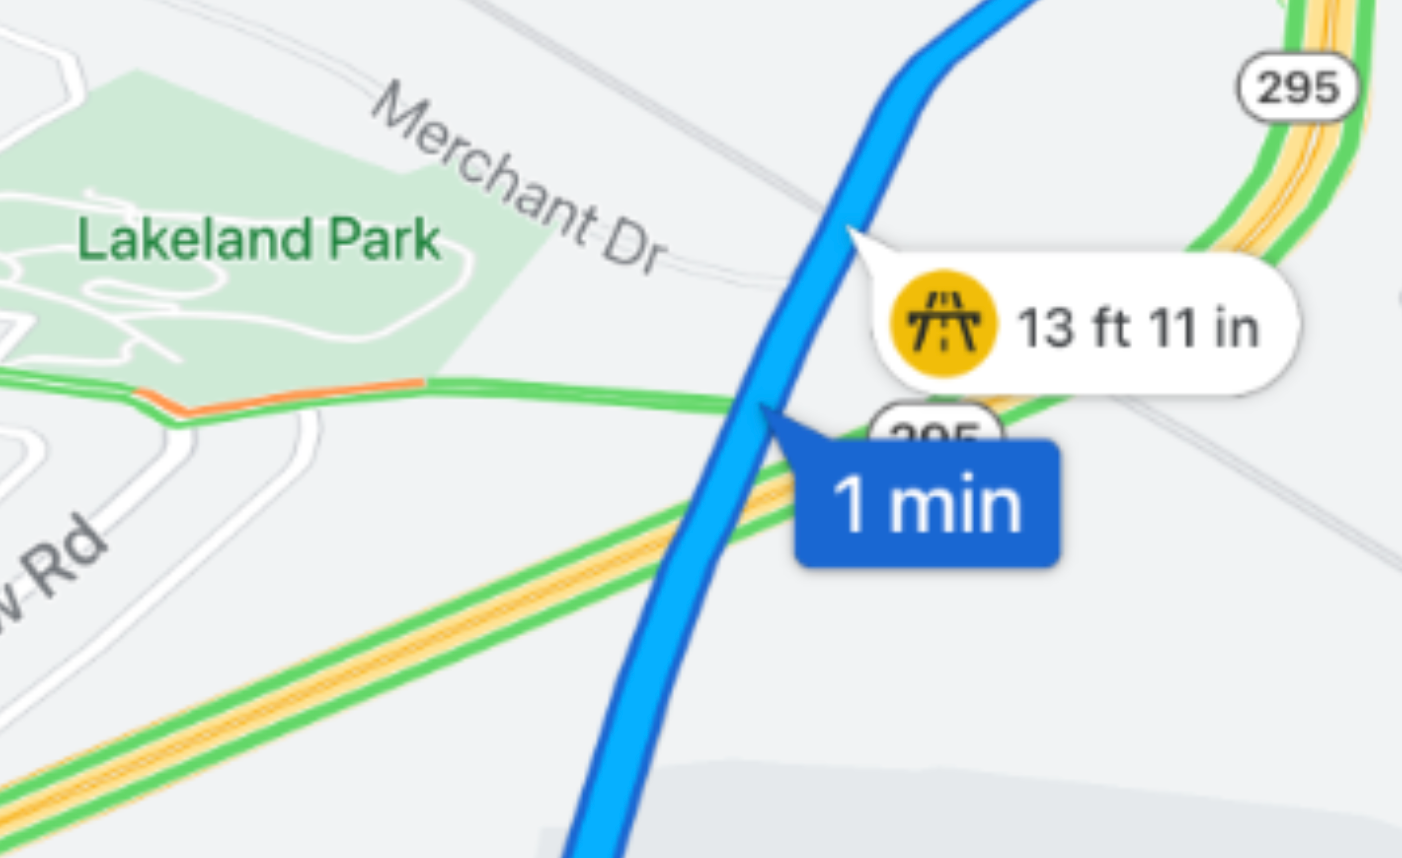
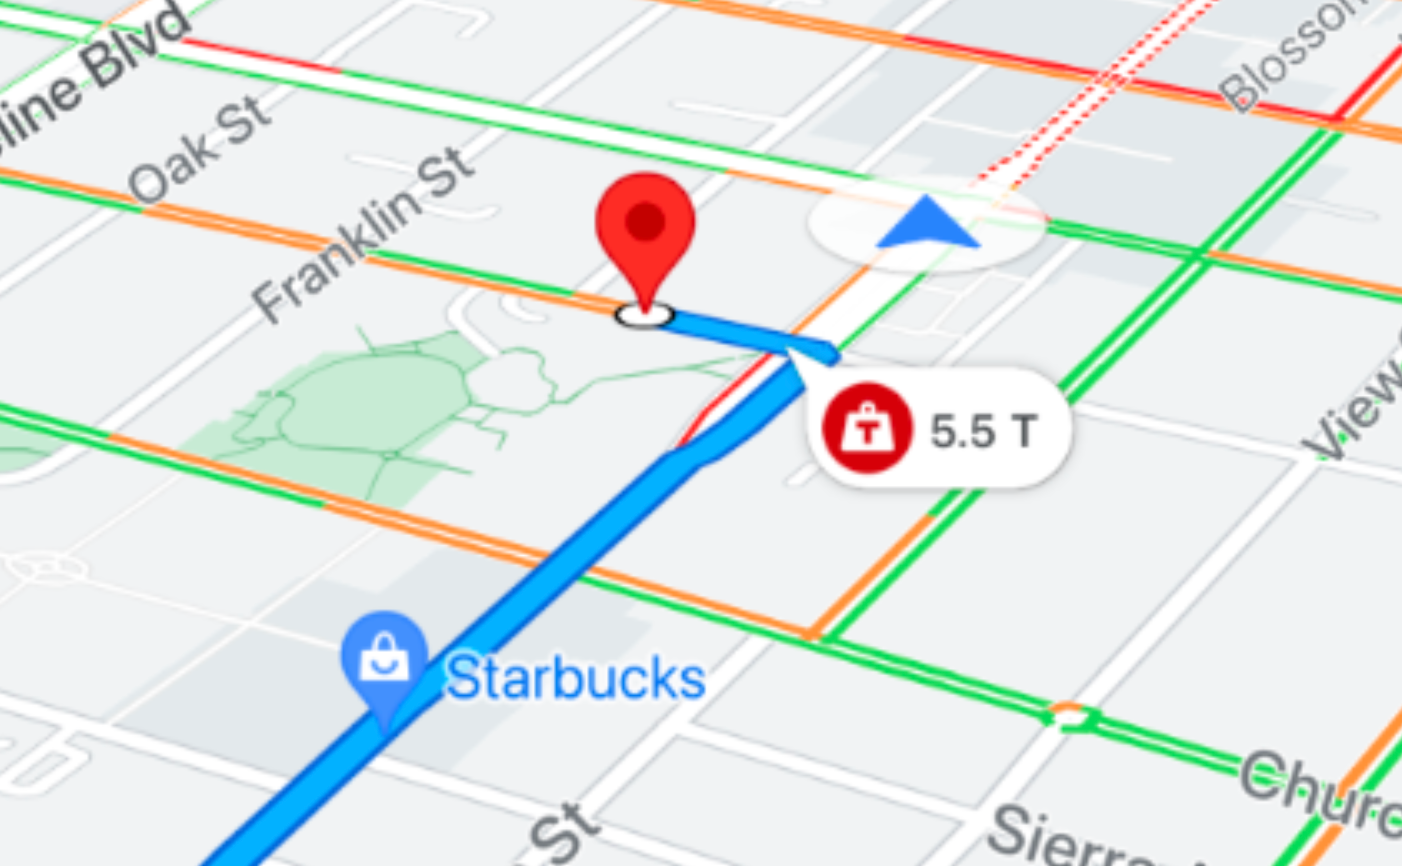
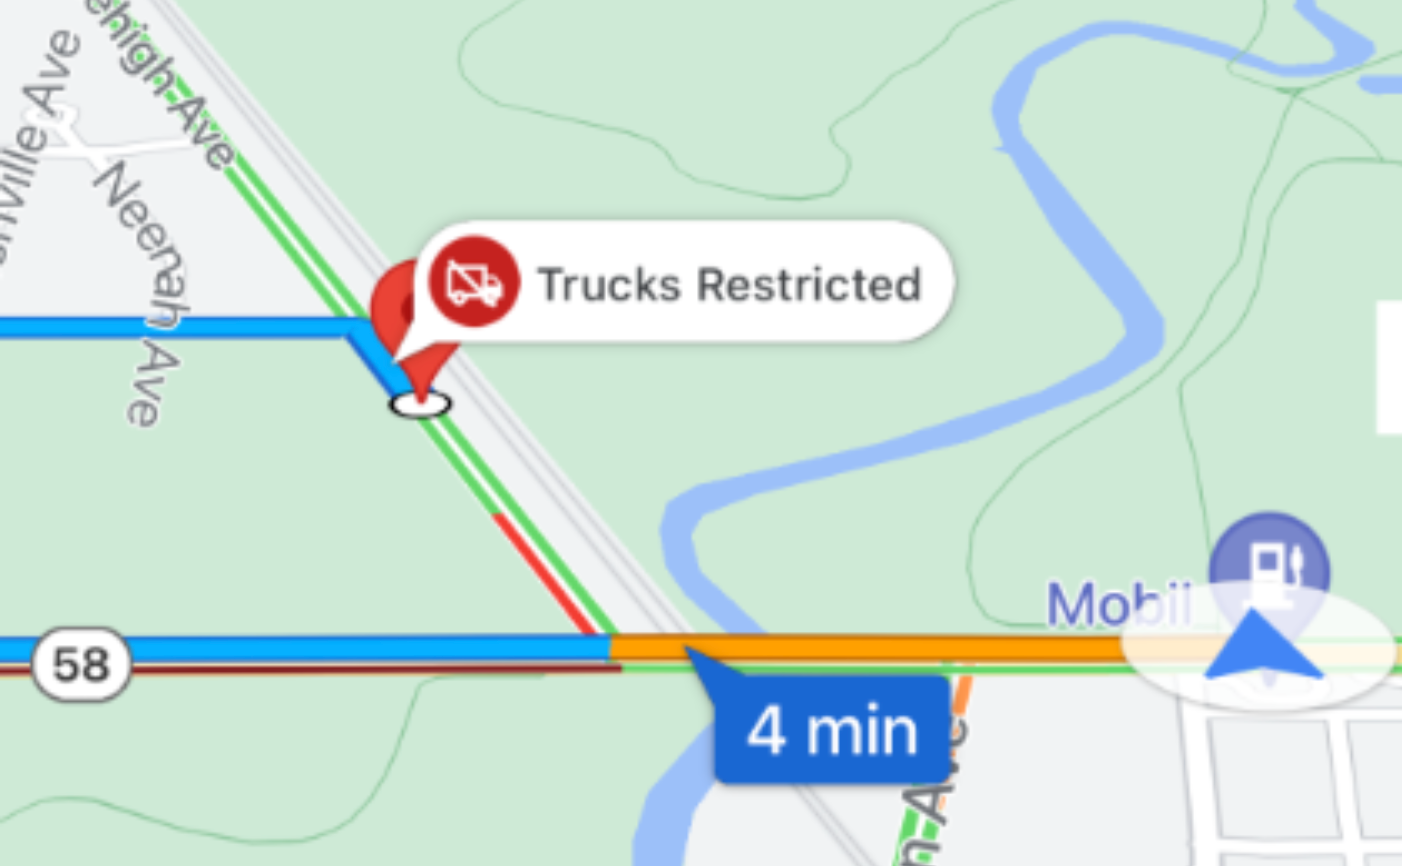
The Navigation SDK automatically displays visual warnings, called route callouts, on the map to alert drivers to upcoming truck restrictions. Callouts appear for restrictions that occur along the planned route, but don't display on other nearby roads.
The Navigation SDK includes callouts for the following restrictions:
| Restriction | Callout icon & text | Conditions for display |
|---|---|---|
| Height |
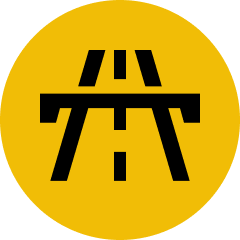
Yellow = warning, your vehicle is close to the maximum height allowed 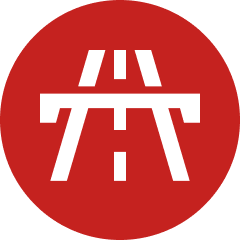
Red = your vehicle is above the maximum height allowed |
A yellow callout appears when the vehicle's height is close to the restriction.
A red callout appears if the route is non-compliant and violates a height restriction. 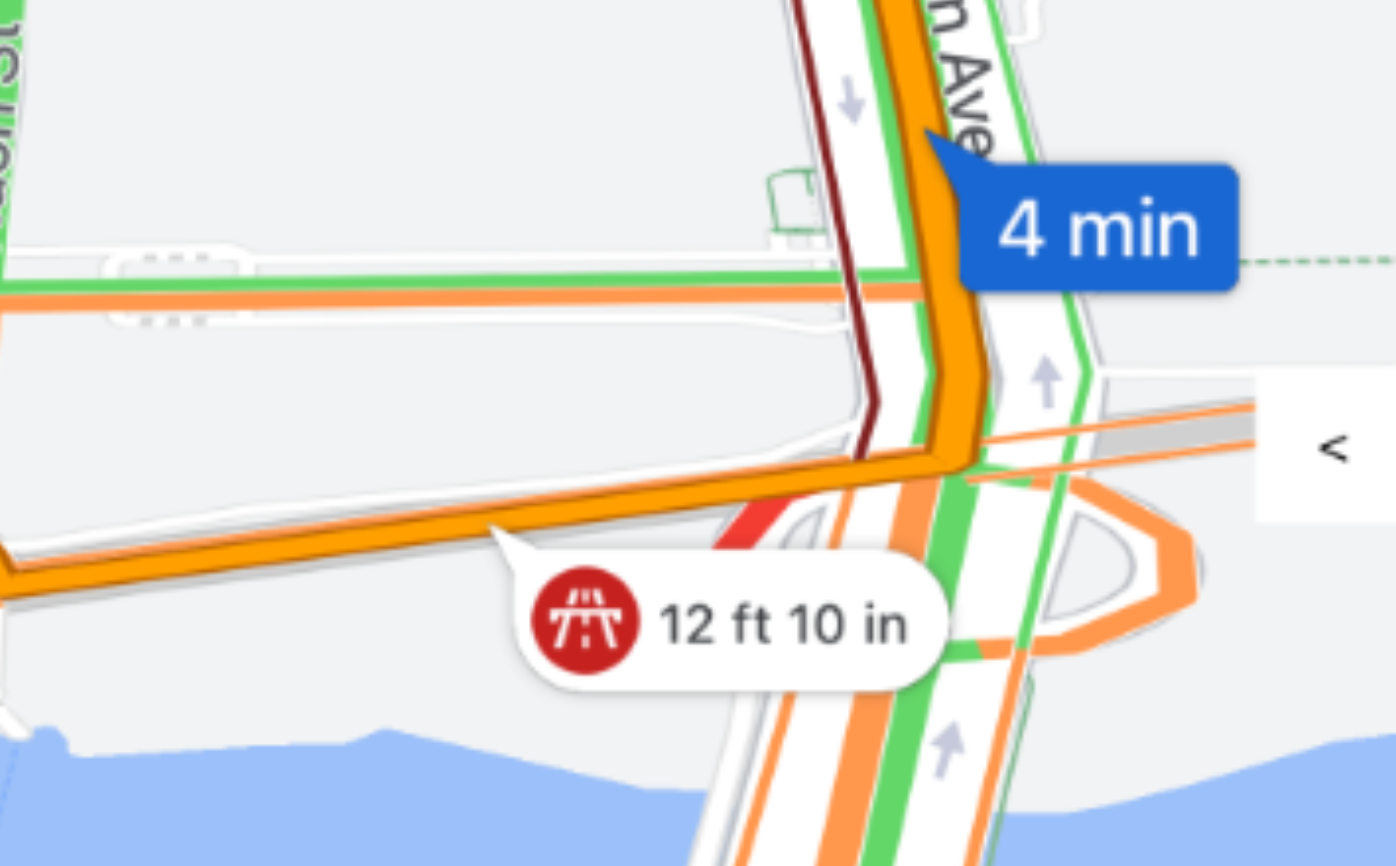
|
| Weight |
|
A red callout appears when the vehicle's weight
exceeds the road's limit.
|
| Trucks Prohibited |
|
A red callout appears when traveling on a road segment
with a commercial truck restriction.
|
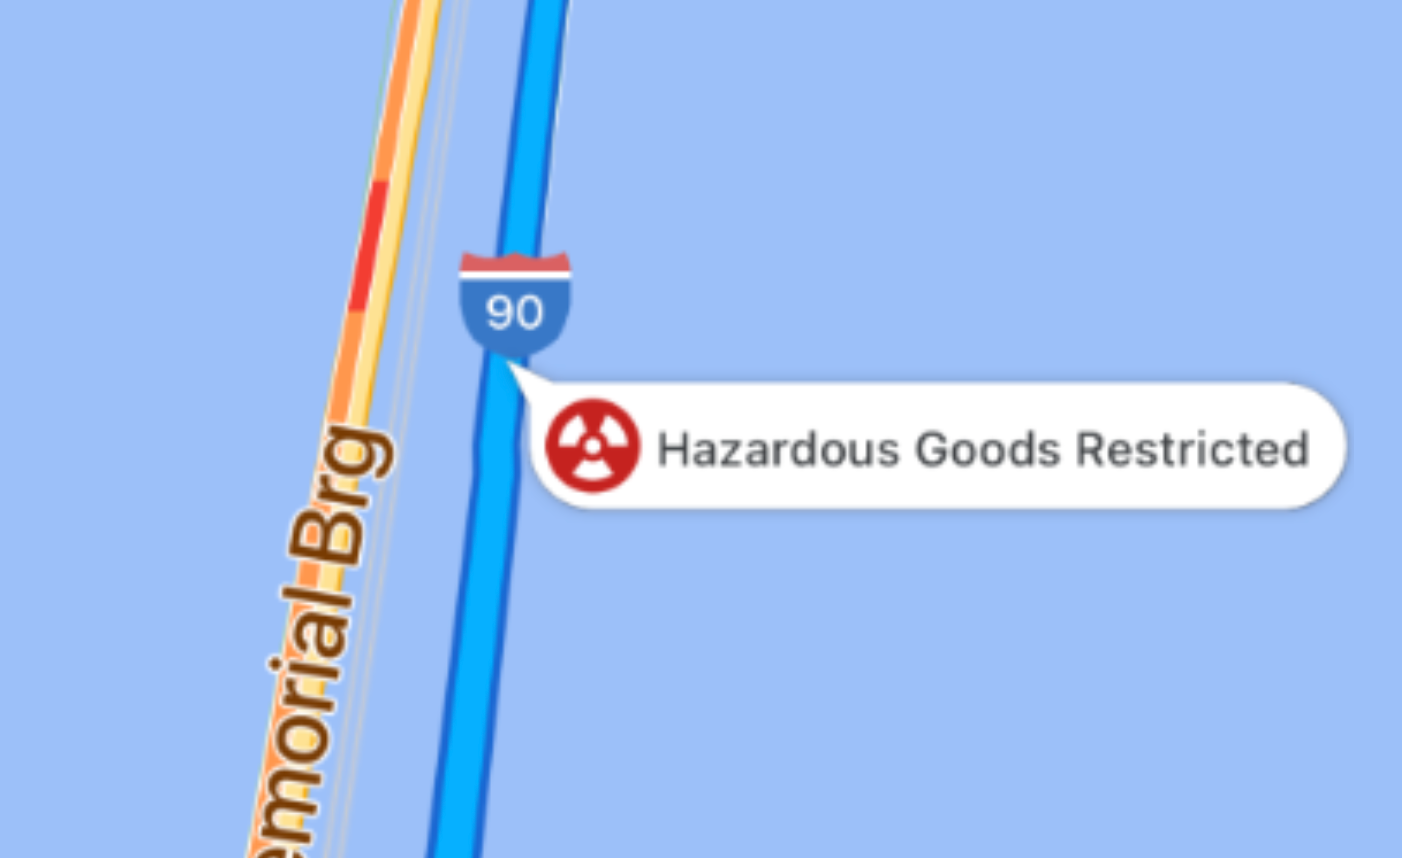
| Hazardous Goods |
|
A red callout appears when the vehicle's hazmat load is prohibited on a road segment.
|
How route tokens work
A routeToken is an encrypted snapshot of a route created by Google's routing
backend. It encapsulates the planned route geometry as well as the vehicle's
physical dimensions and restriction profile.
The workflow follows these steps:
- Request route: Your backend server requests a truck route from the Routes API (or Route Optimization API).
- Receive token: The routing API calculates the compliant route and
returns a
routeTokento your backend server. - Forward token: Your backend server passes the
routeTokenand destination coordinates to your mobile app. - Pass to SDK: The mobile app passes the
routeTokento the Navigation SDK. - Start guidance: The Navigation SDK handles all aspects of the turn-by-turn experience, including rendering route callouts and handling dynamic rerouting according to the vehicle's restrictions.
Dynamic recalculations and rerouting
During active navigation, traffic conditions, road closures, or missed turns might cause the vehicle to deviate from the planned route.
When rerouting occurs:
- The Navigation SDK automatically recalculates the route to the destination.
- The SDK retains the vehicle attributes and dimensions encoded in the
original
routeToken. - The newly recalculated route avoids low clearances, weight-limited bridges, and roads prohibited for commercial trucks.
Implementation: Start a truck-specific trip
Follow these steps to initialize and start turn-by-turn navigation with a large vehicle route token.
Step 1: Obtain the route token from your backend
Your mobile app receives the routeToken string along with the
destination coordinates from your backend server. For details on generating this
token on your server, see Generate large vehicle routes & ETAs
in the Routes API documentation.
The following code is an example route token:
{
  "routeToken": "CqMBCjoKCJQOor5DHcwiEhBon3XpHXFnVvDeWMwd9PpAGgz6wtnFDKIBrAHTARpCApUDSggAAAAACjcrP3gBEAQaTApKChgKDQoCCAERAAAAAACAZkAR3SQGgZUXdUASEggAEAMQBhATEBIYAkIEGgIIBSIYChZ2VEJiWlBPSkk1aU5wUVRzNTV5d0FRKAEiFQBcJuds-Efh-2QZhOMTtUCCxEVL_g"
}
Step 2: Pass the token to the Navigator
Pass the routeToken and destination waypoints to the mapView.navigator
setDestinations method.
When configuring waypoints and passing the route token, keep the following considerations in mind:
- Destination match requirement: The destination coordinates passed to
setDestinationsmust match the destination coordinates used when generating therouteToken. Specifying a different destination causes an error. - Side-of-road routing: Large commercial vehicles can't easily make
U-turns on narrow streets. To ensure the truck approaches the destination
on the correct side of the road, set
preferSameSideOfRoad = trueon your waypoints. - Vehicle stopovers: To guide the truck to an appropriate location for
stopping or unloading, set
vehicleStopover = trueon your waypoints. - Navigation points: If your destination has a designated freight entrance or loading dock, specify it using a navigation point token.
Step 3: Handle route status and start guidance
Evaluate the GMSRouteStatus returned in the setDestinations callback. When
the status is .OK (GMSRouteStatusOK), set isGuidanceActive = true
(guidanceActive = YES) to begin active turn-by-turn guidance.
Code example
Pass the route token to the Navigation SDK using the mapView.navigator
setDestinations method, specifying the same destination waypoints that you
used when creating the route token:
// Obtain the routeToken string from your backend
let routeToken = "route token returned by Routes API"

mapView.navigator?.setDestinations([destination], routeToken: routeToken, callback: {...})
In-vehicle displays
You can display the large vehicle navigation session on in-dash screens using Navigation for CarPlay.Next steps
- Modify the navigation UI: Customize built-in UI controls and visual elements, such as the compass, recenter button, and camera perspective.
- Listen for navigation events: Handle navigation updates and lifecycle events, such as route progress, ETA changes, and reroutes.