
Cloud SQL is a fully managed database service that makes it easy to set up, maintain, manage, and administer your relational databases on Google Cloud. You can use Cloud SQL with either Cloud SQL for MySQL or Cloud SQL for PostgreSQL.
In this codelab, you will learn how to set up a Cloud SQL for MySQL instance and then update a Spring Boot app to use the Cloud SQL instance as its backend storage. The Spring Boot Starter for Google Cloud SQL provides an autoconfigured DataSource, allowing you to easily take advantage of Cloud SQL with minimal changes to your code. This codelab uses the Spring Petclinic source code.
Prerequisites
- Familiarity with Java programming language and tools
- Knowledge of standard Linux text editors, such as Vim, Emacs, and nano
What you'll do
- Use Cloud SQL in your Spring Boot app.
What you'll need
- A Google Cloud project
- A browser, such Google Chrome or Firefox
Self-paced environment setup
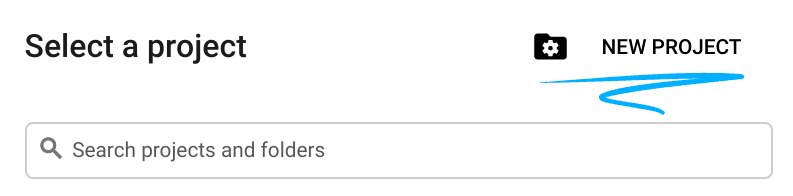
- Sign in to Cloud Console and create a new project or reuse an existing one. (If you don't already have a Gmail or G Suite account, you must create one.)

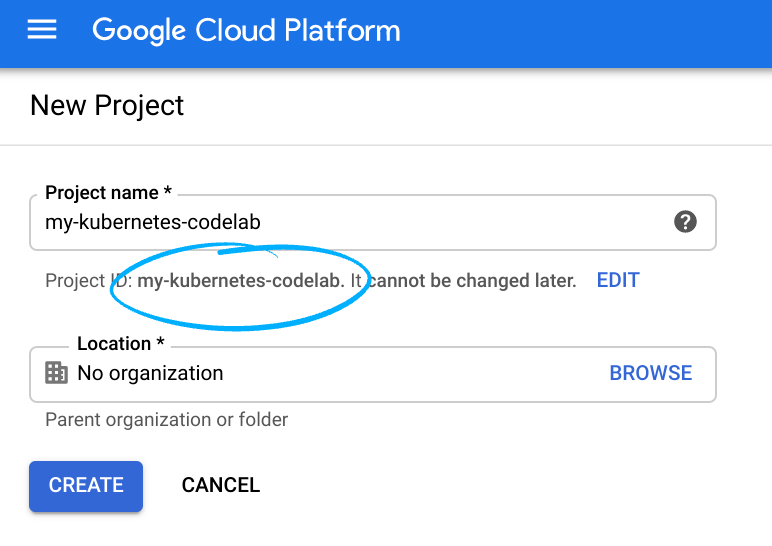
Remember the project ID, a unique name across all Google Cloud projects (the name above has already been taken and will not work for you, sorry!). It will be referred to later in this codelab as PROJECT_ID.
- Next, you'll need to enable billing in Cloud Console in order to use Google Cloud resources.
Running through this codelab shouldn't cost you more than a few dollars, but it could be more if you decide to use more resources or if you leave them running.
New users of Google Cloud are eligible for a $300 free trial.
Activate Cloud Shell
- From the Cloud Console, click Activate Cloud Shell
.

If you've never started Cloud Shell before, you'll be presented with an intermediate screen (below the fold) describing what it is. If that's the case, click Continue (and you won't ever see it again). Here's what that one-time screen looks like:
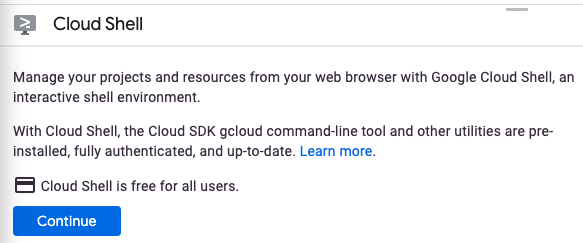
It should only take a few moments to provision and connect to Cloud Shell.

This virtual machine is loaded with all the development tools you'll need. It offers a persistent 5GB home directory and runs in Google Cloud, greatly enhancing network performance and authentication. Much, if not all, of your work in this codelab can be done with simply a browser or your Chromebook.
Once connected to Cloud Shell, you should see that you are already authenticated and that the project is already set to your project ID.
- Run the following command in Cloud Shell to confirm that you are authenticated:
gcloud auth list
Command output
 Credentialed Accounts
ACTIVE  ACCOUNT
*       <my_account>@<my_domain.com>

To set the active account, run:
$ gcloud config set account `ACCOUNT`gcloud config list project
Command output
[core]
project = <PROJECT_ID>
If it is not, you can set it with this command:
gcloud config set project <PROJECT_ID>
Command output
Updated property [core/project].
- After Cloud Shell launches, you can use the command line to create a new Cloud SQL instance:
$ gcloud sql instances create my-instance
Once this operation completes, your instance will be ready to use.
- Now create a database that you will use for the Petclinic app:
$ gcloud sql databases create petclinic --instance my-instance
You can also access and configure the instance via the Cloud Console.
- Get the instance connection name in the format
project-id:zone-id:instance-idby running the following command. You will use this later in configuring your Spring Boot app.
$ gcloud sql instances describe my-instance |grep connectionName
- You will now clone and test the Petclinic app locally.
$ git clone https://github.com/spring-projects/spring-petclinic
$ cd spring-petclinic
$ ./mvnw spring-boot:run
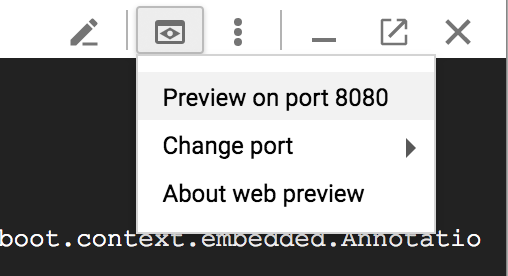
- Click Web Preview
 in Cloud Shell , then select Preview on port 8080.
You should see the Petclinic homepage as shown here in your browser:
- Play around and add data. The app uses an in-memory HyperSQL database. You will now switch from HyperSQL to using Cloud SQL as your database.
Update the Maven pom.xml file
Update the pom.xml file as shown here. The starter provides an autoconfigured DataSource object to connect to your Cloud SQL database. You can use Vim, nano,or Emacs to edit the file.
pom.xml
<?xml version="1.0" encoding="UTF-8"?>
<project xmlns="http://maven.apache.org/POM/4.0.0" ...>
    ...
    <!-- Add Spring Cloud GCP Dependency BOM -->
    <dependencyManagement>
        <dependencies>
          <dependency>
          <groupId>org.springframework.cloud</groupId>
          <artifactId>spring-cloud-gcp-dependencies</artifactId>
          <version>1.0.0.RC1</version>
          <type>pom</type>
          <scope>import</scope>
          </dependency>
      </dependencies>
    </dependencyManagement>
    <dependencies>
      ...
      <!-- Add CloudSQL Starter for MySQL -->
      <dependency>
        <groupId>org.springframework.cloud</groupId>
        <artifactId>spring-cloud-gcp-starter-sql-mysql</artifactId>
      </dependency>
      ...
    </dependencies>
    <repositories>
      <!-- Use Spring Milestone Repository -->
      <repository>
        <id>repository.spring.milestone</id>
        <name>Spring Milestones Repository</name>
        <url>http://repo.spring.io/milestone</url>
      </repository>
    </repositories>
</project>
Update application-mysql.properties
- Replace the content of
src/main/resources/application-mysql.propertieswith the following properties. You'll need to set the instance connection name from the earlier step.
src/main/resources/application-mysql.properties
database=mysql

# Delete the rest of the original content of the file and replace with the following:
spring.cloud.gcp.sql.database-name=petclinic
spring.cloud.gcp.sql.instance-connection-name=YOUR_CLOUD_SQL_INSTANCE_CONNECTION_NAME

# Initialize the database since the newly created Cloud SQL database has no tables. The following flag is for Spring Boot 2.
spring.datasource.initialization-mode=always- Finally, enable a Cloud SQL for MySQL profile in the Spring Boot app by adding
mysqltoapplication.properties' spring.profiles.activeproperty:
src/main/resources/application.properties
# Keep the content of the file the same
...

# In the last line, add mysql to the spring.profiles.active property
spring.profiles.active=mysql- You can start the Spring Boot app normally with the Spring Boot plugin:
$ ./mvnw -DskipTests spring-boot:run
- Once the app has started, click Web Preview in the Cloud Shell toolbar, then select Preview on port 8080.
You should see the Spring Petclinic homepage again as shown here in your browser:
- Add a pet owner entry.
Optional: Verify that Cloud SQL has persisted the data
You can verify that the data you entered has been persisted to Cloud SQL as shown here. Hit enter (return on Macintosh) when prompted for a password.
$ gcloud sql connect my-instance -u root
Whitelisting your IP for incoming connection for 5 minutes...done.
Enter password: <Press Enter, there is no password by default>
...
mysql> use petclinic;
mysql> select * from owners;
Optional: Delete your Cloud SQL instance
Once you have stopped your app, you can delete the Cloud SQL instance using the following command:
$ gcloud sql instances delete my-instance
You learned how to connect to Cloud SQL in your Spring Boot app!