
Google provides a powerful image build tool with which you can easily build and publish an optimized Docker container image for Java apps in no time without Docker or Dockerfile. Google Cloud also brings serverless to containers with Cloud Run, a managed compute platform that automatically scales your stateless containers. In this codelab, you will see how easy it is to containerize your Spring Boot Kotlin app, publish to Container Registry, and run the image on Google Cloud in a seamless manner!
This codelab walks you through setting up a simple app in Kotlin, which demonstrates using Google Cloud services and tools, including Jib, Container Registry, and Cloud Run.
Prerequisites
- Familiarity with Java programming language and tools
- Knowledge of standard Linux text editors, such as Vim, Emacs, and nano
What you'll do
- Set up a Spring Boot Kotlin app.
- Build an optimized Docker image.
- Publish the image to Container Registry.
- Run the containerized app on Cloud Run.
What you'll need
- A Google Cloud project
- A browser, such as Google Chrome
Self-paced environment setup
- Sign in to Cloud Console and create a new project or reuse an existing one. (If you don't already have a Gmail or G Suite account, you must create one.)

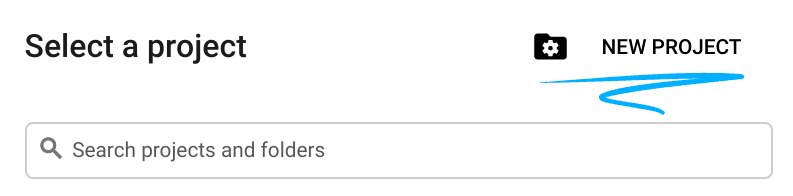
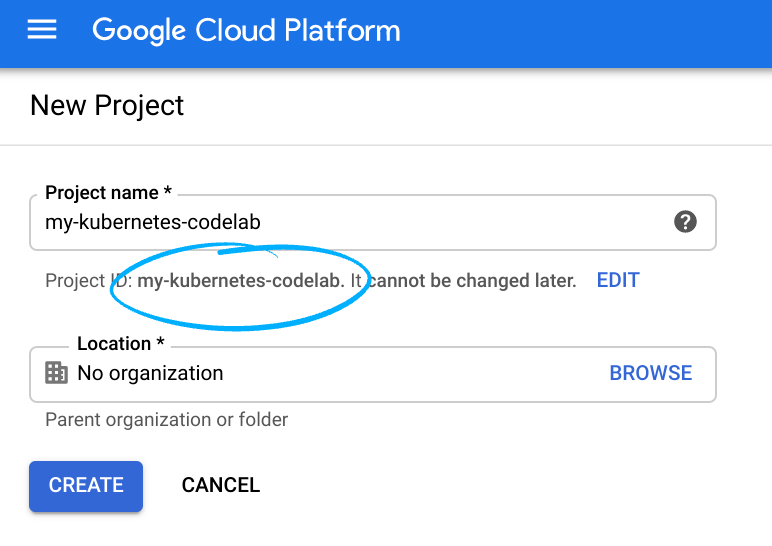
Remember the project ID, a unique name across all Google Cloud projects (the name above has already been taken and will not work for you, sorry!). It will be referred to later in this codelab as PROJECT_ID.
- Next, you'll need to enable billing in Cloud Console in order to use Google Cloud resources.
Running through this codelab shouldn't cost you more than a few dollars, but it could be more if you decide to use more resources or if you leave them running.
New users of Google Cloud are eligible for a $300 free trial.
Cloud Shell
While Google Cloud can be operated remotely from your laptop, in this codelab you will be using Cloud Shell, a command-line environment running in Google Cloud.
Activate Cloud Shell
- From the Cloud Console, click Activate Cloud Shell
.

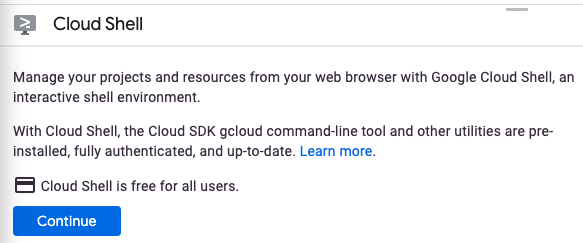
If you've never started Cloud Shell before, you'll be presented with an intermediate screen (below the fold) describing what it is. If that's the case, click Continue (and you won't ever see it again). Here's what that one-time screen looks like:
It should only take a few moments to provision and connect to Cloud Shell.

This virtual machine is loaded with all the development tools you'll need. It offers a persistent 5GB home directory and runs in Google Cloud, greatly enhancing network performance and authentication. Much, if not all, of your work in this codelab can be done with simply a browser or your Chromebook.
Once connected to Cloud Shell, you should see that you are already authenticated and that the project is already set to your project ID.
- Run the following command in Cloud Shell to confirm that you are authenticated:
gcloud auth list
Command output
 Credentialed Accounts
ACTIVE  ACCOUNT
*       <my_account>@<my_domain.com>

To set the active account, run:
$ gcloud config set account `ACCOUNT`gcloud config list project
Command output
[core]
project = <PROJECT_ID>
If it is not, you can set it with this command:
gcloud config set project <PROJECT_ID>
Command output
Updated property [core/project].
- Generate a new Spring Boot app with Spring Initializr.
$ curl https://start.spring.io/starter.tgz \
    -d language=kotlin \
    -d dependencies=web \
    -d baseDir=kotlin-jib-cloud-run | tar -xzvf -
Note that the Initializr will automatically add the spring-boot-starter-web to your dependencies in the pom.xml of the template app.
- Change to the directory of the template app.
$ cd kotlin-jib-cloud-run
- Build and run the app using Maven.
$ ./mvnw -DskipTests spring-boot:run
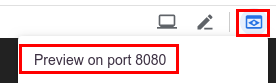
- Once started, the app will start listening on port 8080. Click Web Preview
 in the Cloud Shell toolbar and select Preview on port 8080 to access the app.
- You should get back a 404 response because the app doesn't do anything useful yet. Stop the app with
Control+C.
- Create the following
Controllerclass in the demo package:
$ vi src/main/kotlin/com/example/demo/Controller.kt
    or
$ nano src/main/kotlin/com/example/demo/Controller.kt
src/main/kotlin/com/example/demo/Controller.kt
package com.example.demo

import org.springframework.web.bind.annotation.GetMapping
import org.springframework.web.bind.annotation.RestController

@RestController
class Controller {

  @GetMapping("/")
  fun saySomething(): String {
    return "Kotlin app on Cloud Run, containerized by Jib!"
  }
}- Rebuild and run the app.
$ ./mvnw spring-boot:run
- Check the app again using Web Preview
 . This time, you should see the message, "
Kotlin app on Cloud Run, containerized by Jib!". Stop the app withControl+C.
With Jib, you can containerize your app in an optimized way without Docker and publish to any container registry.
- Before proceeding, you need to activate the Container Registry API. This only needs to be done once per project to make the API accessible.
$ gcloud services enable containerregistry.googleapis.com
- Run Jib to build a Docker image and publish to Container Registry.
$ ./mvnw com.google.cloud.tools:jib-maven-plugin:1.8.0:build \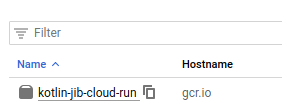
-Dimage=gcr.io/$GOOGLE_CLOUD_PROJECT/kotlin-jib-cloud-runEventually, you will see the following message that the app is containerized and pushed to your Container Registry.
[INFO] Built and pushed image as gcr.io/PROJECT_ID/kotlin-jib-cloud-run
...
[INFO] BUILD SUCCESS
If you see an error, double-check if $GOOGLE_CLOUD_PROJECT is set correctly to your Google Cloud project ID (PROJECT_ID).
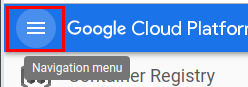
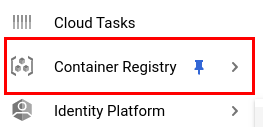
- Before moving on, check if the image is successfully published. Go back to the Cloud Console, click Navigation menu
 , and select Container Registry.
You will see that your image is successfully published.
Cloud Run brings serverless to containers, automatically scaling your stateless containers.
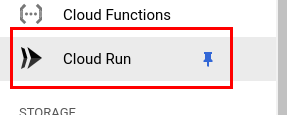
- Click Navigation menu again and select Cloud Run.
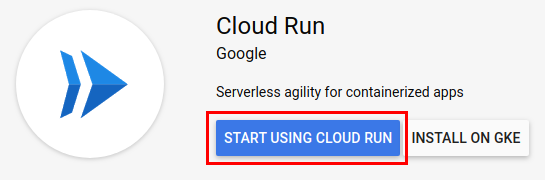
If this is your first time accessing Cloud Run, you will see the following dialog for one-time setup. Click Start Using Cloud Run if it shows up.
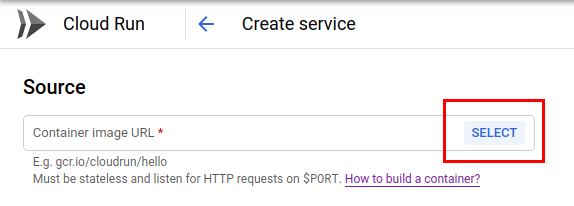
- On the Cloud Run page, click Create Service.

- In the next screen, click Select under Source. The source is the image you want to run on Cloud Run.
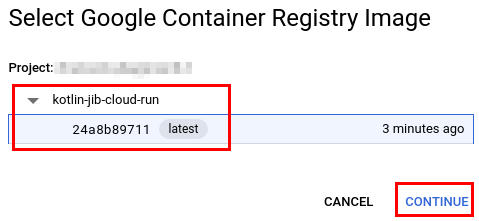
- The dialog will show the image you built previously. Select the image and click Continue.
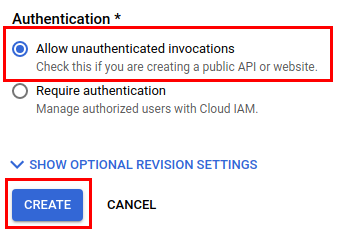
- You are just a couple clicks away from deploying the app now. Under Deployment platform, choose Cloud Run (fully managed) to have the service fully managed on Google Cloud. Choose a region appropriate for your location, select Allow unauthenticated invocations, and click Create. That's it!
When the image is fully deployed, the Cloud Run page will display a URL to access the app. Check it out!
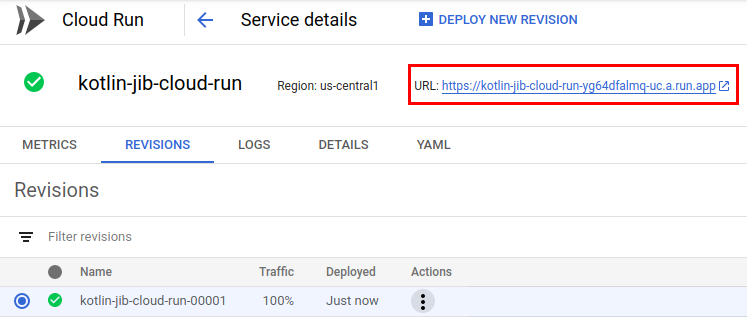
In the end, you will see the message you expect from the app.
Kotlin app on Cloud Run, containerized by Jib!That's it! In the future, if you need to deploy new app versions, you can do so by clicking Deploy New Revision on the page.
- To clean up your environment, you need to delete the deployed app on Cloud Run and the published image on Container Registry. Go to Cloud Run, select the app, and click Delete.

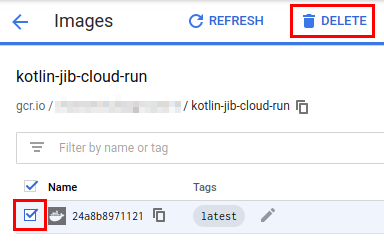
- Similarly, go to the Container Registry page and delete the image.
Congratulations! You successfully containerized your Spring Boot Kotlin app and deployed it to Cloud Run!
Using Jib, you built an optimized container image without Docker installed or writing a Dockerfile and published it to Container Registry. Jib optimizes image construction, so anyone without in-depth Docker knowledge can containerize Java apps fast and efficiently. Then, with a few clicks, you deployed the app to Cloud Run to start serving in no time.