
この Codelab では、CameraX を使用してビューファインダーの表示、写真の撮影、カメラからの画像ストリームの分析を行うカメラアプリを作成する方法を学習します。
これを実現するために、CameraX にはユースケースの概念が導入されています。これは、ビューファインダーの表示からフレームのリアルタイム分析まで、さまざまなカメラ操作に使用できます。
学習内容
- CameraX の依存関係を追加する方法。
- アクティビティでカメラのプレビューを表示する方法。(プレビューのユースケース)
- 写真を撮影してストレージに保存する方法。(ImageCapture のユースケース)
- カメラのフレームをリアルタイムで分析する方法。(ImageAnalysis ユースケース)
必要なハードウェア
- Android デバイス(Android Studio のエミュレータでも問題ありません)。サポートされる最小 API レベルは 21 です。
必要なソフトウェア
- Android Studio 3.3 以上。
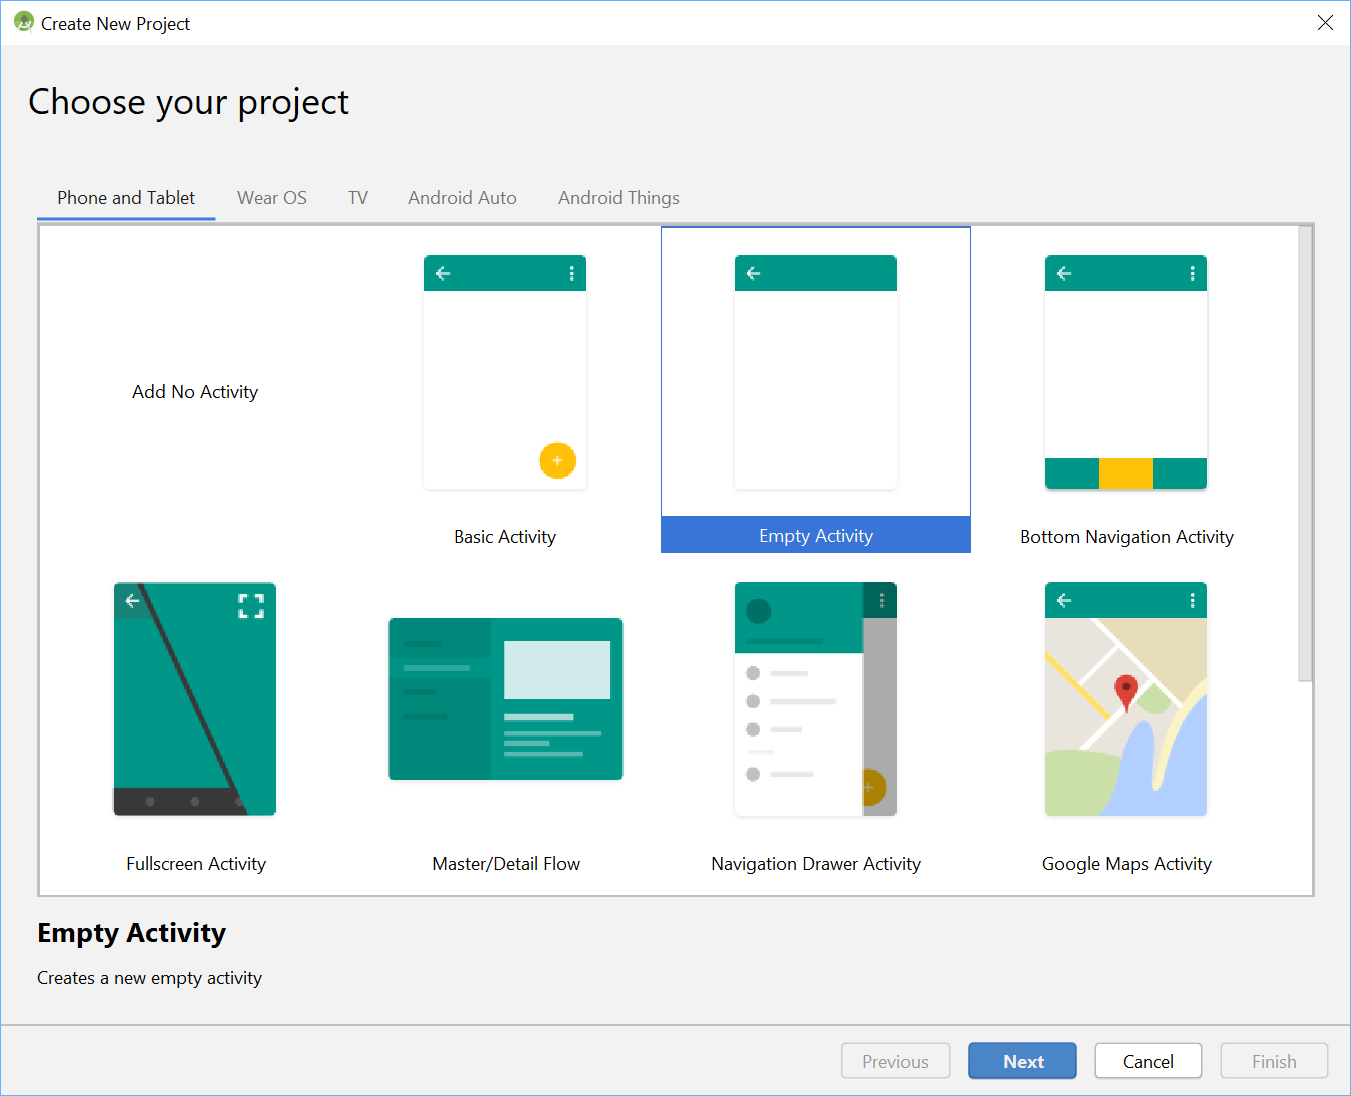
Android Studio のメニューを使用して新しいプロジェクトを開始し、プロンプトが表示されたら [Empty Activity] を選択します。
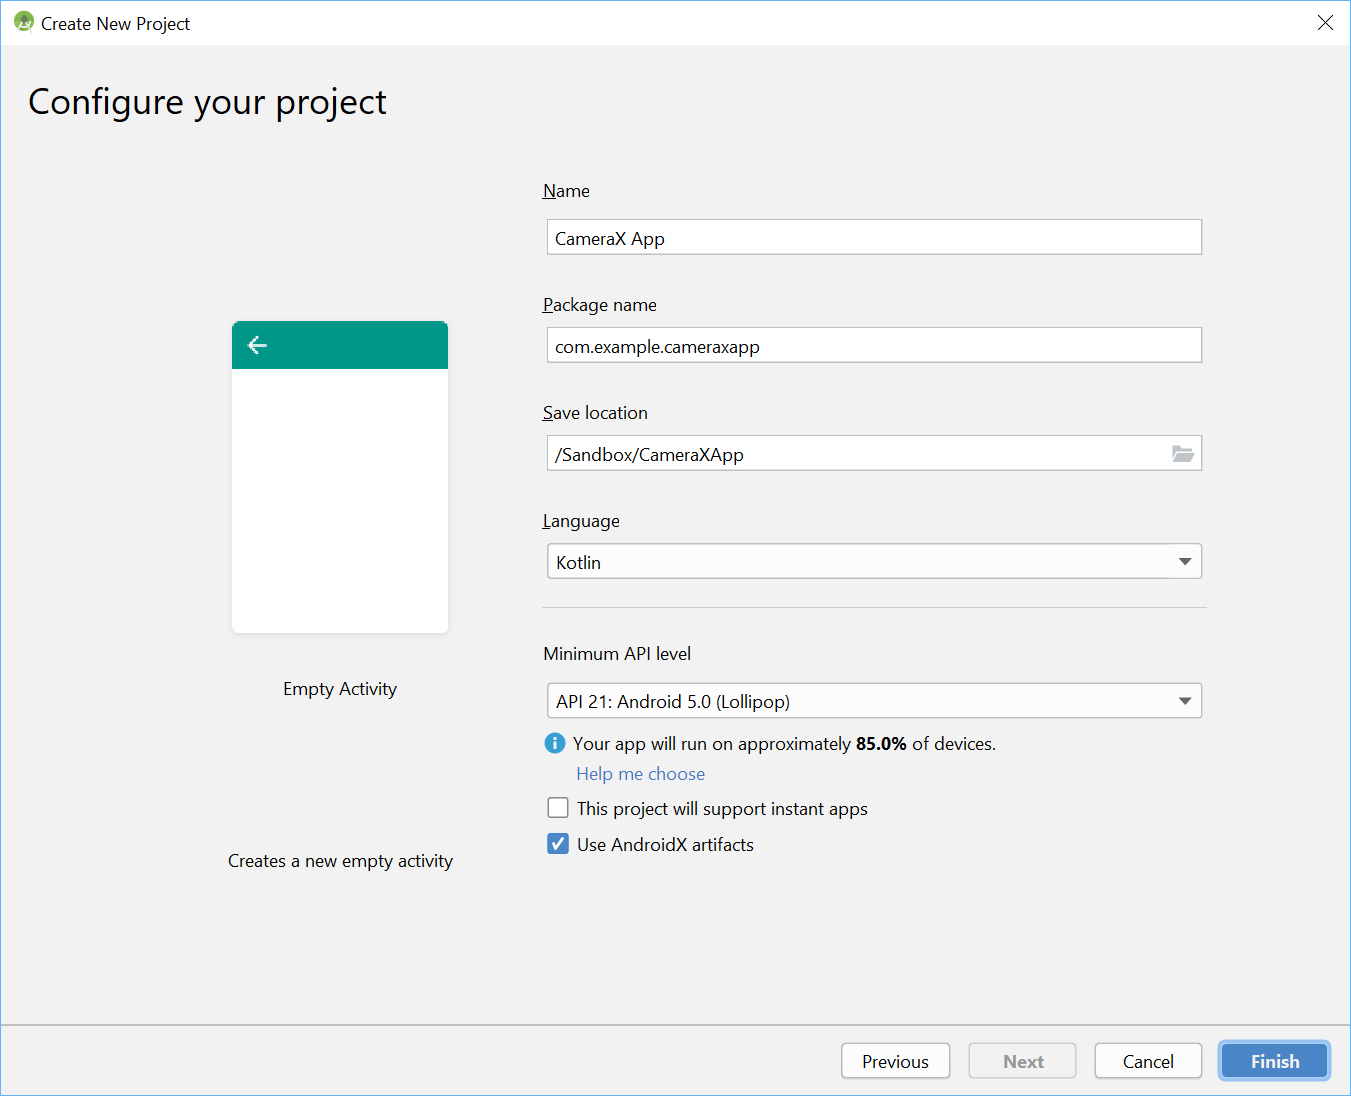
次に、任意の名前を選択します。ここでは「CameraX App」を選択しました。言語が Kotlin に設定され、最小 API レベルが 21(CameraX での最小要件)に設定され、AndroidX アーティファクトが使用されていることを確認します。
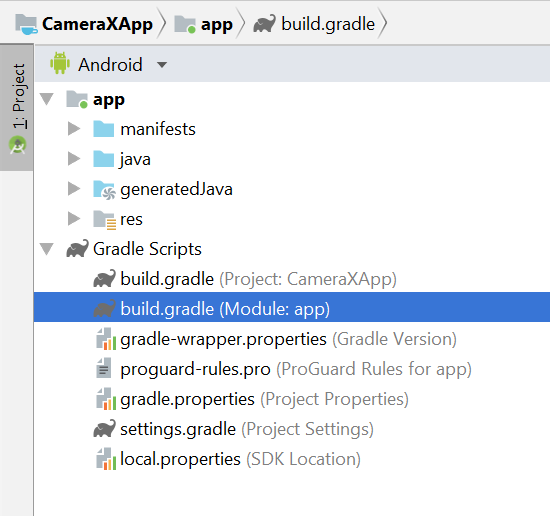
まず、アプリの Gradle ファイルの dependencies セクションに CameraX の依存関係を追加します。
// Use the most recent version of CameraX, currently that is alpha04
def camerax_version = "1.0.0-alpha04"
implementation "androidx.camera:camera-core:${camerax_version}"
implementation "androidx.camera:camera-camera2:${camerax_version}"
メッセージが表示されたら [Sync Now] をクリックすると、アプリで CameraX を使用できるようになります。
SurfaceTexture を使用してカメラのビューファインダーを表示します。この Codelab では、ビューファインダーを固定サイズの正方形形式で表示します。レスポンシブなビューファインダーを示すより包括的な例については、公式サンプルをご覧ください。
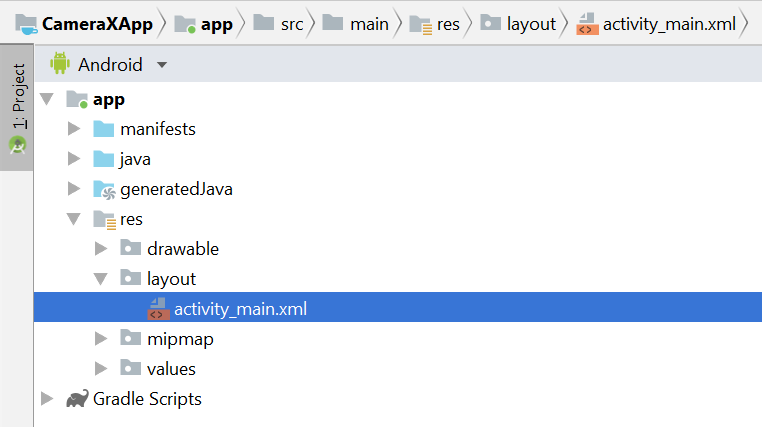
res > layout > activity_main.xml の activity_main レイアウト ファイルを編集しましょう。
<?xml version="1.0" encoding="utf-8"?>
<androidx.constraintlayout.widget.ConstraintLayout
        xmlns:android="http://schemas.android.com/apk/res/android"
        xmlns:tools="http://schemas.android.com/tools"
        xmlns:app="http://schemas.android.com/apk/res-auto"
        android:layout_width="match_parent"
        android:layout_height="match_parent"
        tools:context=".MainActivity">

    <TextureView
            android:id="@+id/view_finder"
            android:layout_width="640px"
            android:layout_height="640px"
            app:layout_constraintTop_toTopOf="parent"
            app:layout_constraintBottom_toBottomOf="parent"
            app:layout_constraintStart_toStartOf="parent"
            app:layout_constraintEnd_toEndOf="parent" />

</androidx.constraintlayout.widget.ConstraintLayout>
カメラを使用する機能をプロジェクトに追加するうえで重要なのは、適切なカメラ権限をリクエストすることです。まず、Application タグの前に、マニフェストで宣言する必要があります。
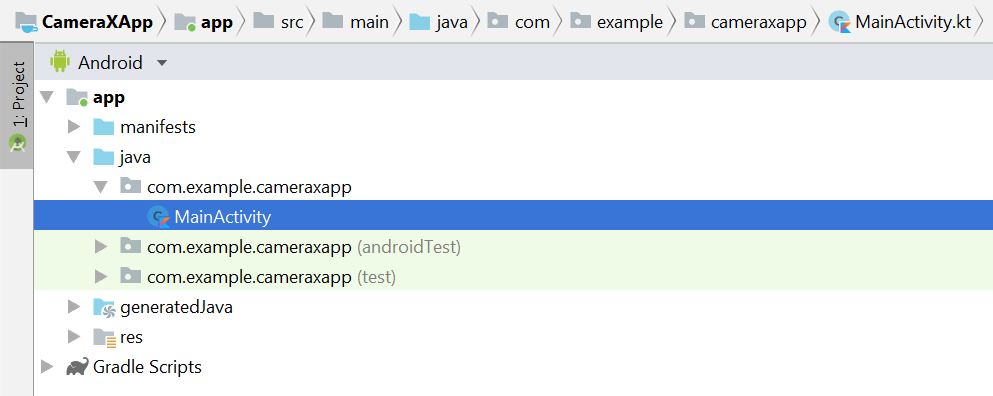
<uses-permission android:name="android.permission.CAMERA" />次に、MainActivity 内で実行時に権限をリクエストする必要があります。java > com.example.cameraxapp > MainActivity.kt の MainActivity ファイルで変更を行います。
ファイルの先頭にある MainActivity クラス定義の外側に、次の定数とインポートを追加します。
// Your IDE likely can auto-import these classes, but there are several
// different implementations so we list them here to disambiguate
import android.Manifest
import android.util.Size
import android.graphics.Matrix
import java.util.concurrent.TimeUnit

// This is an arbitrary number we are using to keep tab of the permission
// request. Where an app has multiple context for requesting permission,
// this can help differentiate the different contexts
private const val REQUEST_CODE_PERMISSIONS = 10

// This is an array of all the permission specified in the manifest
private val REQUIRED_PERMISSIONS = arrayOf(Manifest.permission.CAMERA)
MainActivity クラス内に、権限をリクエストし、すべての権限が付与されたことがわかったらコードをトリガーするために使用される次のフィールドとヘルパー メソッドを追加します。
class MainActivity : AppCompatActivity(), LifecycleOwner {

    override fun onCreate(savedInstanceState: Bundle?) {
        ...
    }

    // Add this after onCreate

    private lateinit var viewFinder: TextureView

    private fun startCamera() {
        // TODO: Implement CameraX operations
    }

    private fun updateTransform() {
        // TODO: Implement camera viewfinder transformations
    }

    /**
     * Process result from permission request dialog box, has the request
     * been granted? If yes, start Camera. Otherwise display a toast
     */
    override fun onRequestPermissionsResult(
        requestCode: Int, permissions: Array<String>, grantResults: IntArray) {
        if (requestCode == REQUEST_CODE_PERMISSIONS) {
            if (allPermissionsGranted()) {
                viewFinder.post { startCamera() }
            } else {
                Toast.makeText(this,
                    "Permissions not granted by the user.",
                    Toast.LENGTH_SHORT).show()
                finish()
            }
        }
    }

    /**
     * Check if all permission specified in the manifest have been granted
     */
    private fun allPermissionsGranted() = REQUIRED_PERMISSIONS.all {
        ContextCompat.checkSelfPermission(
               baseContext, it) == PackageManager.PERMISSION_GRANTED
    }
}
最後に、onCreate 内にすべてをまとめ、必要に応じて権限リクエストをトリガーします。
override fun onCreate(savedInstanceState: Bundle?) {
    ...

    // Add this at the end of onCreate function

    viewFinder = findViewById(R.id.view_finder)

    // Request camera permissions
    if (allPermissionsGranted()) {
        viewFinder.post { startCamera() }
    } else {
        ActivityCompat.requestPermissions(
            this, REQUIRED_PERMISSIONS, REQUEST_CODE_PERMISSIONS)
    }

    // Every time the provided texture view changes, recompute layout
    viewFinder.addOnLayoutChangeListener { _, _, _, _, _, _, _, _, _ ->
        updateTransform()
    }
}
これで、アプリケーションの起動時に、適切なカメラ権限があるかどうかが確認されるようになります。サポートしている場合は、`startCamera()` を直接呼び出します。それ以外の場合は、権限をリクエストし、権限が付与されたら `startCamera()` を呼び出します。
ほとんどのカメラアプリでは、ビューファインダーをユーザーに表示することが非常に重要です。そうしないと、ユーザーがカメラを適切な場所に向けにくくなります。ビューファインダーは、CameraX の `Preview` クラスを使用して実装できます。
プレビューを使用するには、まず設定を定義する必要があります。この設定は、ユースケースのインスタンスの作成に使用されます。作成されたインスタンスは、CameraX のライフサイクルにバインドする必要があります。これは `startCamera()` メソッド内で行います。このコードで実装を記入します。
private fun startCamera() {

    // Create configuration object for the viewfinder use case
    val previewConfig = PreviewConfig.Builder().apply {
        setTargetAspectRatio(Rational(1, 1))
        setTargetResolution(Size(640, 640))
    }.build()

    // Build the viewfinder use case
    val preview = Preview(previewConfig)

    // Every time the viewfinder is updated, recompute layout
    preview.setOnPreviewOutputUpdateListener {

        // To update the SurfaceTexture, we have to remove it and re-add it
        val parent = viewFinder.parent as ViewGroup
        parent.removeView(viewFinder)
        parent.addView(viewFinder, 0)

        viewFinder.surfaceTexture = it.surfaceTexture
        updateTransform()
    }

    // Bind use cases to lifecycle
    // If Android Studio complains about "this" being not a LifecycleOwner
    // try rebuilding the project or updating the appcompat dependency to
    // version 1.1.0 or higher.
    CameraX.bindToLifecycle(this, preview)
}
ここで、謎の `updateTransform()` メソッドを実装する必要があります。`updateTransform()` 内では、デバイスの向きの変化を補正して、ファインダーを縦向きで表示することを目的としています。
private fun updateTransform() {
    val matrix = Matrix()

    // Compute the center of the view finder
    val centerX = viewFinder.width / 2f
    val centerY = viewFinder.height / 2f

    // Correct preview output to account for display rotation
    val rotationDegrees = when(viewFinder.display.rotation) {
        Surface.ROTATION_0 -> 0
        Surface.ROTATION_90 -> 90
        Surface.ROTATION_180 -> 180
        Surface.ROTATION_270 -> 270
        else -> return
    }
    matrix.postRotate(-rotationDegrees.toFloat(), centerX, centerY)

    // Finally, apply transformations to our TextureView
    viewFinder.setTransform(matrix)
}本番環境に対応したアプリを実装するには、公式サンプルで、他に処理する必要があるものをご確認ください。この Codelab を短くするために、いくつかのショートカットを使用します。たとえば、180 度のデバイスの回転など、レイアウト変更リスナーをトリガーしない構成の変更は追跡していません。正方形以外のファインダーでは、デバイスの回転時にアスペクト比が変化するのを補正する必要もあります。
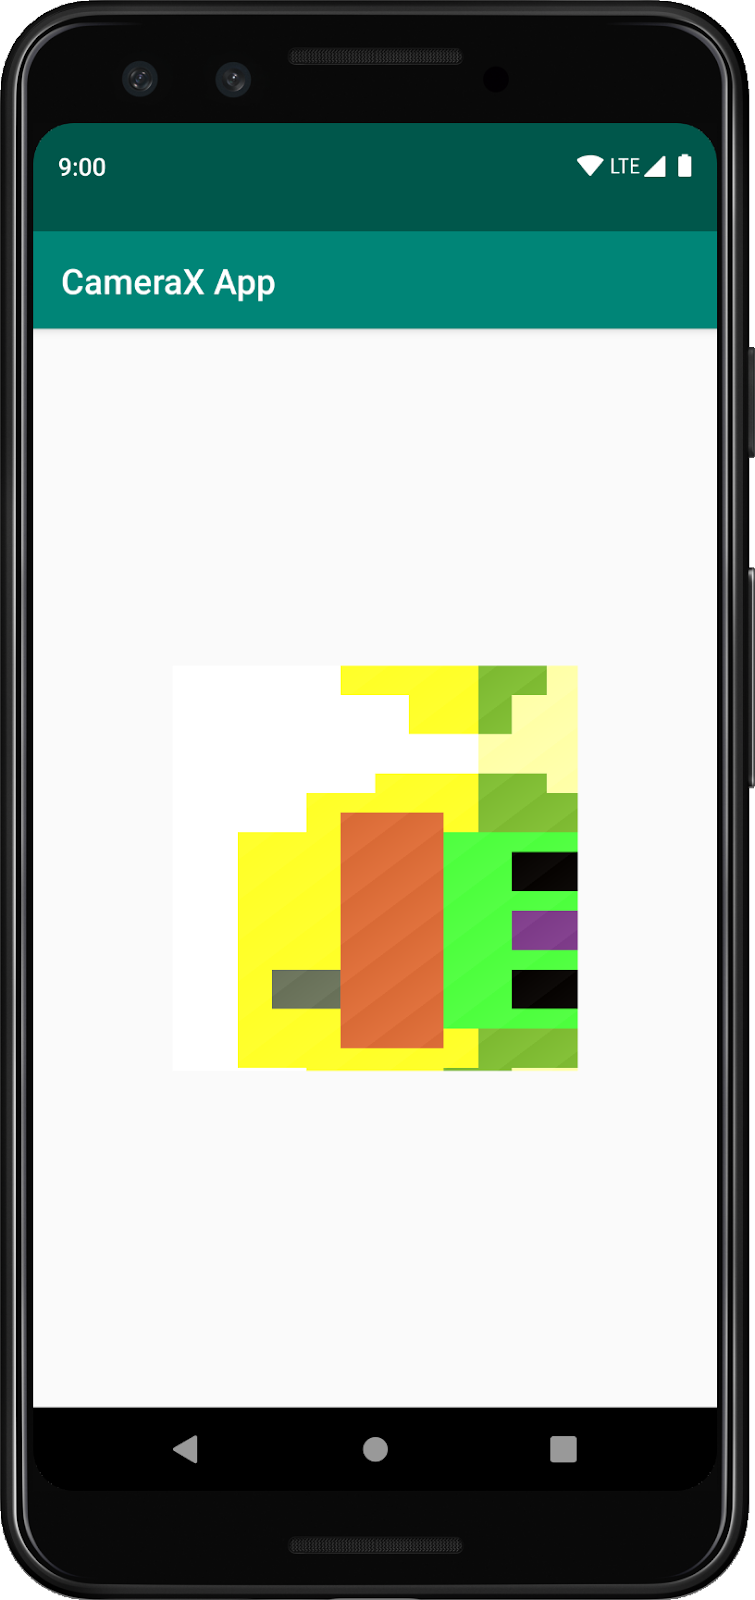
アプリをビルドして実行すると、ライブ プレビューが表示されます。すばらしいですね!
ユーザーが画像をキャプチャできるように、res > layout > activity_main.xml のテクスチャ ビューの後にレイアウトの一部としてボタンを提供します。
<ImageButton
        android:id="@+id/capture_button"
        android:layout_width="72dp"
        android:layout_height="72dp"
        android:layout_margin="24dp"
        app:srcCompat="@android:drawable/ic_menu_camera"
        app:layout_constraintBottom_toBottomOf="parent"
        app:layout_constraintEnd_toEndOf="parent"
        app:layout_constraintStart_toStartOf="parent" />
他のユースケースもプレビューと同様に機能します。まず、実際のユースケース オブジェクトのインスタンス化に使用する設定オブジェクトを定義する必要があります。写真を撮るには、キャプチャ ボタンが押されたときに `startCamera()` メソッドを更新し、CameraX.bindToLifecycle の呼び出しの前に、最後に数行のコードを追加する必要があります。
private fun startCamera() {
...
// Add this before CameraX.bindToLifecycle
// Create configuration object for the image capture use case
val imageCaptureConfig = ImageCaptureConfig.Builder()
.apply {
setTargetAspectRatio(Rational(1, 1))
// We don't set a resolution for image capture; instead, we
// select a capture mode which will infer the appropriate
// resolution based on aspect ration and requested mode
setCaptureMode(ImageCapture.CaptureMode.MIN_LATENCY)
}.build()
// Build the image capture use case and attach button click listener
val imageCapture = ImageCapture(imageCaptureConfig)
findViewById<ImageButton>(R.id.capture_button).setOnClickListener {
val file = File(externalMediaDirs.first(),
"${System.currentTimeMillis()}.jpg")
imageCapture.takePicture(file,
object : ImageCapture.OnImageSavedListener {
override fun onError(error: ImageCapture.UseCaseError,
message: String, exc: Throwable?) {
val msg = "Photo capture failed: $message"
Toast.makeText(baseContext, msg, Toast.LENGTH_SHORT).show()
Log.e("CameraXApp", msg)
exc?.printStackTrace()
}
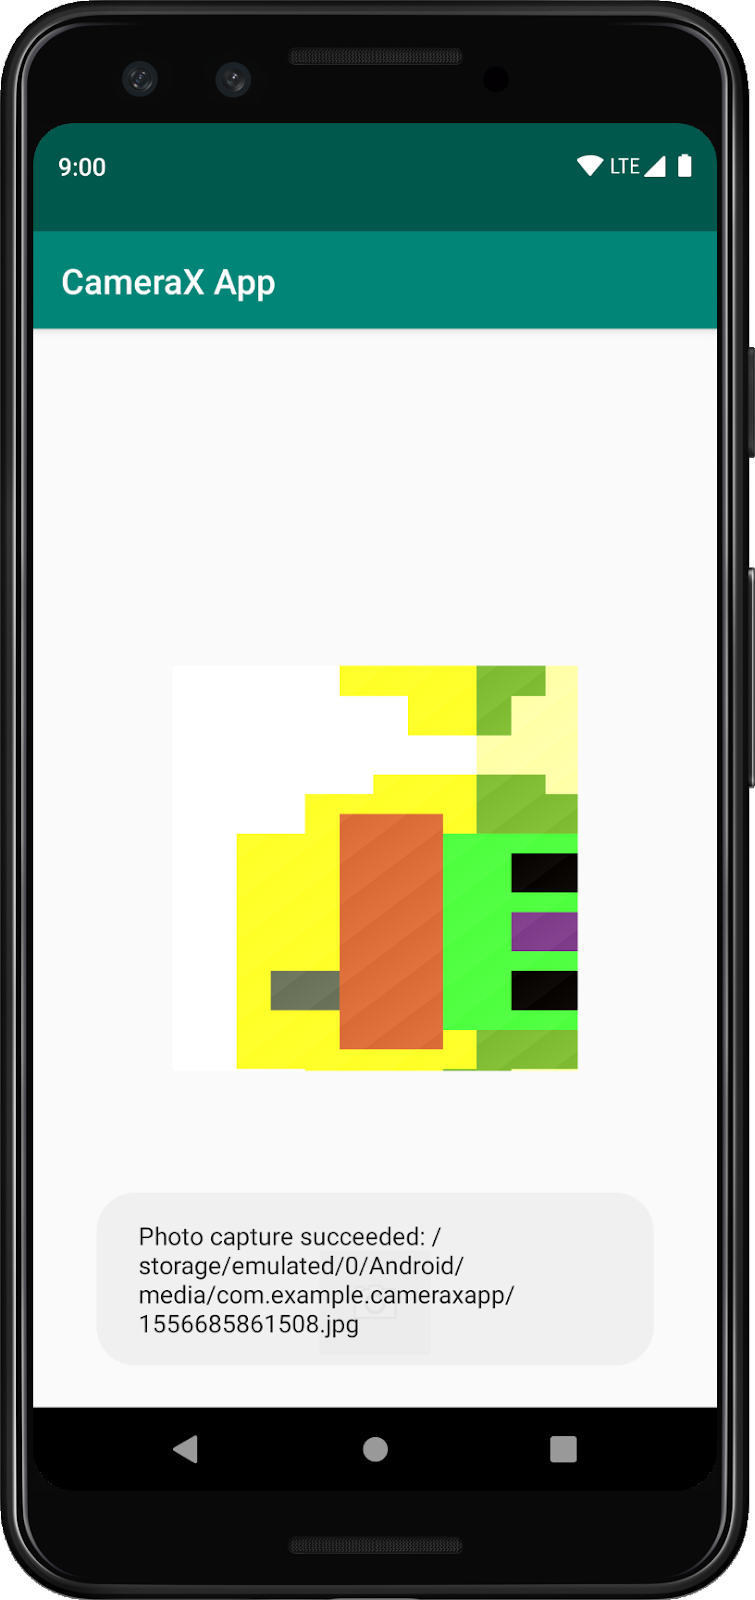
override fun onImageSaved(file: File) {
val msg = "Photo capture succeeded: ${file.absolutePath}"
Toast.makeText(baseContext, msg, Toast.LENGTH_SHORT).show()
Log.d("CameraXApp", msg)
}
})
}
// Bind use cases to lifecycle
// If Android Studio complains about "this" being not a LifecycleOwner
// try rebuilding the project or updating the appcompat dependency to
// version 1.1.0 or higher.
CameraX.bindToLifecycle(this, preview)
}次に、CameraX.bindToLifecycle の呼び出しを更新して、新しいユースケースを含めます。
CameraX.bindToLifecycle(this, preview, imageCapture)これで、機能する写真撮影ボタンが実装されました。

CameraX の非常に興味深い機能は、ImageAnalysis クラスです。これにより、受信カメラフレームで呼び出される ImageAnalysis.Analyzer インターフェースを実装するカスタムクラスを定義できます。CameraX のコアビジョンに沿って、カメラのセッション状態を管理したり、画像を破棄したりする必要はありません。他のライフサイクル対応コンポーネントと同様に、アプリの希望するライフサイクルにバインドするだけで十分です。
まず、カスタム画像解析ツールを実装します。アナライザは非常にシンプルで、画像の平均輝度をログに記録するだけですが、任意の複雑なユースケースで必要な処理の例を示しています。ImageAnalysis.Analyzer インターフェースを実装するクラスで `analyze` 関数をオーバーライドするだけです。実装は MainActivity 内の内部クラスとして定義できます。
private class LuminosityAnalyzer : ImageAnalysis.Analyzer {
    private var lastAnalyzedTimestamp = 0L

    /**
     * Helper extension function used to extract a byte array from an
     * image plane buffer
     */
    private fun ByteBuffer.toByteArray(): ByteArray {
        rewind()    // Rewind the buffer to zero
        val data = ByteArray(remaining())
        get(data)   // Copy the buffer into a byte array
        return data // Return the byte array
    }

    override fun analyze(image: ImageProxy, rotationDegrees: Int) {
        val currentTimestamp = System.currentTimeMillis()
        // Calculate the average luma no more often than every second
        if (currentTimestamp - lastAnalyzedTimestamp >=
            TimeUnit.SECONDS.toMillis(1)) {
            // Since format in ImageAnalysis is YUV, image.planes[0]
            // contains the Y (luminance) plane
            val buffer = image.planes[0].buffer
            // Extract image data from callback object
            val data = buffer.toByteArray()
            // Convert the data into an array of pixel values
            val pixels = data.map { it.toInt() and 0xFF }
            // Compute average luminance for the image
            val luma = pixels.average()
            // Log the new luma value
            Log.d("CameraXApp", "Average luminosity: $luma")
            // Update timestamp of last analyzed frame
            lastAnalyzedTimestamp = currentTimestamp
        }
    }
}
クラスが ImageAnalysis.Analyzer インターフェースを実装しているので、他のユースケースと同様に ImageAnalysis をインスタンス化し、CameraX.bindToLifecycle を呼び出す前に再度 `startCamera()` 関数を更新します。
private fun startCamera() {

    ...

    // Add this before CameraX.bindToLifecycle

    // Setup image analysis pipeline that computes average pixel luminance
    val analyzerConfig = ImageAnalysisConfig.Builder().apply {
        // Use a worker thread for image analysis to prevent glitches
        val analyzerThread = HandlerThread(
            "LuminosityAnalysis").apply { start() }
        setCallbackHandler(Handler(analyzerThread.looper))
        // In our analysis, we care more about the latest image than
        // analyzing *every* image
        setImageReaderMode(
            ImageAnalysis.ImageReaderMode.ACQUIRE_LATEST_IMAGE)
    }.build()

    // Build the image analysis use case and instantiate our analyzer
    val analyzerUseCase = ImageAnalysis(analyzerConfig).apply {
        analyzer = LuminosityAnalyzer()
    }

    // Bind use cases to lifecycle
    // If Android Studio complains about "this" being not a LifecycleOwner
    // try rebuilding the project or updating the appcompat dependency to
    // version 1.1.0 or higher.
    CameraX.bindToLifecycle(this, preview, imageCapture)
}
また、CameraX.bindtoLifecycle の呼び出しを更新して、新しいユースケースをバインドします。
CameraX.bindToLifecycle(
    this, preview, imageCapture, analyzerUseCase)
このアプリを実行すると、Logcat に約 1 秒ごとに次のようなメッセージが表示されます。
D/CameraXApp: Average luminosity: ...アプリをテストするには、Android Studio の [Run] ボタンをクリックするだけです。プロジェクトがビルドされ、選択したデバイスまたはエミュレータにデプロイされて起動します。アプリが読み込まれると、ビューファインダーが表示されます。これは、先ほど追加した向き処理コードのおかげで、デバイスを回転させても縦向きのままです。また、ボタンを使用して写真を撮ることもできます。
これで、このコードラボは終了です。振り返ると、以下の項目を新しい Android アプリに最初から実装しました。
- プロジェクトに CameraX の依存関係を含める。
- カメラのビューファインダーを表示する(プレビューのユースケースを使用)
- 写真キャプチャを実装し、画像をストレージに保存する(ImageCapture のユースケースを使用)
- カメラからのフレーム分析をリアルタイムで実装する(ImageAnalysis ユースケースを使用)