
مستوى الترميز: مبتدئ
المدة: 10 دقائق
نوع المشروع: التشغيل الآلي باستخدام مشغّل يستند إلى الأحداث
الأهداف
بعد إكمال هذا النموذج، ستتمكّن من إجراء ما يلي:
- فهم ما يفعله الحلّ
- فهم وظائف خدمات "برمجة تطبيقات Google" ضمن الحلّ
- إعداد النص البرمجي
- شغِّل النص البرمجي.
لمحة عن هذا الحل
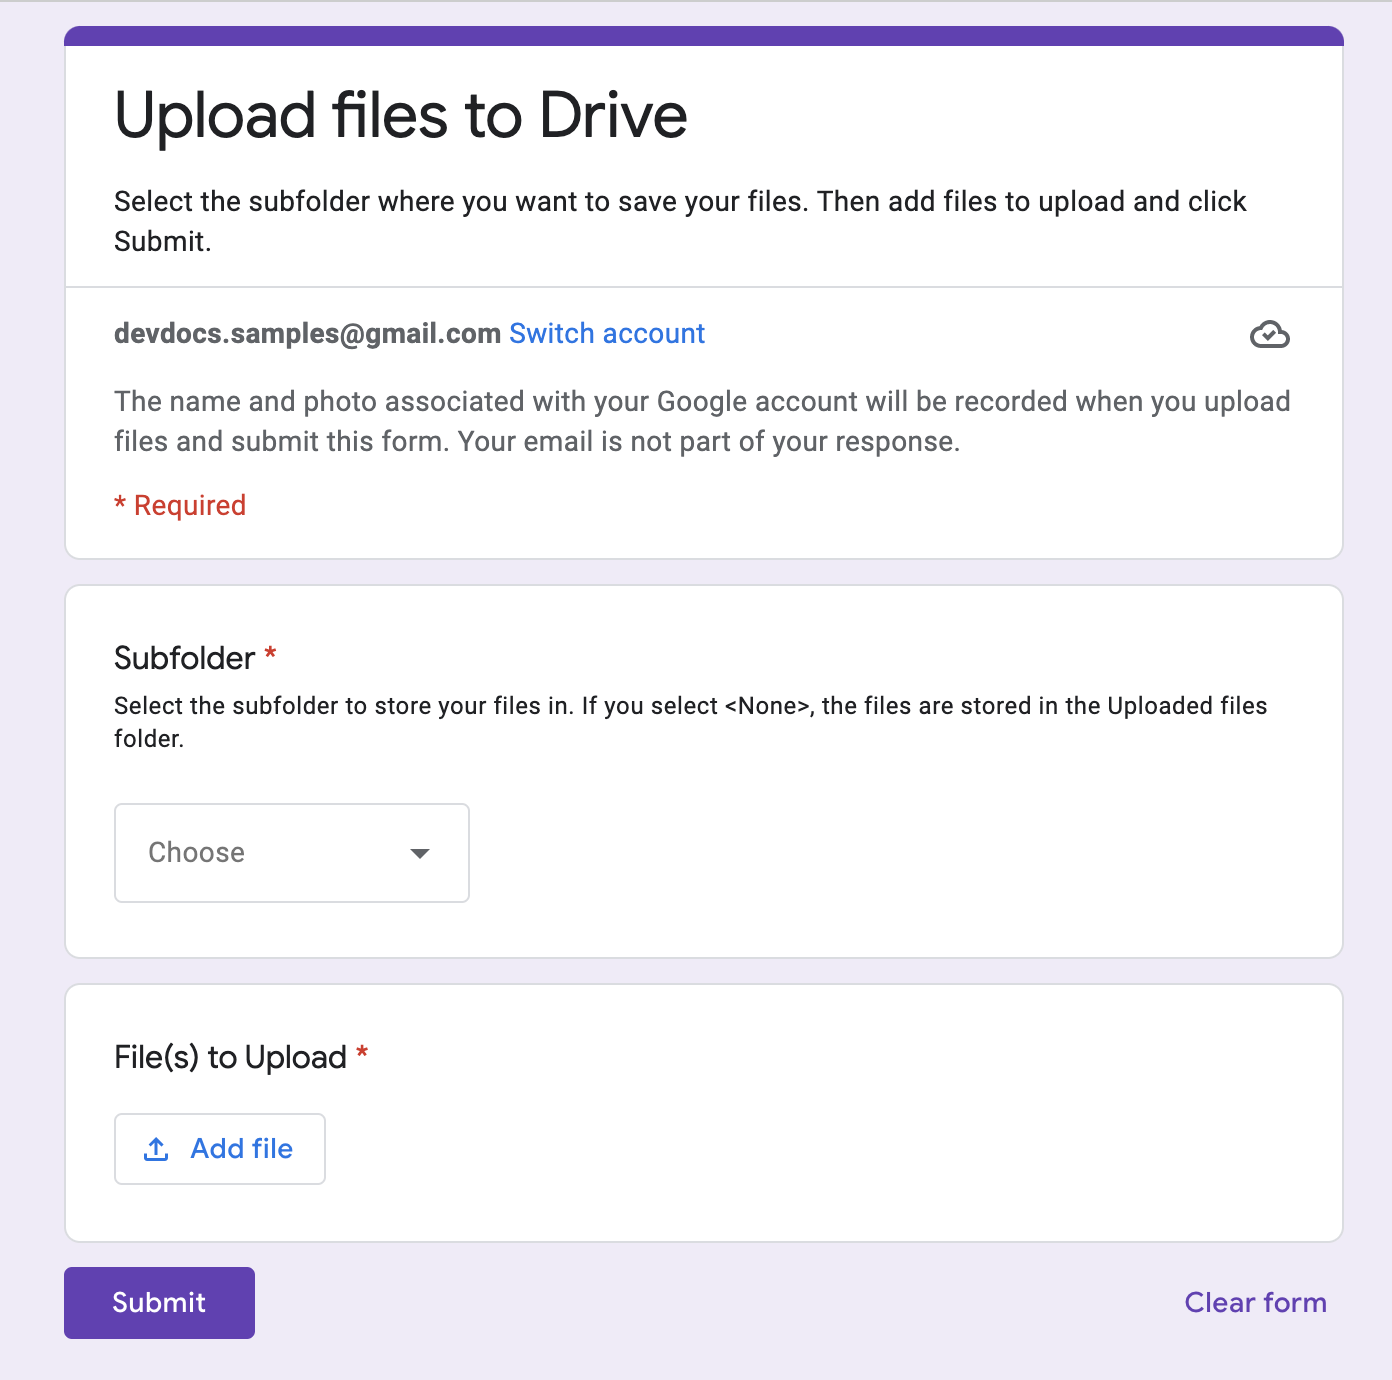
تحميل الملفات وتنظيمها في Drive في الوقت نفسه باستخدام "نماذج Google" يتضمّن النموذج حقولاً لإدخال الملفات التي سيتم تحميلها وطريقة تنظيمها.
آلية العمل
تنشئ دالة الإعداد مجلدًا لتخزين جميع الملفات التي تم تحميلها ومشغّلاً يتم تنفيذه في كل مرة يرسل فيها أحد المستخدمين النموذج. عندما يملأ المستخدم النموذج، يختار الملفات التي يريد تحميلها والمجلد الفرعي الذي يريد تخزين الملفات فيه. بعد أن يرسل المستخدم النموذج، يوجّه النص البرمجي الملفات إلى المجلد الفرعي المناسب. إذا لم يكن المجلد متوفّرًا بعد، ينشئه النص البرمجي.
خدمات "برمجة تطبيقات Google"
يستخدم هذا الحل الخدمات التالية:
- خدمة البرامج النصية: تنشئ هذه الخدمة الأمر المشغِّل الذي يتم تنفيذه في كل مرة يرسل فيها مستخدم النموذج.
- خدمة السمات: تخزِّن هذه الخدمة معرّف المشغّل الذي ينشئه النص البرمجي أثناء عملية الإعداد لمنع تكرار المشغّلات.
- خدمة Drive: أثناء عملية الإعداد، يتم الحصول على موقع النموذج في Drive وإنشاء مجلد في الموقع نفسه. عندما يرسل المستخدم النموذج، توجّه خدمة Drive الملفات إلى هذا المجلد، وإلى مجلد فرعي محدّد إذا تم اختياره. إذا لم يكن المجلد الفرعي متوفّرًا بعد، ينشئه النص البرمجي.
- خدمة النماذج: تحصل هذه الخدمة على الملفات واسم المجلد الذي اختاره المستخدم بعد إرسال النموذج، ثم ترسله إلى خدمة Drive.
المتطلبات الأساسية
لاستخدام هذا النموذج، يجب استيفاء المتطلبات الأساسية التالية:
- حساب Google (قد تتطلّب حسابات Google Workspace موافقة المشرف).
- متصفّح ويب يمكنه الوصول إلى الإنترنت
إعداد النص البرمجي
إنشاء النموذج
- انتقِل إلى forms.google.com وانقر على "فارغ" .
- انقر على نموذج بلا عنوان وأعِد تسمية النموذج إلى تحميل الملفات إلى Drive.
- انقر على السؤال بلا عنوان وأعِد تسمية السؤال إلى مجلد فرعي.
- في السؤال المجلد الفرعي، انقر على رمز المزيد > الوصف.
- بالنسبة إلى الوصف، أدخِل اختَر المجلد الفرعي الذي تريد تخزين ملفاتك فيه. إذا اخترت <بلا>، سيتم تخزين الملفات في مجلد "الملفات التي تم تحميلها".
- أضِف الخيارات التالية إلى السؤال المجلد الفرعي:
- <none>
- المشروع (أ)
- المشروع "ب"
- المشروع ج
- لجعل السؤال إلزاميًا، انقر على مطلوب.
- انقر على "إضافة سؤال" .
- انقر على خيارات متعدّدة، ثم اختَر تحميل ملف.
- انقر على متابعة.
- في حقل السؤال، أدخِل الملفات التي سيتم تحميلها. يمكنك اختيار أنواع الملفات والحد الأقصى لعدد الملفات التي تريد السماح للمستخدمين بتحميلها.
- لجعل السؤال إلزاميًا، انقر على مطلوب.
إنشاء مشروع "برمجة تطبيقات Google"
- من النموذج، انقر على "المزيد" > أداة تعديل النصوص البرمجية.
- انقر على مشروع بلا عنوان وأعِد تسمية المشروع إلى تحميل الملفات إلى Drive.
- لإنشاء ملف نص برمجي آخر، انقر على "إضافة ملف"
> نص برمجي. اكتب اسمًا للملف
Setup. استبدِل محتوى ملفَي النصوص البرمجية بالمحتوى التالي:
Code.gs
Setup.gs
تشغيل النص البرمجي
- في أداة تعديل النصوص البرمجية، انتقِل إلى الملف
Setup.gs. - في القائمة المنسدلة للدالة، اختَر
setUp. - انقر على تشغيل.
- امنح الإذن للنصّ البرمجي عند مطالبتك بذلك. <<../_snippets/oauth.md>>
- ارجع إلى النموذج وانقر على "معاينة"
 .
. - في النموذج، اختَر مجلدًا فرعيًا وحمِّل ملفًا.
- انقر على إرسال.
- انتقِل إلى Drive وافتح المجلد تحميل الملفات إلى Drive (ردود الملفات). تكون الملفات التي حمّلتها في المجلد الفرعي الذي اخترته في النموذج.
المساهمون
تحتفظ Google بهذا النموذج بمساعدة خبراء التطوير في Google.