Page Summary
-
Uploading partner logos in Partner Portal is mandatory to accurately describe inventory origin to users.
-
Brands can have multiple localizations for different countries or languages, and multiple brands can be managed in the Configuration > Brands tab of the Partner Portal.
-
Brand configurations include local name, logo, terms of service, privacy policy, merchant signup URL, opt-out URL, domains, and location.
-
Specific logo requirements include a final size of 512px x 512px (with artwork within a 384px x 384px centered space), 32-bit PNG format, sRGB color space with no transparent background, a maximum file size of 1024 KB, a full square shape, and no shadow.
-
The Actions Center dynamically applies rounded corners and a border to uploaded logos, so do not round the edges of your final asset.
Learn how to create a brand and upload a logo in Partner Portal.
Partner logos are surfaced to users as part of the flow to accurately describe where the inventory originates from. Uploading logos is a mandatory step in completing your integration, so follow the instructions.
Note: The settings in the Configuration > Brands tab are environment specific.
Adding a brand and logo
Partners may use a single brand or multiple brands across their inventory. If multiple brands are used, each brand should have its own logo and corresponding metadata.
A brand contains
- Local Name: Consumer-facing brand name.
- Logo: See specific logo requirements in creating a logo section.
- Terms of Service: URL to the brand's terms of service page ( Not required for redirect integrations).
- Privacy Policy: URL to the brand's privacy policy page ( Not required for redirect integrations).
- Merchant Signup URL: URL to the brand's merchant sign-up page.
- Country-specific URLs can also be specified which overrides the brand-level URLs based on the location of the merchant.
- Opt-out URL: URL provided by the brand where a merchant can opt-out of being included in your data feed.
- Domains: Domains are used to associate a group of top-level URLs with a specific brand. For example, you can have your UK domains show a UK-specific brand.
- Location: Associates your domain to a specific country. Can be set to "All Countries".
Manage brands
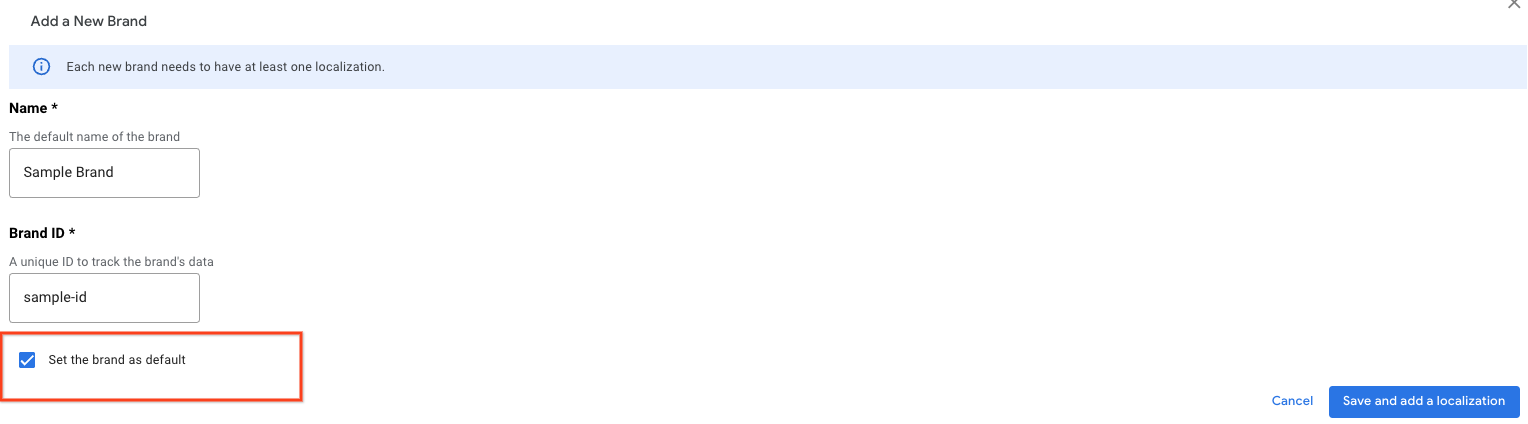
To manage your brands, open the Partner Portal and navigate to Configuration > Brands. Multiple brands are supported, brands may be localized into as many languages and countries as you would like. To add a brand click the Add Brand button. Enter a name and ID for the brand. The brand name you enter is not used in any consumer-facing surface, only localizations of a brand are shown to users.
- To set the brand as default brand, click set the brand as default checkbox
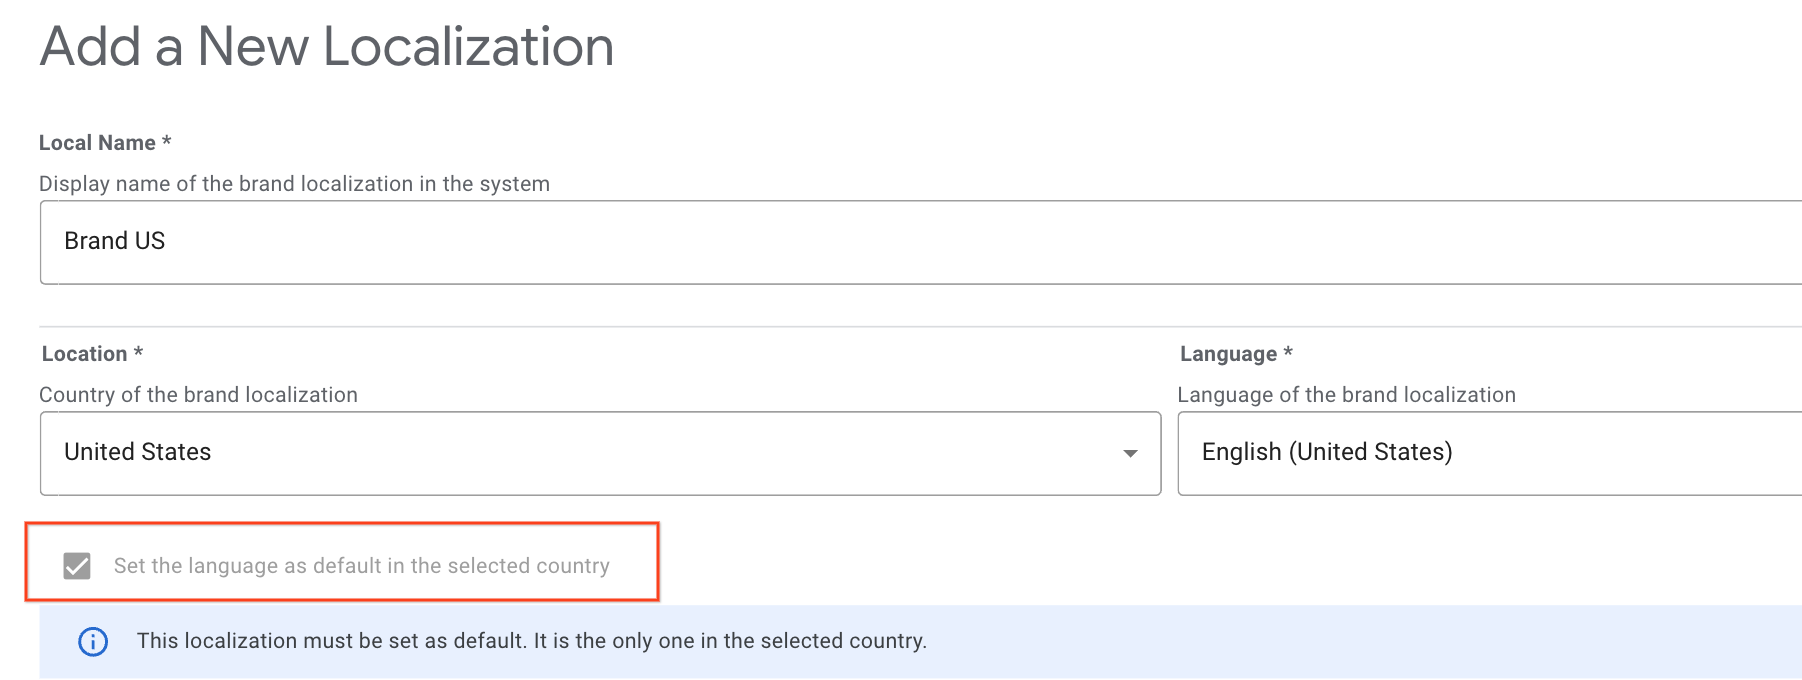
To add localizations, click the Add localization button and fill out the form. What you enter on this screen is shown on consumer-facing ordering surfaces.
- All inventory for a country will map to your default language, regardless of domain, unless the domain matches a different language for same country.
- To set a localization as the default for a country, click Set the language as default in the selected country checkbox
- The first localization you configure will automatically be set as the default. You will have the option to change this default setting if you later decide to add another localization for the same country.
How brand configurations is used
Scenario 1: Single Brand with Different Names in Different Countries
If your brand operates under various names across different countries, you can either configure it as a single brand with multiple localizations or as distinct brands, each with a single localization.
For example, if your brand is "Example Company," you can set it up as follows:
- Configure a single brand named "Example Company"
- Add a new localization named "Example Company", set the Location to "All Countries", the language to your preferred language and associate it with the domain "example.com".
- Add a new localization named "Example Company UK", set the Location to "UK", the language to your preferred language and associate it with the domain "example.com.uk".
Scenario 2: Different Companies or Brands Operating Separately or Together
If your brand represents different companies, or if you own multiple brands that operate together on the same merchants, each must be configured as separate brands.
For example, if you have a brand called "Example Company" for all countries and another brand named "Another Company" operating in the US only:
- Configure a brand named "Example Company".
- Add a localization named "Example Company", set the Location to "All Countries", the language to your preferred language and associate it with the domain "example.com".
- Configure another brand named "Another Company".
- Add a localization named "Another Company", set the Location to "US", the language to your preferred language and associate it with the domain "another.com".
Menu images serving logic
Sometimes a menu language or country won't match any of the localizations you have configured. In order to determine which brand localization to use apply the following logic in order:
- If there is a single localization for the restaurant country, then that localization is used.
- If there are multiple localizations for the restaurant country but one of these localizations match the menu language, then that localization is used.
- If there are multiple localizations for the restaurant country but none of these localizations match the menu language, use the localization marked as default for that country
- If there are no localizations for the restaurant and there is a single localization configured for All Countries, then that localization is used.
- If there are no localizations for the restaurant and there are multiple localizations configured for All Countries and one of these localizations match the menu language, then that localization is used.
- If there are no localizations for the restaurant and there are multiple localizations configured for All Countries and none of these localizations match the menu language, use the localization marked as default for All Countries.
End-to-end integration
Each brand can have its own logo, as well as its own Terms of Service, Privacy Policy, and Merchant signup URLs. Country-specific URLs can also be specified, which, if provided, override the brand-level URLs based on the location of the merchant.
Defining multiple brands is optional. It is recommended if your business manages multiple user-facing brands, or if your business operates in multiple countries that each have their own unique branding.
The requirements to upload a logo for an integration are the following:
Although brands and their associated attributes are defined per environment, it's generally recommended that you keep your brand definitions synchronized between your Sandbox and Production Environments.
Attribution logo
If you want to update our partners page with a new logo or URL, open a case on Partner Portal for support. The logos on the partners page aren't the same logos used in "Brand Configuration."
Business Link and Redirect integrations
Each brand can have its own logo and country-specific URLs.
The requirements to upload a logo for a business link or redirect integration are the following:
Instructions to create a brand:
- Go to the 'Brands' tab under 'Configuration' in Partner Portal
- If not already in the 'Sandbox Environment', switch to it in the top environment switcher.
- Click the pencil icon after hovering over a brand to add a logo to an existing brand or click 'Add Brand' to create a new brand.
- Click the 'Upload' button to select a logo file for upload.
- Confirm that the logo passes all requirement checks.
- Press 'Submit' at the bottom of the menu to save your changes.
- Once you have confirmed the logo is correct, switch to 'Production Environment' in the top environment switcher and replicate steps 1-6.
This section describes the guidelines to follow when you create assets for your logo listing on the Actions Center.
Create a Logo
When you create your artwork, ensure it conforms to the following requirements:
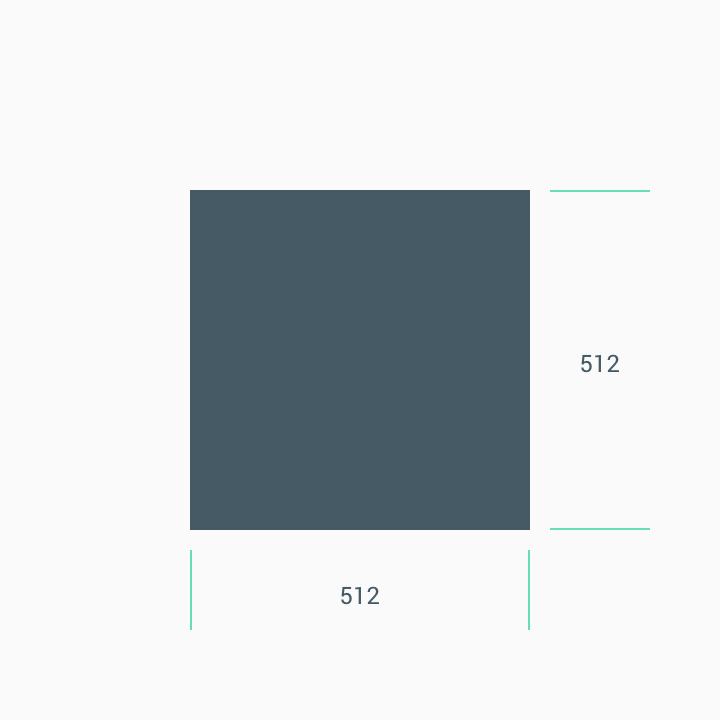
- Final size: 512 px x 512 px.
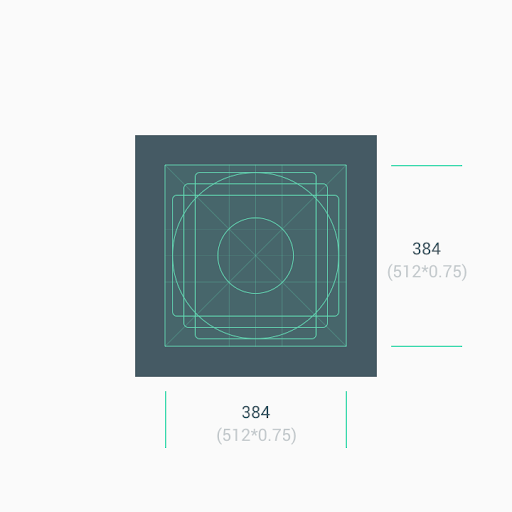
- Logo should be placed in the middle of the 512px x 512px square with max size of 384px x 384px
- Effective draw space is 384px x 384px
- Format: 32-bit PNG.
- Color space: sRGB.
- No transparent background is allowed
- A logo can have any background color that follows the partner brand guidelines
- The background color should cover the entire 512px x 512px area
- The artwork must be placed within the 384px x 384px drawspace at the center.
- Max file size: 1024 KB.
- Shape: Full square.
- Actions Center dynamically handles masking.
- Radius is equivalent to 20% of icon size.
- Shadow: None.
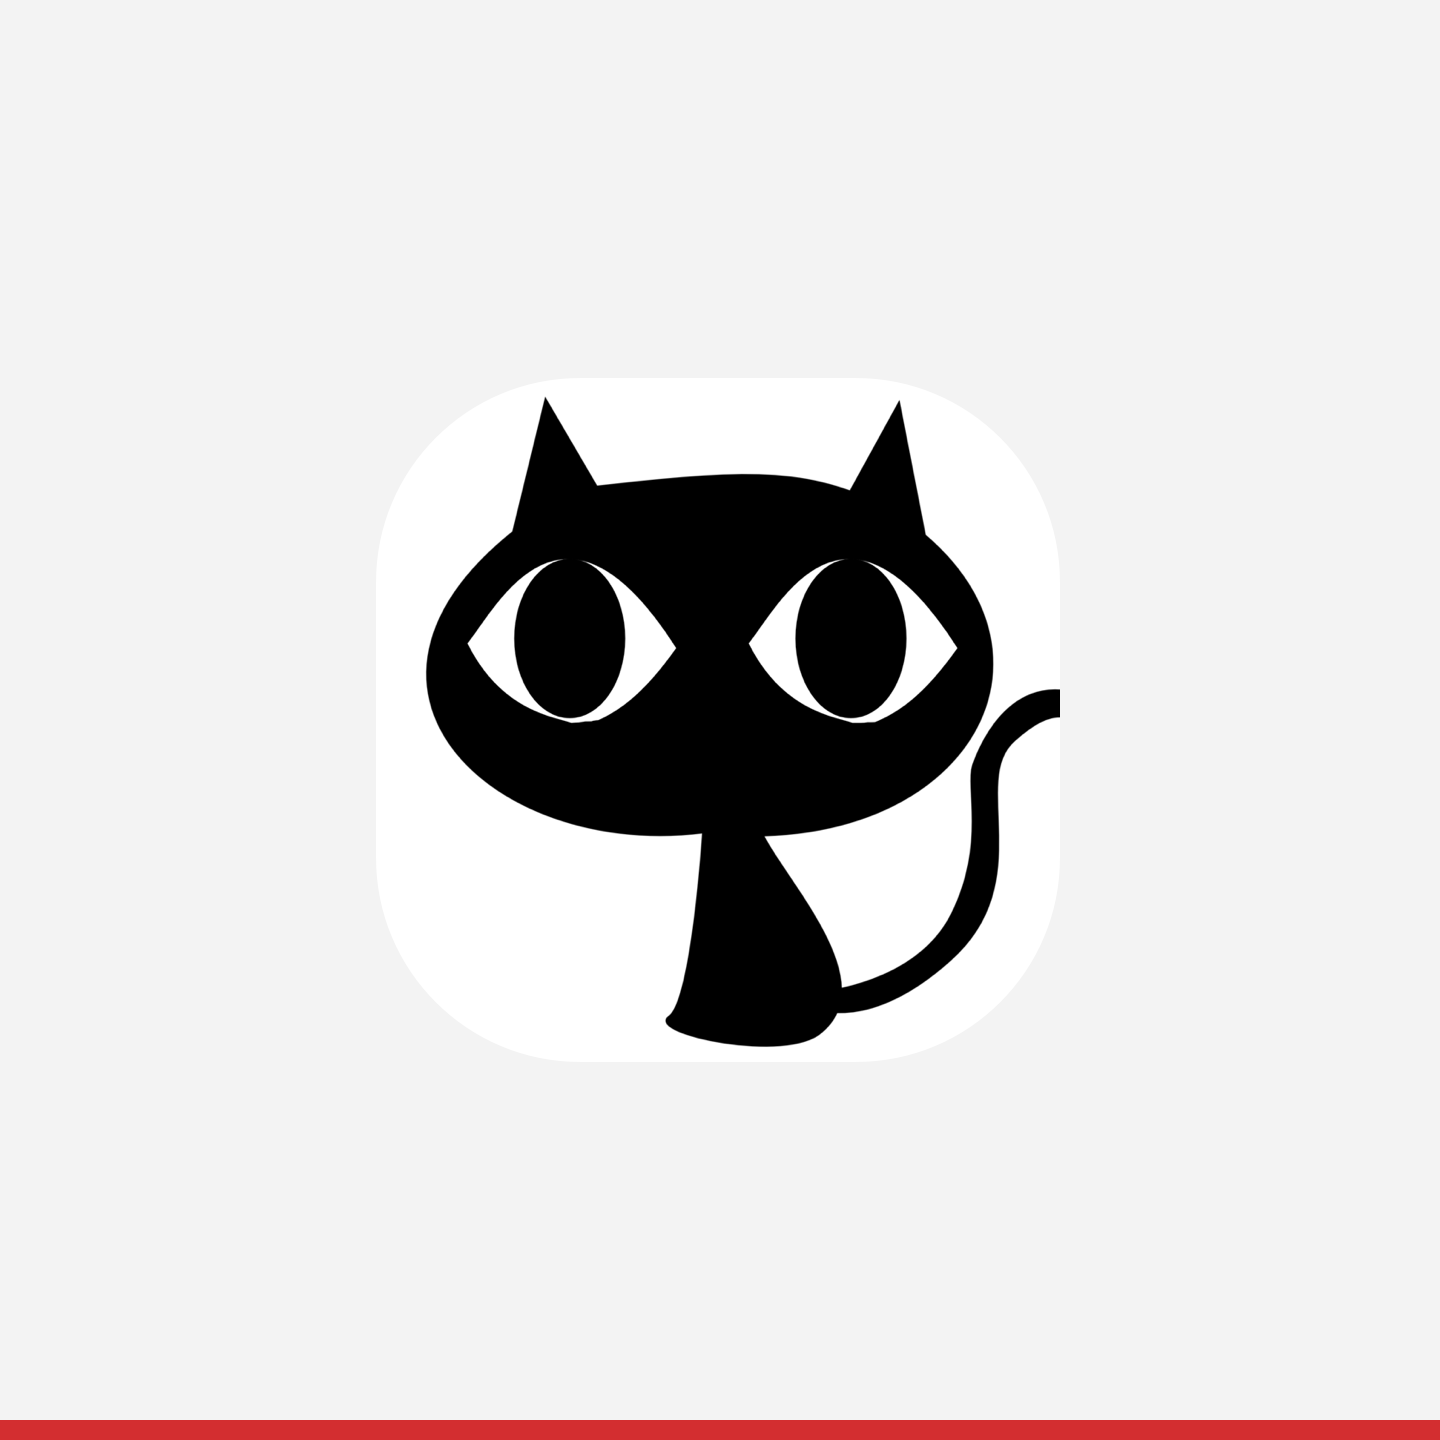
You should design your logo to be 512px x 512px, but the icon asset work should only populate the 384px x 384px centered space. It is recommended to use keylines as guidelines and position your artwork elements on a keyline grid. After the asset is uploaded, the Actions Center dynamically applies the rounded mask to ensure consistency across all icons and logos.
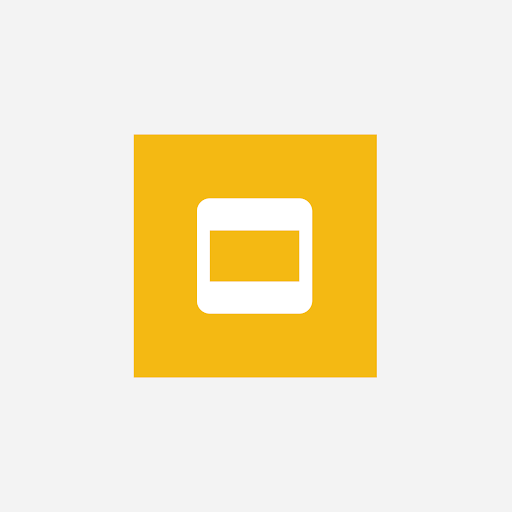
Example of a logo:
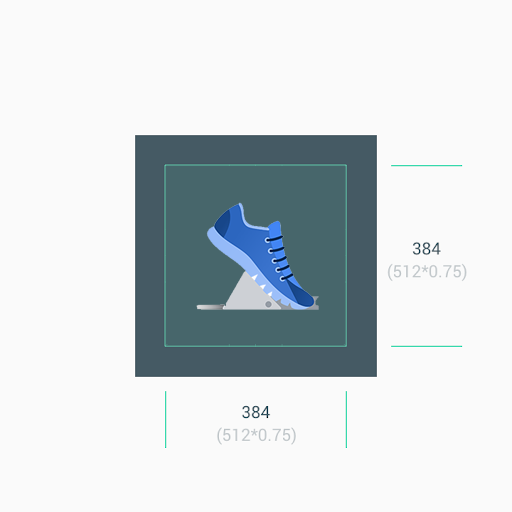
Size
Reminder: 1. Use the center asset space (384px x 384px) as the background when you deal with minimalistic artwork. 2. Use the keylines as guides when you position artwork elements, such as logos.
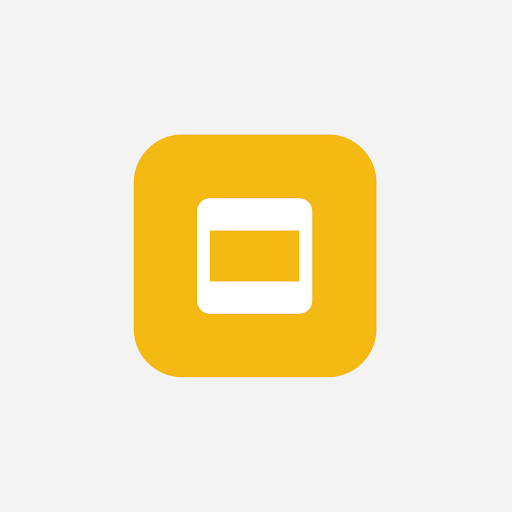
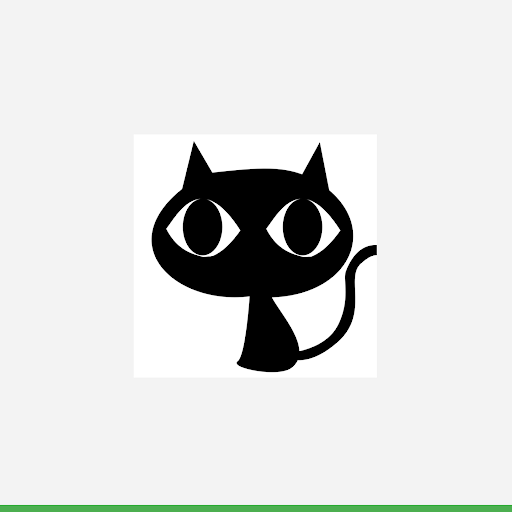
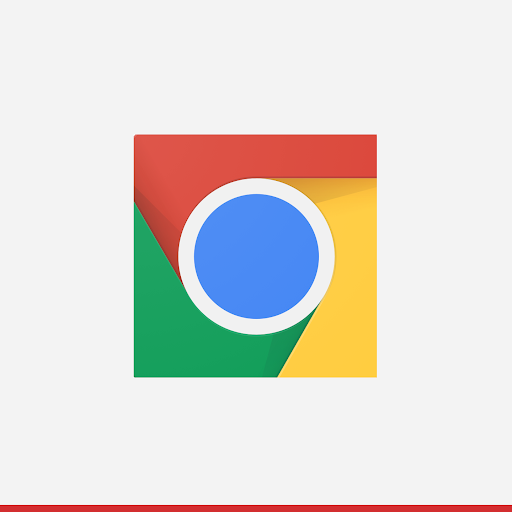
Do not force your logo or artwork to fit the full asset space. Instead, use the keyline grid to position it.
If shapes are a critical part of a logo, do not force the artwork to go full bleed. Instead place it on the new keyline grid.
If possible, pick a background color for your asset that's appropriate for your brand and doesn't include any transparency.
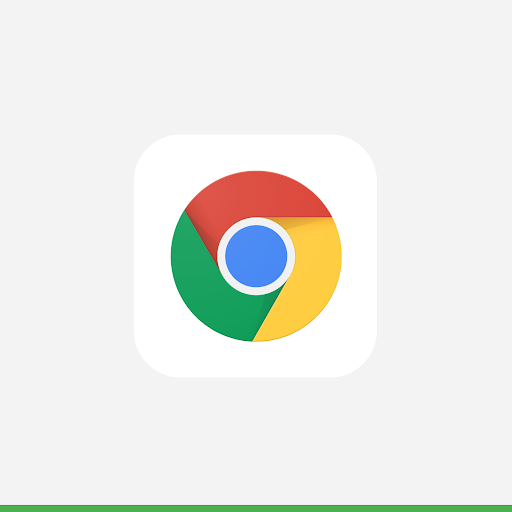
Corner radius
Do not deliver assets with rounded corners. Actions Center dynamically applies a corner radius and border to logos. This ensures consistency when the icon is resized across different UI layouts. The radius is equivalent to 20% of icon size.