1. Before you begin
This is a self-guided codelab that will walk through how to establish connectivity with Stanadard Payments APIs.
Prerequisites
- You have completed steps 1 and 2 of the Implementation Process.
- You can host the provided Node.js server with TLS termination by using either Google App Engine or your own solution at the domain configured with Google.
- Node.js is installed on your environment.
What You'll Learn
- How to verify connectivity by making a valid request to the Google Standard Payments echo API.
- How to receive, decrypt, and parse a request from Google to the Partner Hosted Echo API.
2. Setup and Requirements
Download the Application
Download the Node.js sample code.
Install Dependencies
Navigate to the project directory and run the following command to install the required dependencies. If you are using App Engine, you can skip this step.
npm install
3. Configure the Payment Integrator Account ID (PIAID)
The Payment Integrator Account ID (PIAID) is an identifier used to uniquely identify your integrations. You should have received your PIAID from Google by completing the prerequisites before starting this tutorial.
- Navigate to the
server.jsfile in the project directory. - Set the variable
PIAIDto the PIAID that was issued to you by Google.
const PIAID = '{PAYMENT_INTEGRATOR_ACCOUNT_ID}';
4. Add PGP keys
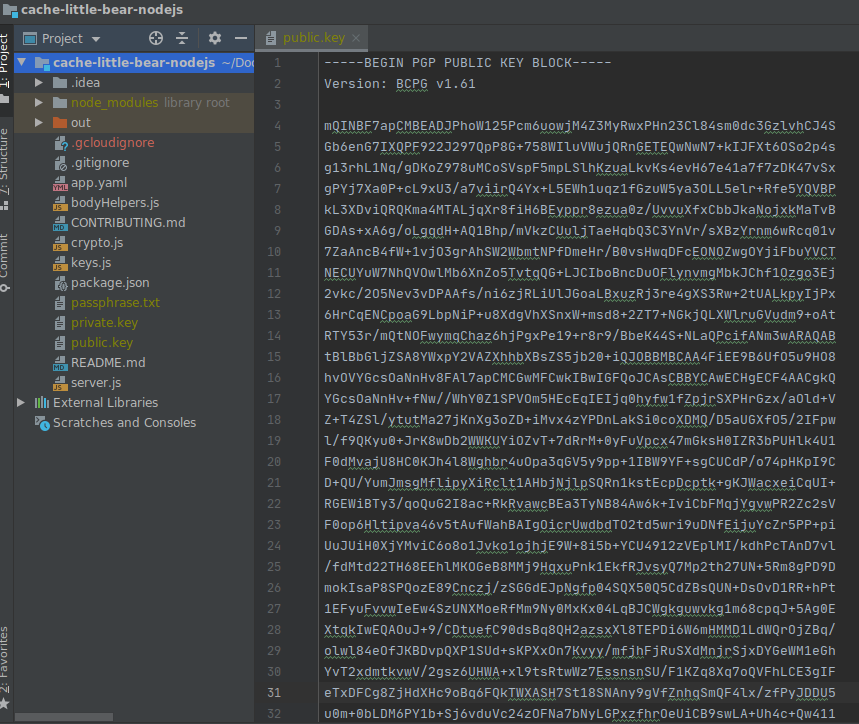
Create the following files in the project structure and add your PGP keys to enable PGP encryption.
- Create a file named
public.keyand add the ASCII armoured public key to the file. - Create a file named
private.keyand add the ASCII armoured private key to the file. - Create a file named
passphrase.txtand add the secret passphrase to the file.

Great, you are all set to run the application!
5. Run the Application
To start the application, execute the following command.
$ node server.js
Server listening on port 8080...
If you are running a pre-configured App Engine instance, run this command instead.
$ gcloud app deploy
By default, the server will listen on port 8080.
6. Test Google Standard Payments API connectivity
Now that the application is running, it is time to test connectivity with the Google Standard Payments echo API.
Run the following command to initiate a call from your instance of the sample application to Google's servers. The sample application echo API accepts a POST request in plaintext. After receiving the request, a subsequent request is sent to the Google-hosted API.
$ curl -X POST -H 'Content-Type: text/plain' -d 'Hello from Little Bear' https://{HOSTNAME}/echo
A successful API request will result in the following response from Google.
{
   "responseHeader":{
      "responseTimestamp":"1606710026723"
   },
   "clientMessage":"Hello from Little Bear",
   "serverMessage":"Server message."
}
Step-by-step
Now that a request has been successfully sent by your server, let's review how that worked.
Build the request
buildEchoRequestBody in bodyHelpers.js builds the echo request sent to Google's API.
const message = bodyHelpers.buildEchoRequestBody(req.body);
The generated request includes the clientMessage, as well as several default value fields.
{
   "requestHeader":{
      "protocolVersion":{
         "major":1,
         "minor":0,
         "revision":0
      },
      "requestId":"ddfe0fd0-ffdc-4fcf-991a-f0611ec83970",
      "requestTimestamp":"1606715389040"
   },
   "clientMessage":"Hello from Little Bear"
}
Encrypt the request
All requests are encrypted and base64url encoded. In this sample, crypto.js contains helper methods that perform encryption and decryption for you. The crypto.encrypt method performs encryption using Google's public key.
const encrypted = await crypto.encrypt(message);
Send the base64url encoded POST request
The encrypted message is base64url encoded using the base64url package and sent via a POST request using axios.
const response = await axios.post(ECHO_URL, base64url(encrypted), AXIOS_CONFIG);
Decrypt and return the response
Google's successful response is base64url encoded and encrypted, so it needs to be decoded and decrypted as well before it can be returned in plaintext.
const encryptedMessage = base64url.toBuffer(response.data);
const decryptedResponse = await crypto.decrypt(encryptedMessage);
res.status(200);
res.send(decryptedResponse);
7. Test Partner API connectivity
To test the partner echo API Connectivity, Google will send a request to the Partner Hosted echo API.
When you are ready, please work with your Google point of contact to trigger this request from Google.
The echo test is complete when you are able to read the inbound echo request from Google and respond with a valid echo response.
Step-by-step
Now that a request has been successfully received and handled by your server, let's review how that worked.
Base64url decode the request
When you receive the request, you will first need to base64url decode it.
const encryptedRequest = base64url.toBuffer(req.body);
Decrypt the request
Once you have base64url decoded the request, you need to decrypt it.
const decryptedRequest = await crypto.decrypt(encryptedRequest);
Receive the request
Google sent a message payload that is similar to the following once it was decoded and decrypted.
{
  "requestHeader": {
    "protocolVersion": {
      "major": 1
    },
    "requestId": "G1MQ0YERJ0Q7LPM",
    "requestTimestamp": {
      "epochMillis":1481899949606
    },
    "paymentIntegratorAccountId": "abcdef123456"
  },
  "clientMessage": "echo Me"
}
Build the response
Once you have successfully read the inbound echo request, you are ready to build the response.
clientMessage = JSON.parse(decryptedRequest).clientMessage;
responseBody = bodyHelpers.buildEchoResponseBody(clientMessage);
The response includes the message from Google, as well as a timestamp and message from the server.
{
  "responseHeader": {
    "responseTimestamp": {
      "epochMillis":1481899950236
    }
  },
  "clientMessage": "echo Me",
  "serverMessage": "Debug ID 12345"
}
Encrypt and base64 encode the response
Once you have formed the response message, you are ready to encrypt and base64url encode it.
encryptedResponse = await crypto.encrypt(responseBody);
const encodedResponse = base64url(encryptedResponse);
Return the response
And, finally, you are ready to send the POST response.
res.send(encodedResponse);
8. Congratulations!
In this codelab, you've successfully established connectivity with the Echo API!
