There are multiple ways to create and edit your own Opals. We recommend starting with the quickstart guide to quickly try out Opal for yourself!
The Gallery
You can use the Gallery to find demo Opals created by Google. The Gallery is a good place to get started because you can remix any Opal from the Gallery to make your own copy and changes.
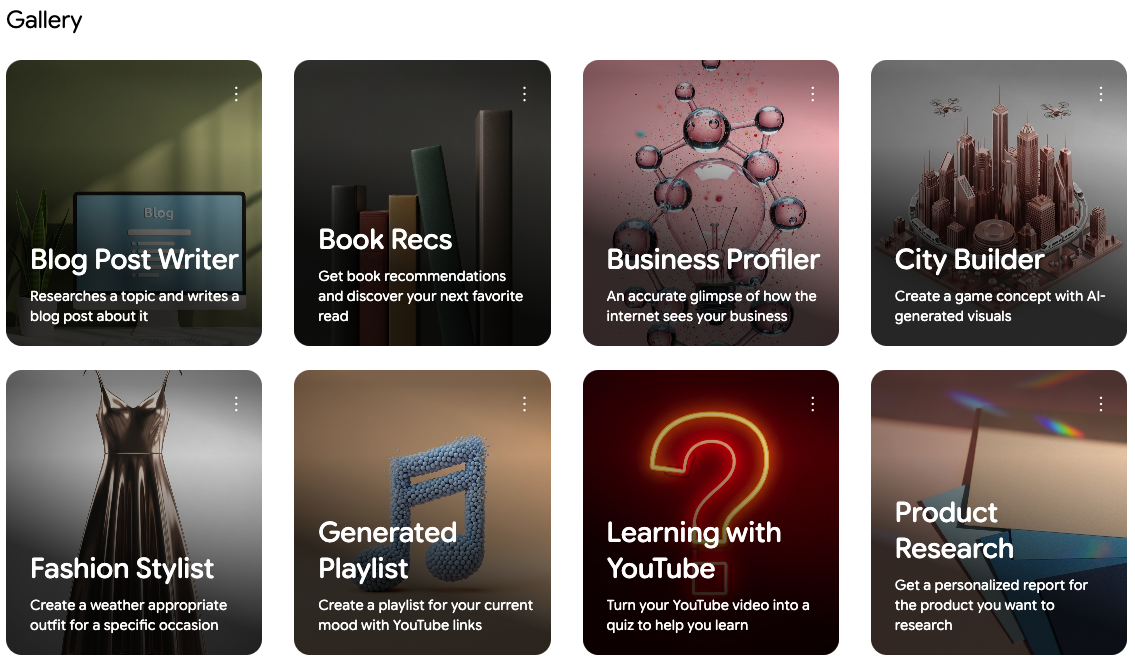
Selecting an Opal in the Gallery will show you a view-only version of the visual editor, so you can see how that Opal was built. You can't edit Opals from the Gallery directly, but you can remix them.
Remix an Opal from the Gallery
Remixing an Opal will create a copy of that Opal that you can then edit. Any changes you make to the new Opal won't affect the original Opal in the Gallery, but you can make changes to your new Opal to make it your own, then share and publish it.
Opal apps
After creating a new Opal or remixing an existing one, the editor screen is where you'll make changes to your Opal and test them out. There are two primary ways to edit an Opal in the editor:
- Manually edit steps with the visual editor
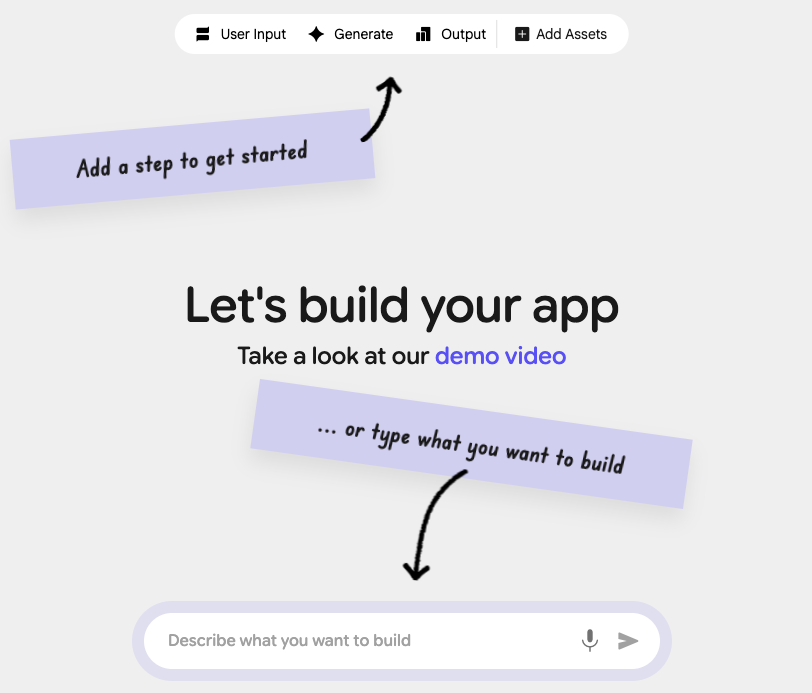
- Prompt with natural language
Visual editor
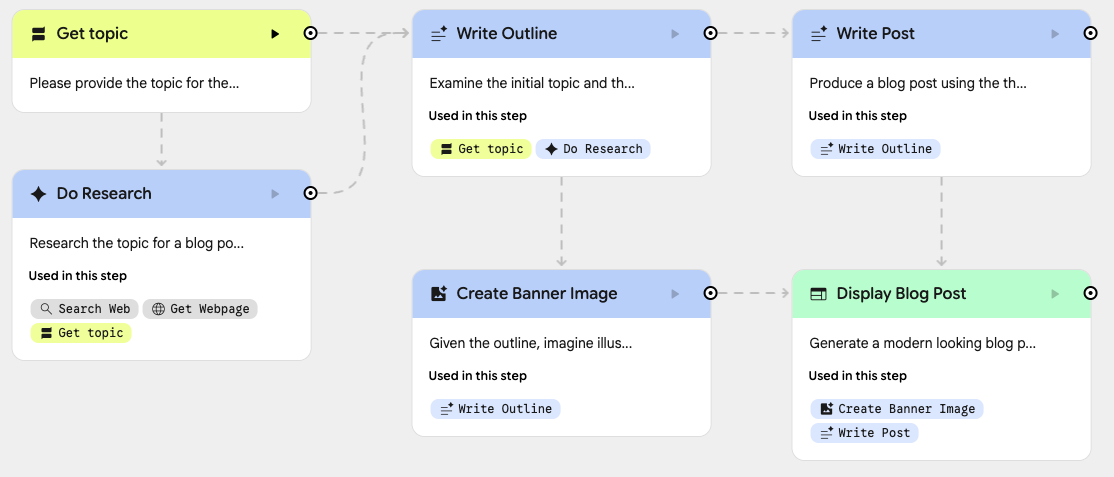
Using the visual editor is the most customizable way to create or edit an Opal. From the editor, you can add steps, link them together, and create your application without writing any code. You can also visually arrange your steps to create a presentation that makes the most sense for your needs. To run the app from a specific step, click the play button on that step. Some steps will require previous steps to be run first.
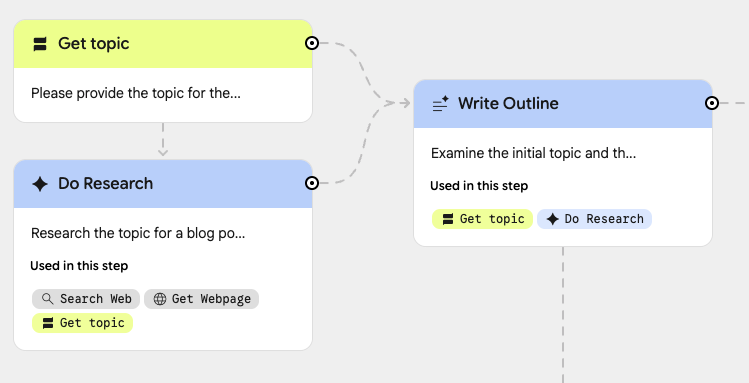
Steps and assets
Using the visual editor, you can add multiple steps to your Opal, connect them together, and preview your app before sharing it. There are multiple types of steps that can be added. Each step can have a custom name and prompt, as well as some additional fields:
- User Input
- This step is for collecting input from the user. The prompt will be shown to the user. You can use advanced options to specify the type of input the user should provide, such as text or image.
- Generate
- This step is the primary building block for most Opals. You can select which AI model you want to use and then specify the prompt that will be given to that model. By collecting user input in an earlier step, you can reference the user's input when sending the prompt to the AI model for generating something new, like a text response, video, or image, depending on the model you select.
- Output
- Output steps allow you to control what you see after collecting and generating all the data you want. You can select how you want the app to output, such as creating a dynamic webpage where the AI model decides the layout, or exporting to a Google Drive spreadsheet. Multiple output steps can be used in one Opal.
In addition to steps, you can also upload static assets for your Opal to use as reference. You can upload files directly, such as images, or you can provide a link to a YouTube video. These assets are best for static content that you want to provide as context to the AI model when prompting.
The sidebar
When using the visual editor, the sidebar serves multiple purposes depending on your current selection. By default, the sidebar lets you Preview your application in real time so you can see the details and test out your app with each change you make.
You can select Theme to adjust the overall theme for your app. Themes can be randomly generated, or you can use natural language to suggest what the theme should look like. When using natural language, you can give a basic suggestion for what you want the theme to be generated with, such as "Sci-fi claymation cats".
Themes that you have generated will be saved so you can switch between themes as needed. You can choose from themes you've created before, but you cannot make any manual adjustments to the theme.
When a Step is selected in the visual editor, the sidebar will show and allow you to edit the content directly, such as the title and prompt.
Step details
For any user input, generate, or output step, you can customize the prompt that gets sent to the model using the sidebar. When a step is selected, the Step section of the sidebar is automatically opened with the prompt available for editing by clicking directly into the text area.
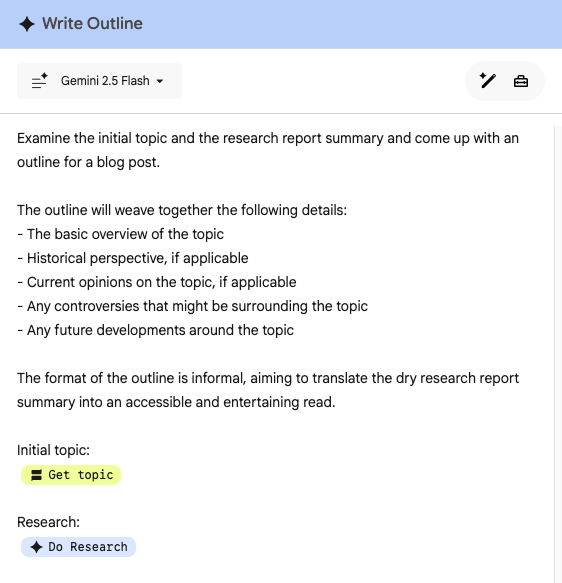
The entire prompt, including any tools or references to other steps, will be sent to the AI model. You can include:
- Text prompting
- You can include any text to be sent to the model, such as direct instructions like "Research the topic and summarize your findings in a paragraph".
- Steps
- Referencing the results of one step in the prompt for another step is the primary way to build your app logic inside of Opal. You can chain together multiple steps sequentially, or you can have one step that references the output of multiple steps together.
- Tools
- Tools are built into Opal and are made available to the model along with the prompt for each step. Including a tool into a prompt gives the model access to that tool. Use the @ sign when you're typing in a step or the prompt box to pull up the tools menu.
- Some example tools are searching the web, searching a map, or getting the current weather.
- Assets
- Any static assets can also be added to the prompt.
You can drag using the connection point on each step, or you can reference steps
by using the @ character. When adding a reference to a step or asset, the
visual editor will update showing a dotted line between the steps. When dragging
from one step's connection point to another step, the prompt for the later step
will be updated by adding a reference to the original step.
Debug with the console
In addition to previewing your Opal app, you can use the console to see exactly how your Opal app runs, with details on each step as it executes in real time.

To debug your app with the Console, select Console in the sidebar. You can select Start to begin running all the steps in the app. Each step will appear in the order that they are executed in, along with how long each step has been executing.
If you want to run only one specific step, select the play icon button on the right side of the step you want to run. The state of the app in the Preview section mirrors the console, so you can also see what the app looks like while seeing more detailed information in the console.
The details for steps can be expanded to show what data is being used and what the model is working on. Additional details can include model inputs and outputs, thinking steps, and tool calls. For example, if you're looking for an output of a step that references an asset like a Google doc, the console tab will give you the request details and the output of the doc that will get used in the prompt.
Natural language editor
To edit with the natural language editor, select the editor and write a prompt for what type of change you want to make.

Editing with natural language makes the same types of changes that you can make with manual edits using the visual editor. The natural language editor can make multiple changes from one prompt, so it can be a good way to get started or try out new ideas. You can also prompt for specific changes, such as changing an existing step or adding a new one.
Additional actions
There are also some actions you can take to manage your Opal.
Preview
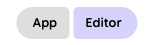
With the visual editor open, you have an option to select the App or the Editor. When you select App, the preview of your Opal is shown. This lets you try out the overall process and see what the final app will look like. When Editor is selected, the rest of the visual editor is available.
Share and publish
By default, any Opal you create is not shared with anyone until you choose to share it. Selecting Share app lets you choose how you want to share your Opal.
Sharing an Opal grants access to specific people to see or edit your Opal app. This will reveal all contents and prompts used in the Opal to those users.
Publishing an Opal creates a link where users can try out the Opal app out for themselves. You can restrict access to only certain people for your Opal app by selecting View share permissions inside the Share App section.
You can also unpublish the app at any time. If you choose to unpublish your Opal, the link will lead to an error page instead of your Opal app.
Your Opal apps are stored as files in your Google Drive.
Version history
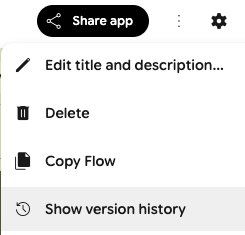
As you make changes to your Opal app, Opal will automatically save a version history of your edits. You can access the version history by expanding the three-dot menu in the top bar and selecting Show version history.
The version history will show you a list of previous versions of your Opal app. You can select each version to see how that Opal app's steps were arranged in the visual editor. To restore to a previous version of your Opal app, select the version you want to restore and then select Restore this version at the top of the editor.
When restoring from an earlier version, the Opal app will be restored to match the state of the selected version. Any earlier versions of your Opal app will still be available, but any later versions than the one you are restoring to will be permanently deleted and no longer available for viewing or restoring.