Page Summary
-
Users initiate the DC provisioning process by adding a DC to the Google Wallet app on their Android device and selecting their issuing state.
-
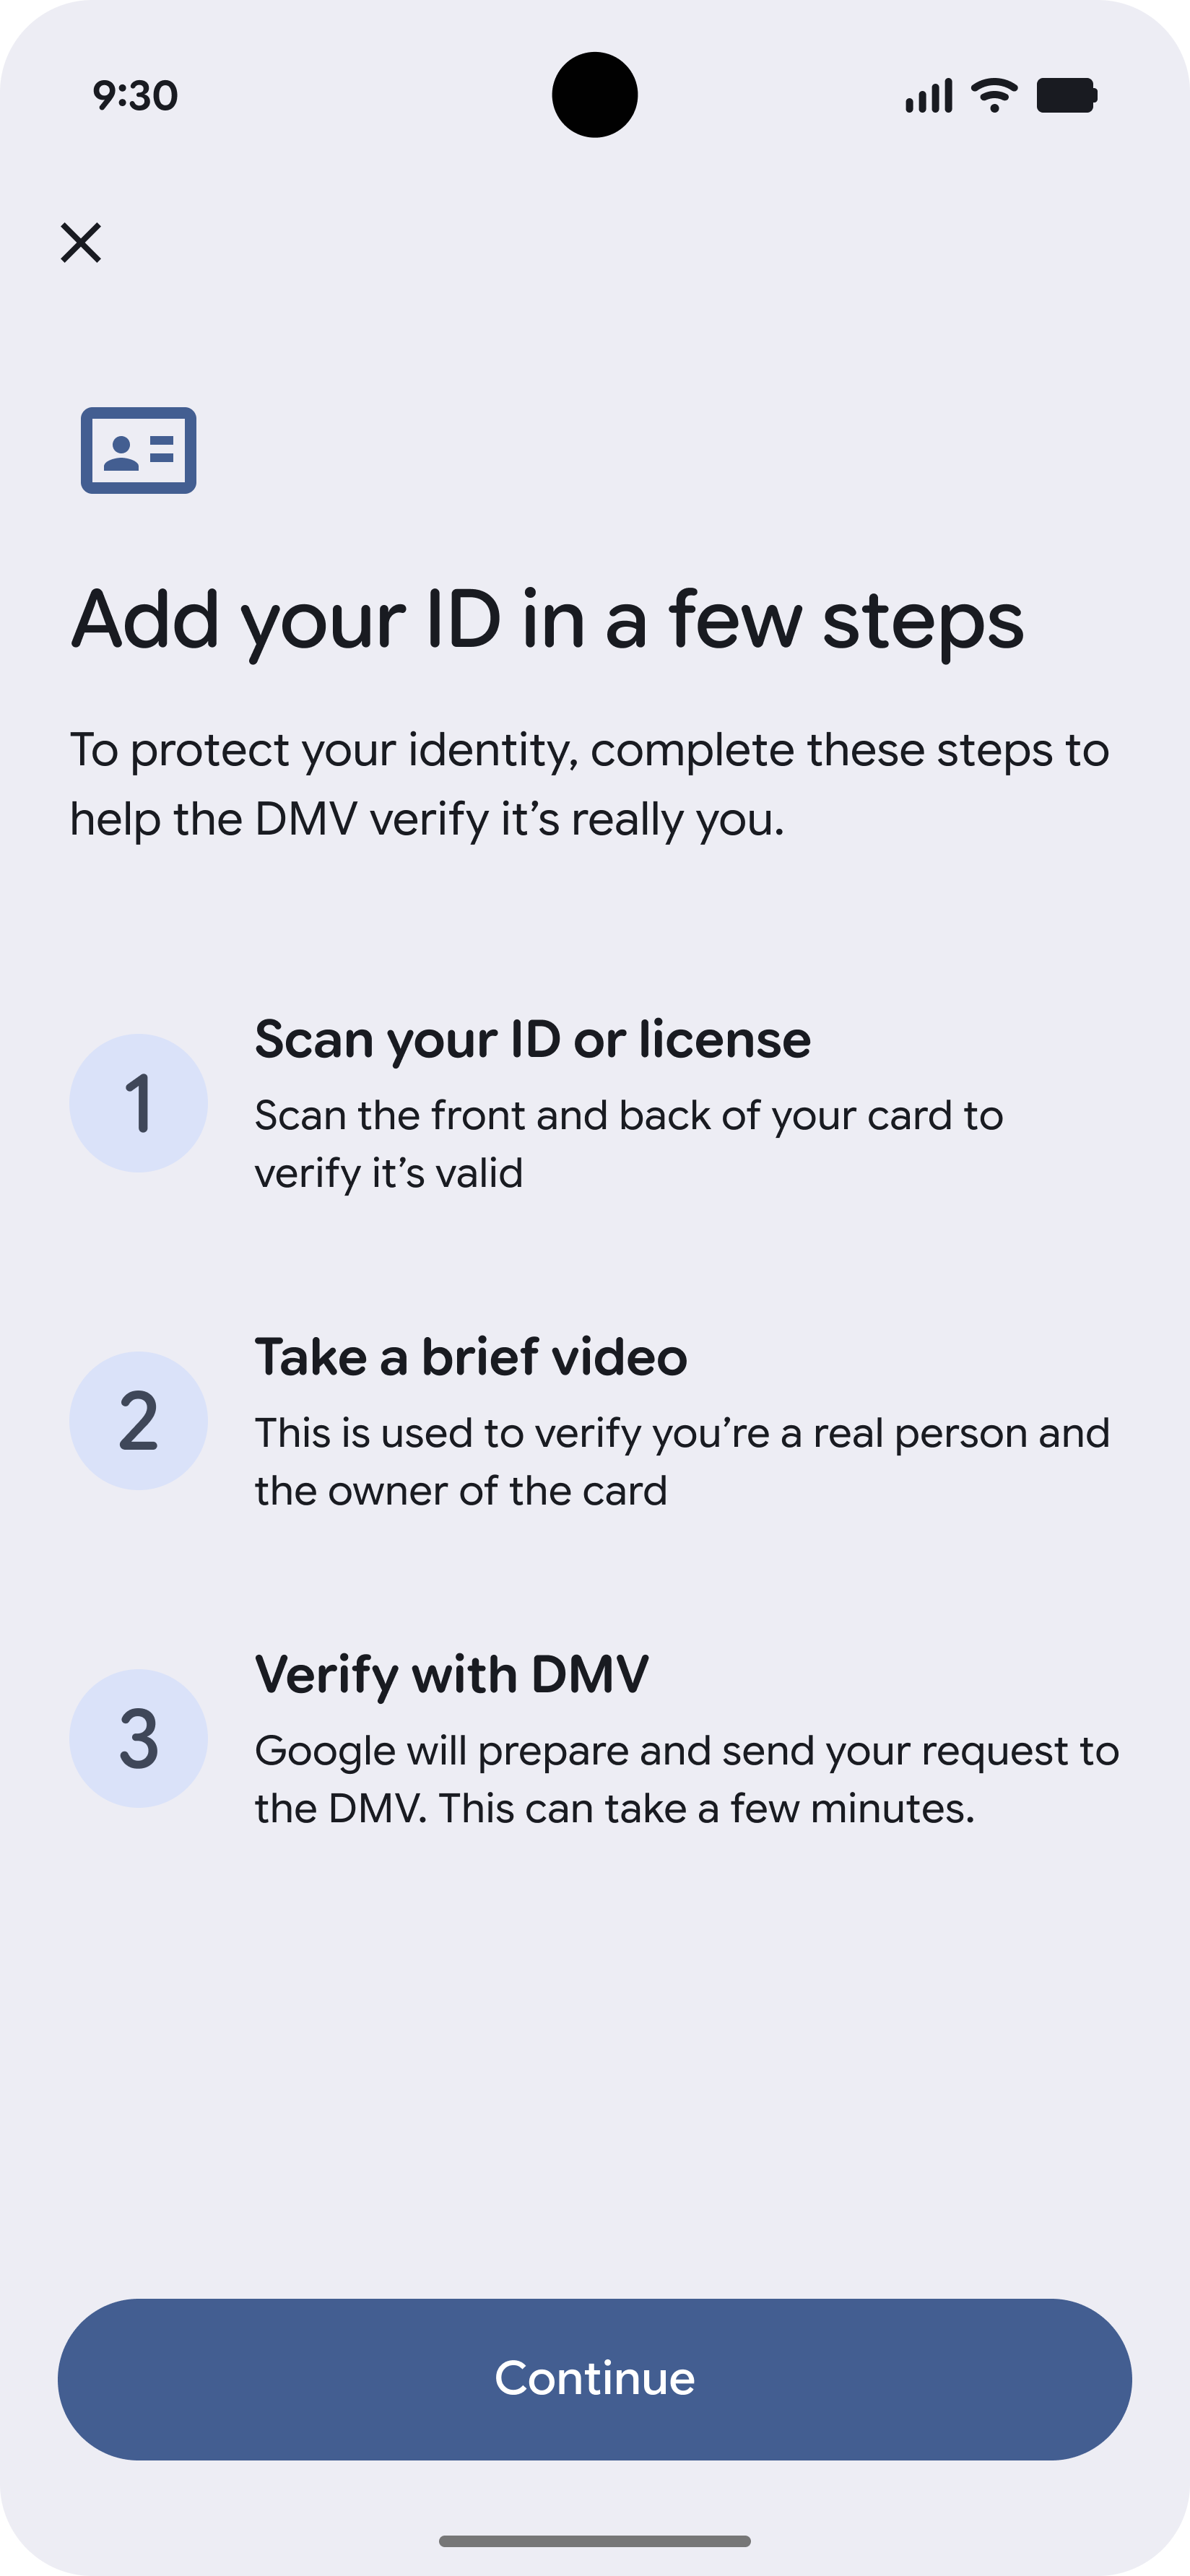
Identity verification requires the user to share photos of their identity document and a liveness video with Google and the Issuer after consenting.
-
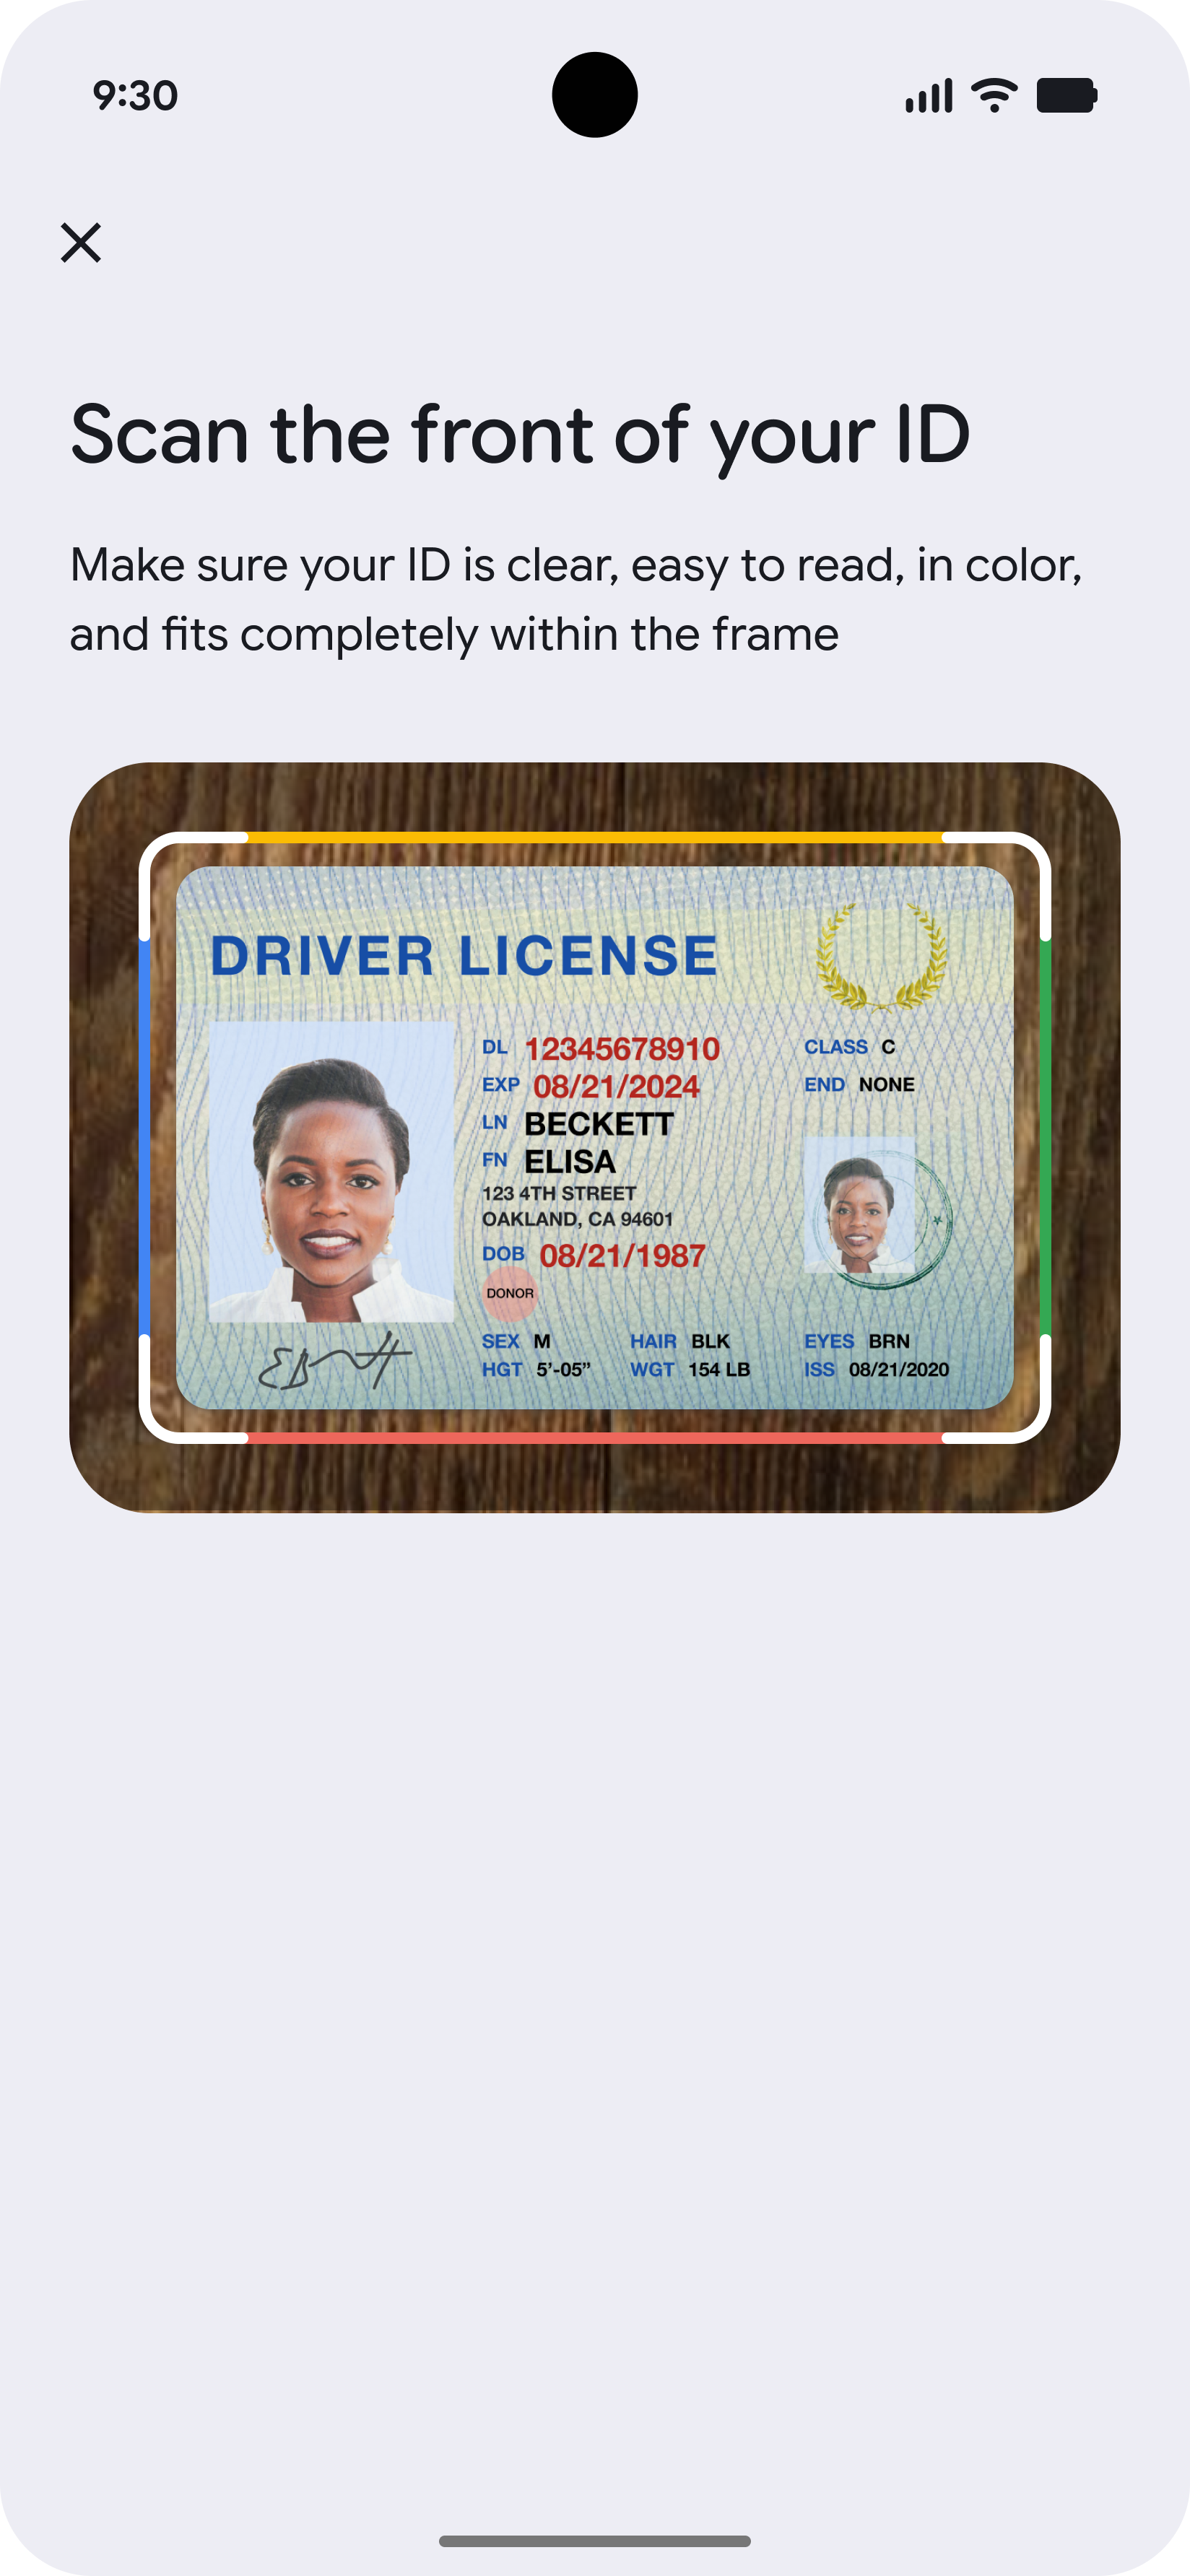
Users are guided through scanning the front and back of their identity document and recording a liveness video, with tips provided for optimal recording quality.
-
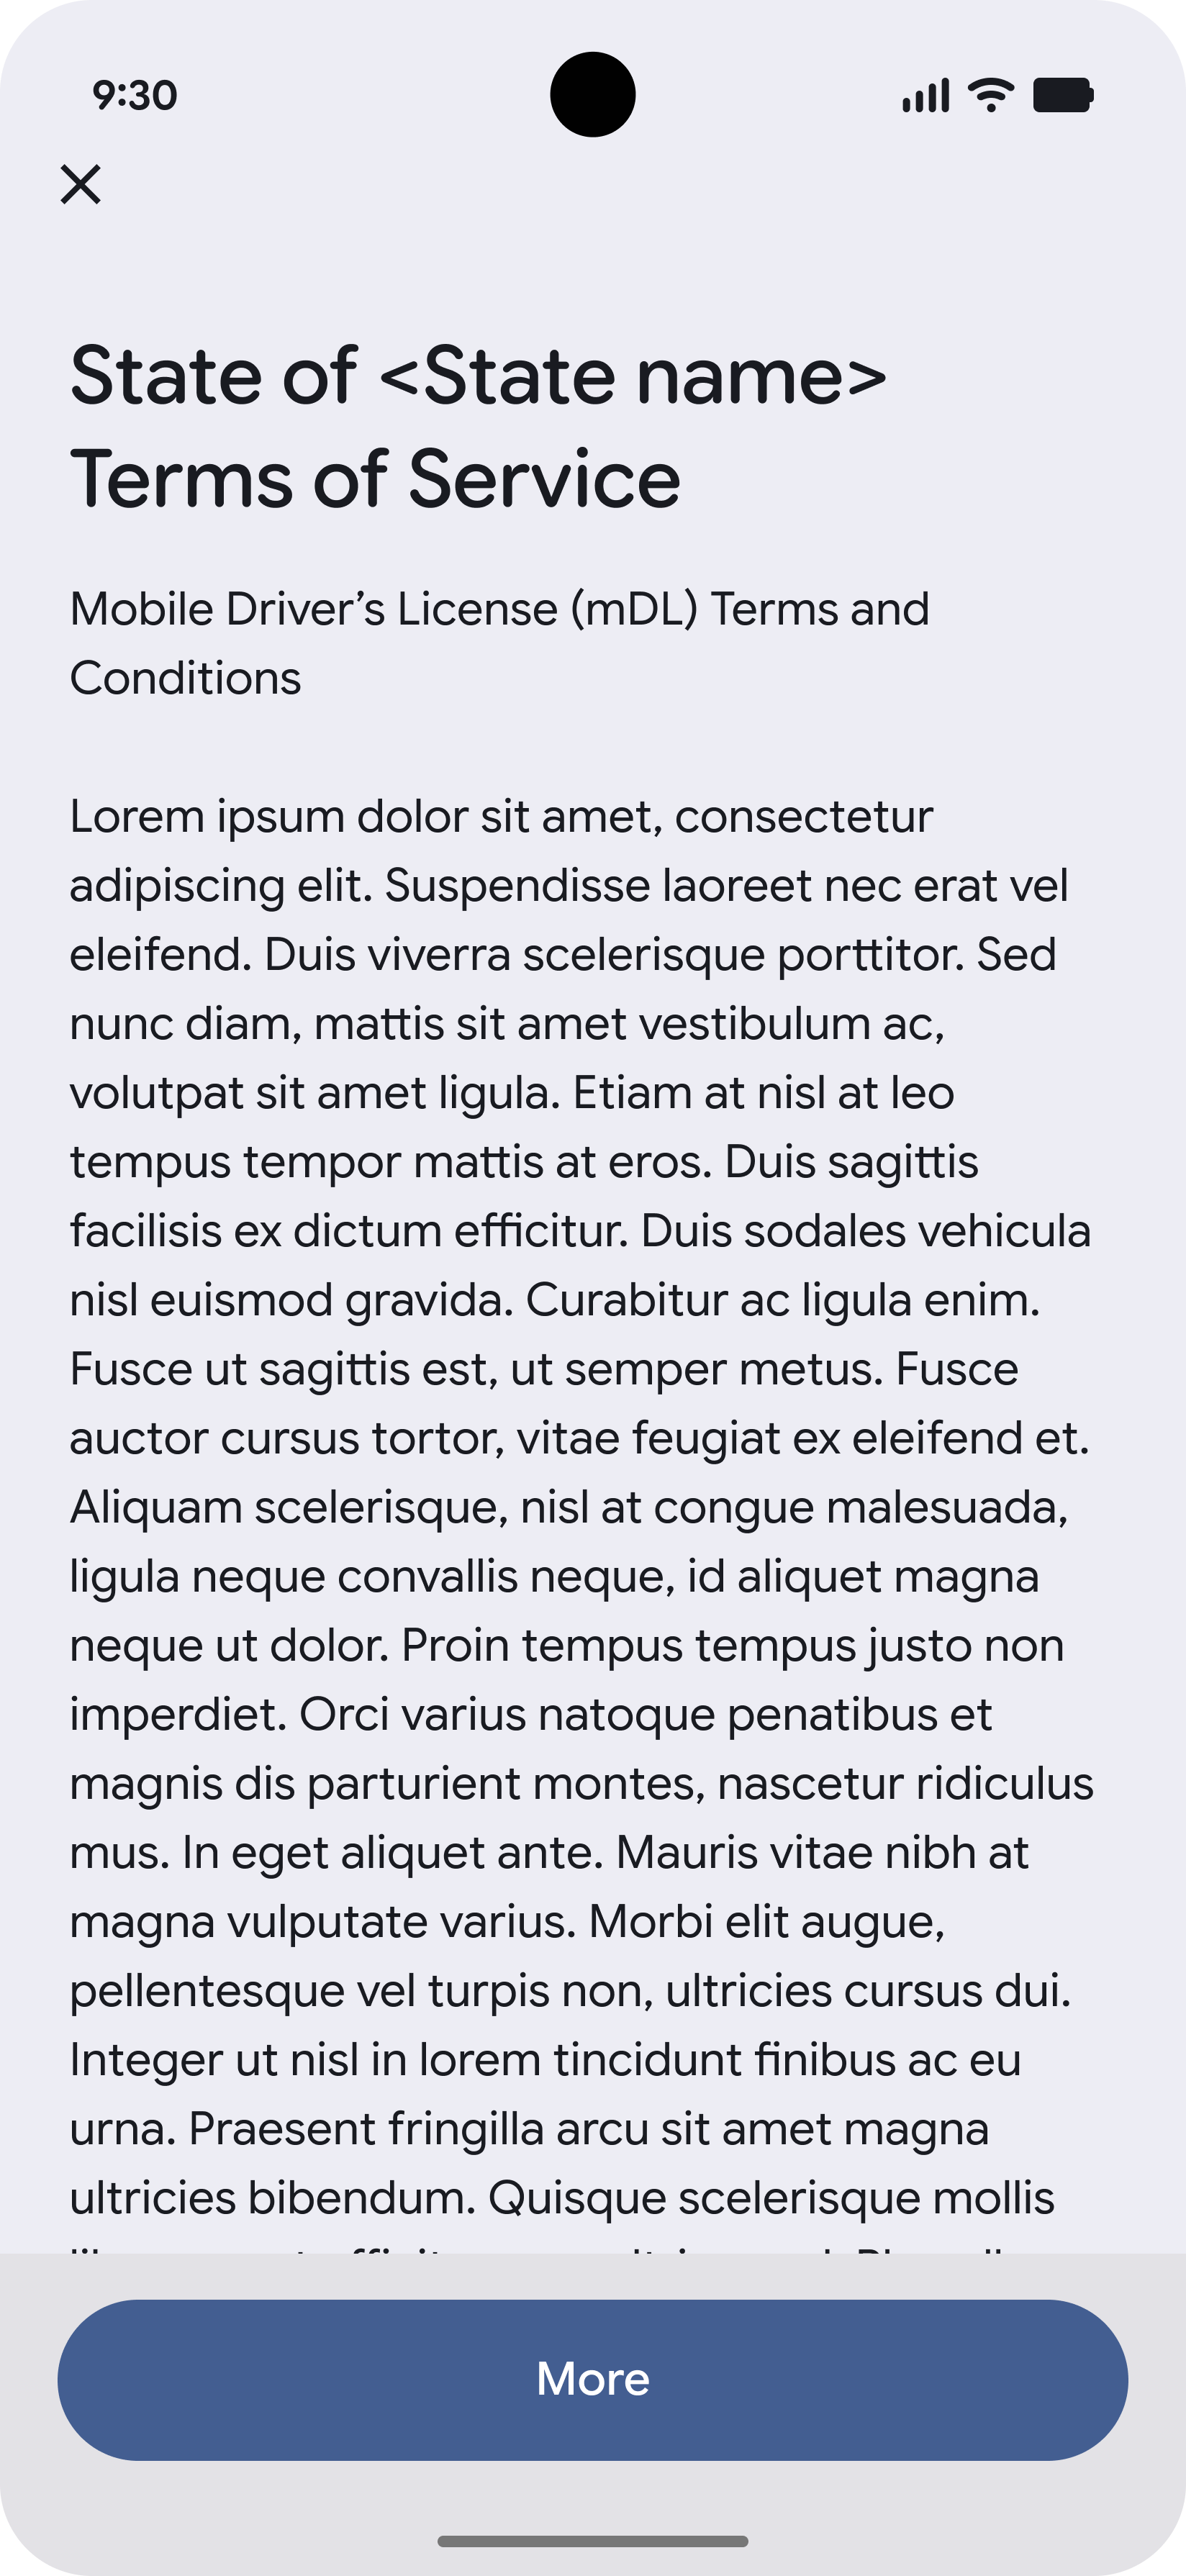
Before submission, users must confirm they wish to send their application to the Issuer and agree to the Issuer's terms of service.
-
After submission, users can track their application status and will receive a notification with instructions on DC usage once it is ready.
Wallet-initiated
Wallet-initiated, Wallet proofed
-
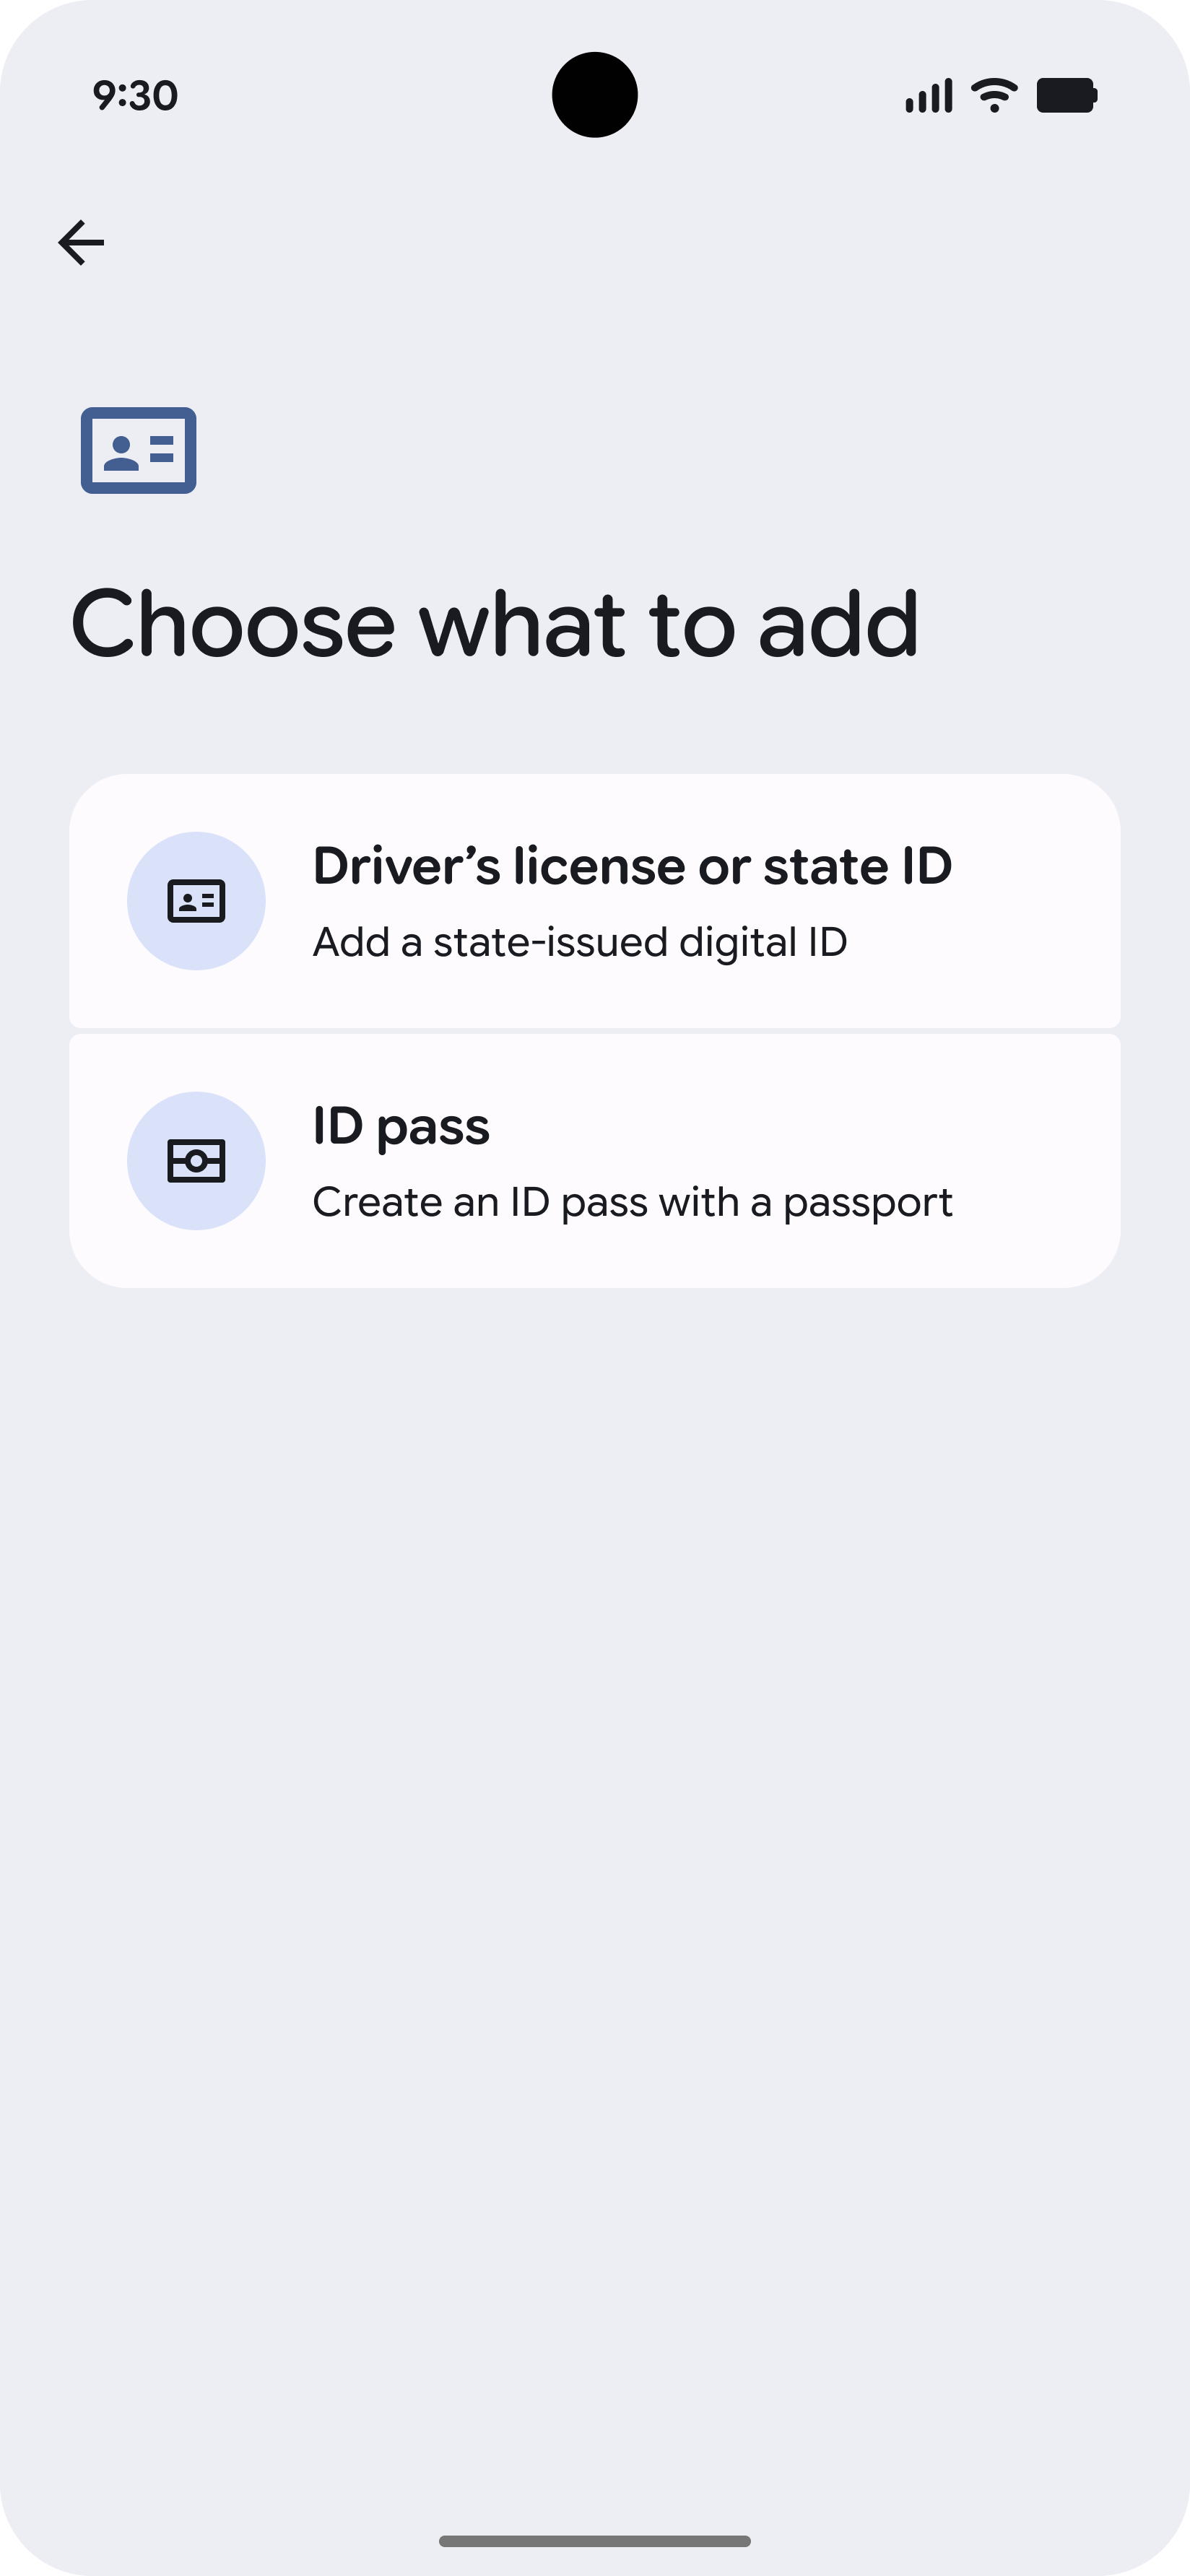
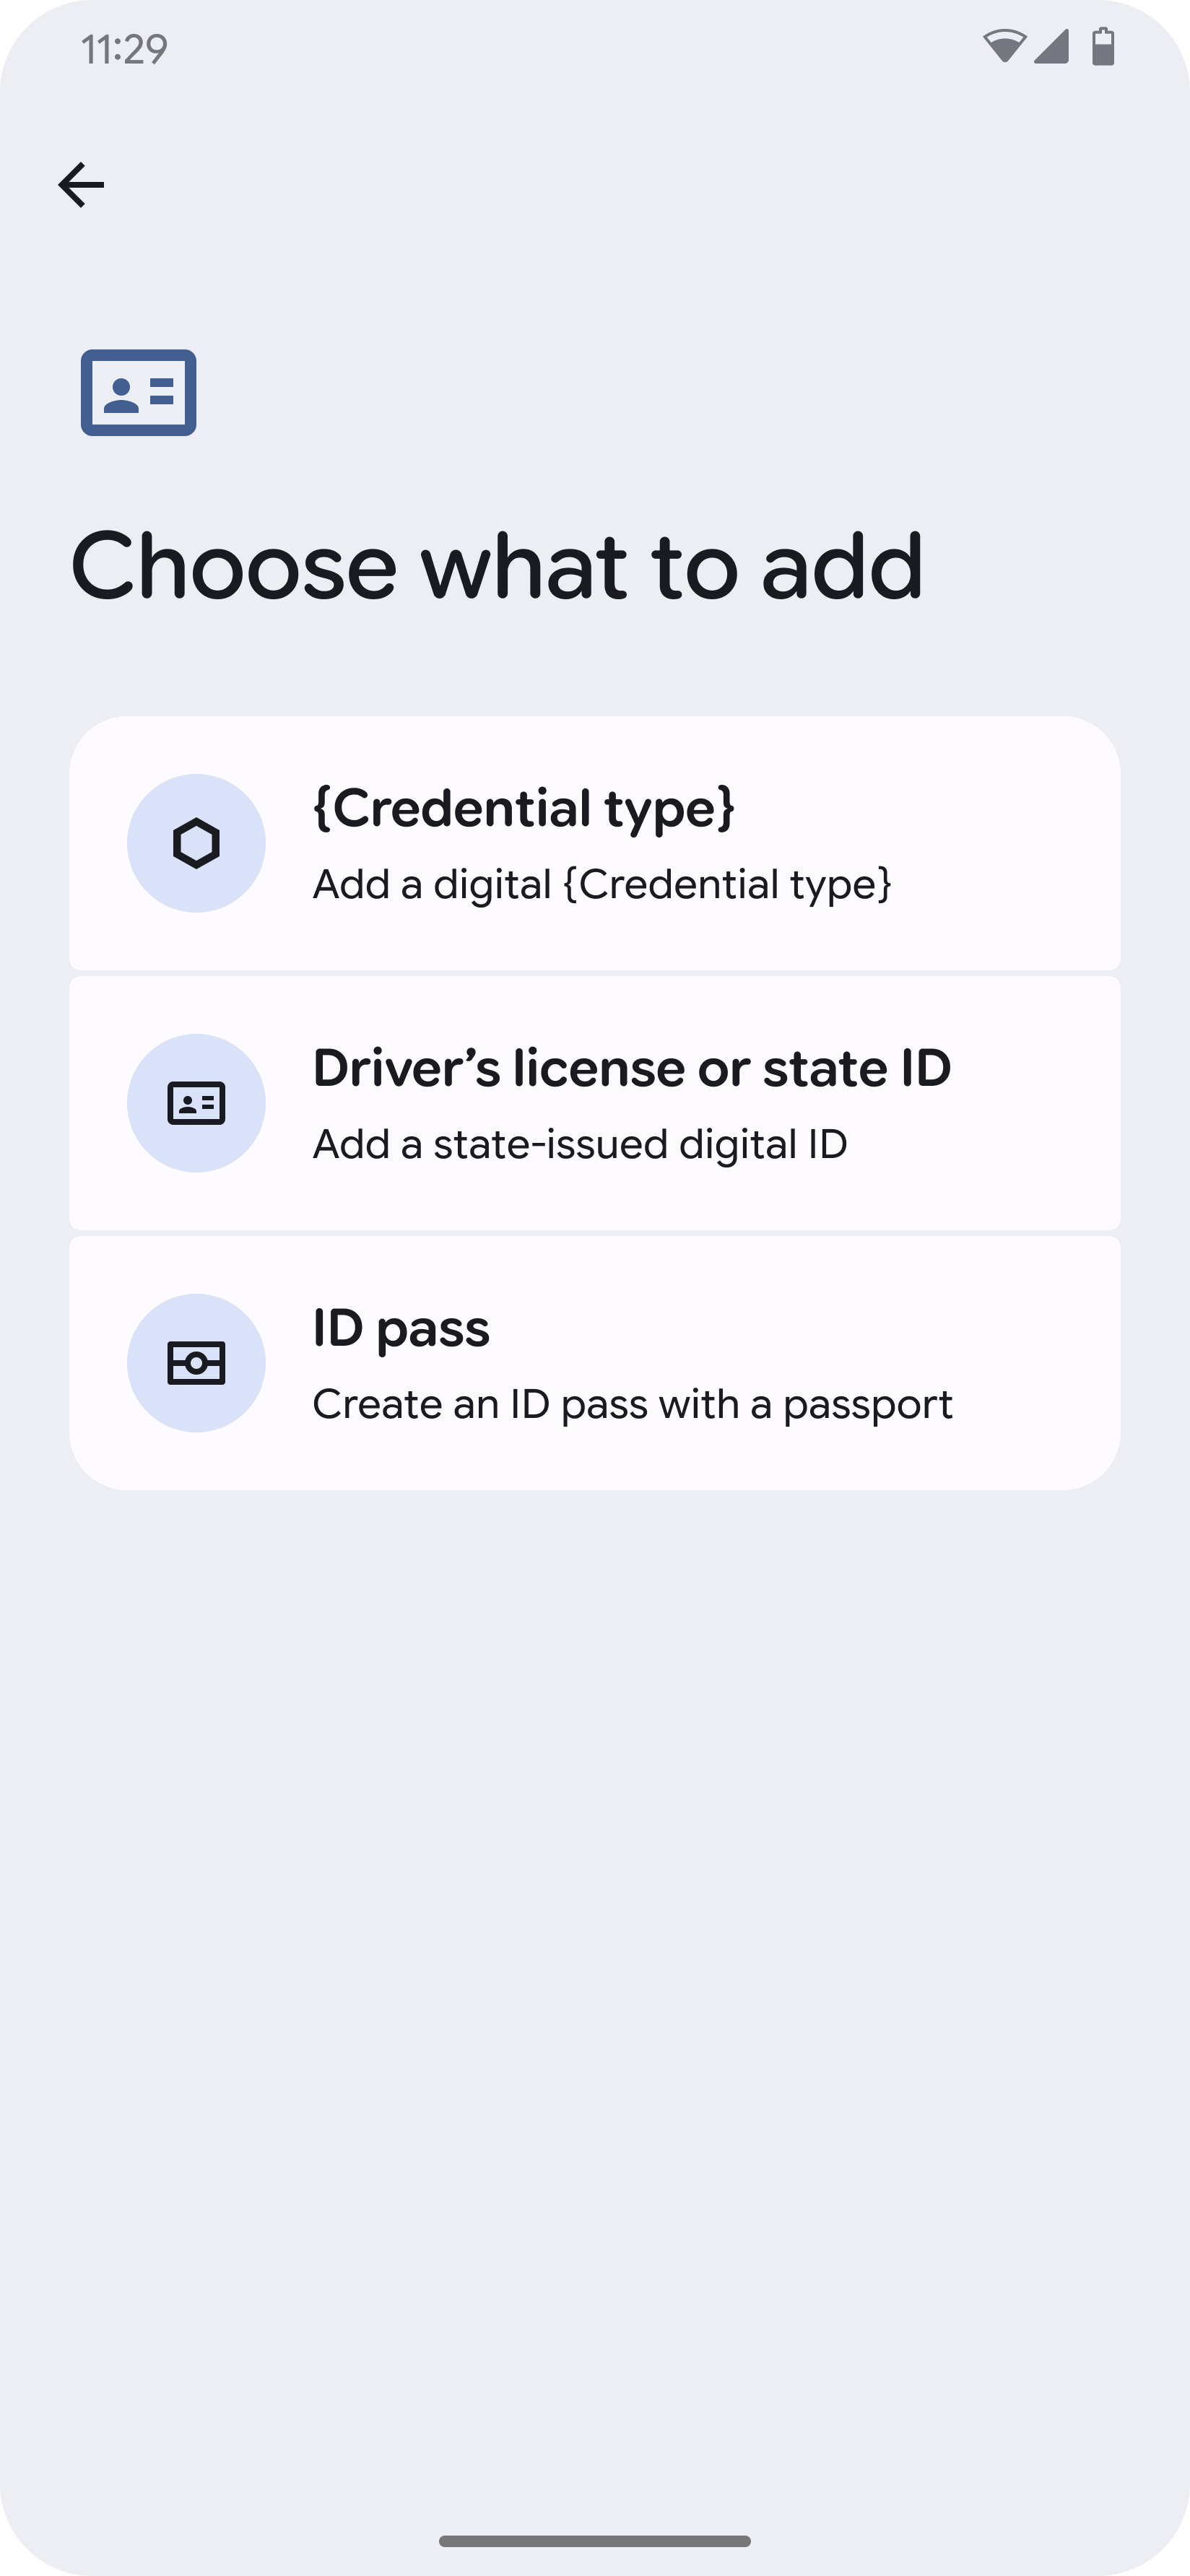
Add to Wallet
Provisioning begins with a user adding an ID to the Google Wallet app. Next, they select the issuer.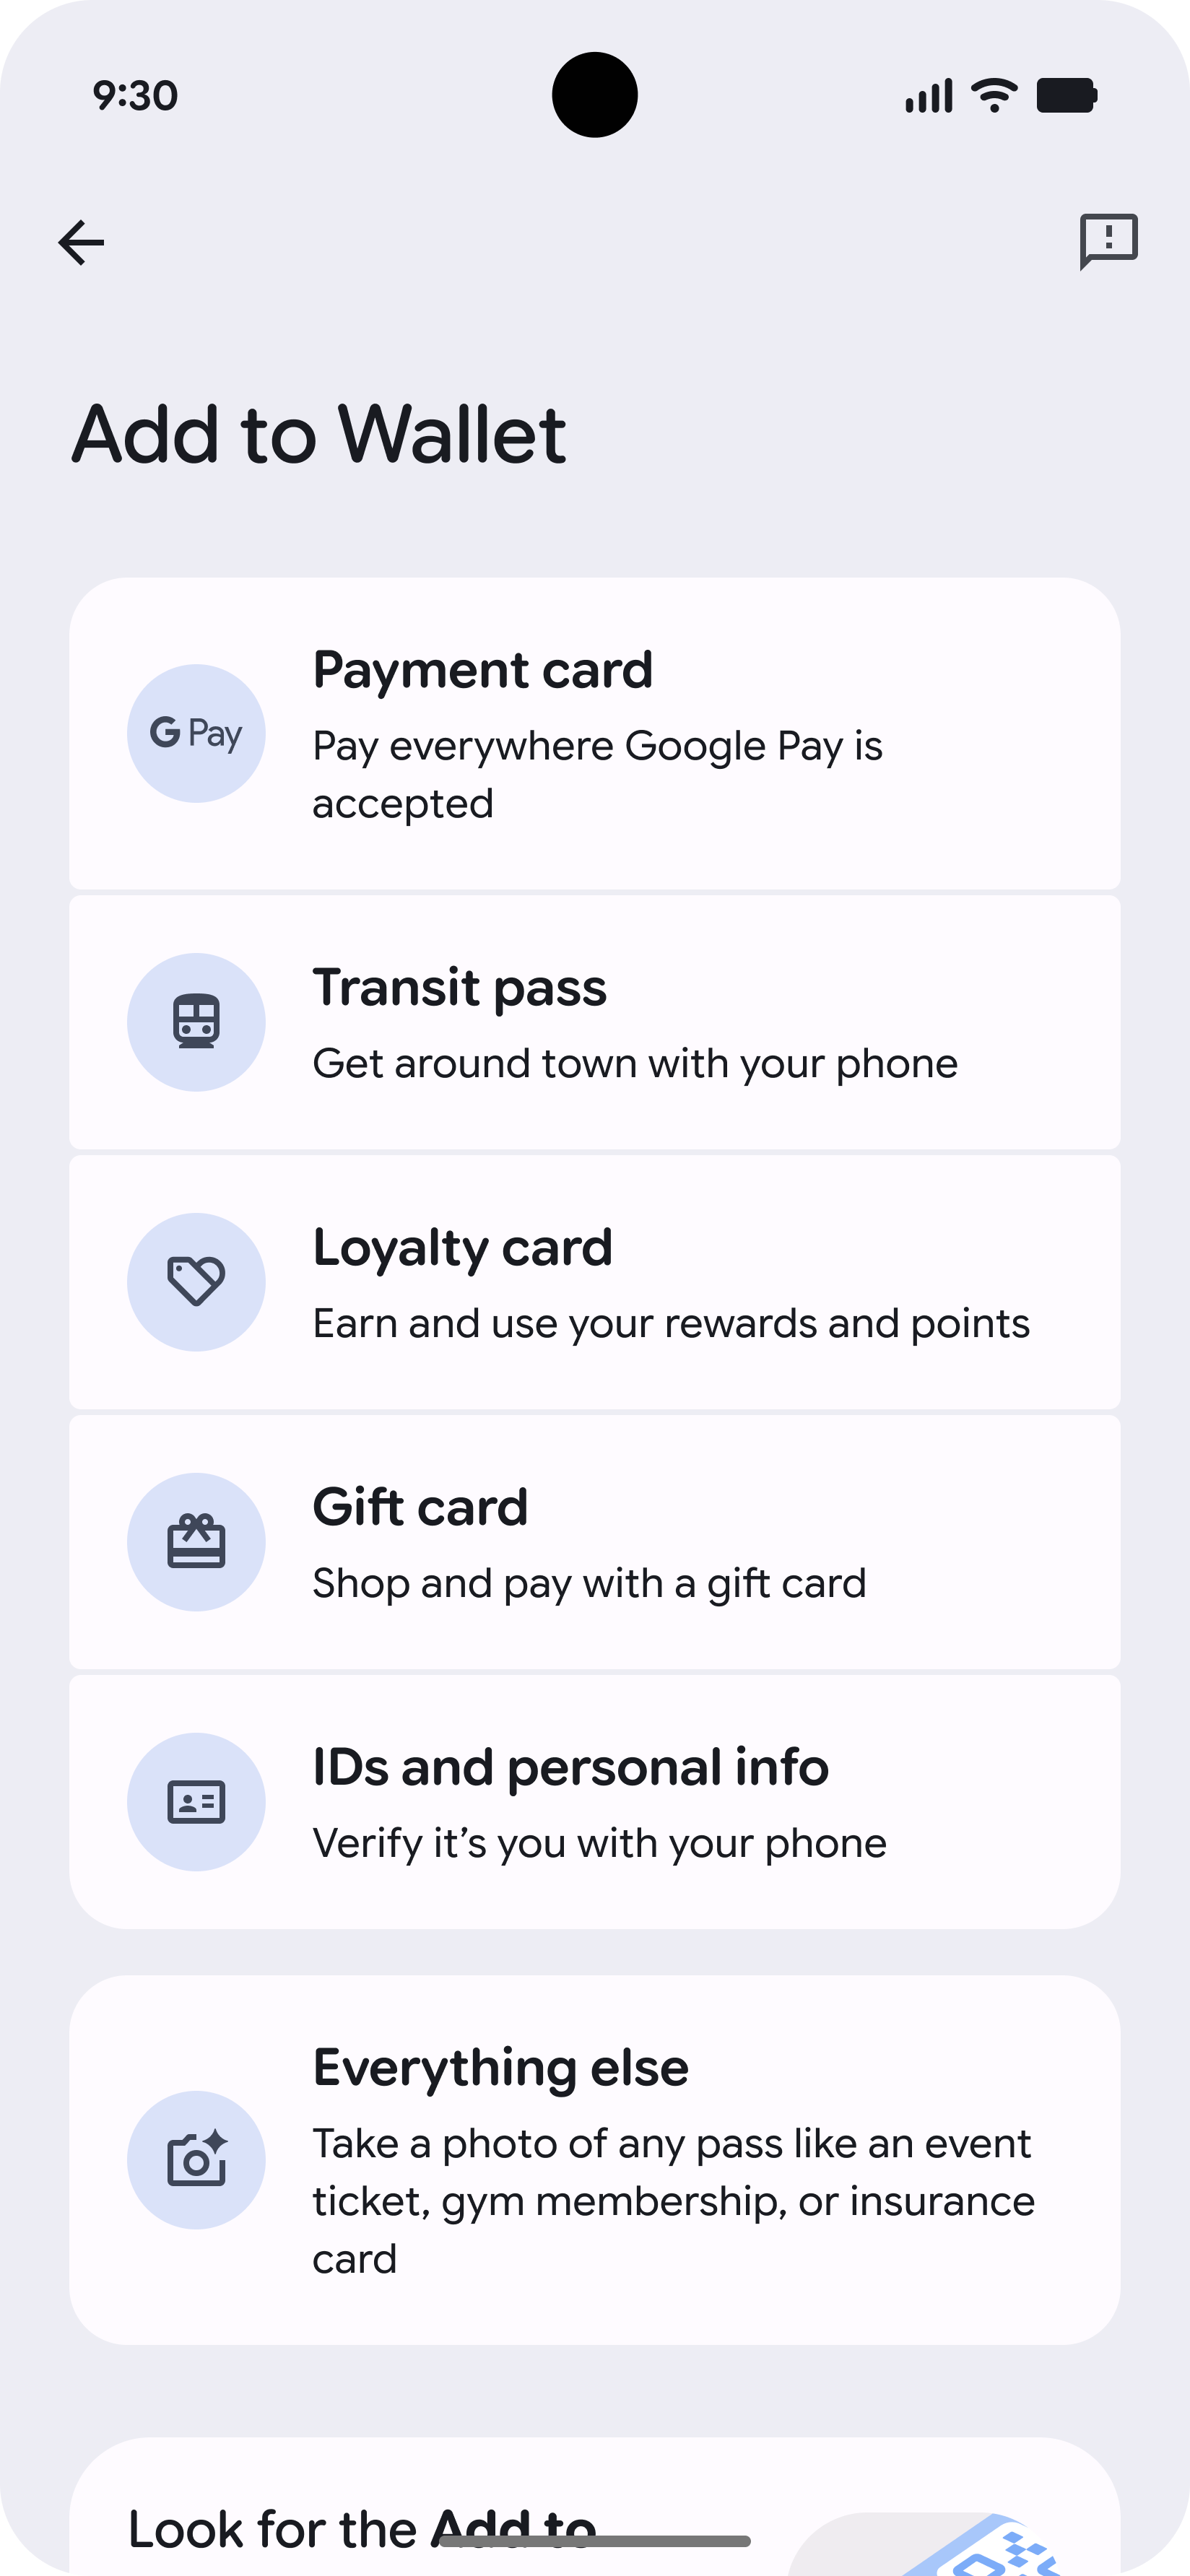
-
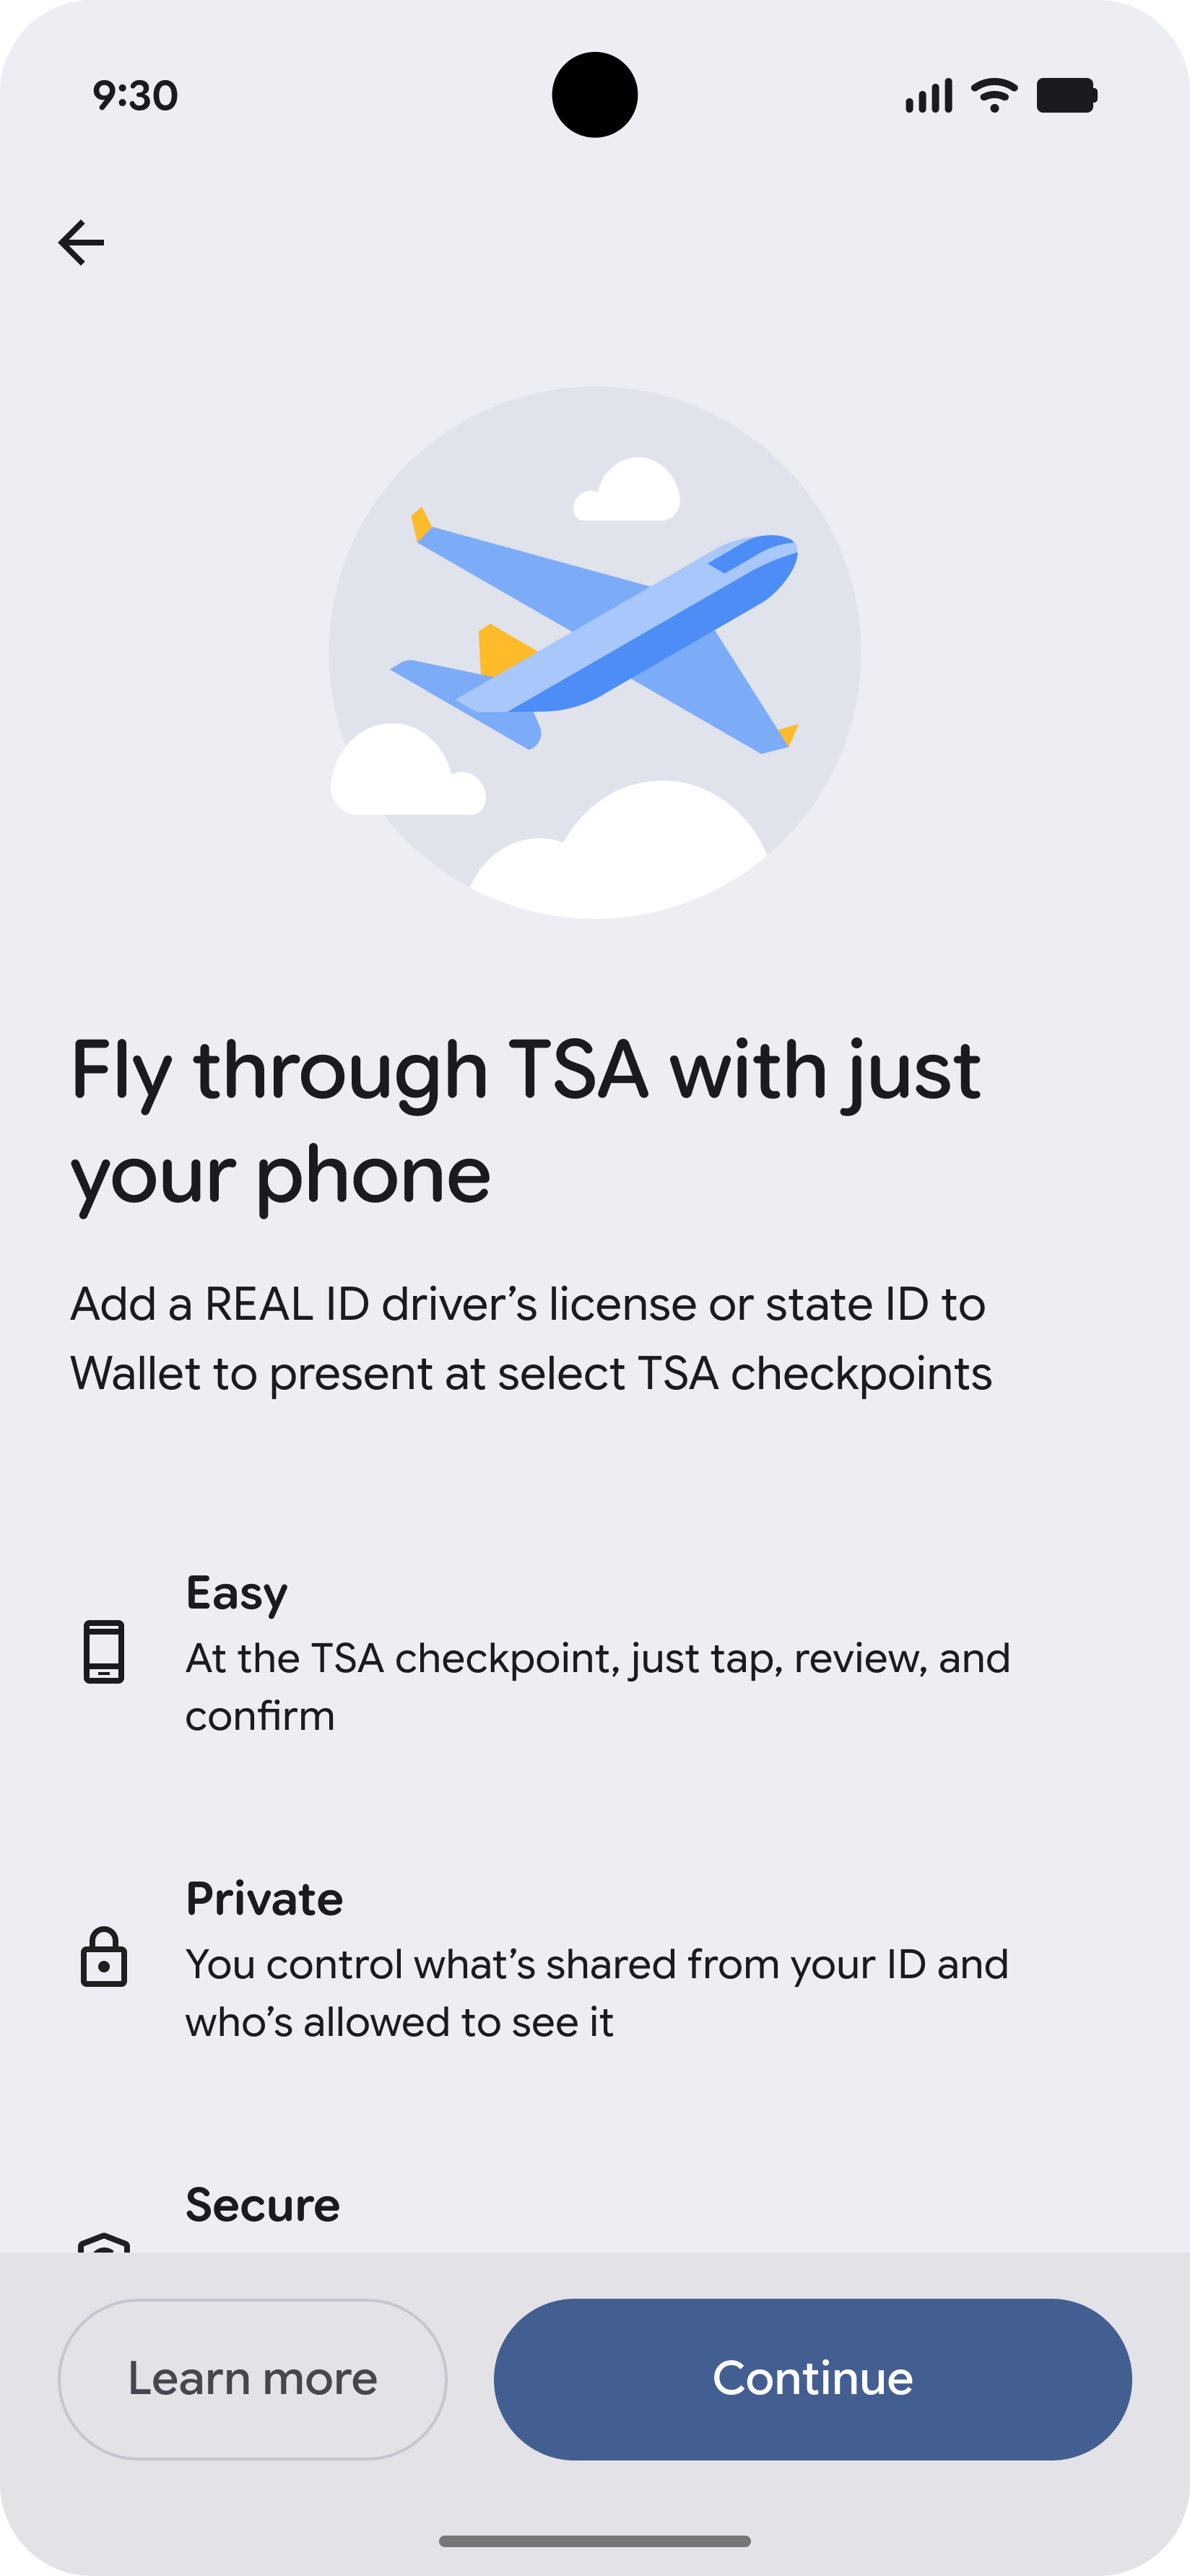
Verify Identity
Before provisioning, users review the requirements and consent to identity verification via an ID photo and a brief facial video.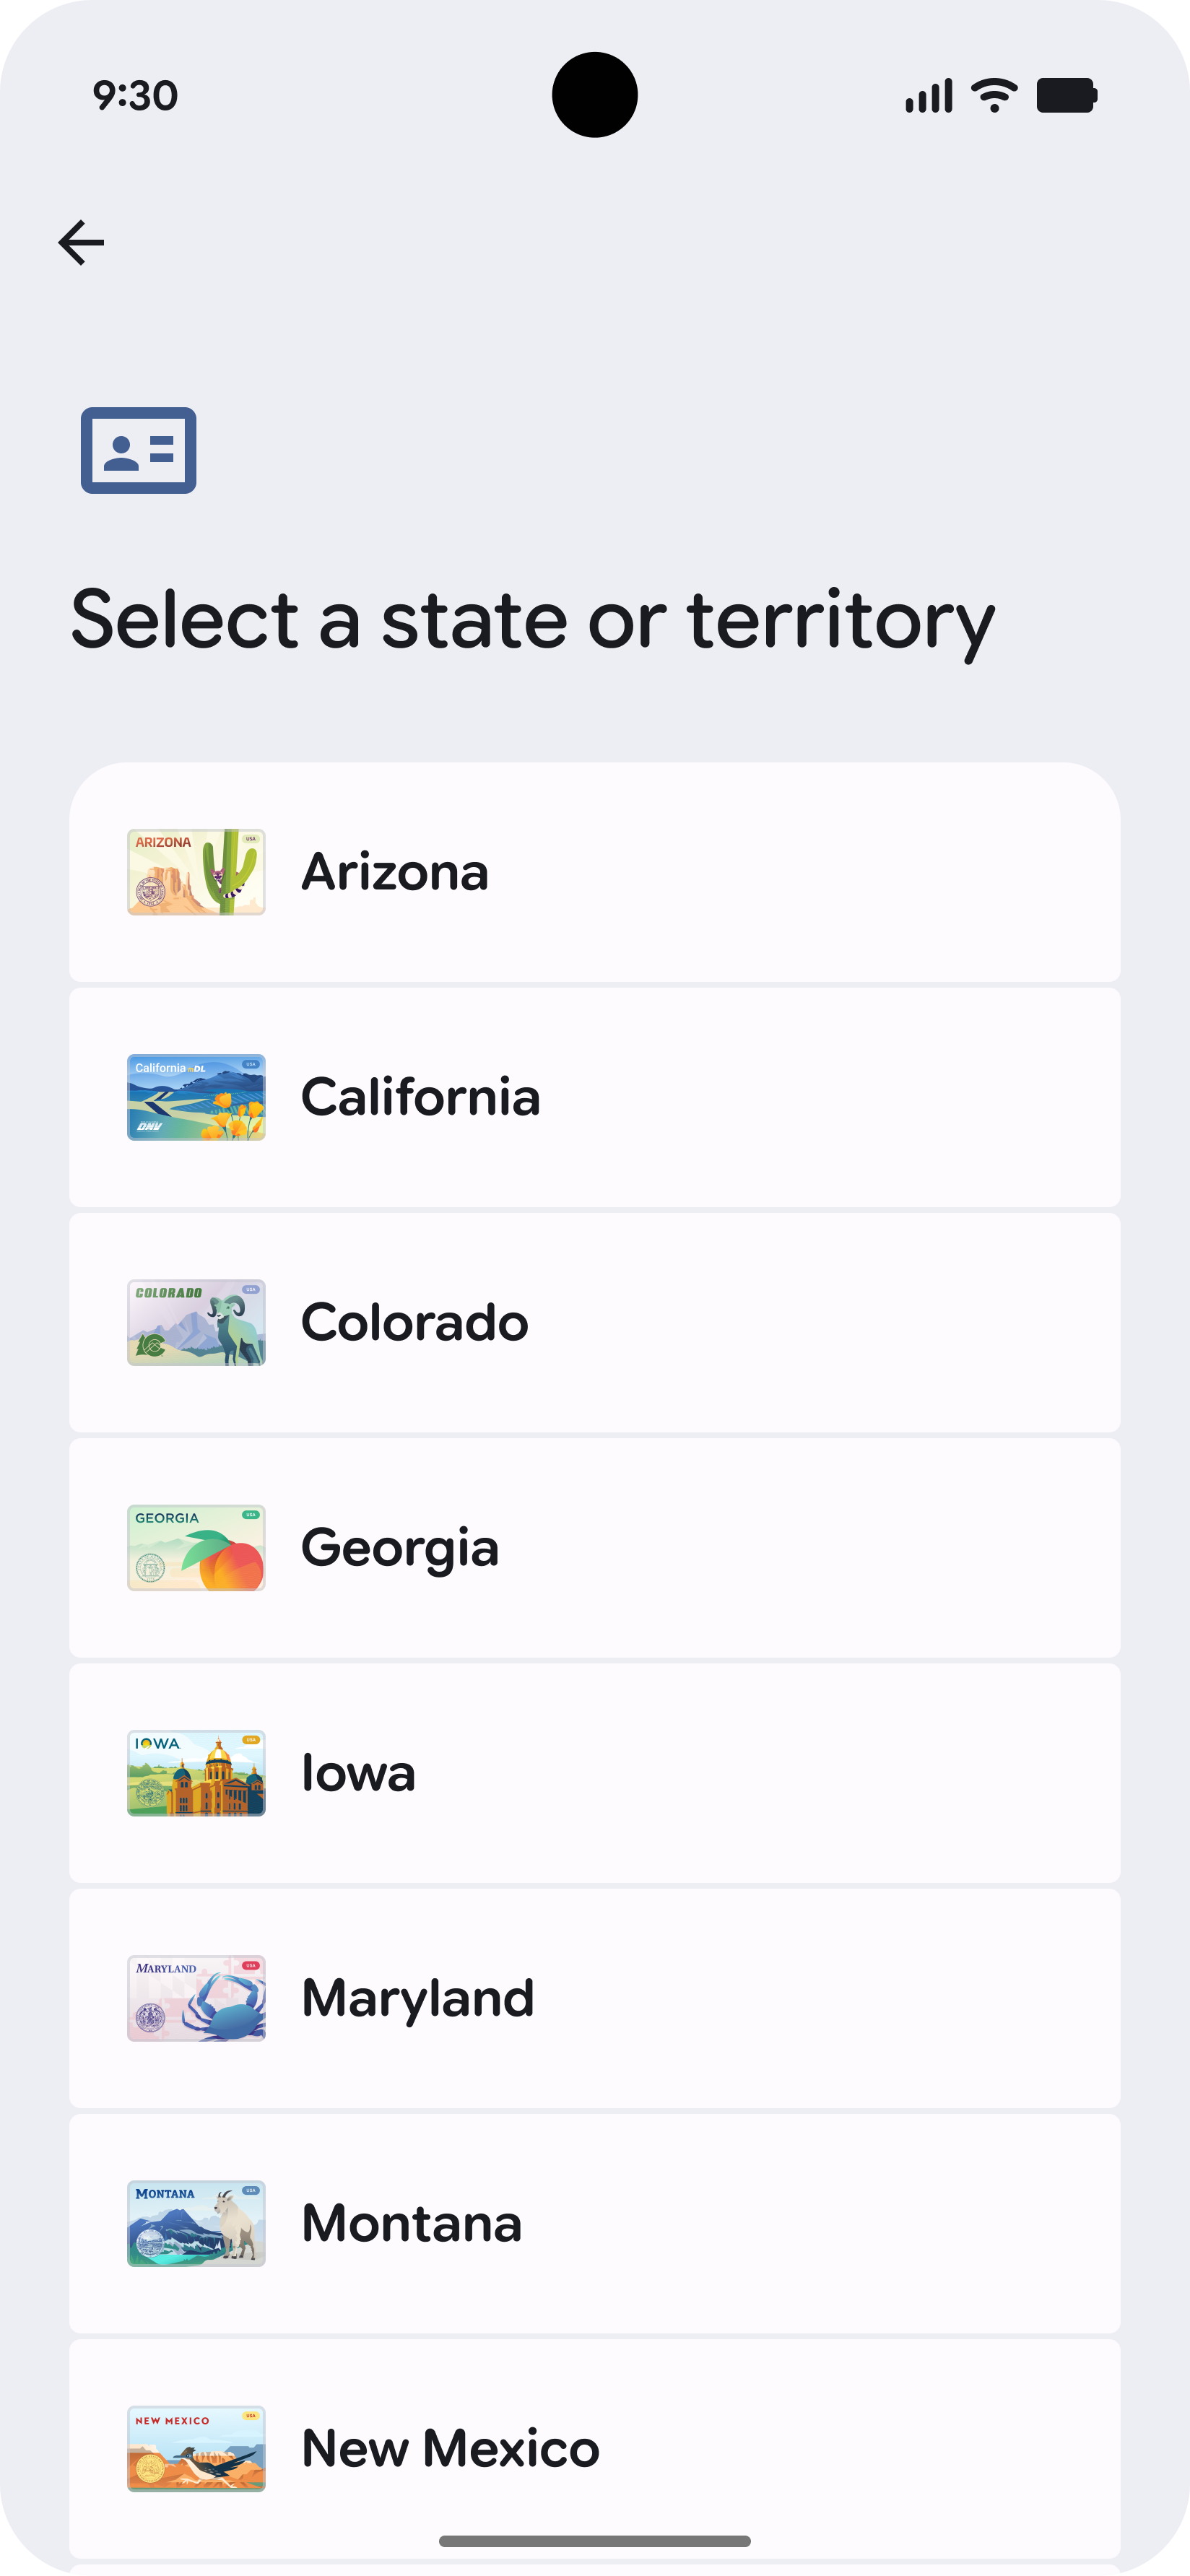

-
Scan ID (Front)
Next, the user will scan the front of their identity document.
-
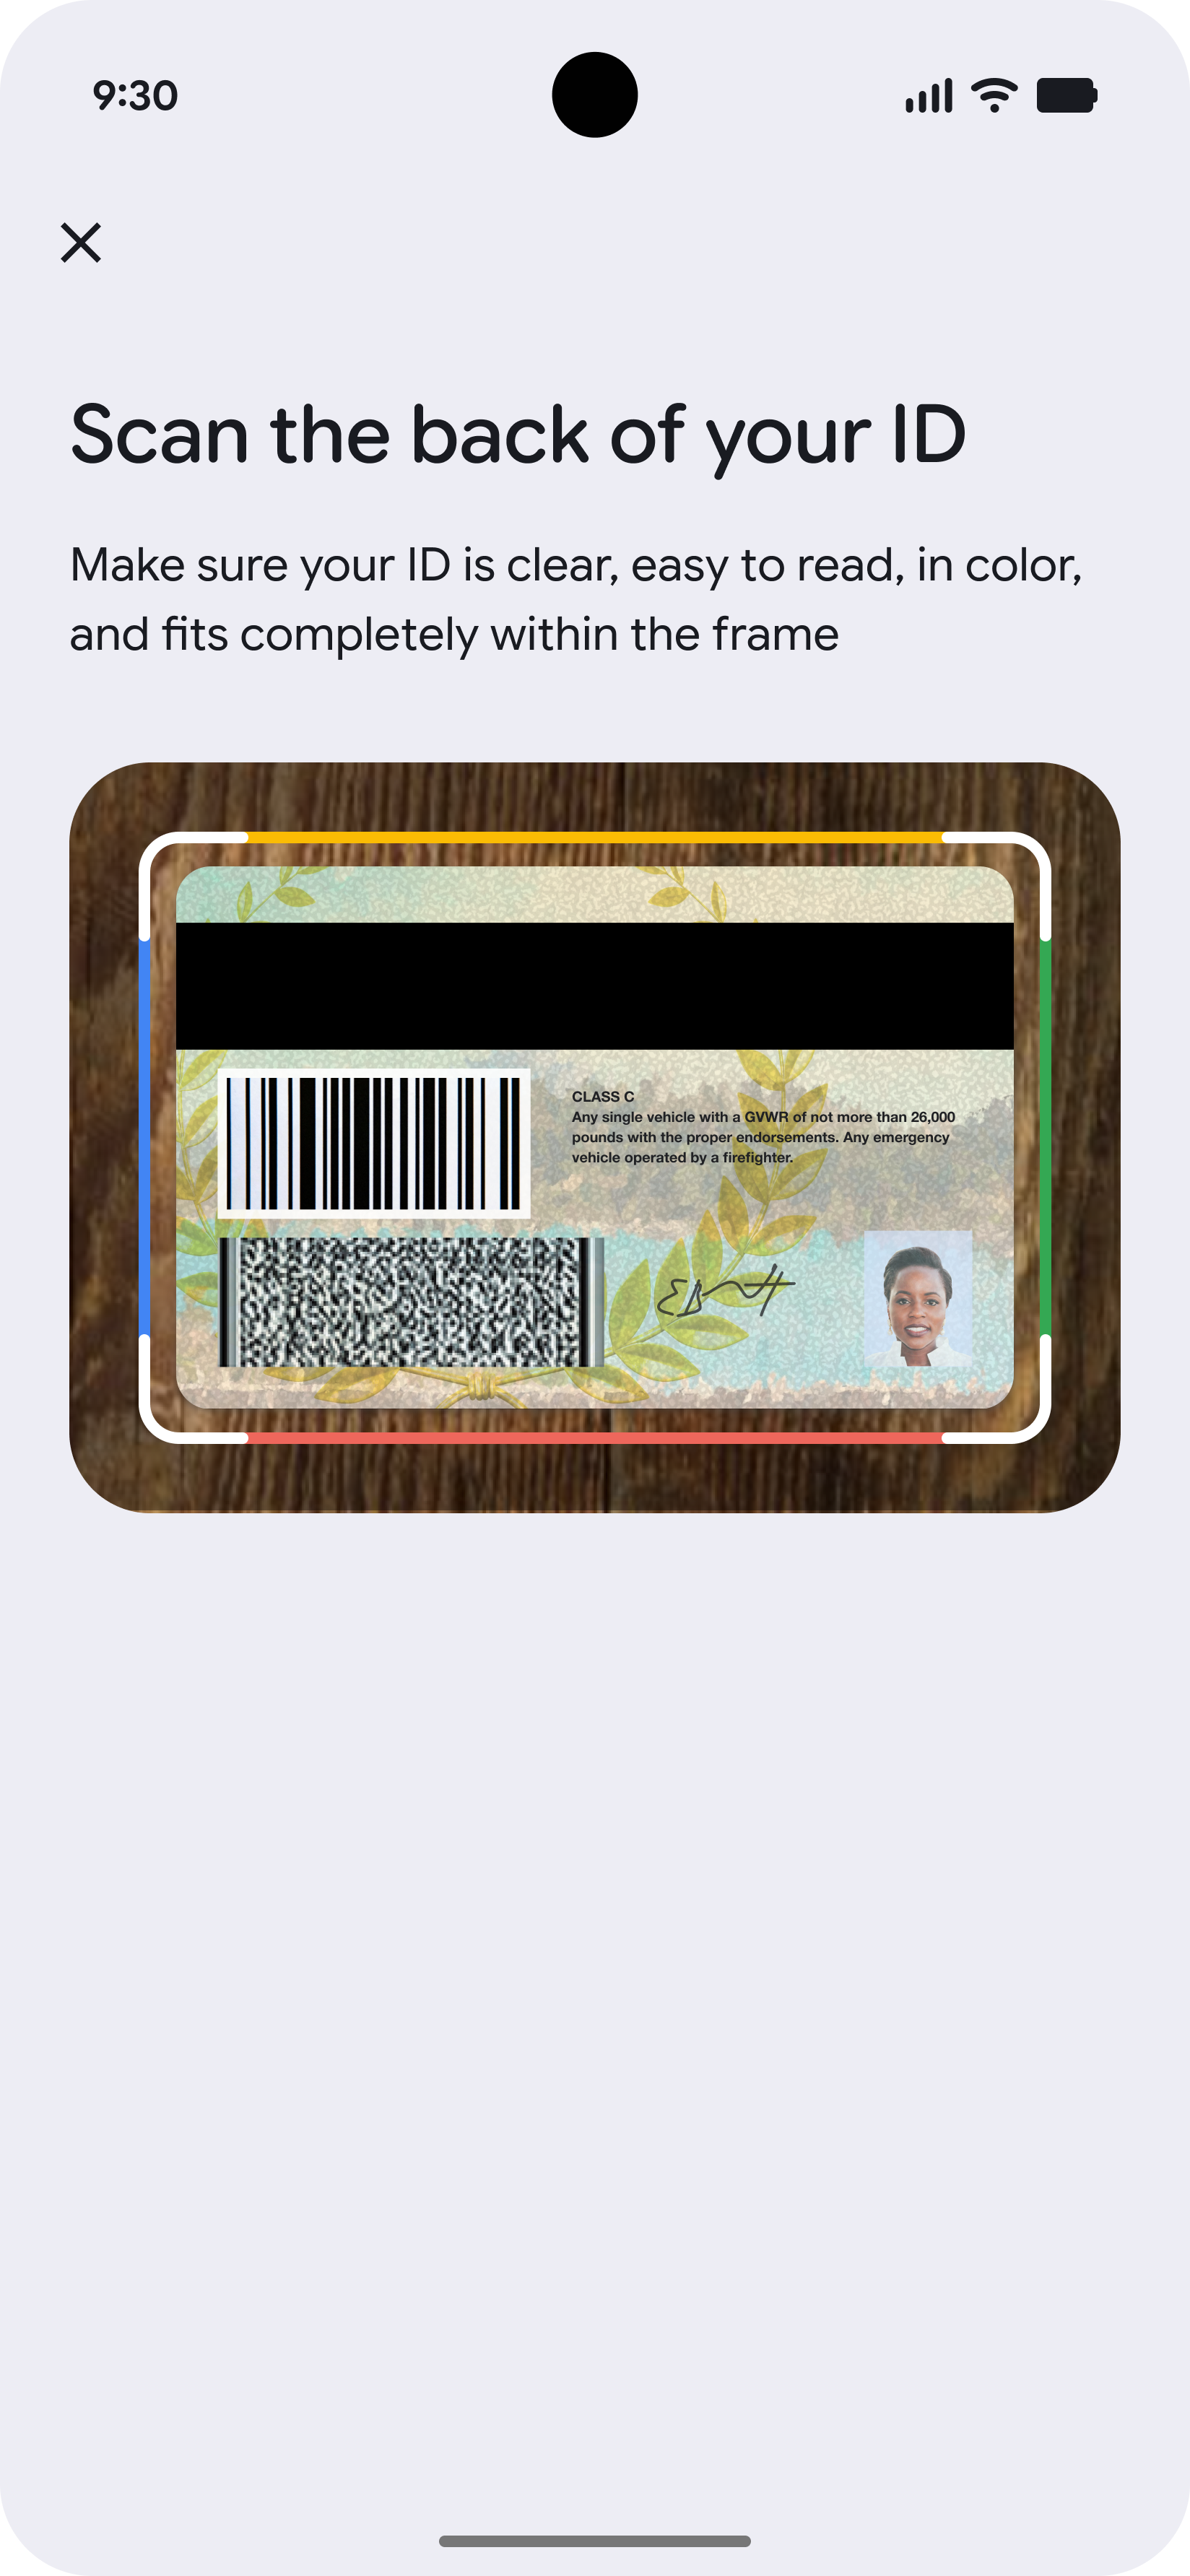
Scan ID (Back)
The user will then scan the back of their identity document.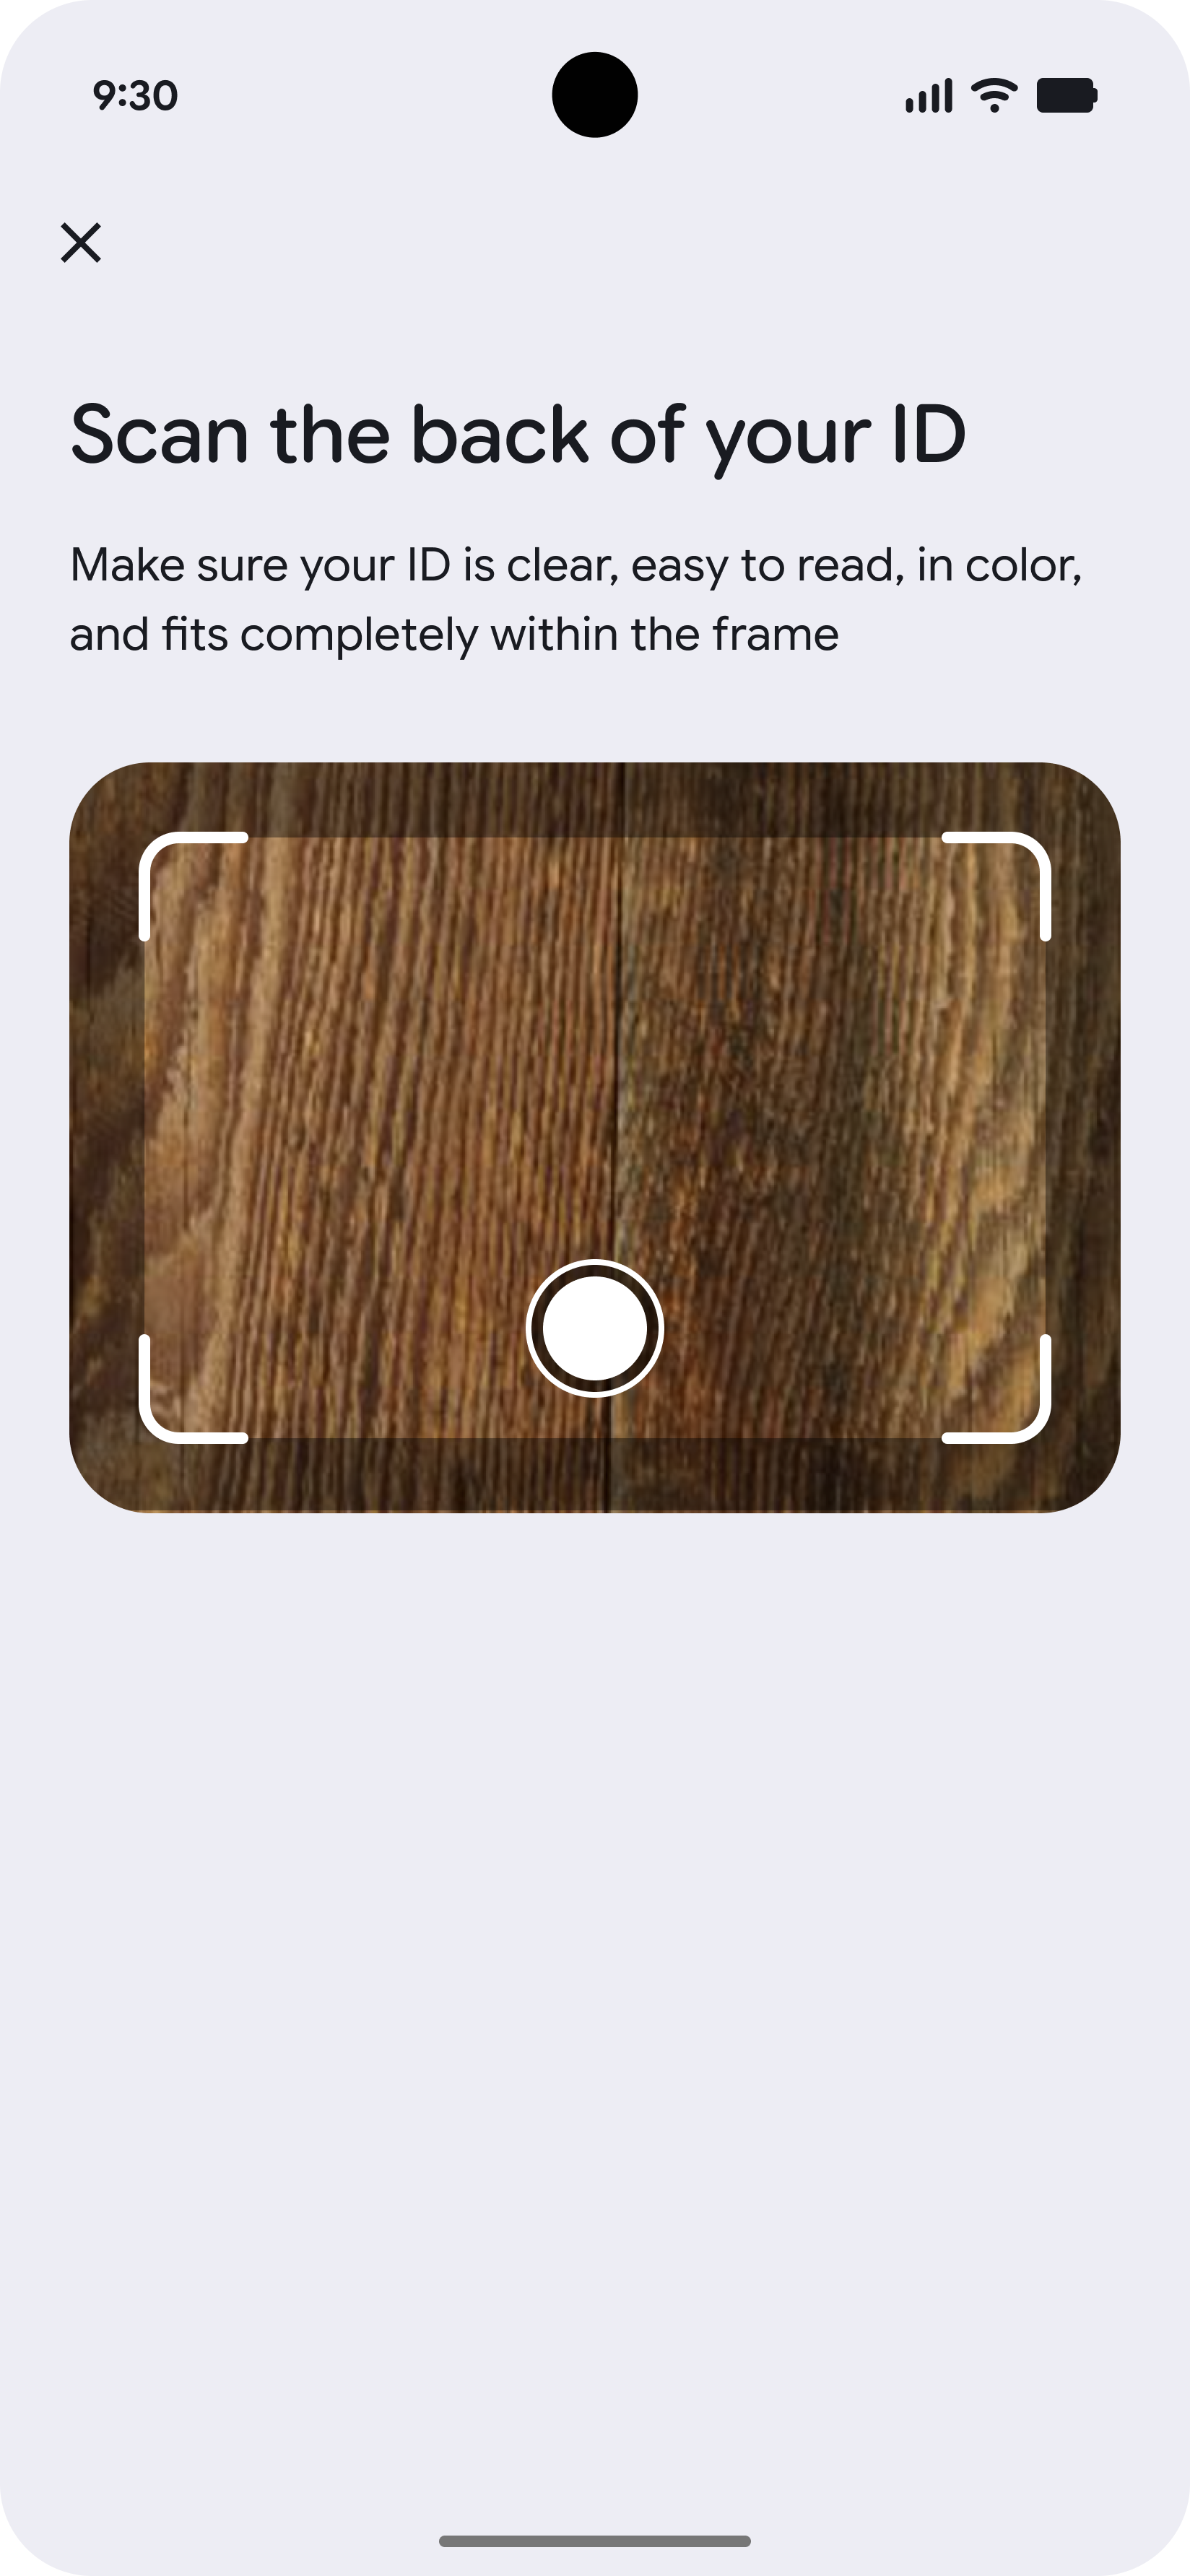
-
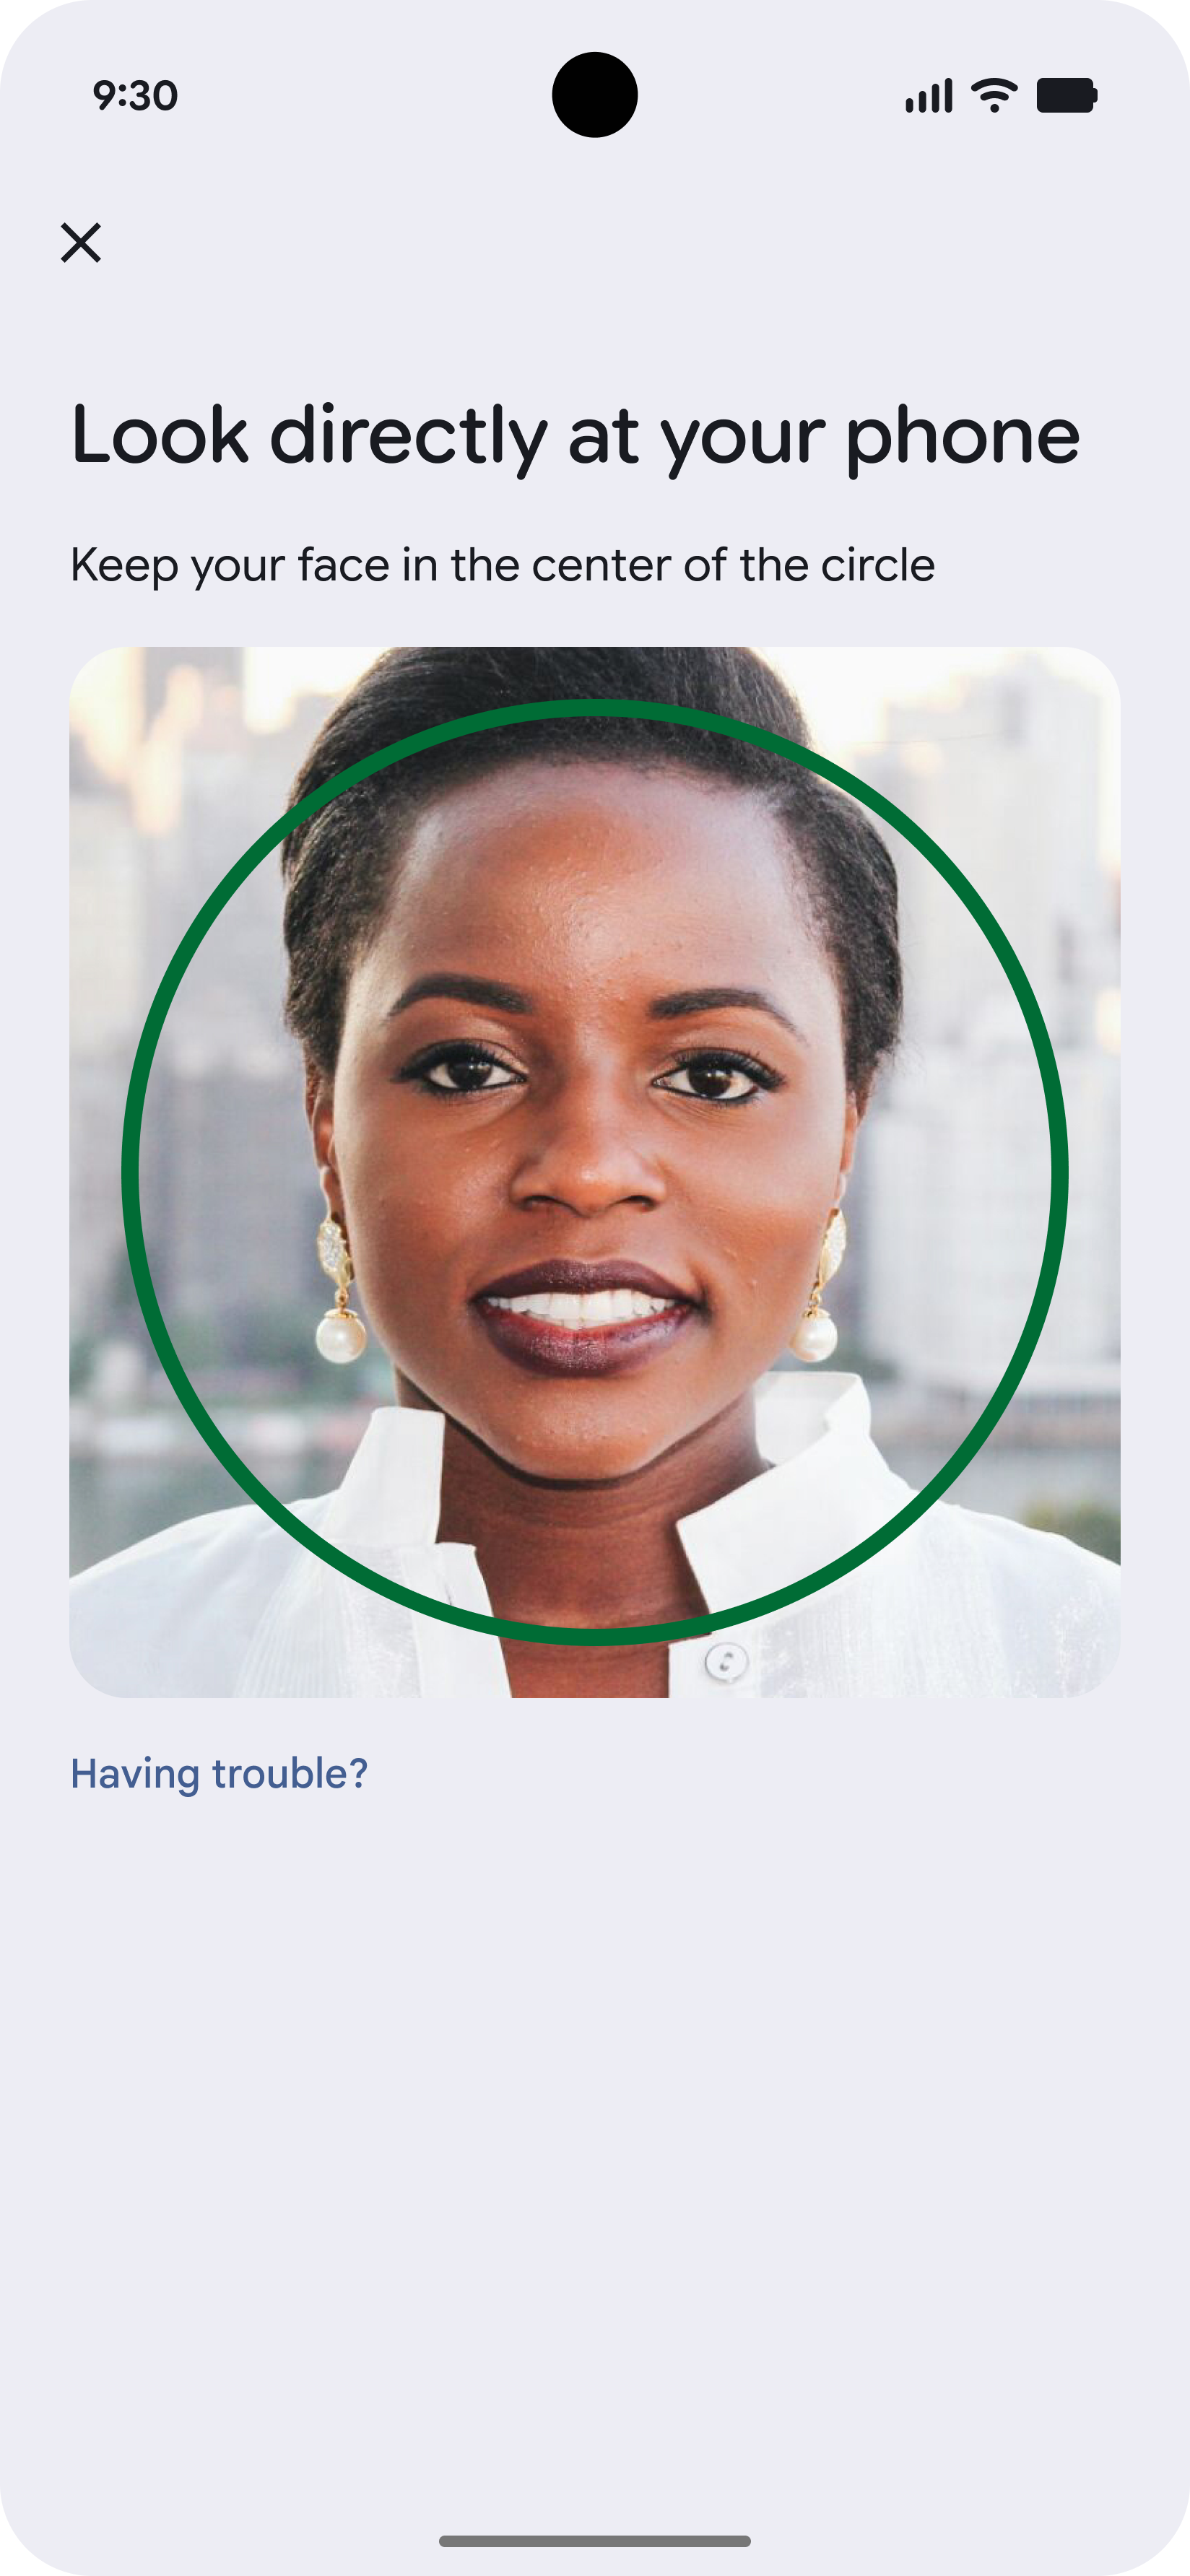
Liveness Video Tips
Before recording the liveness video, the user will be shown a tips screen describing steps to take for a high-quality recording.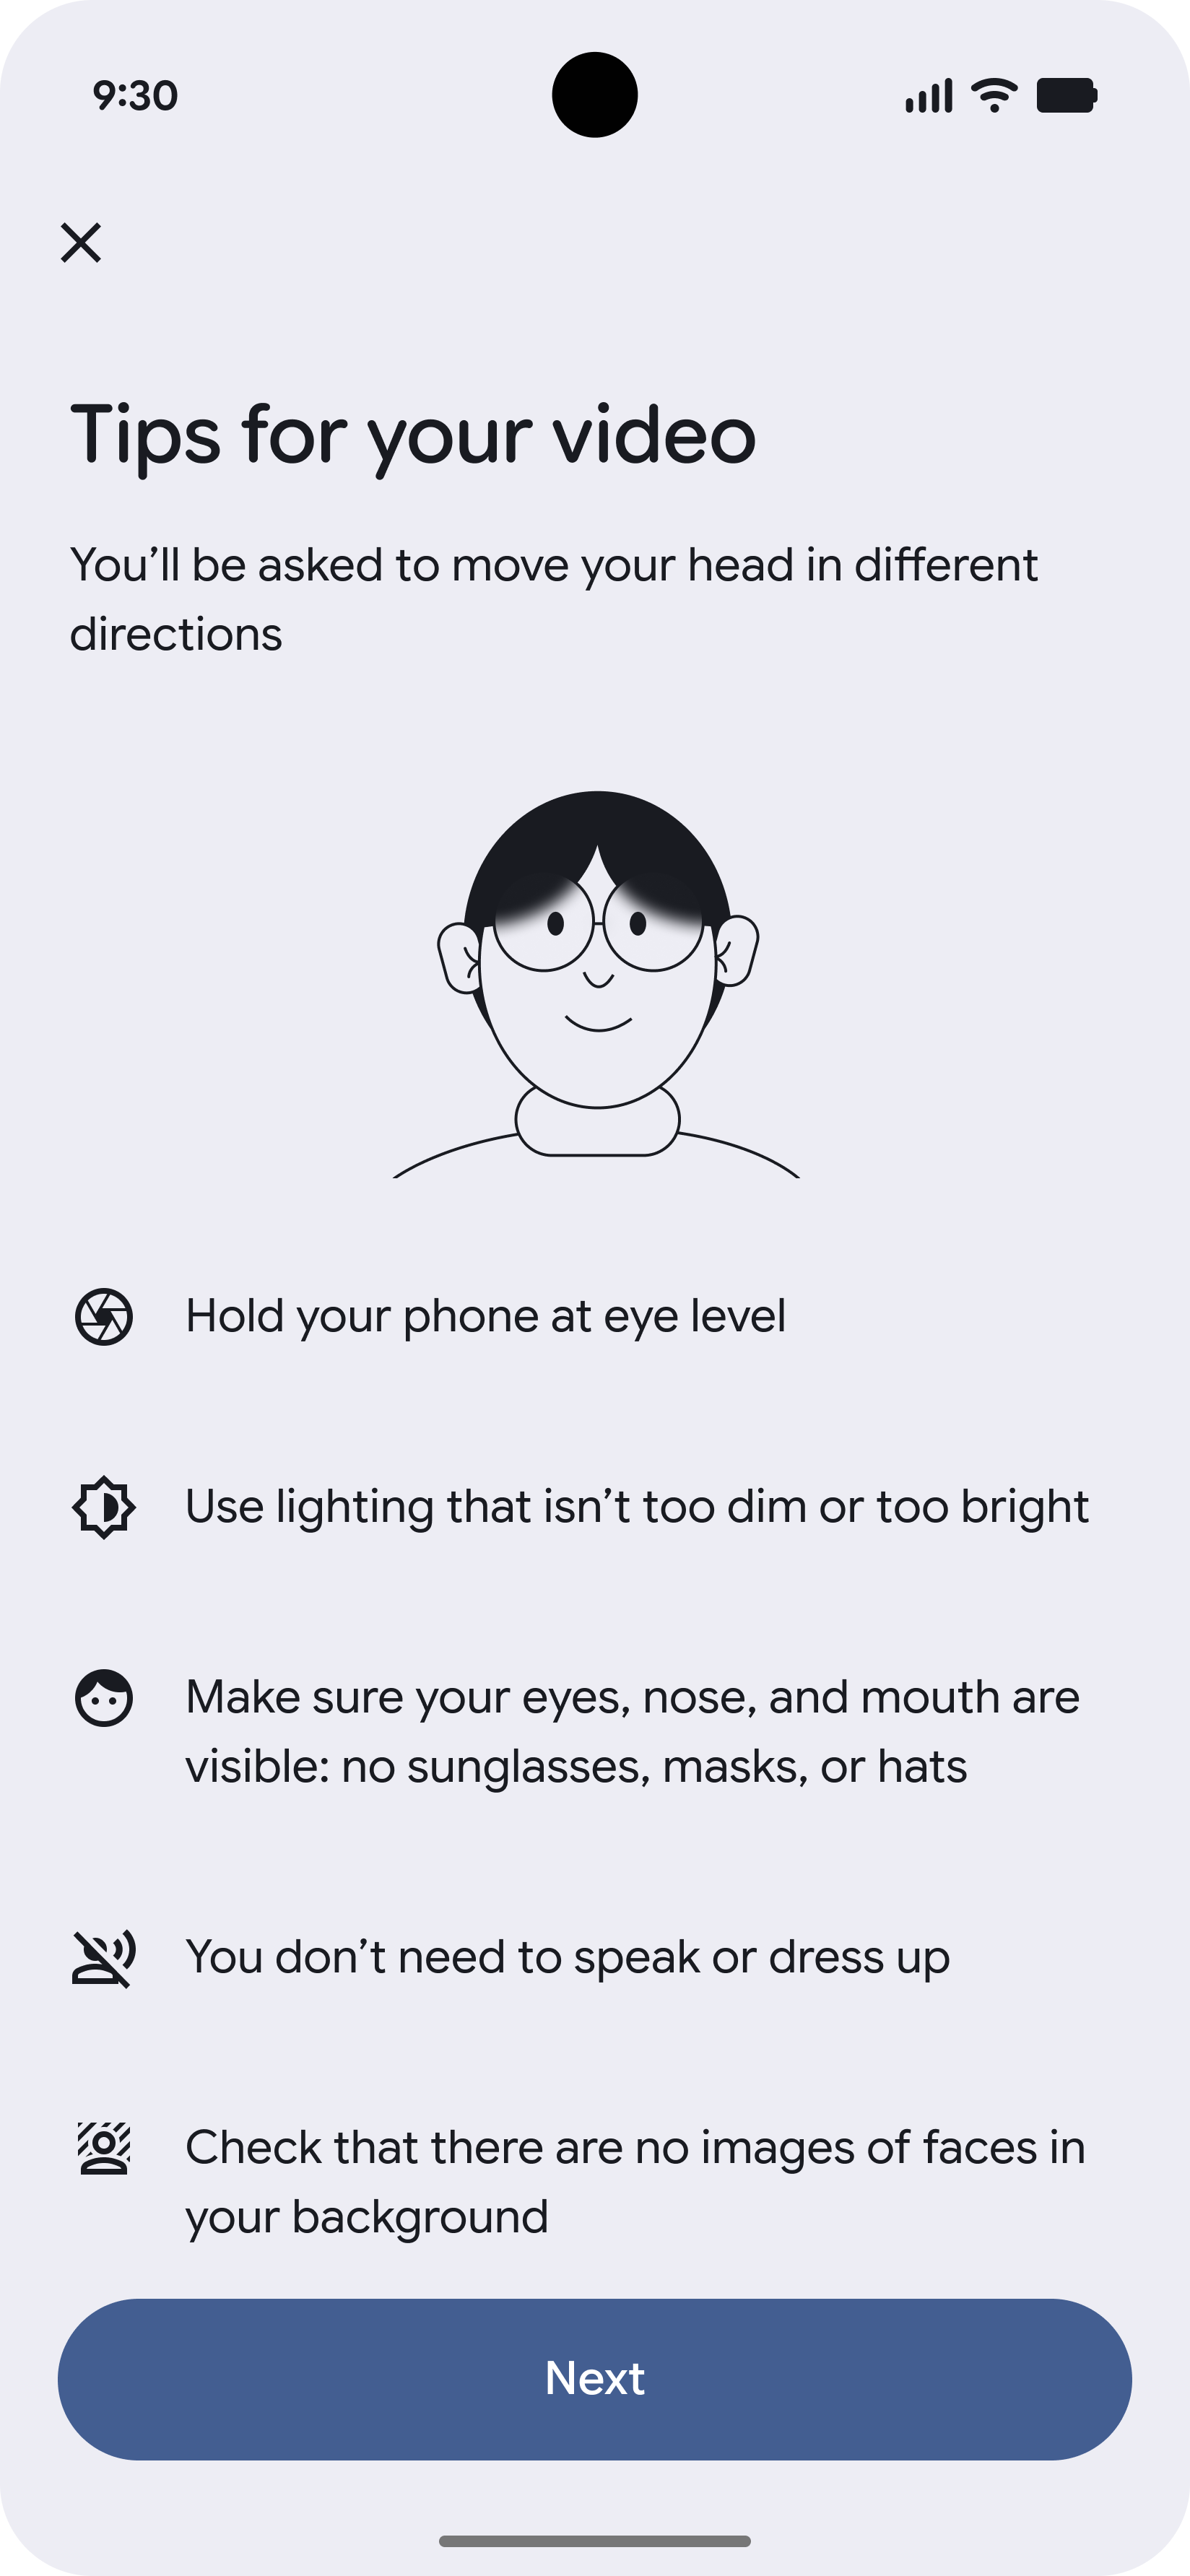
-
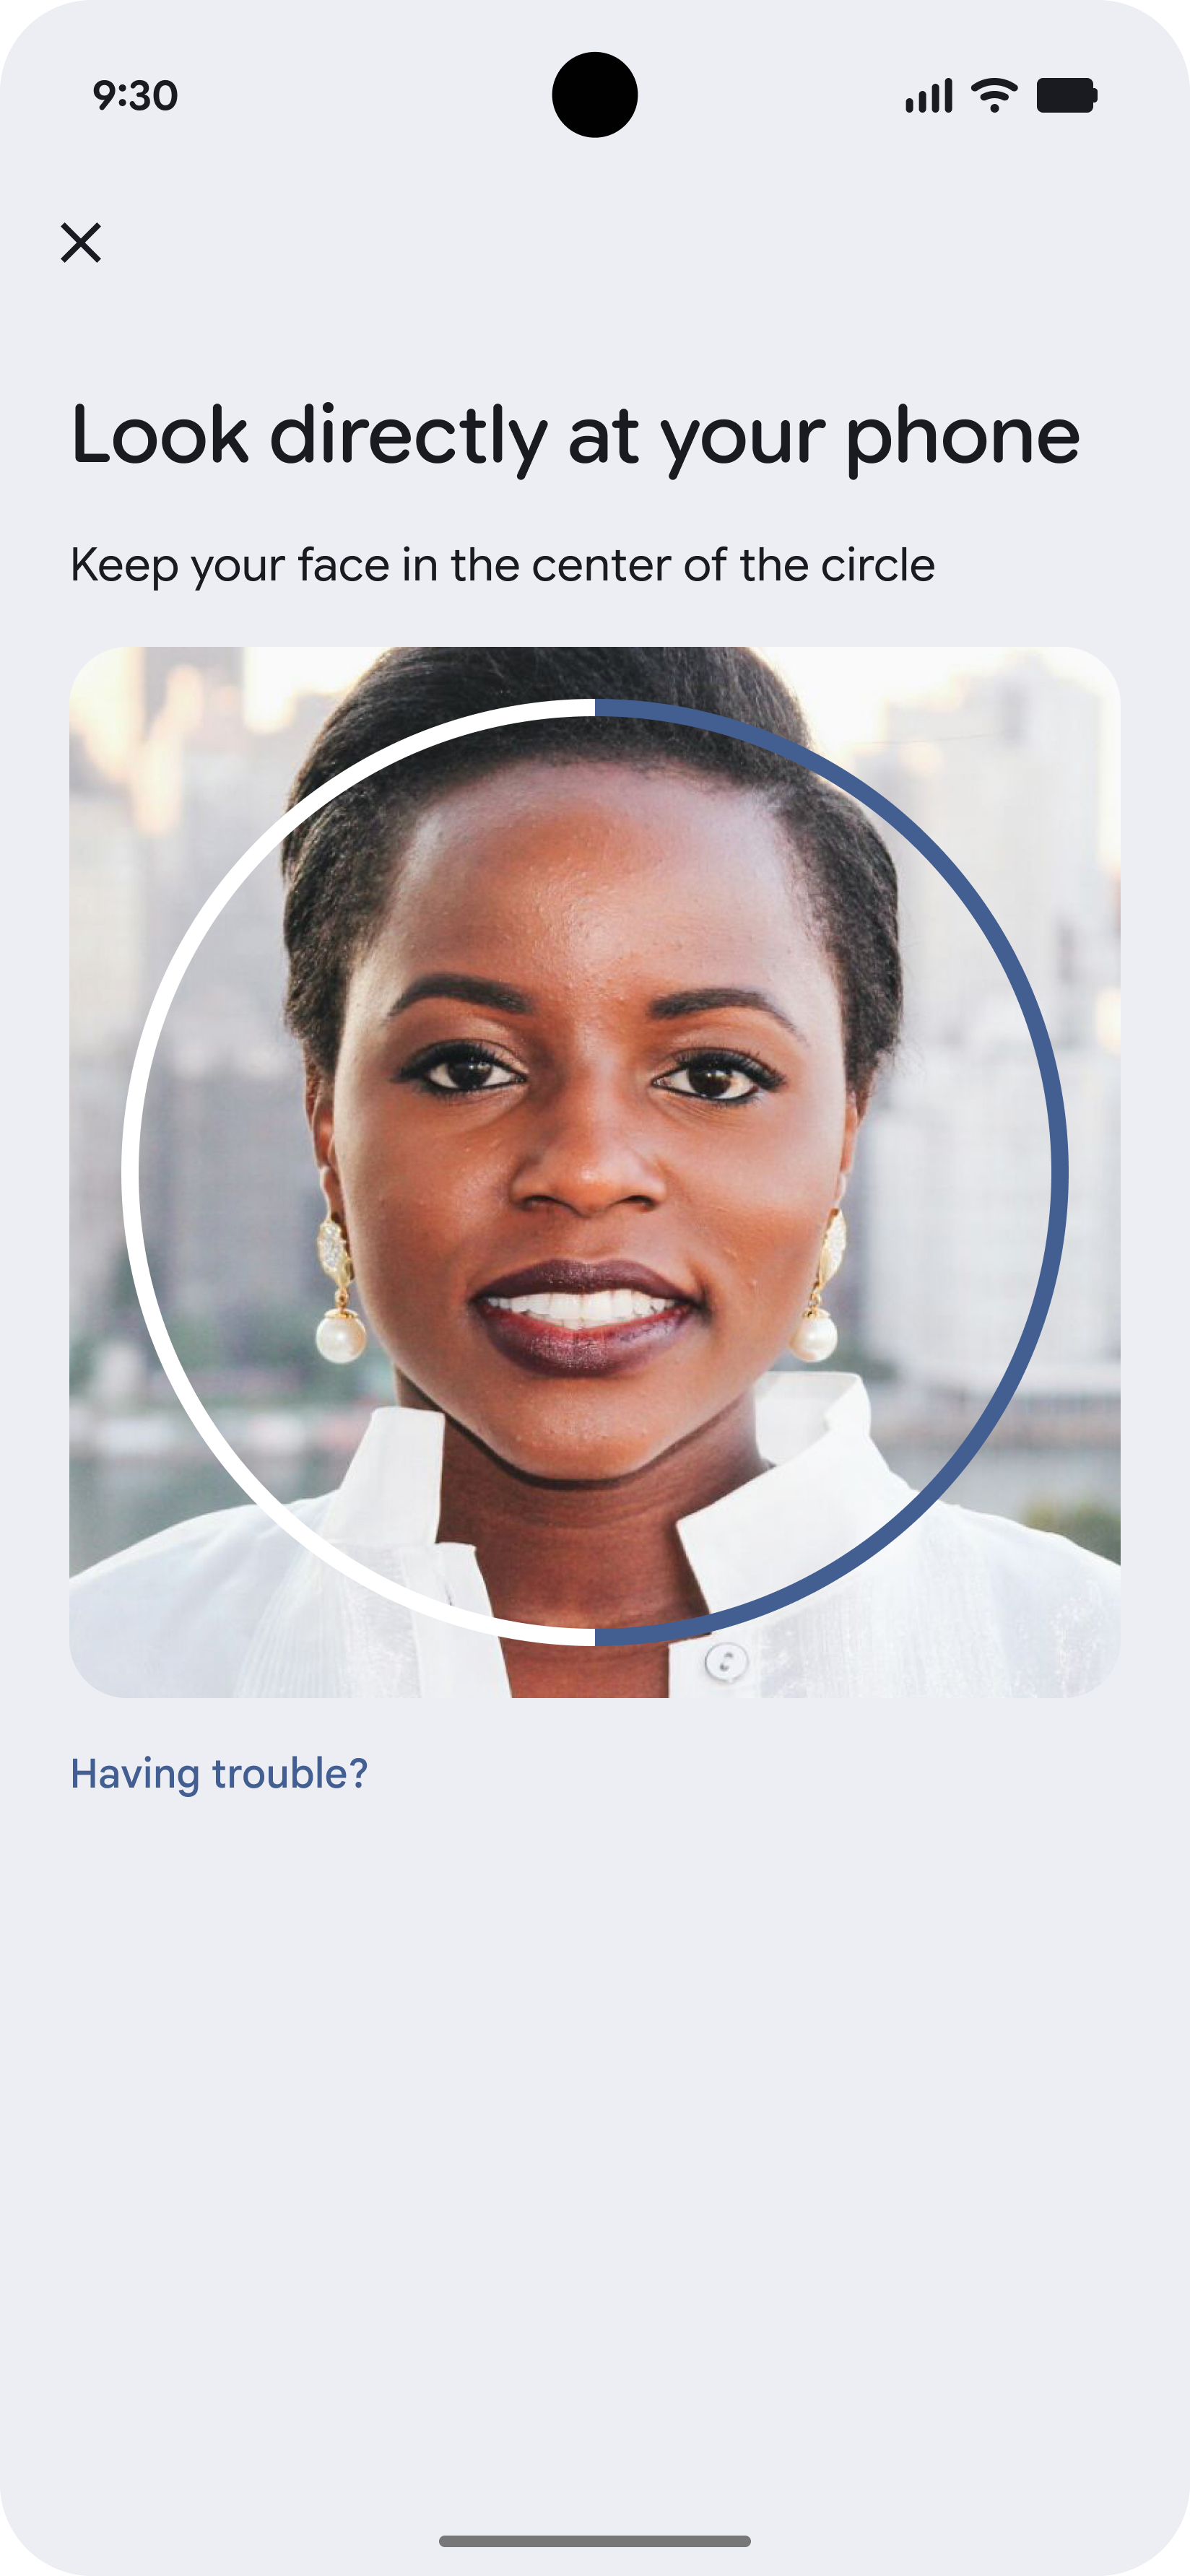
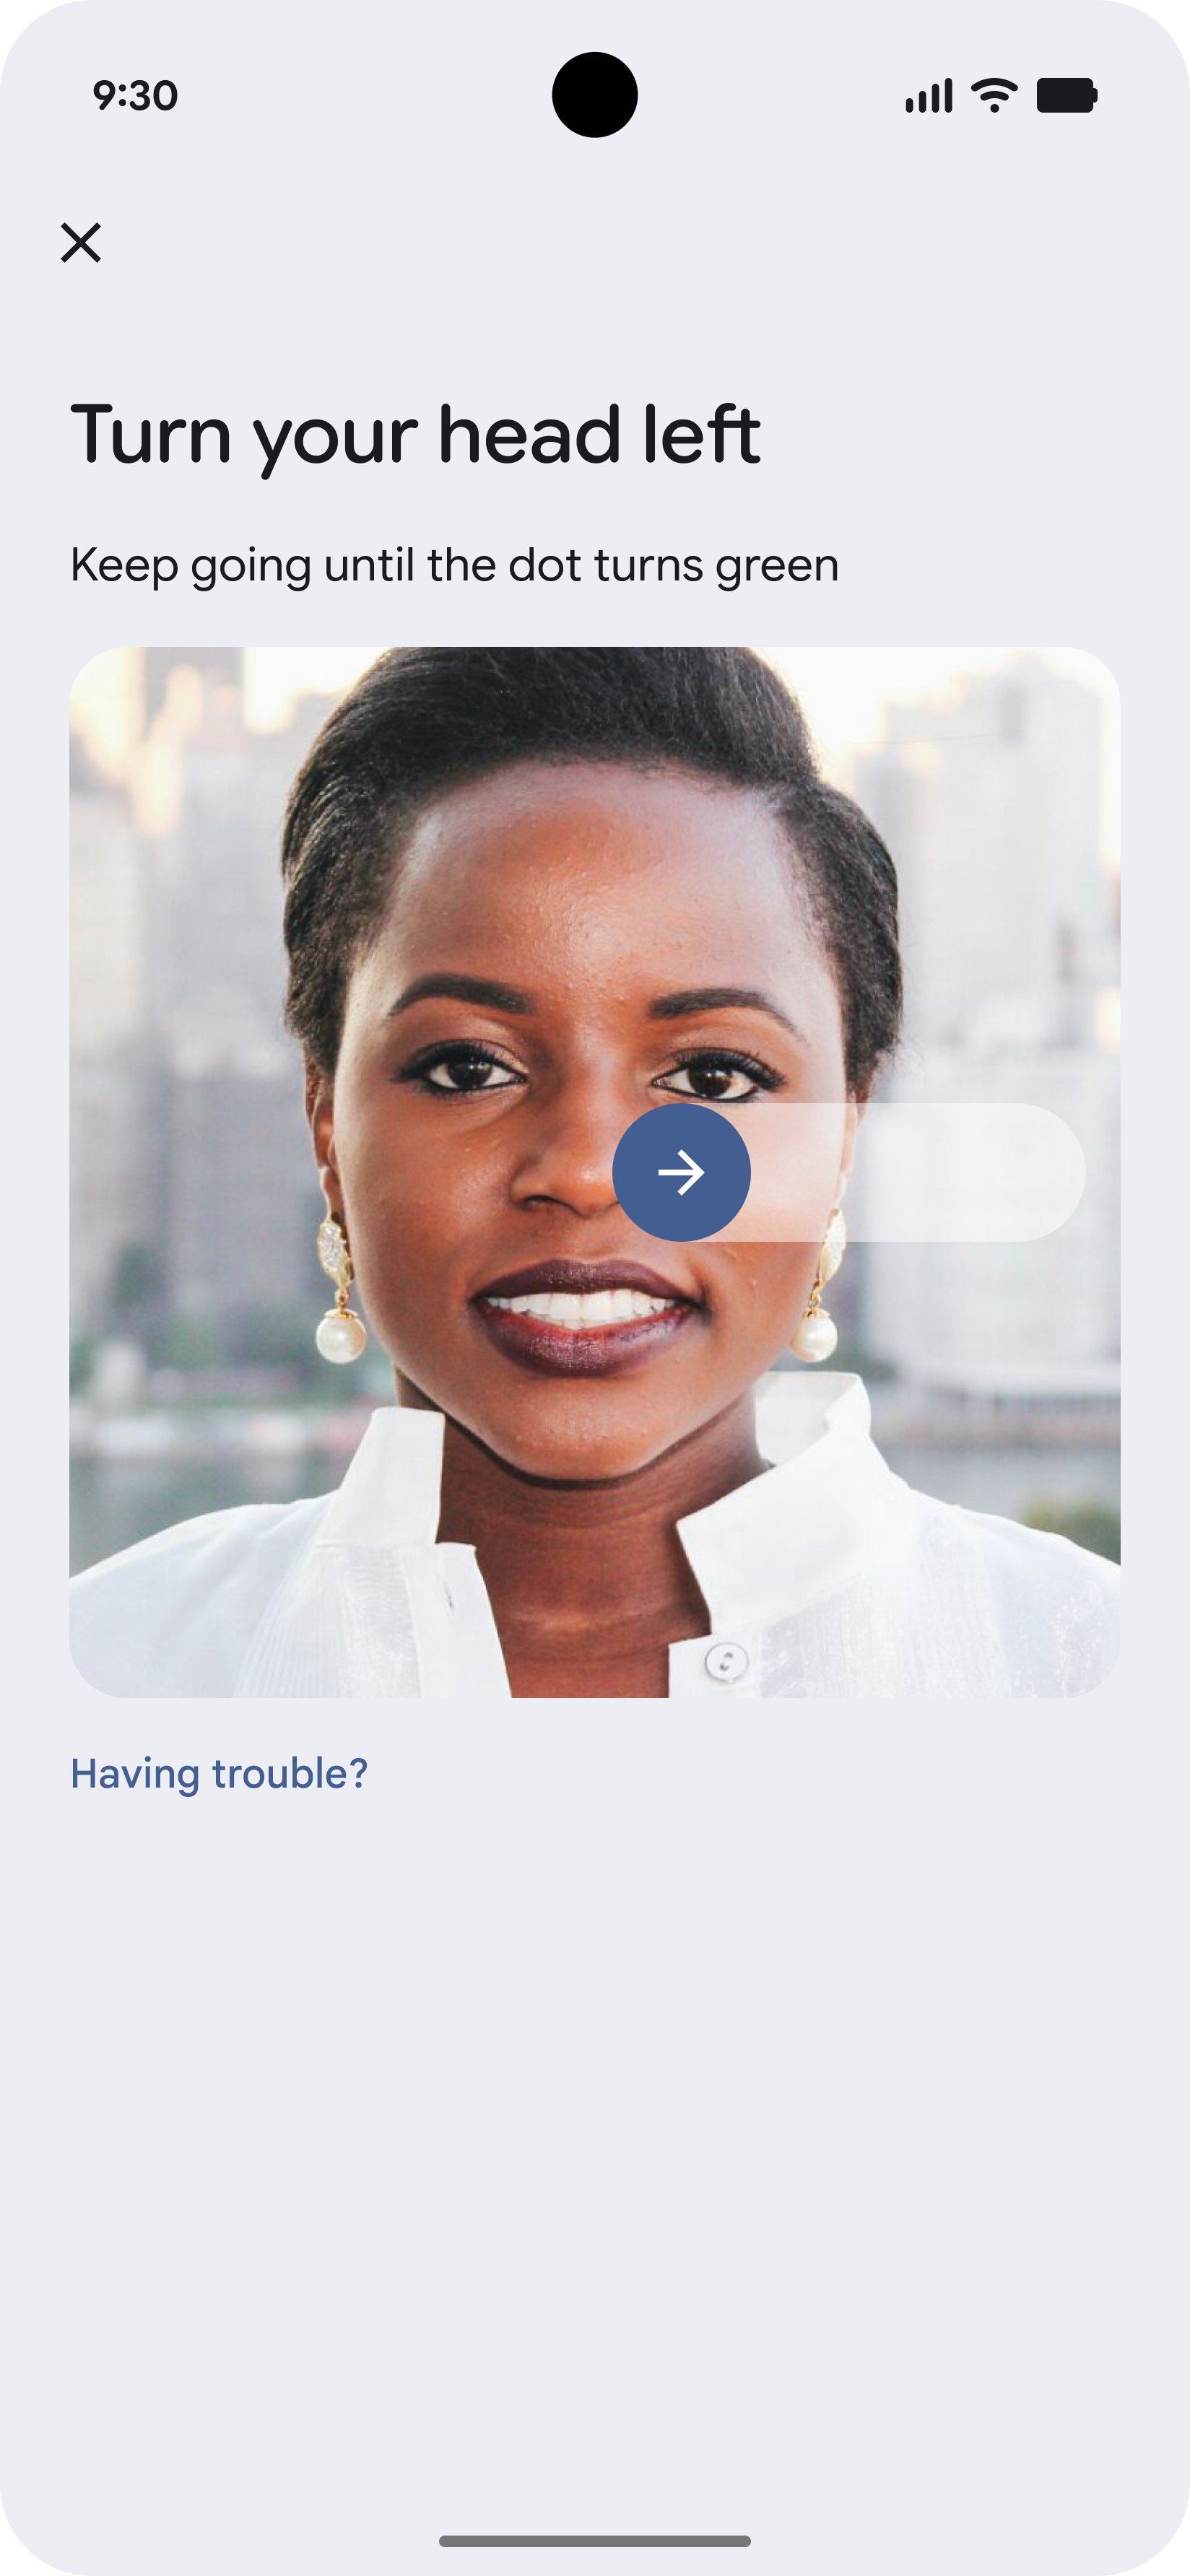
Record Liveness Video
The liveness video is a short recording of the user's face as they complete one or more tasks, such as following a dot as it moves on the screen.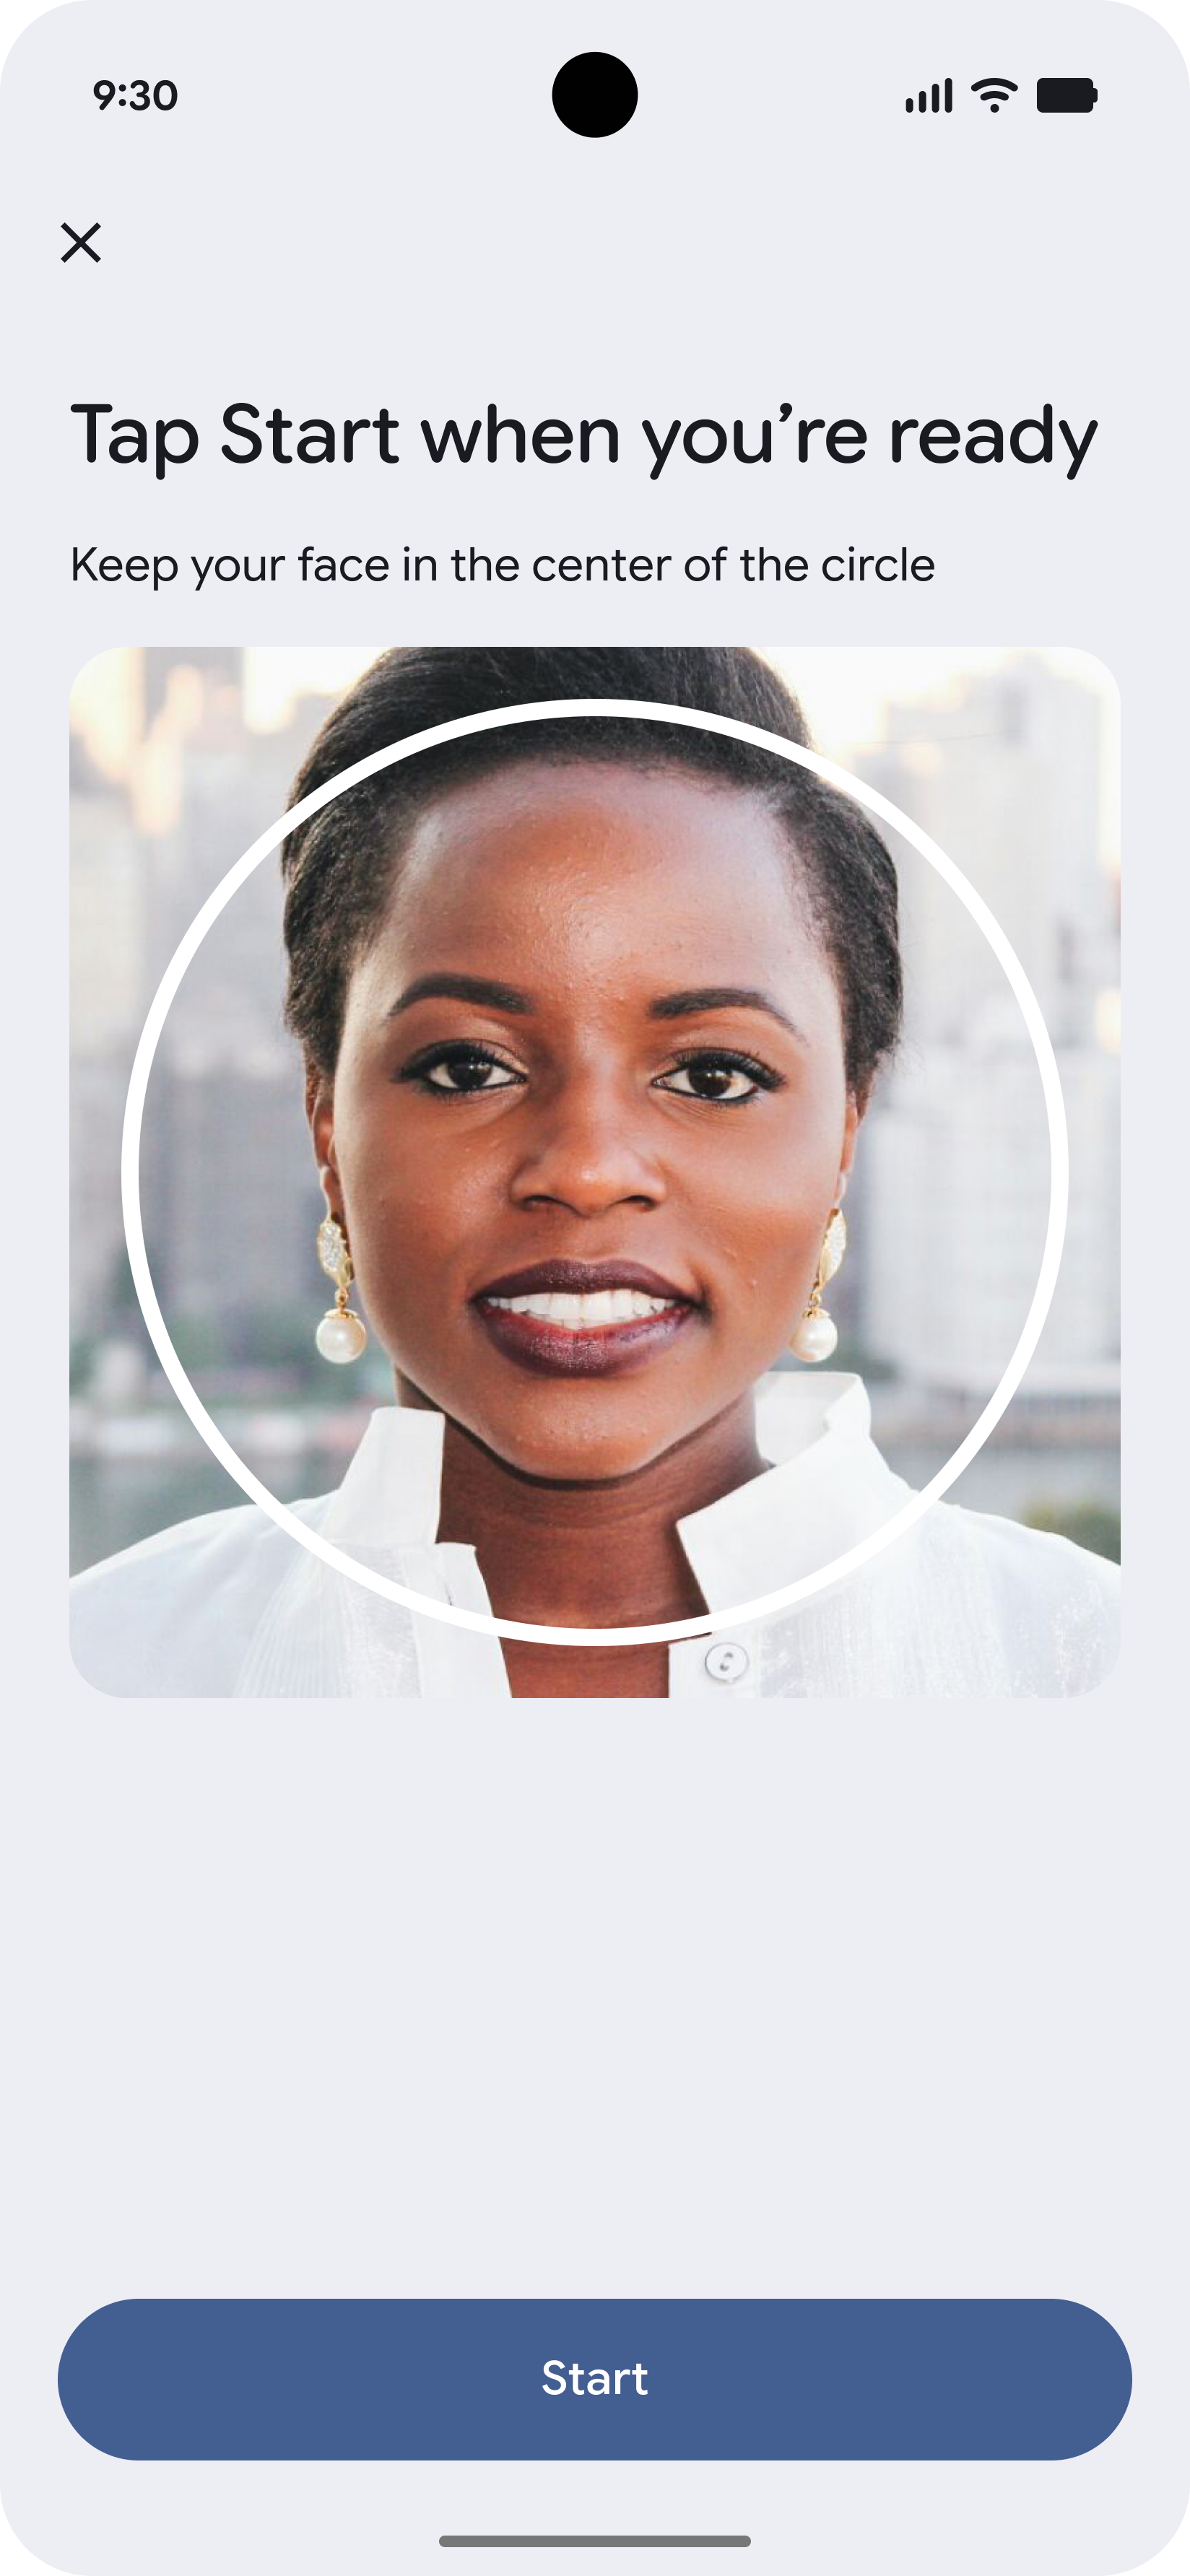
-
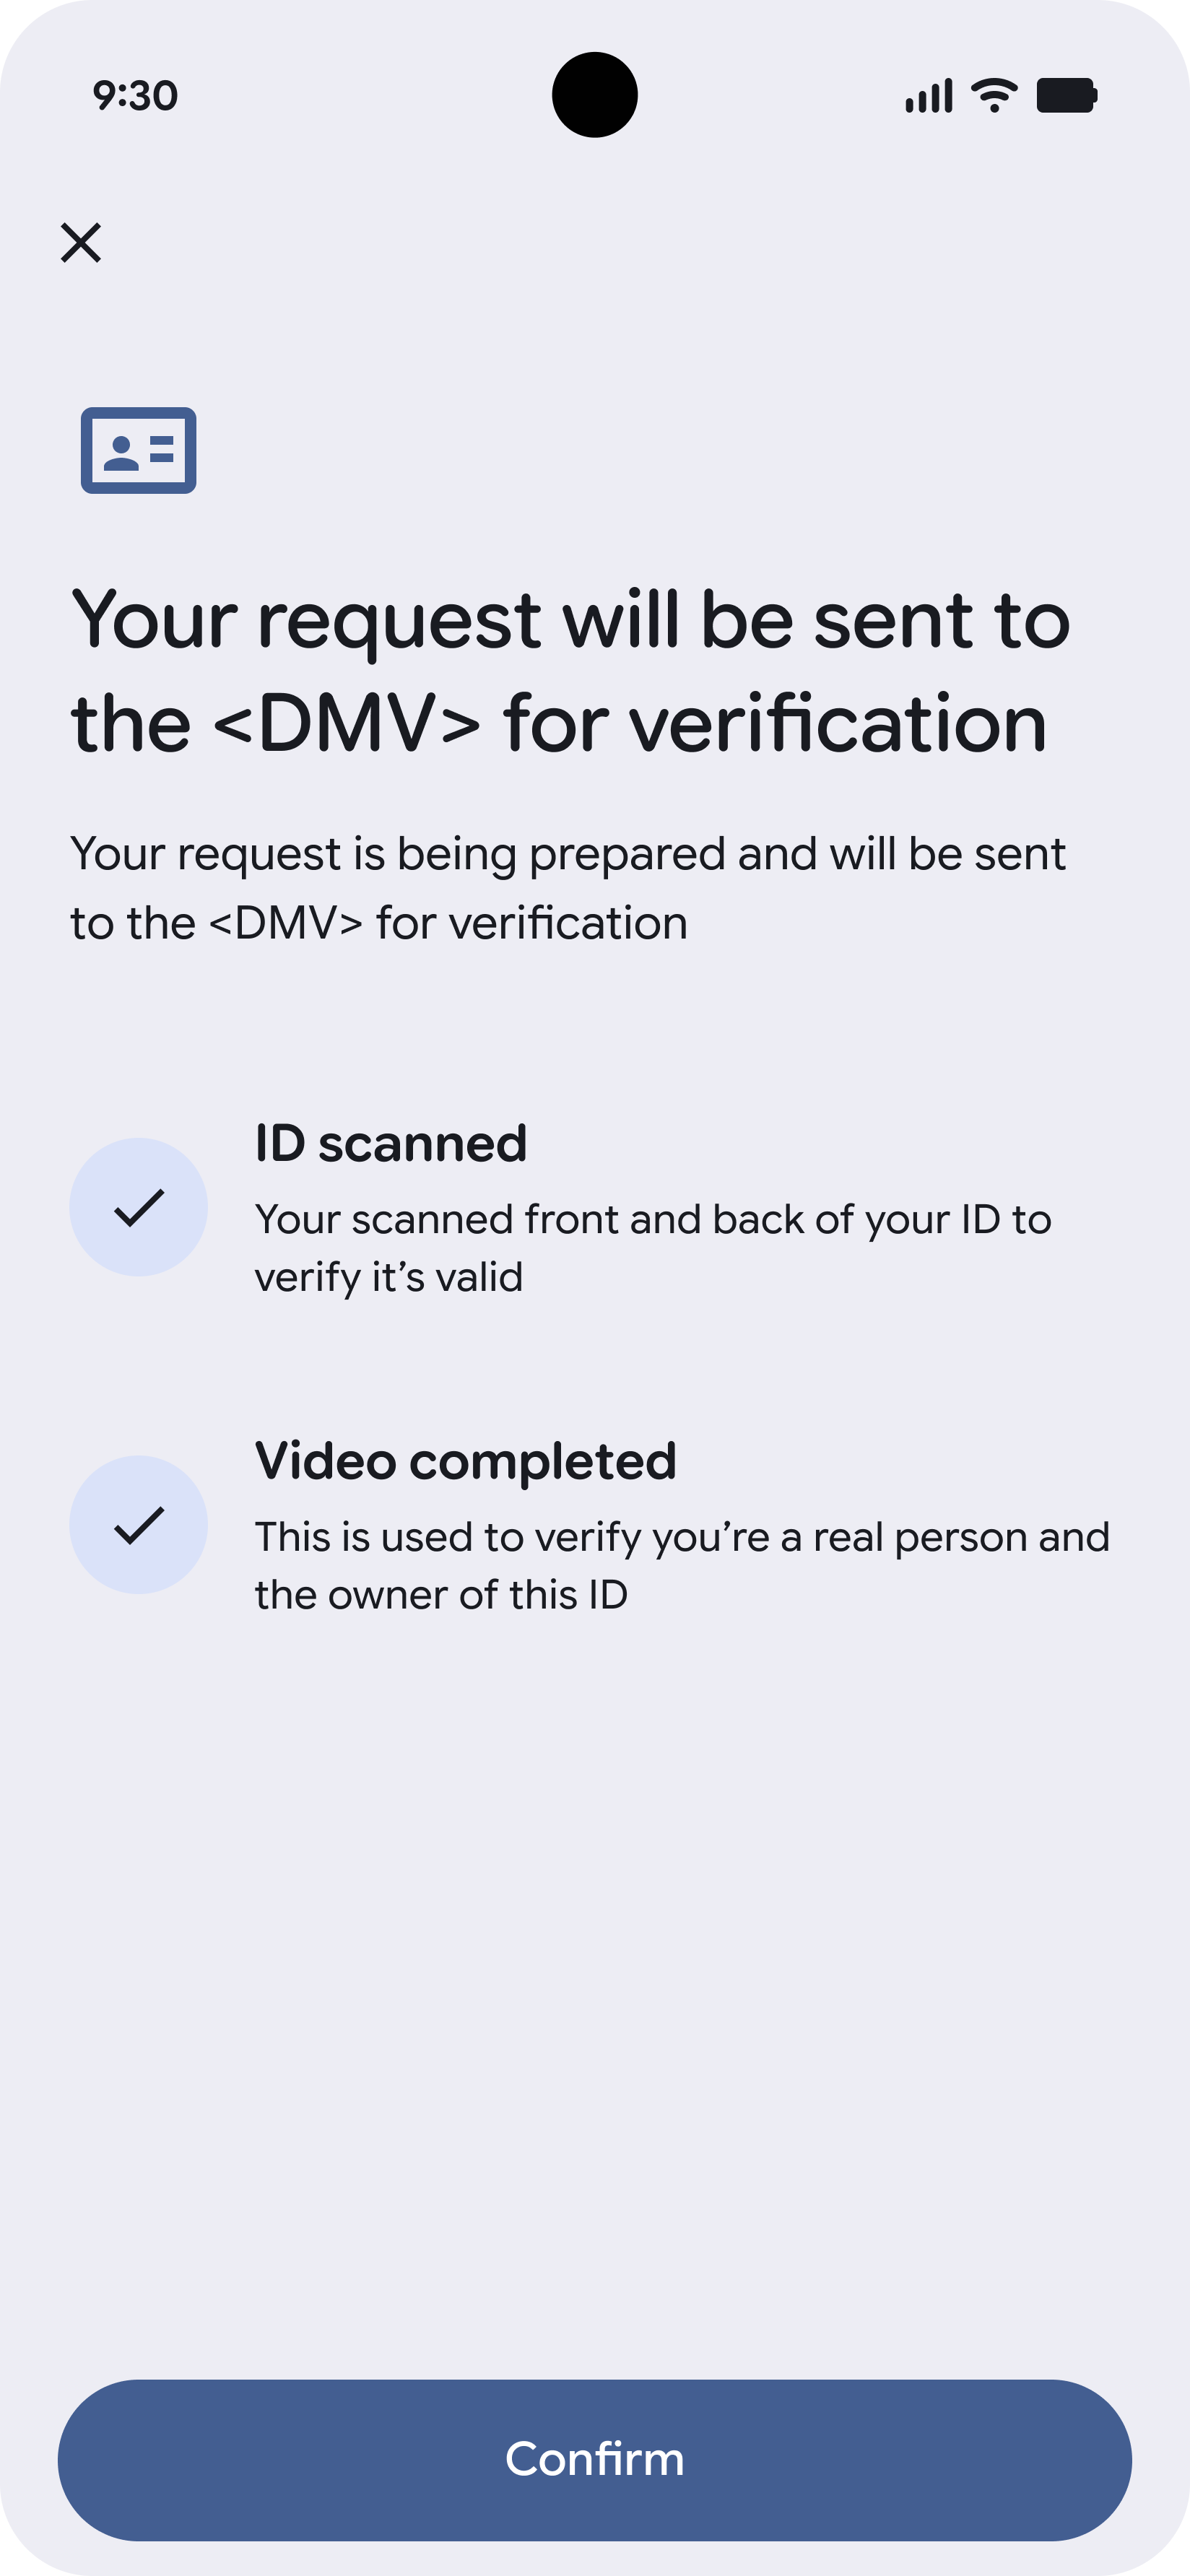
Confirm & Accept Terms
Before any evidence is uploaded, the user must consent.
-
Check Status & Finish
After all evidence has been uploaded, users can check the status of their request. They will receive a notification when their VDC is ready to be used.


Wallet-initiated, Issuer proofed
-
Initiate from Wallet
The user initiates the flow from Google Wallet and selects their Issuer.
-
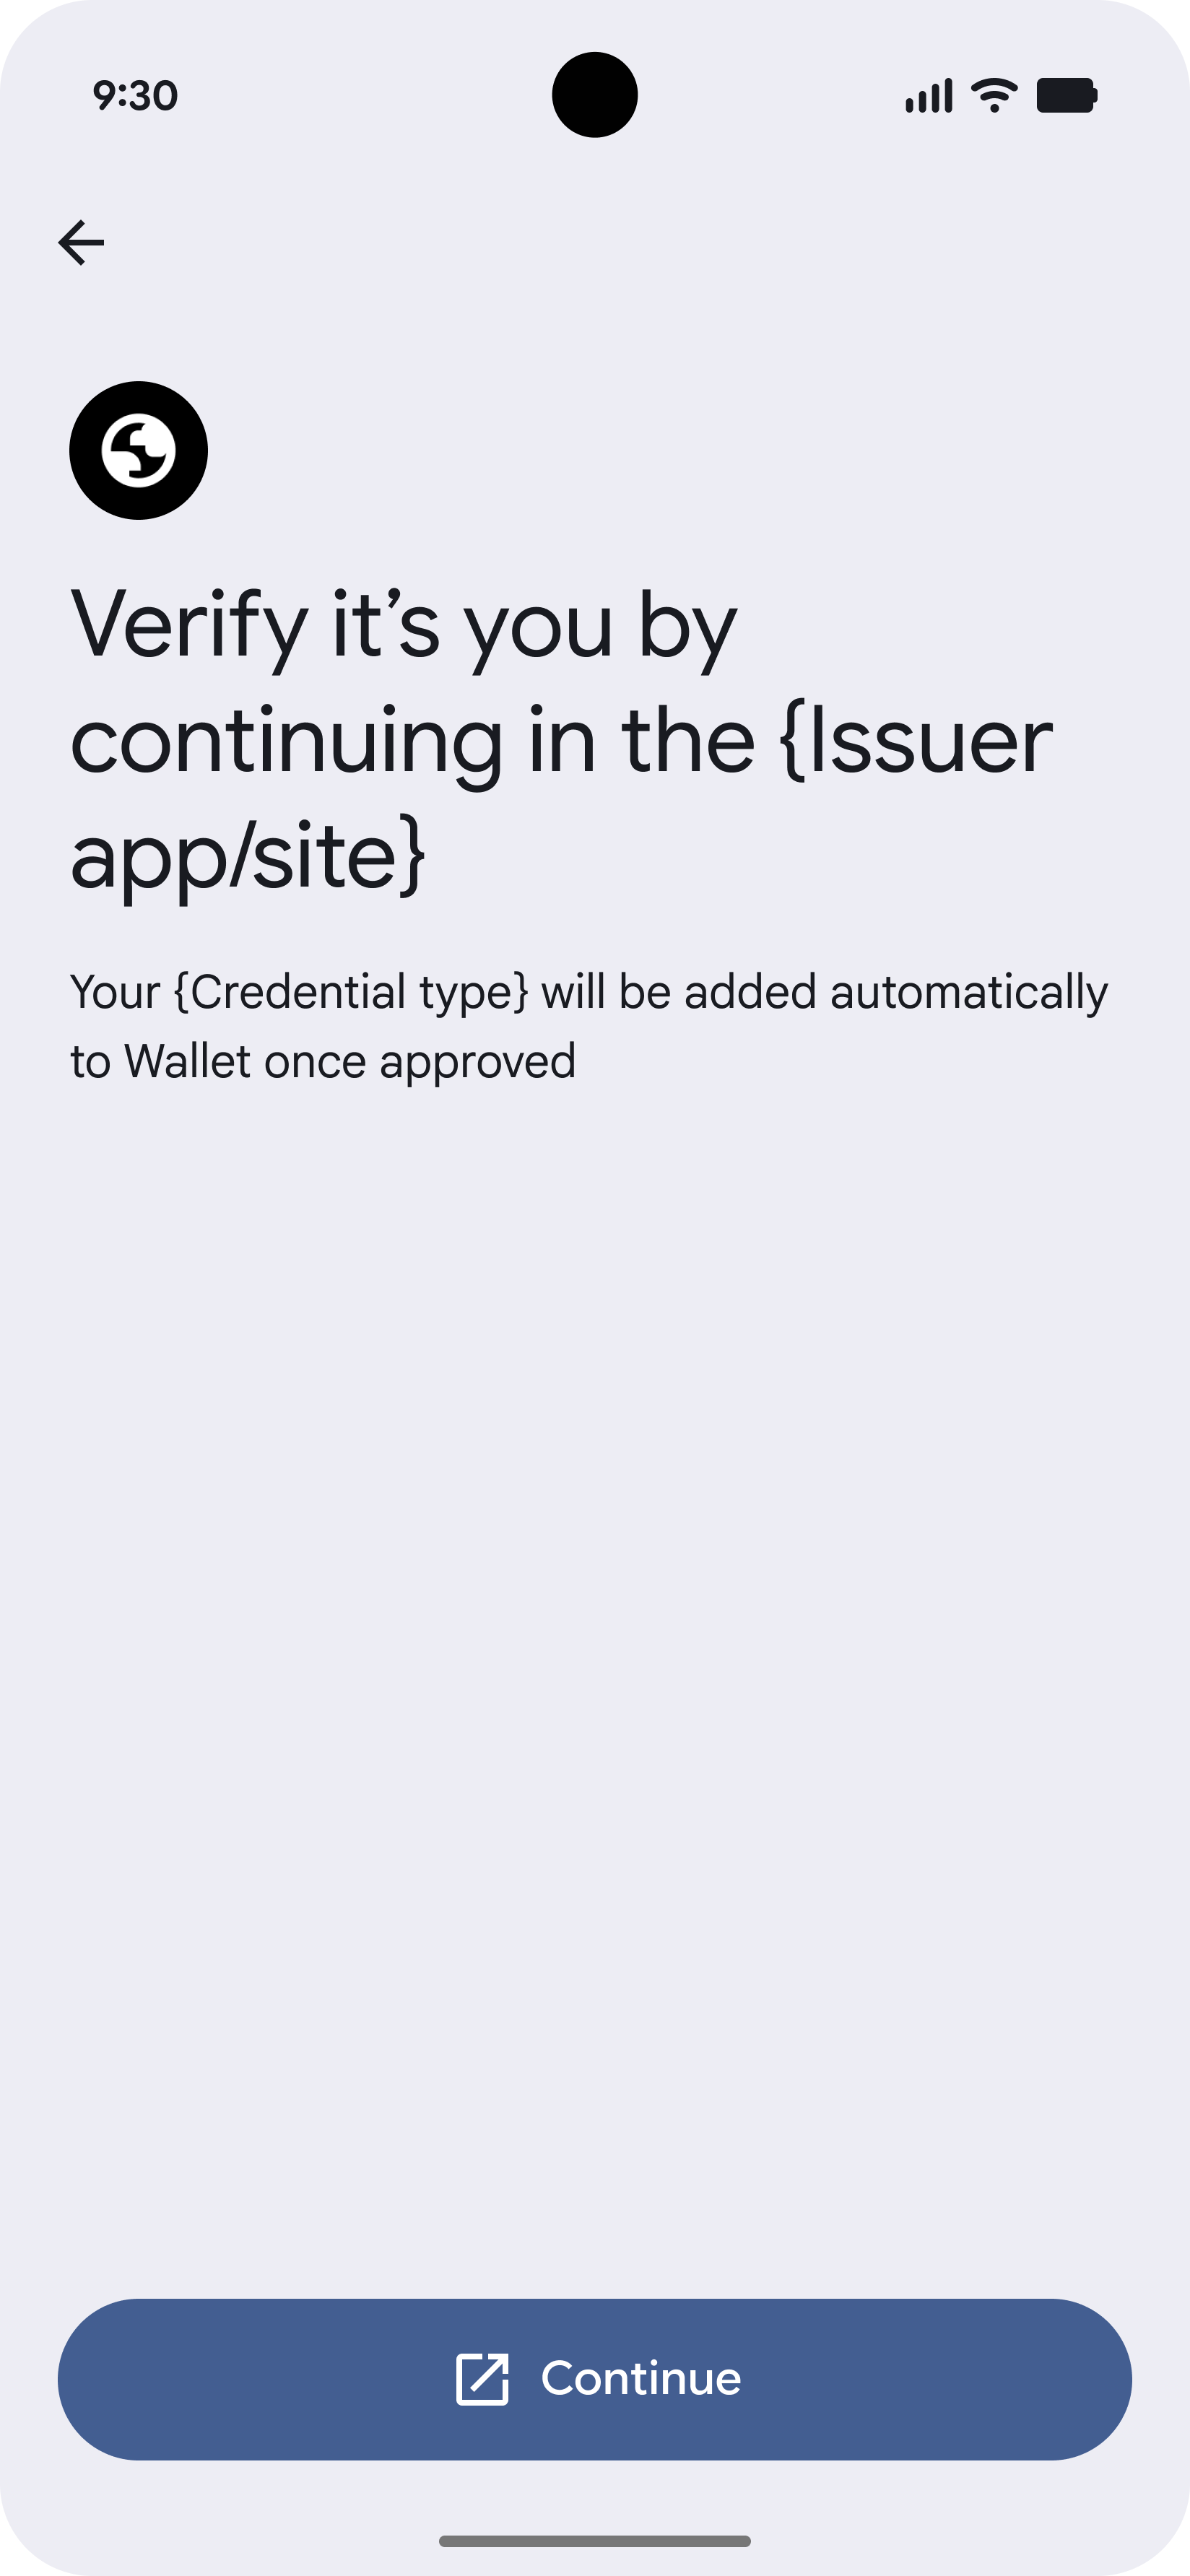
Redirect to Issuer
The user is redirected to the Issuer's app or website to verify their identity.
-
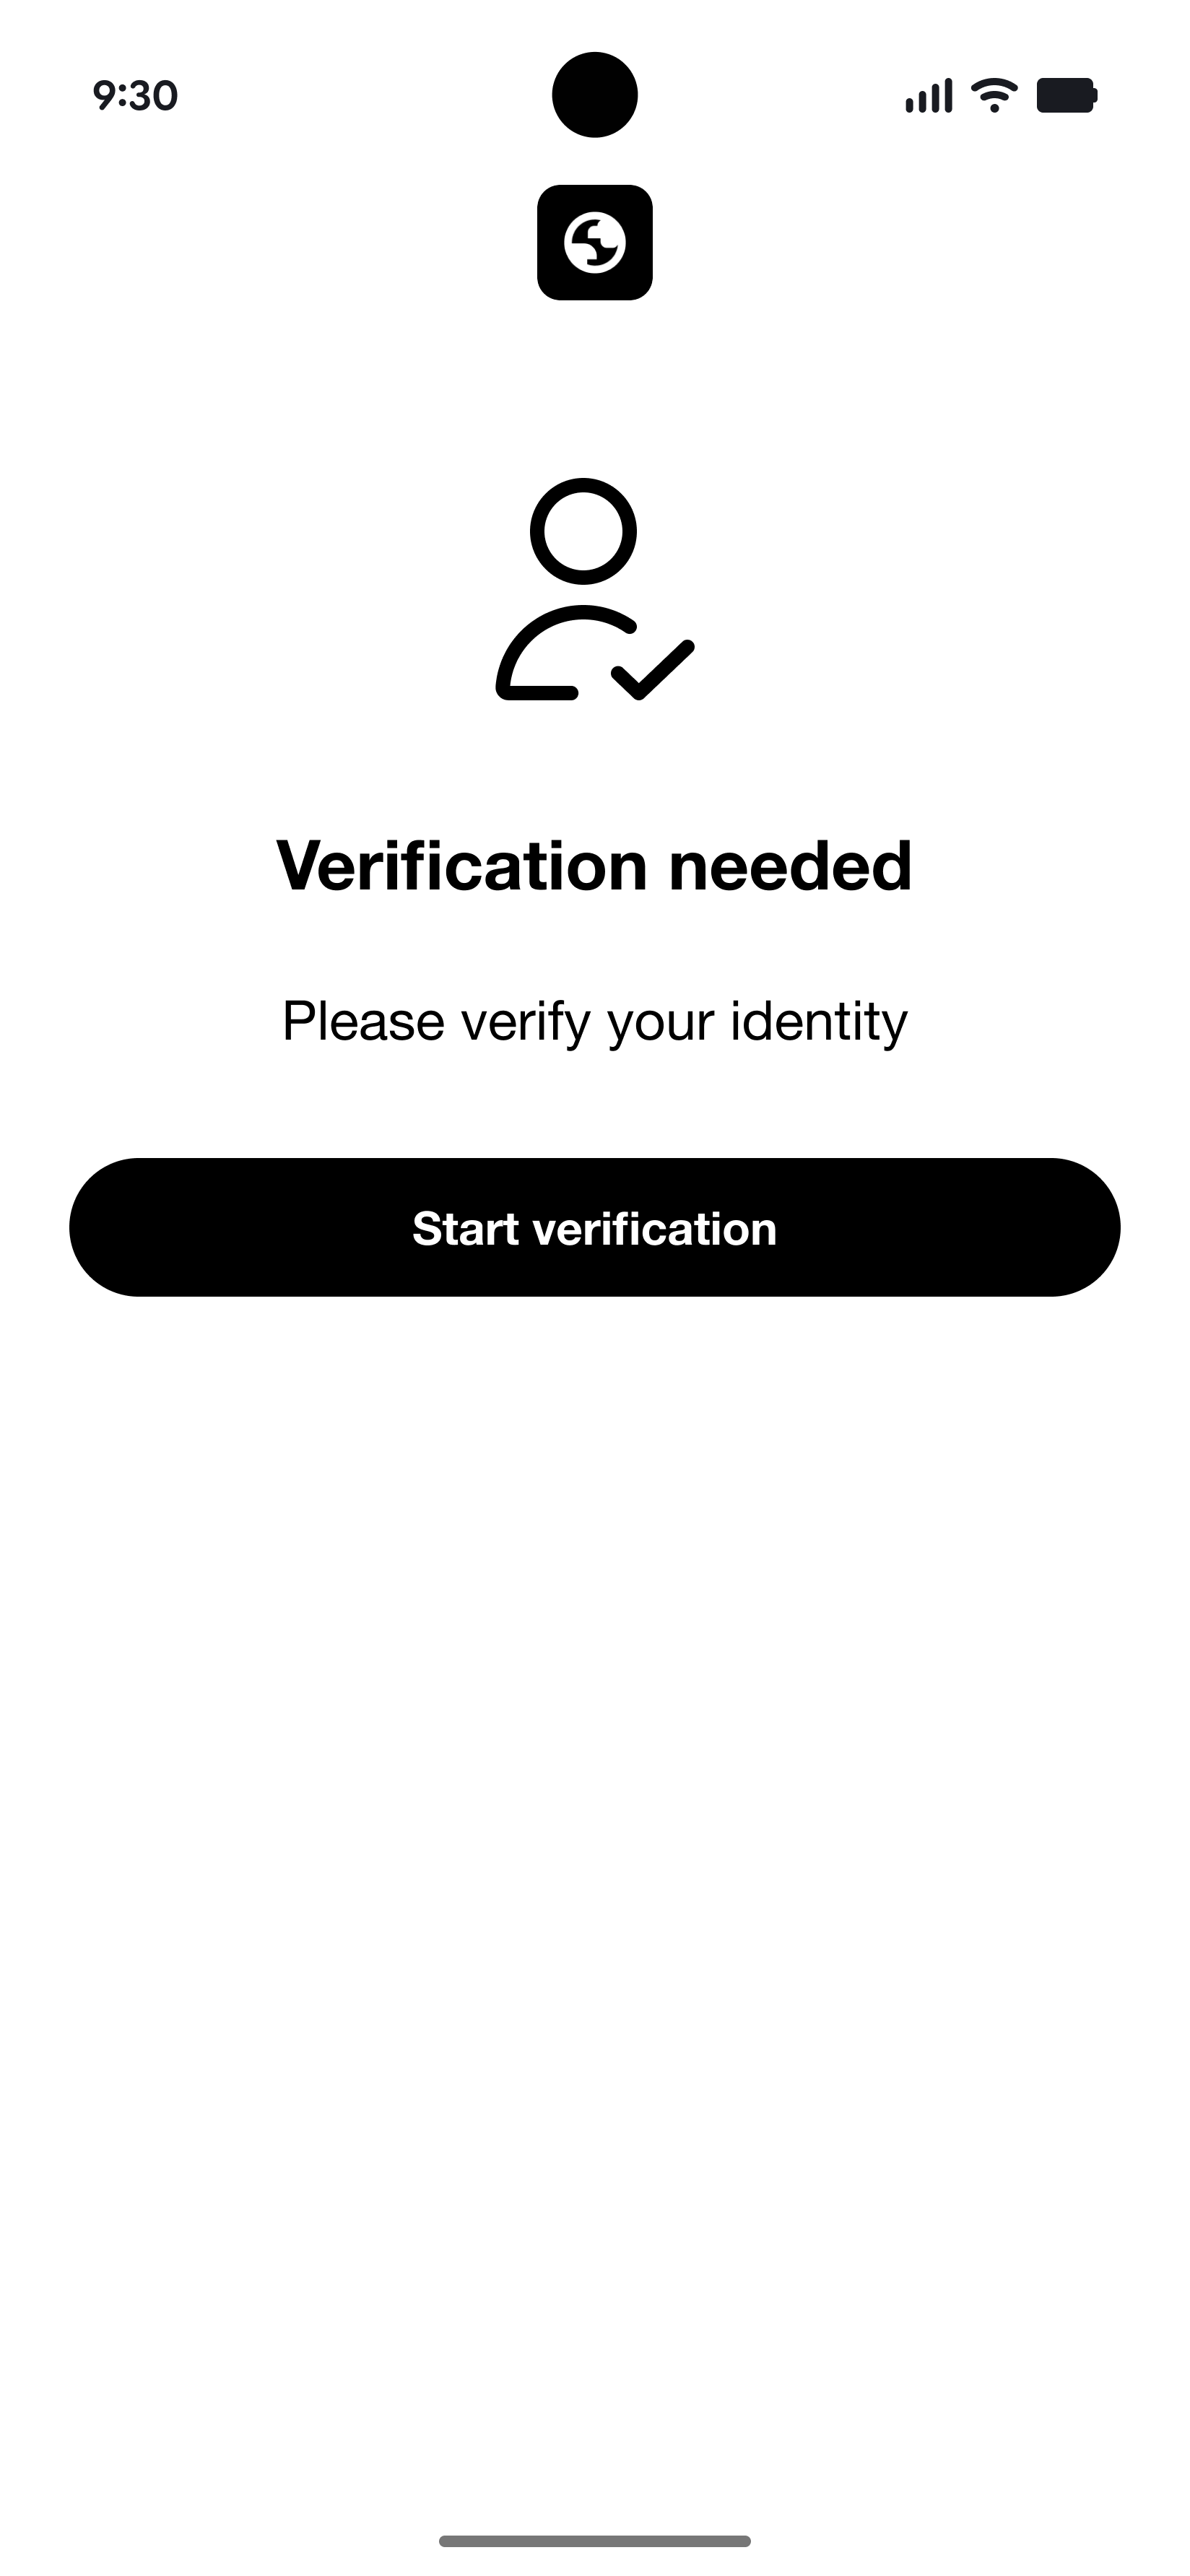
Authenticate & Consent
The user authenticates and consents to adding the credential.
-
Redirect to Wallet
The user is redirected back to Google Wallet to complete the provisioning.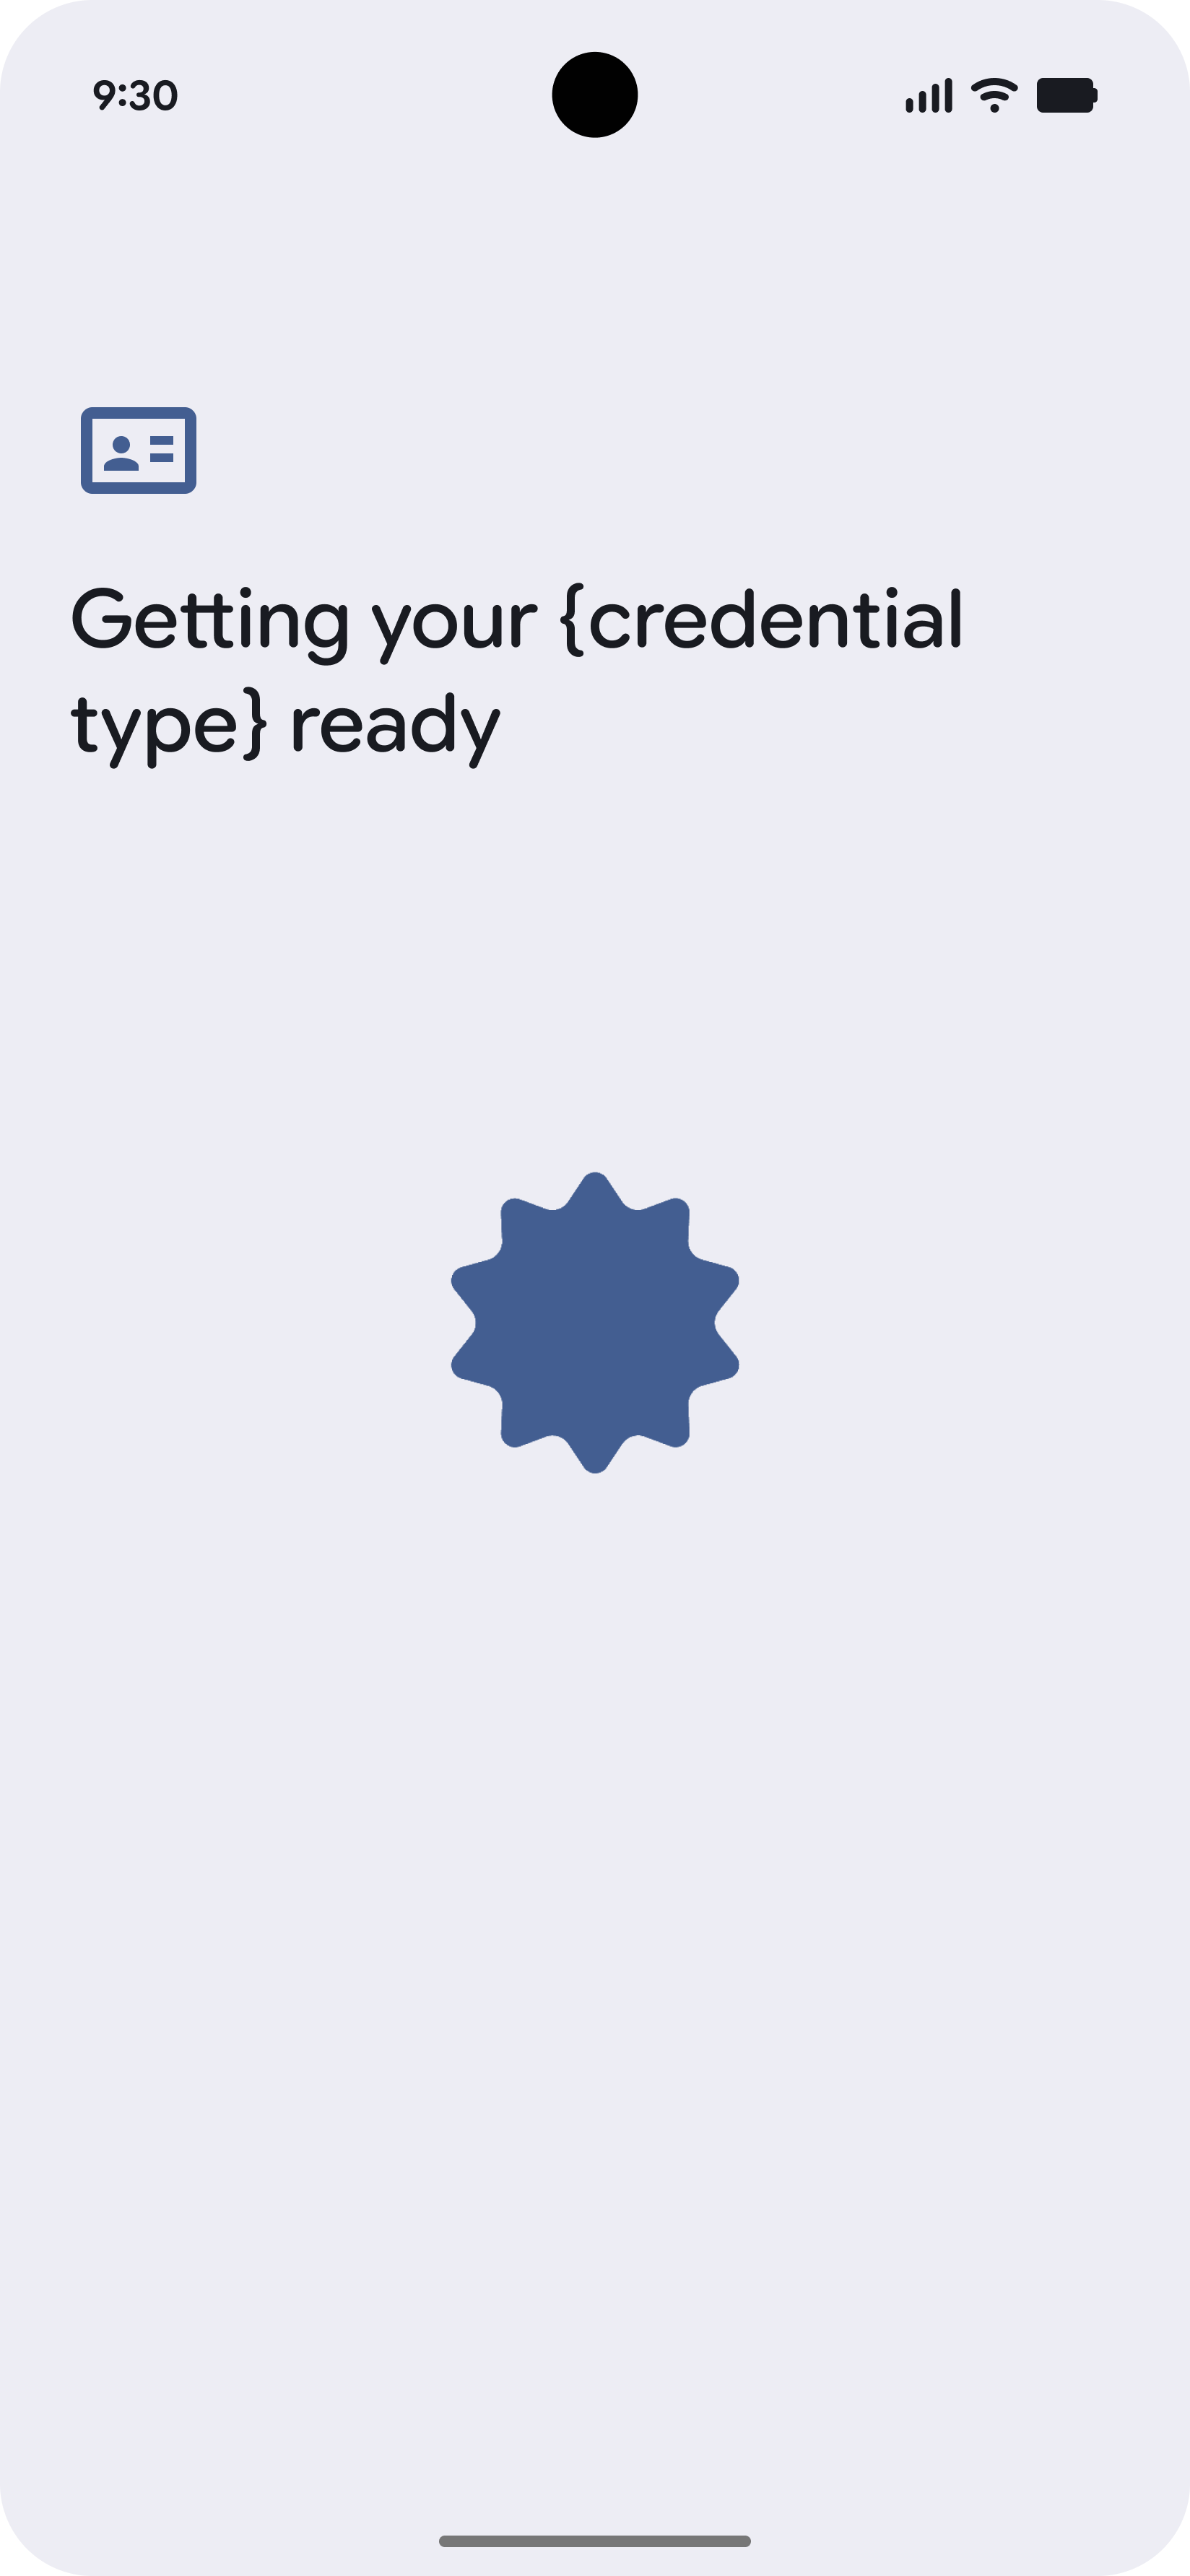

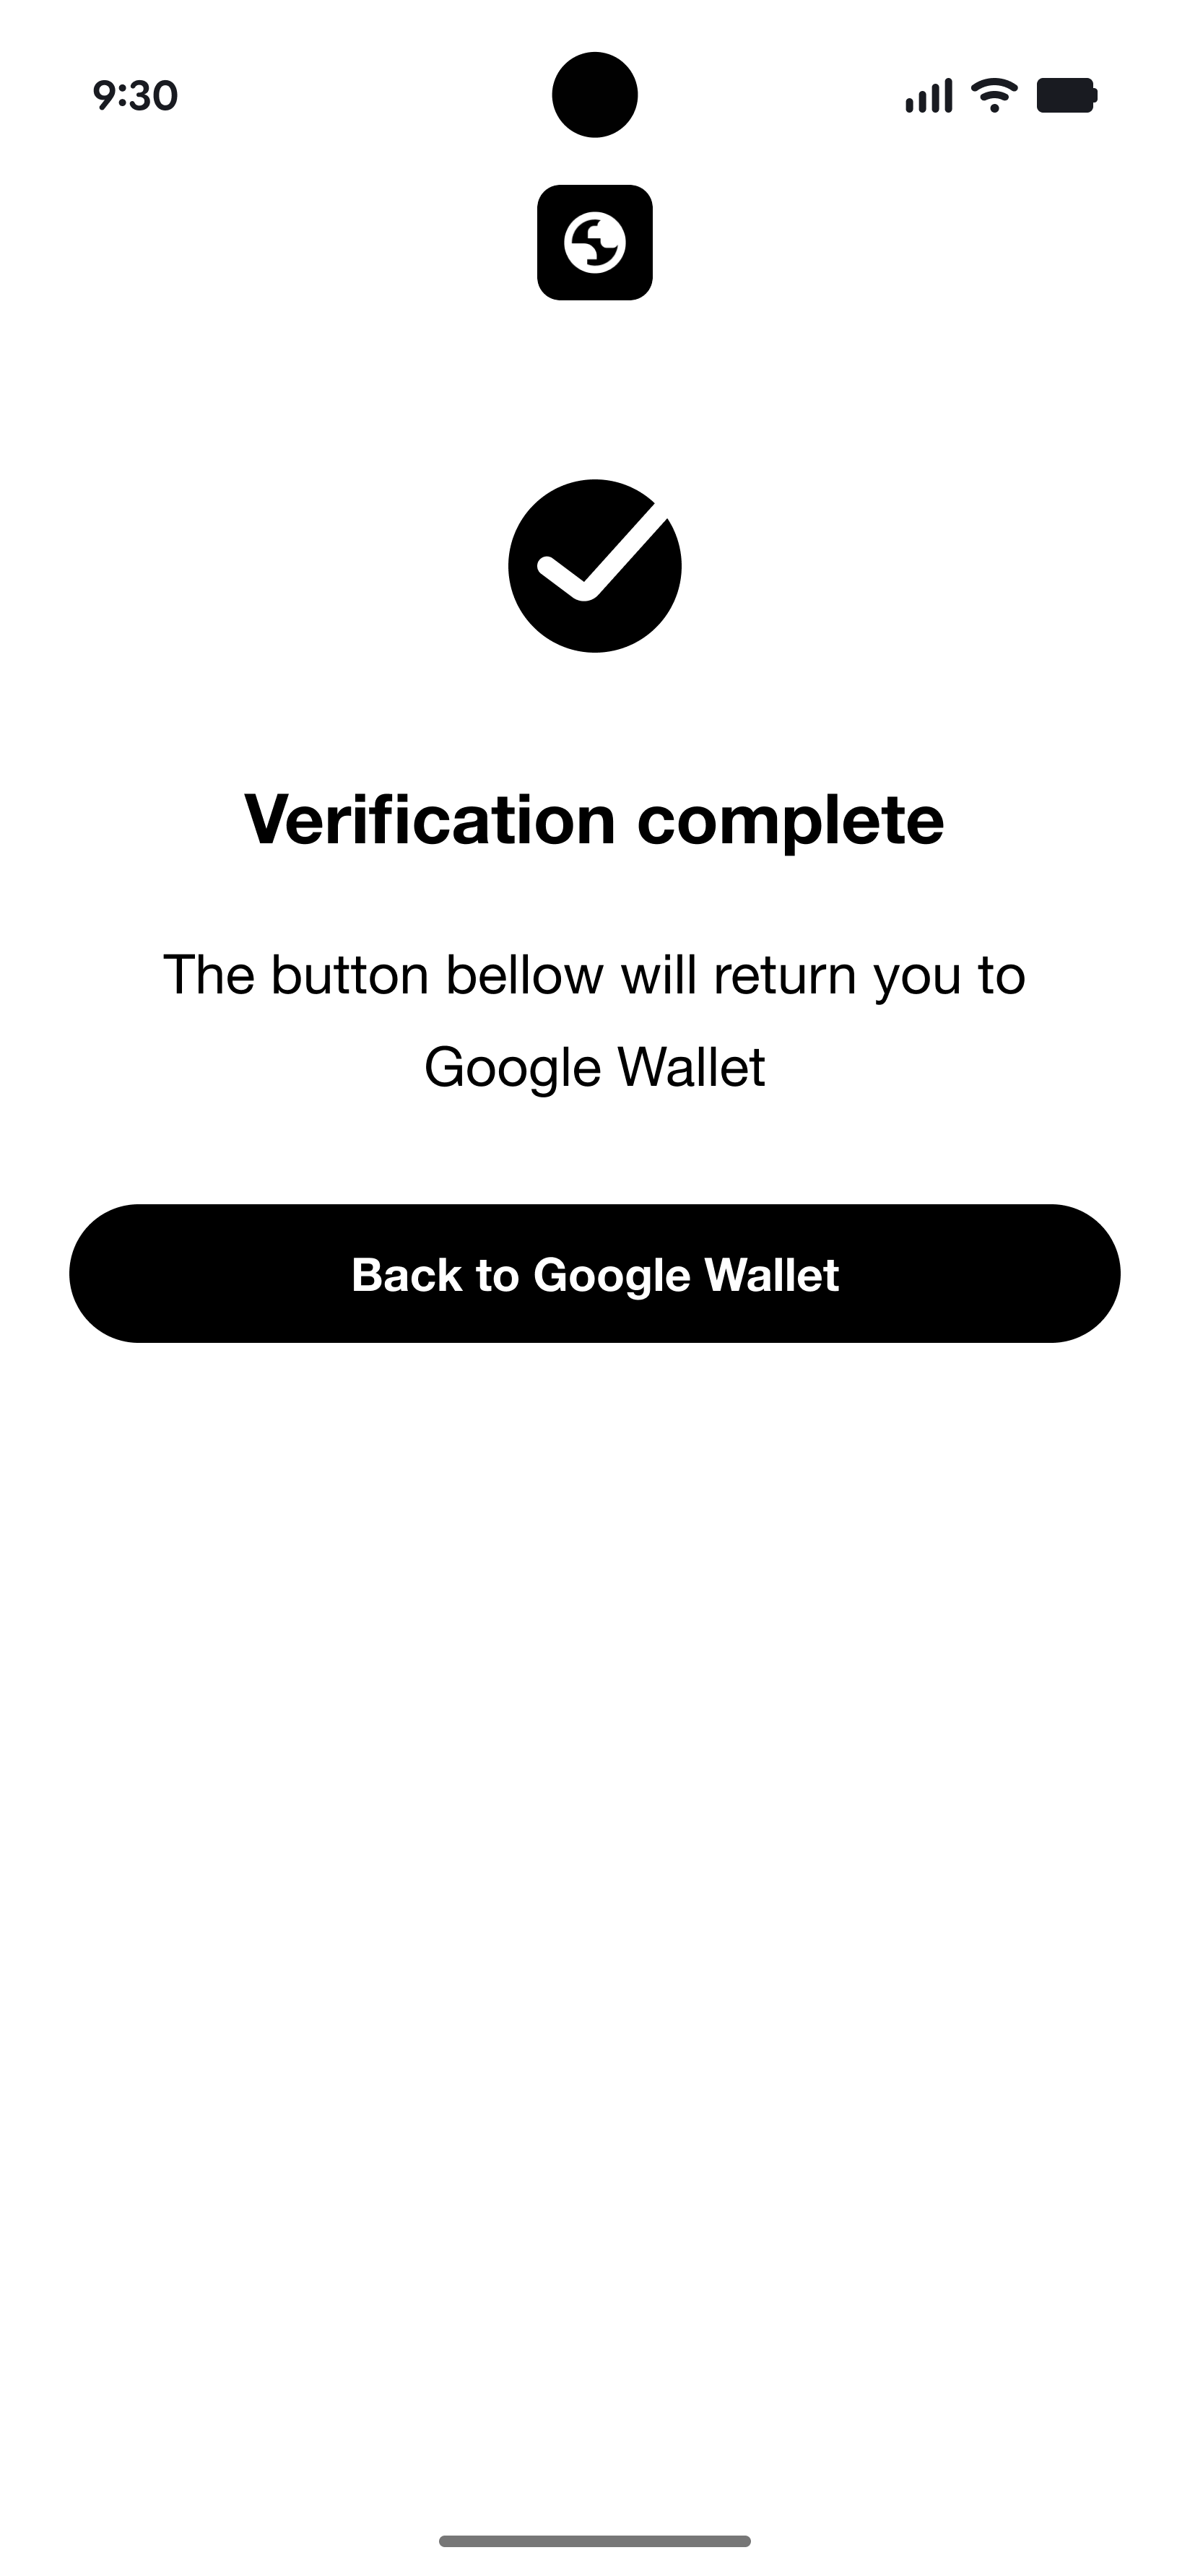
-
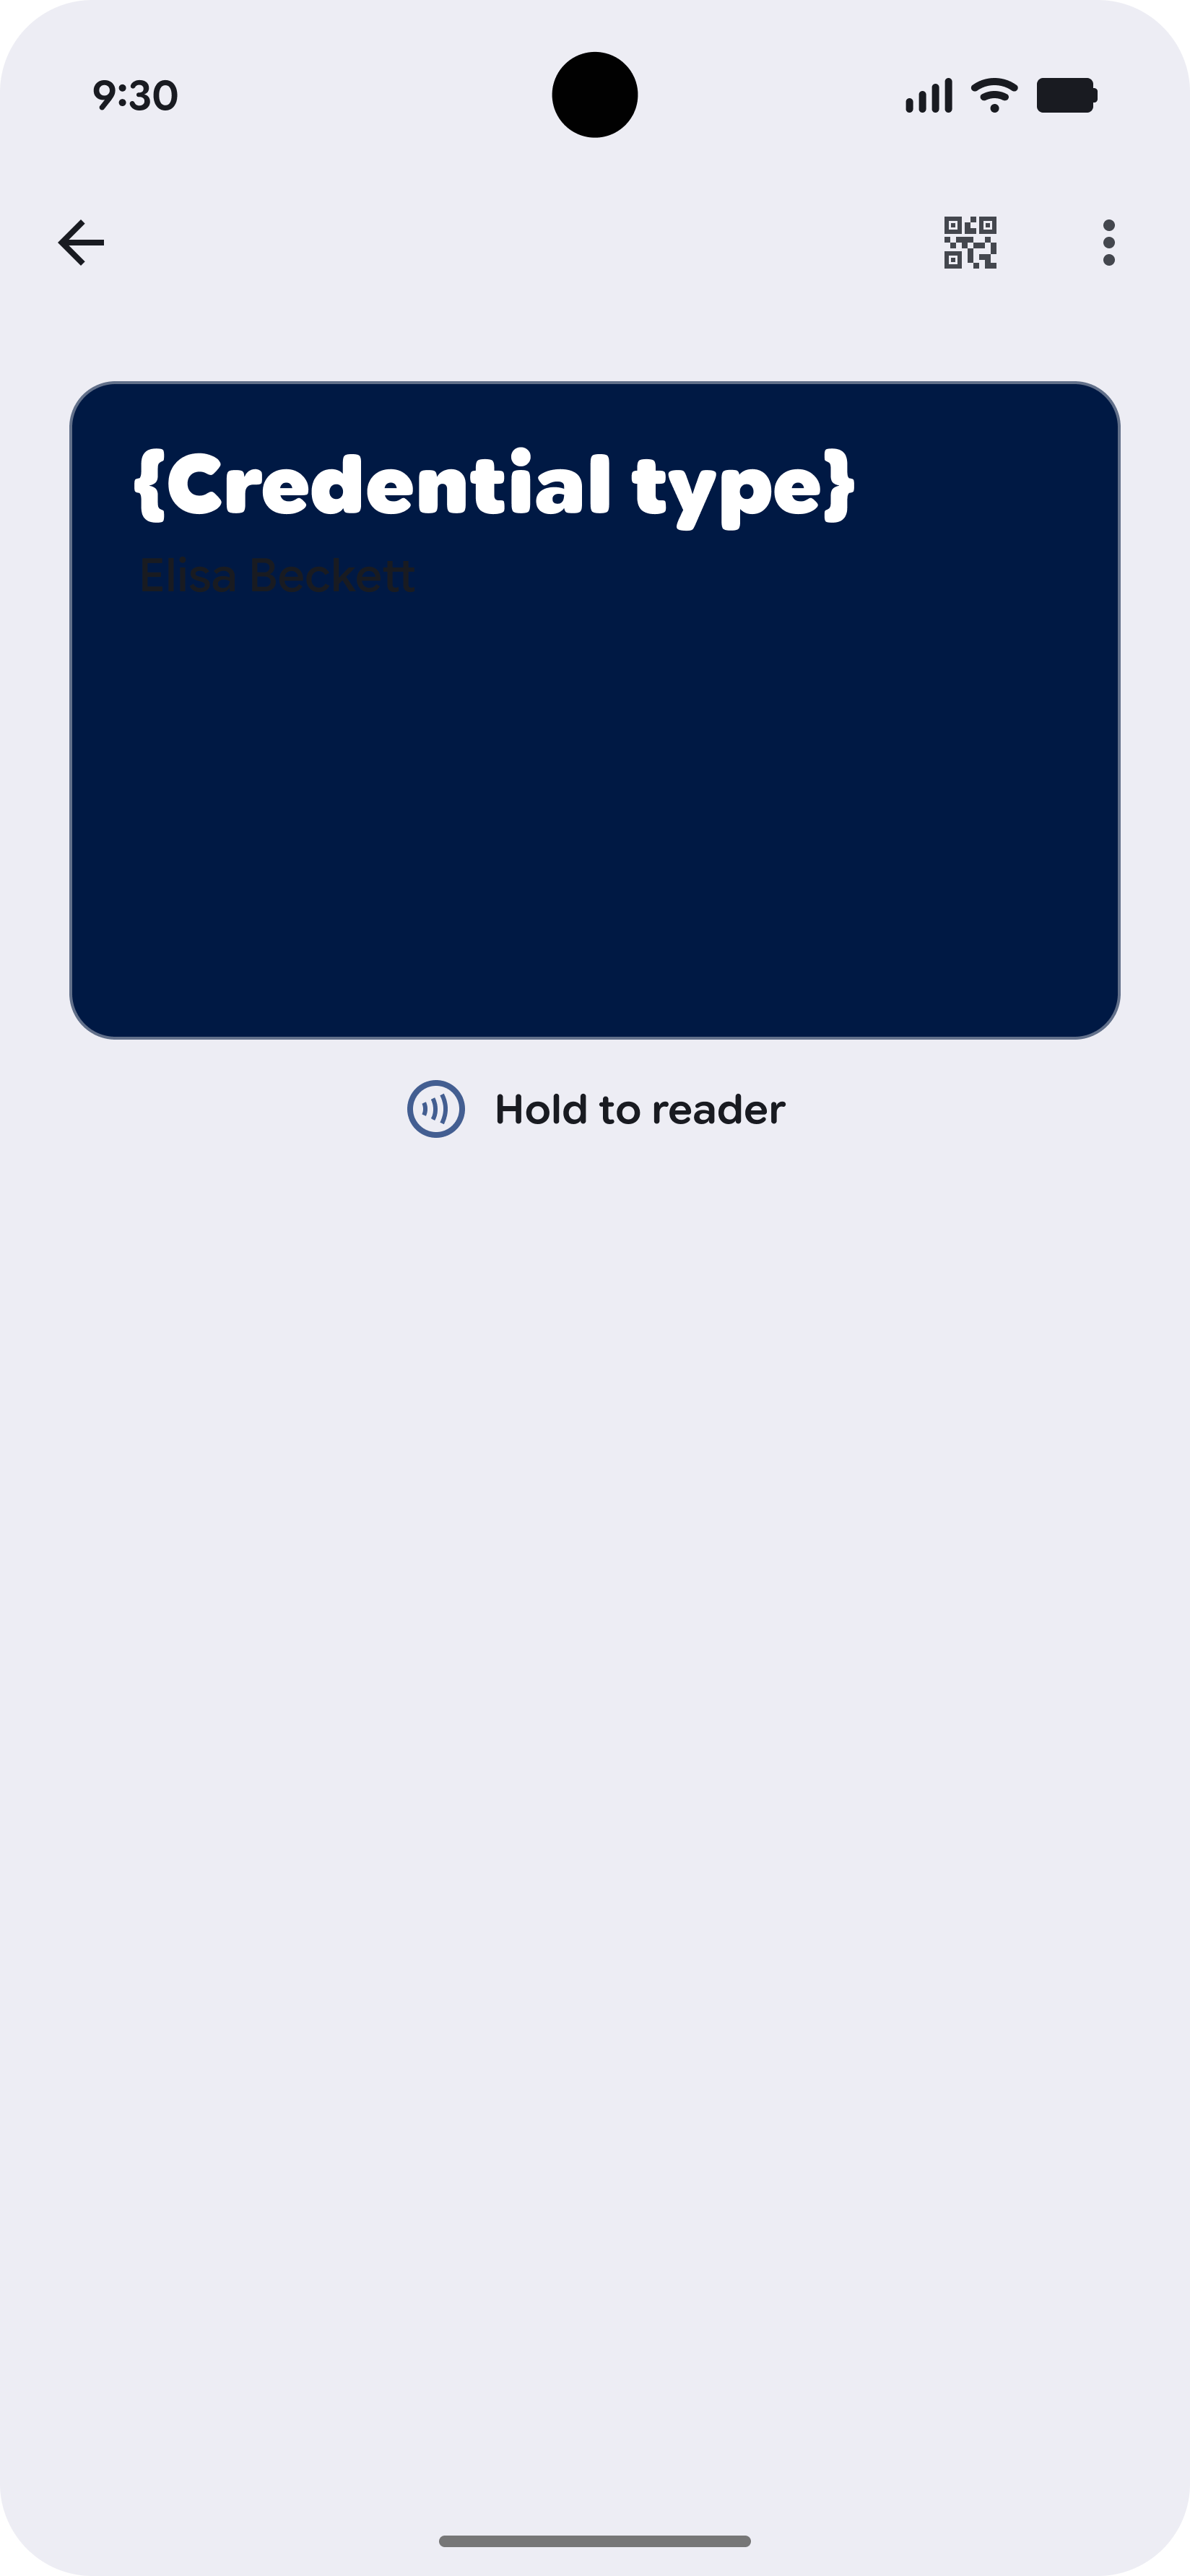
Provisioning Complete
The credential is successfully added to Google Wallet.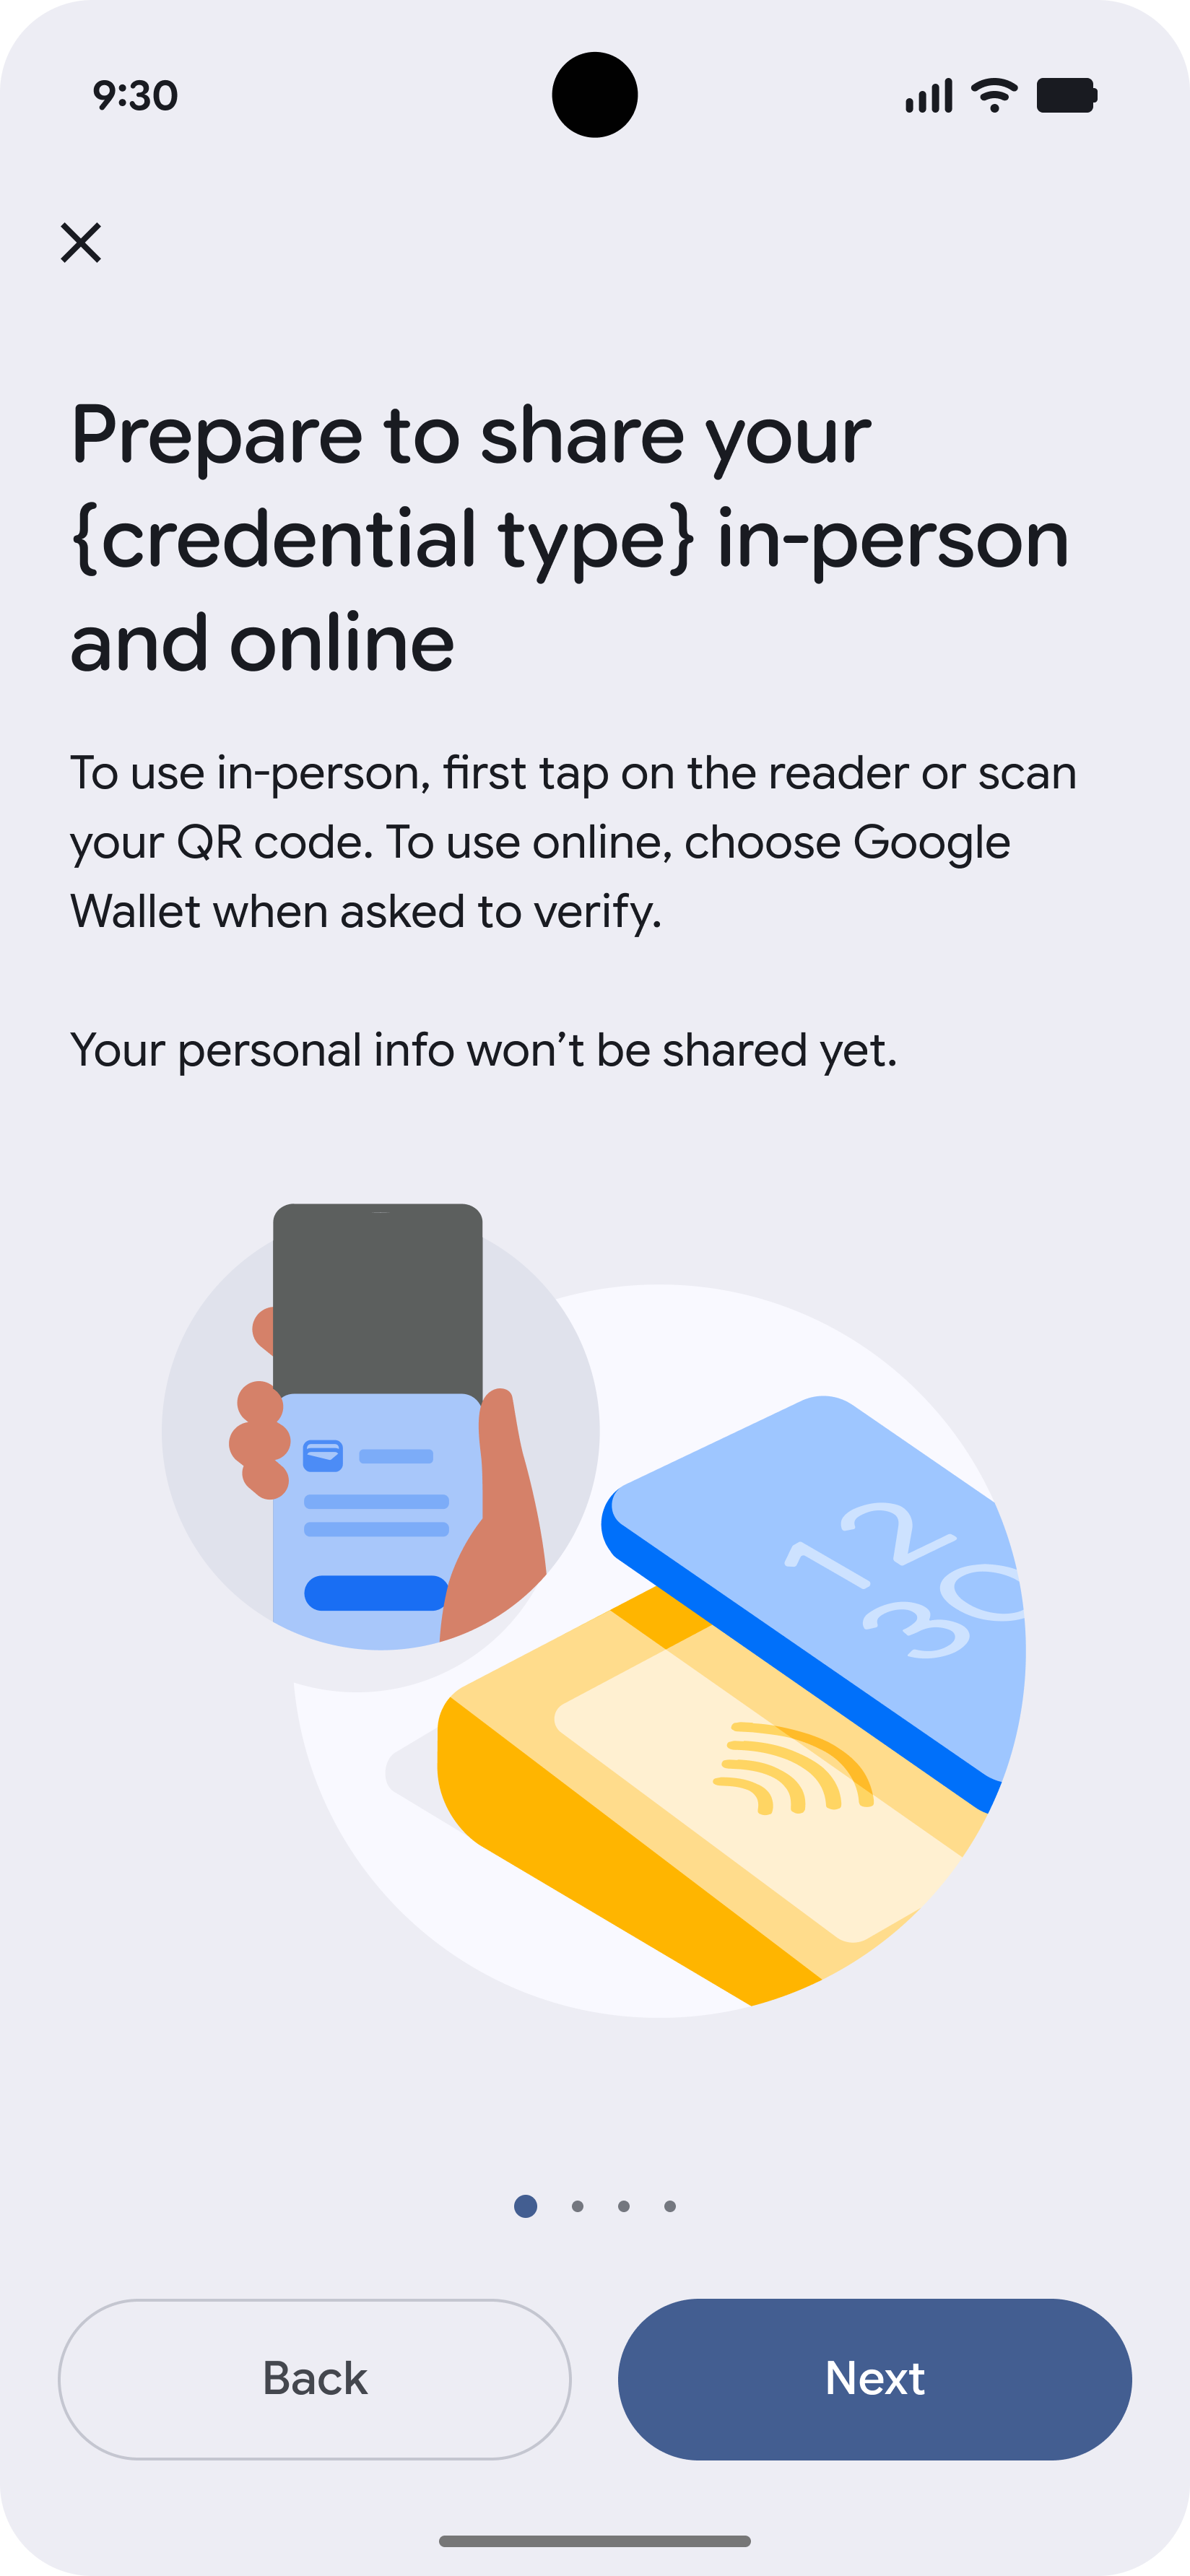
-
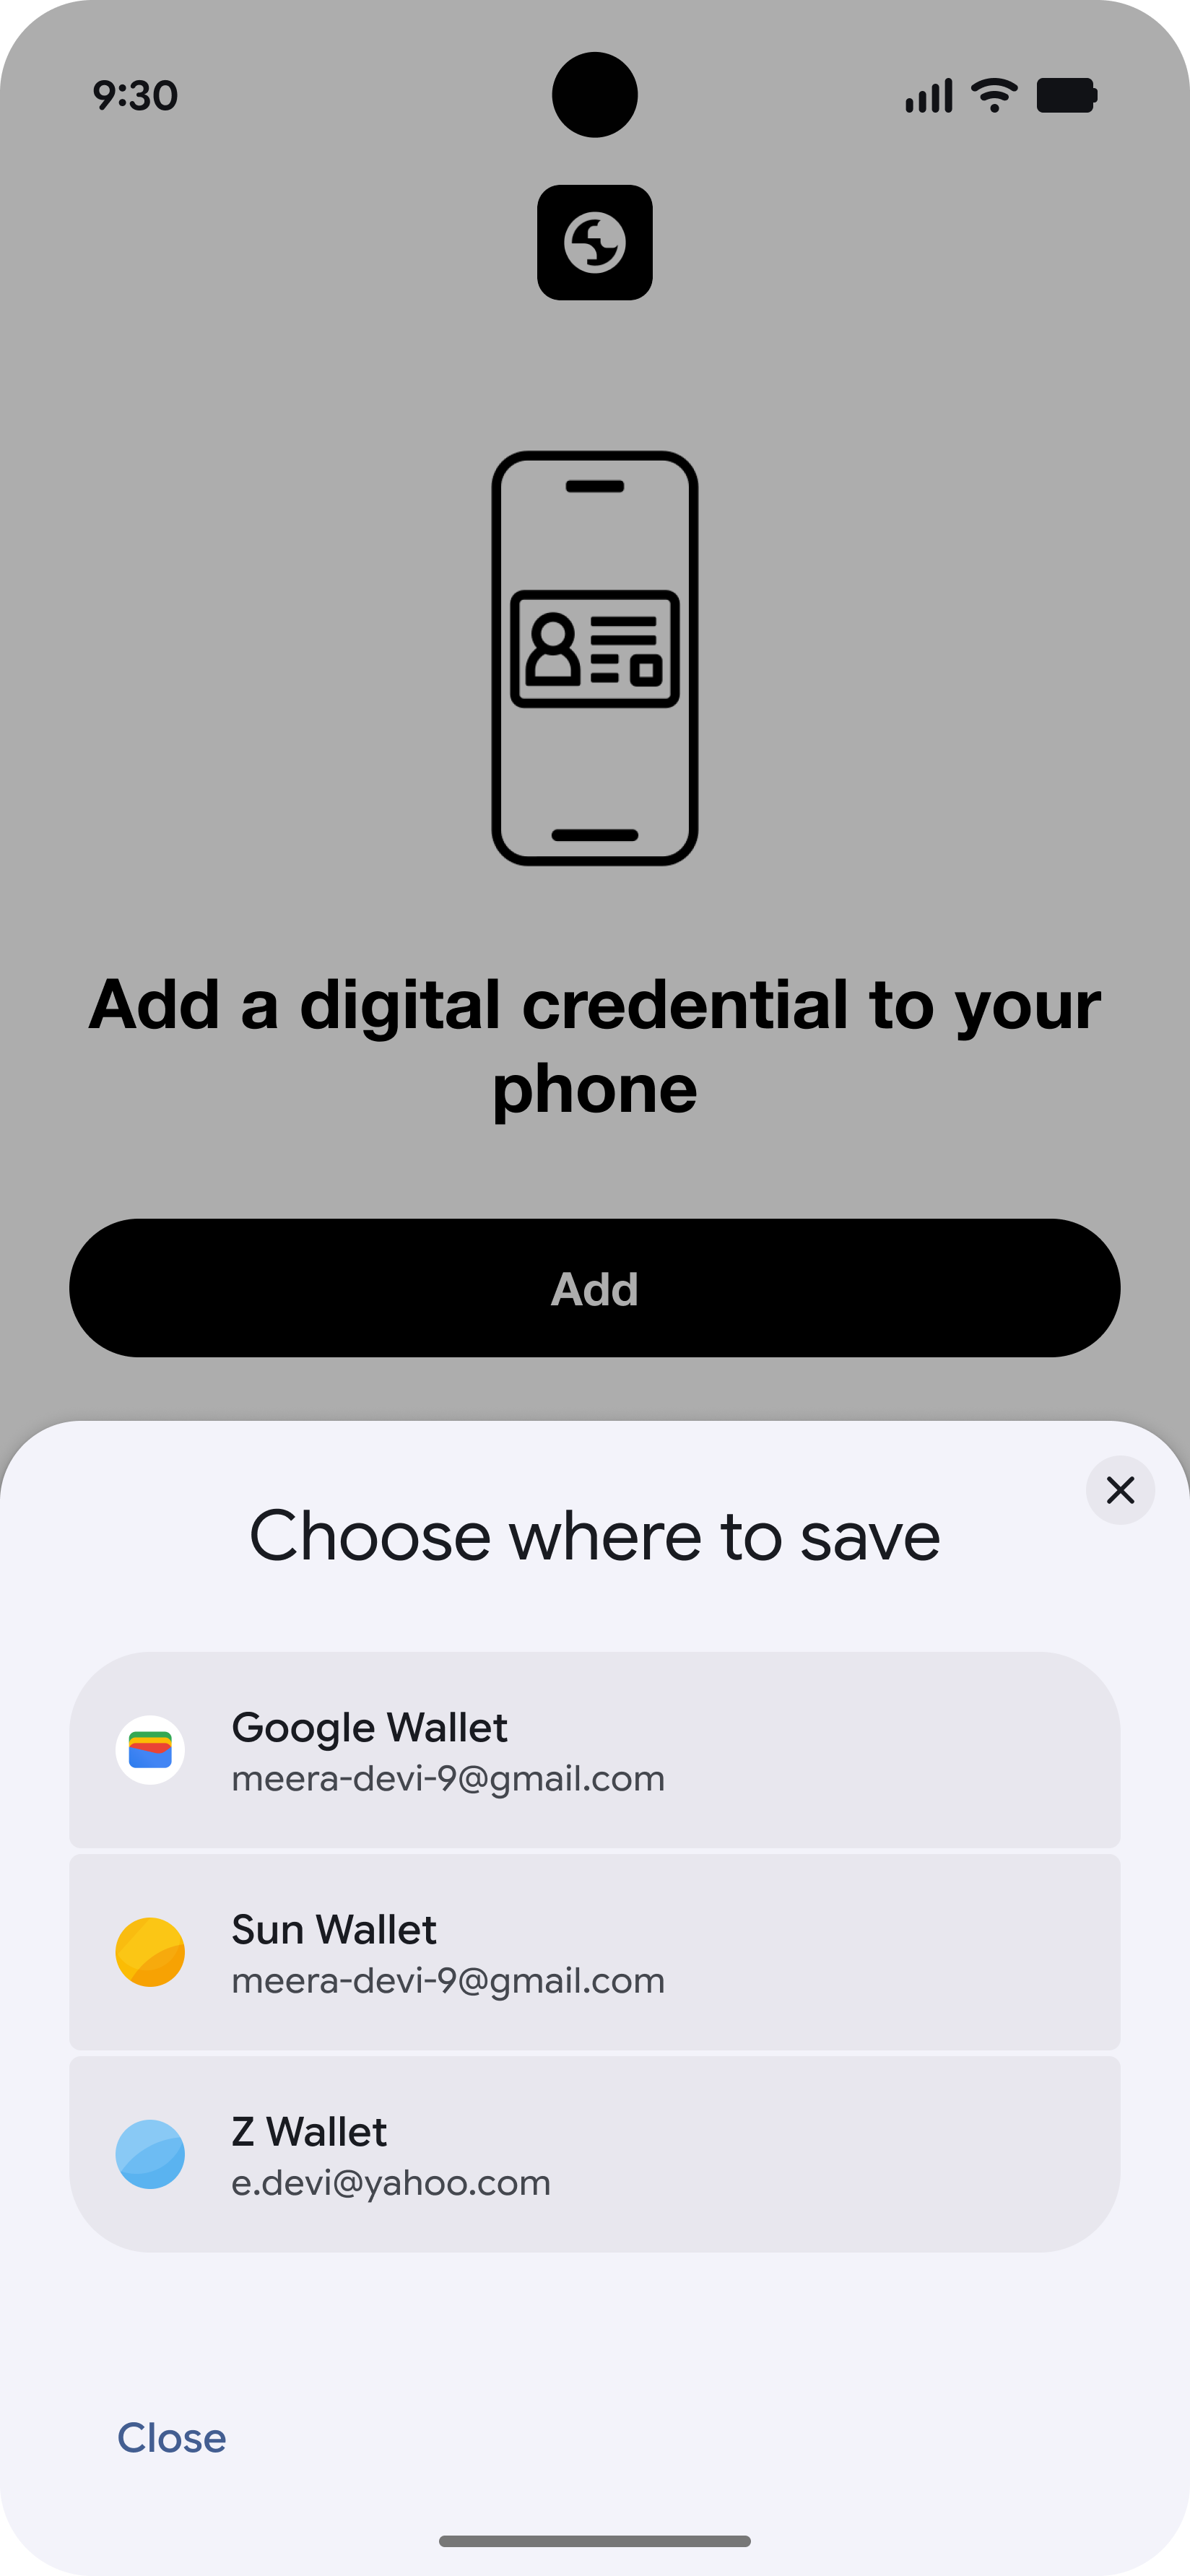
Confirm in Wallet
The Google Wallet bottom sheet appears, asking for confirmation.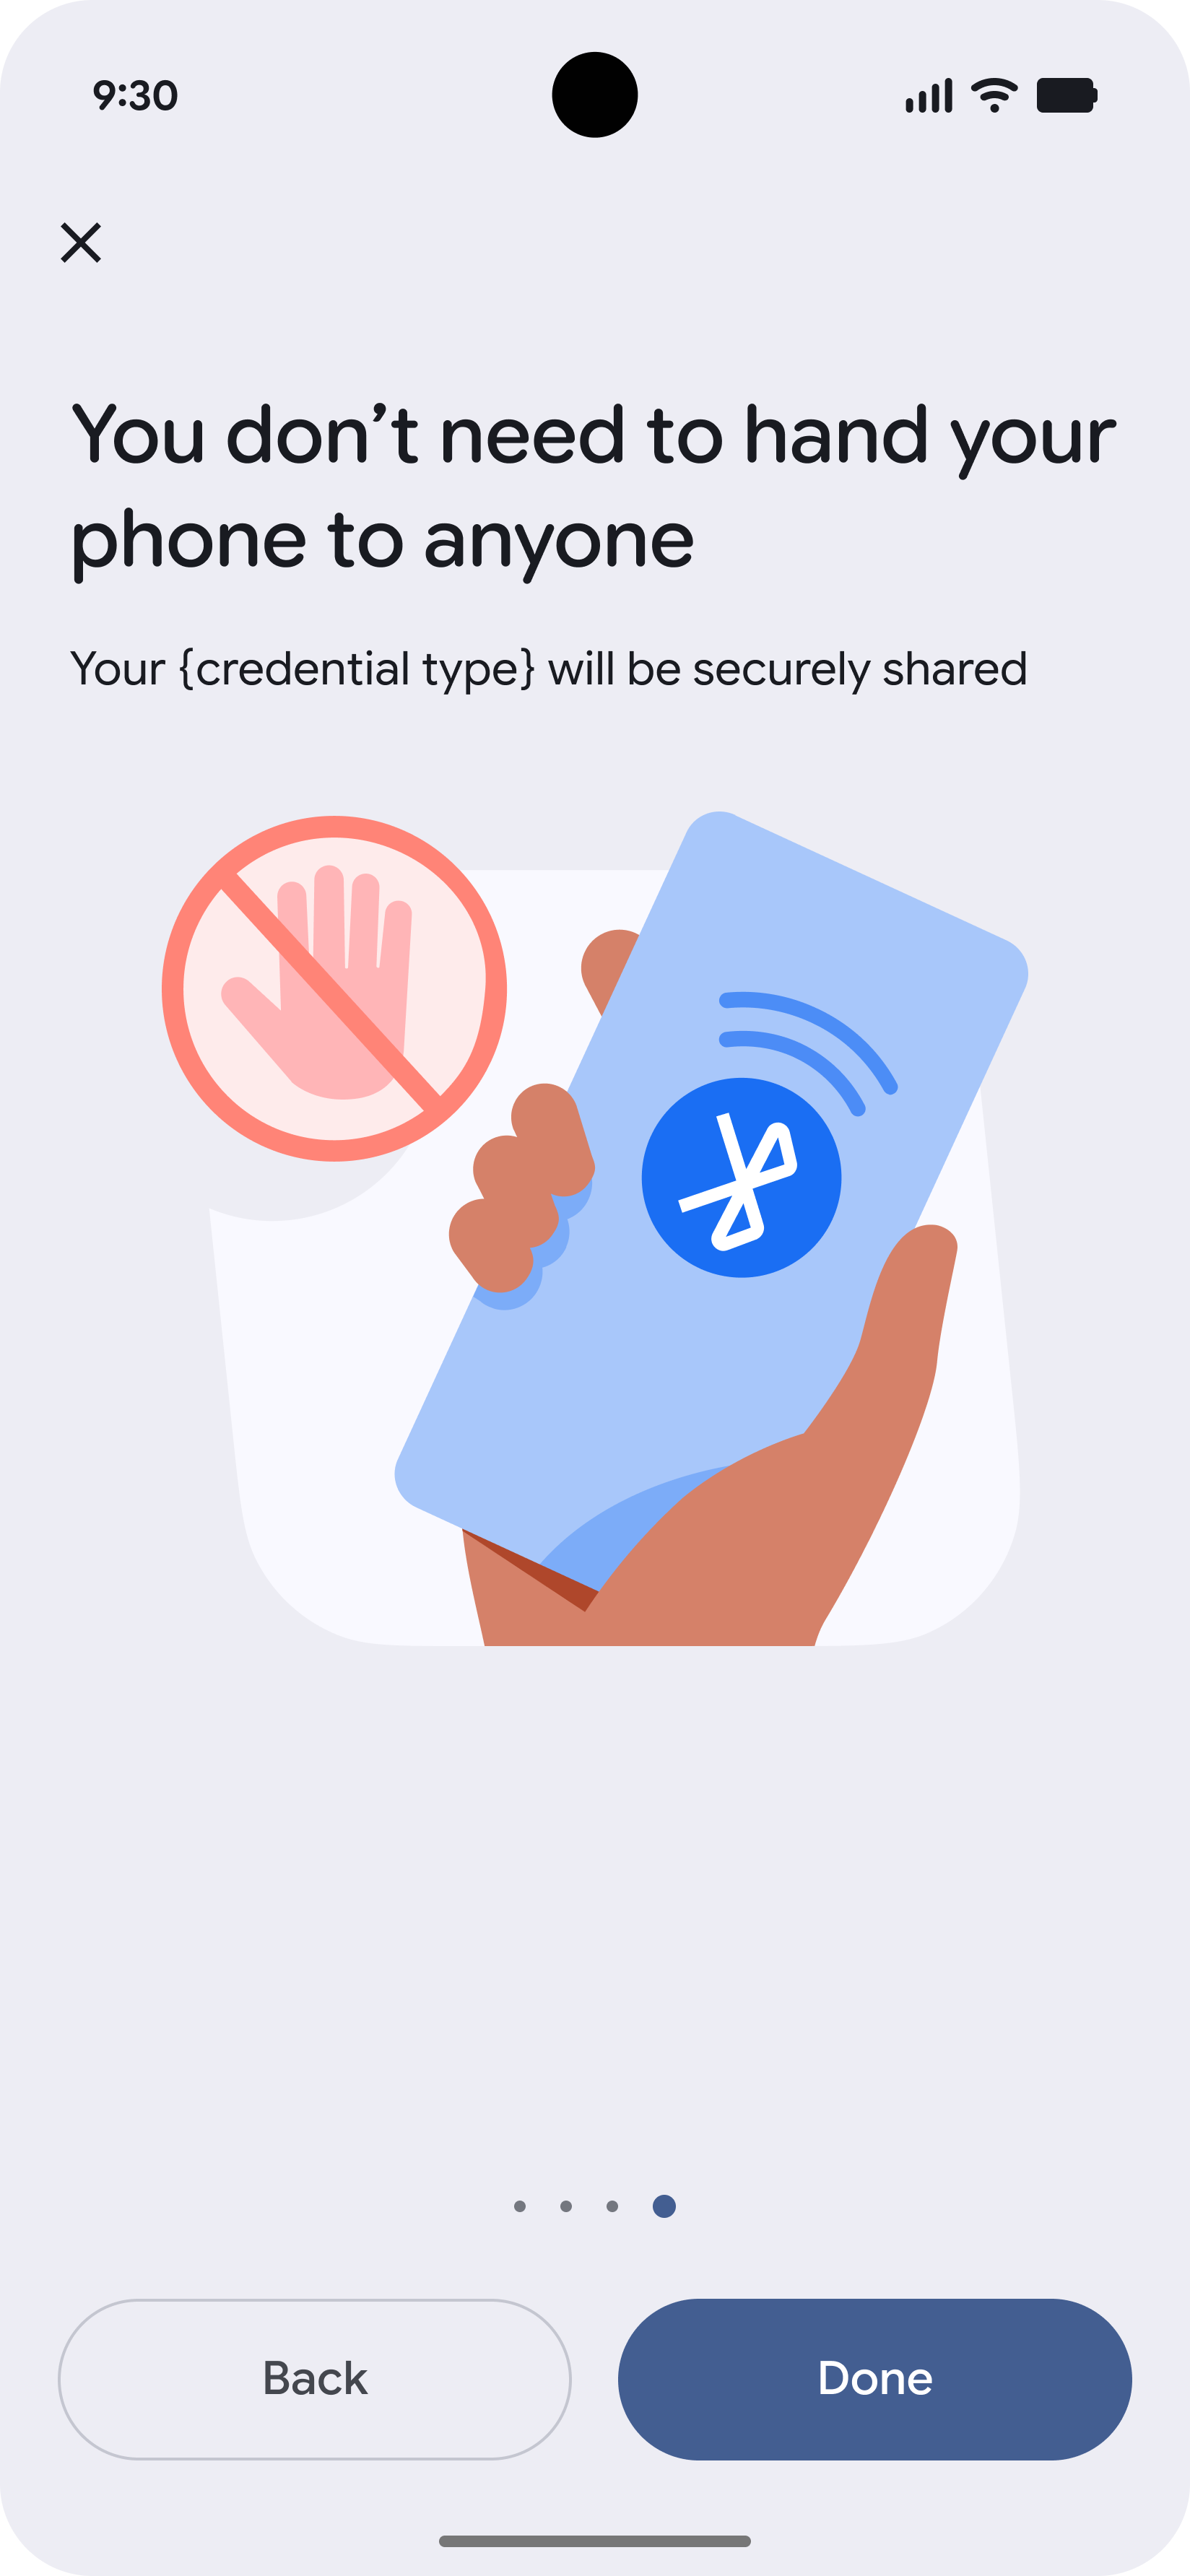
Issuer-initiated
Issuer-initiated provisioning allows users to start the provisioning process directly from your app or website.
-
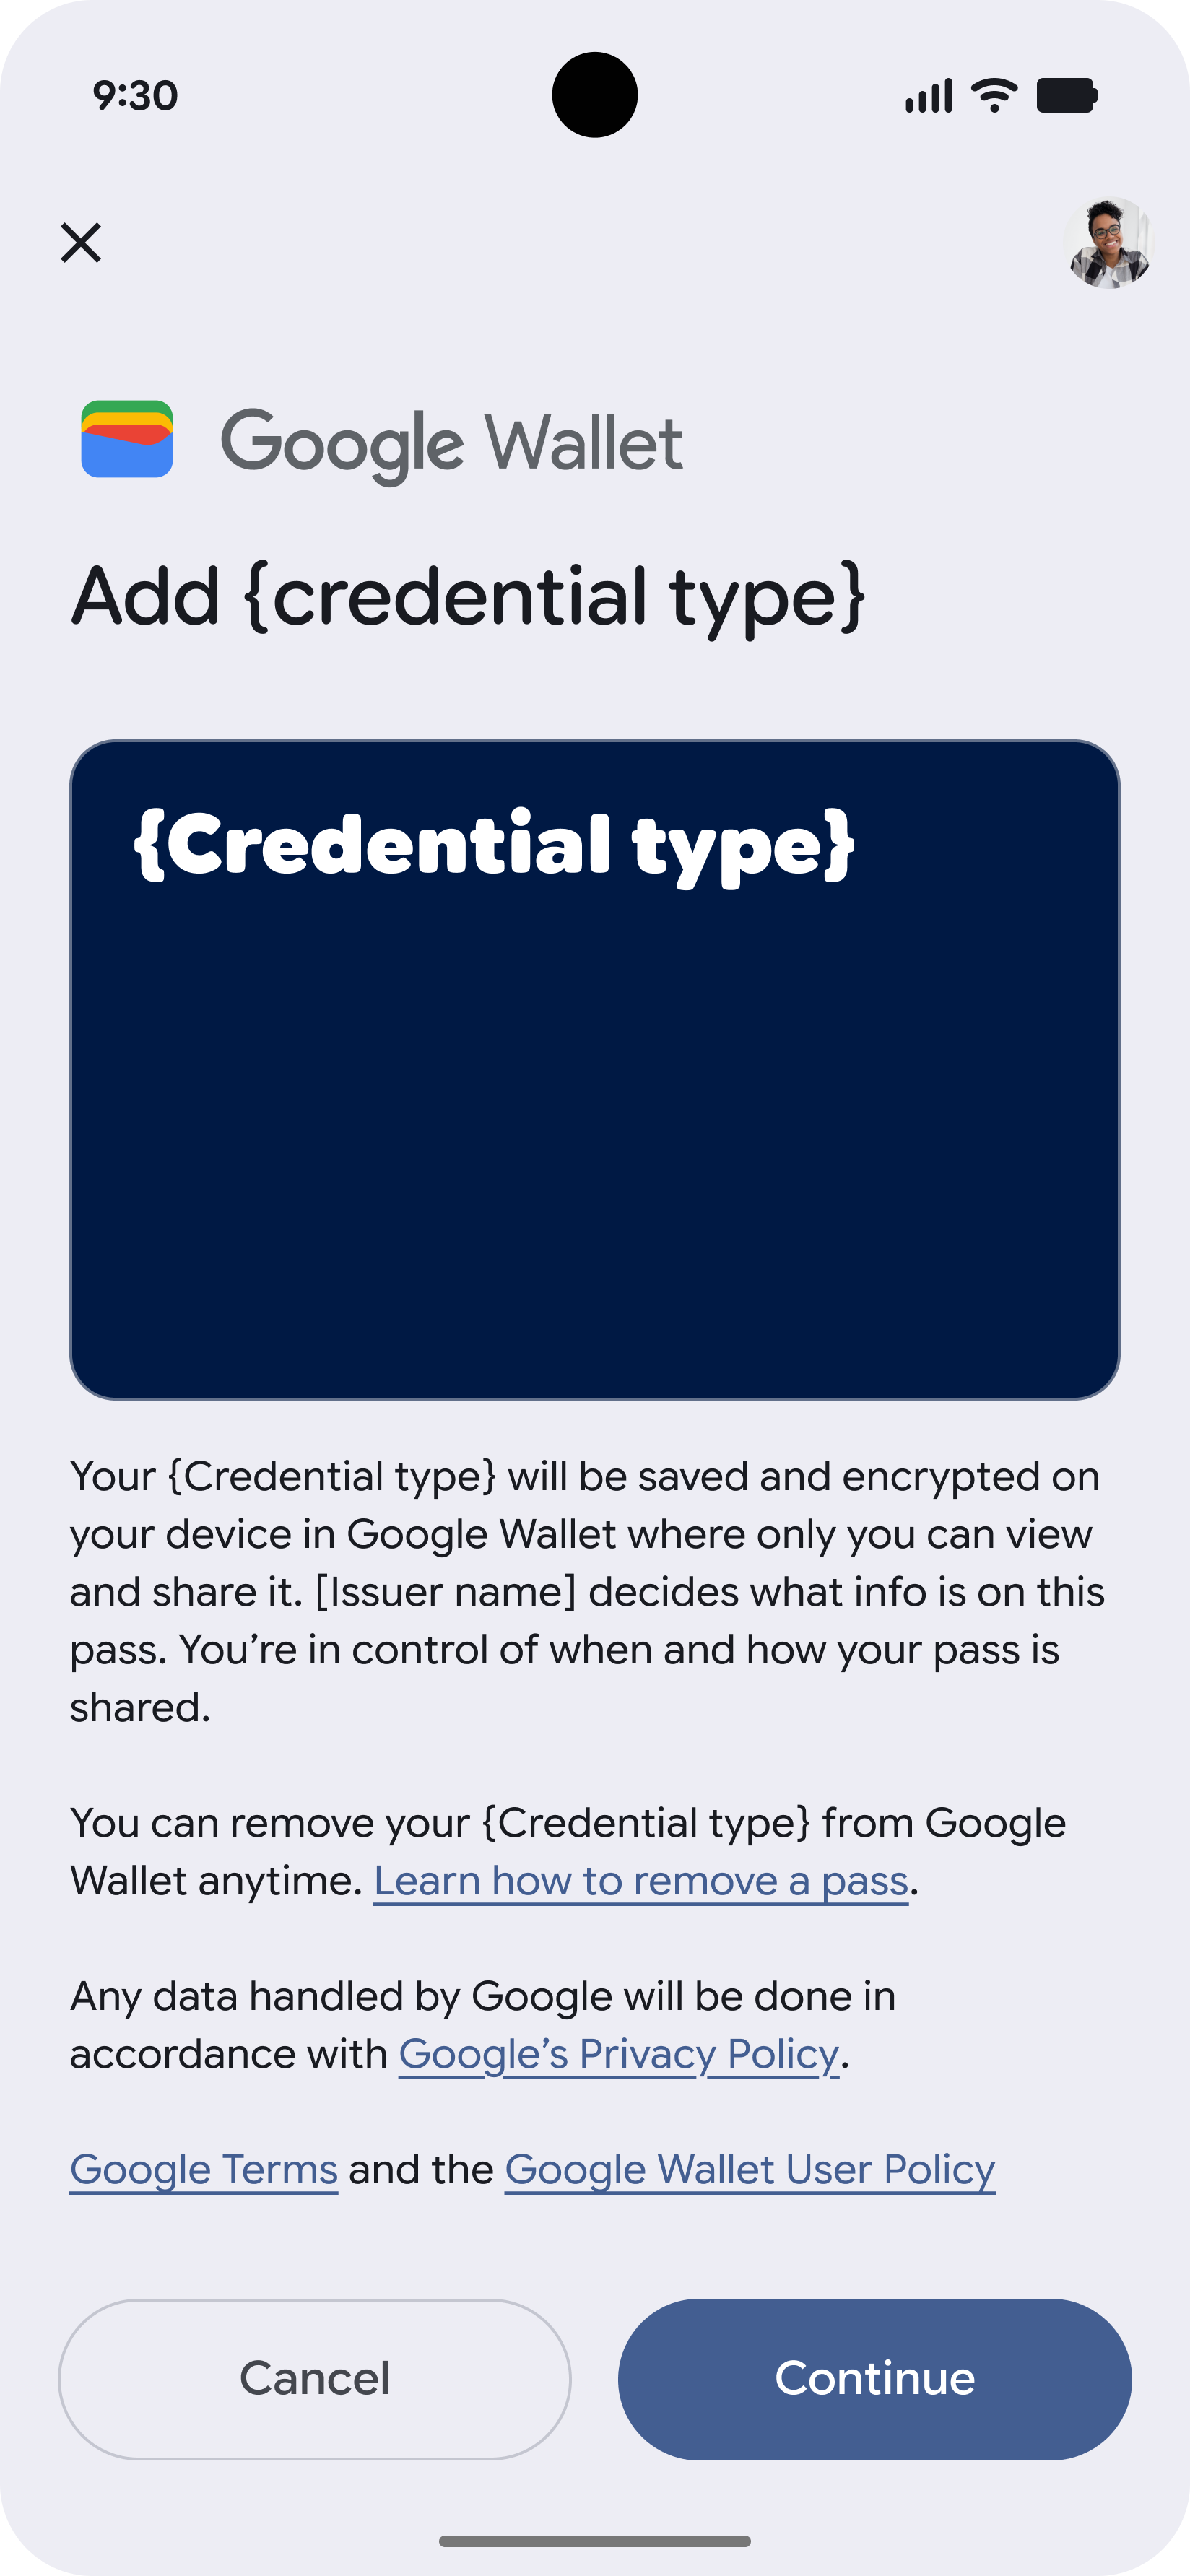
Start in Issuer App
The user starts in the Issuer's app and chooses to add their VDC to Google Wallet.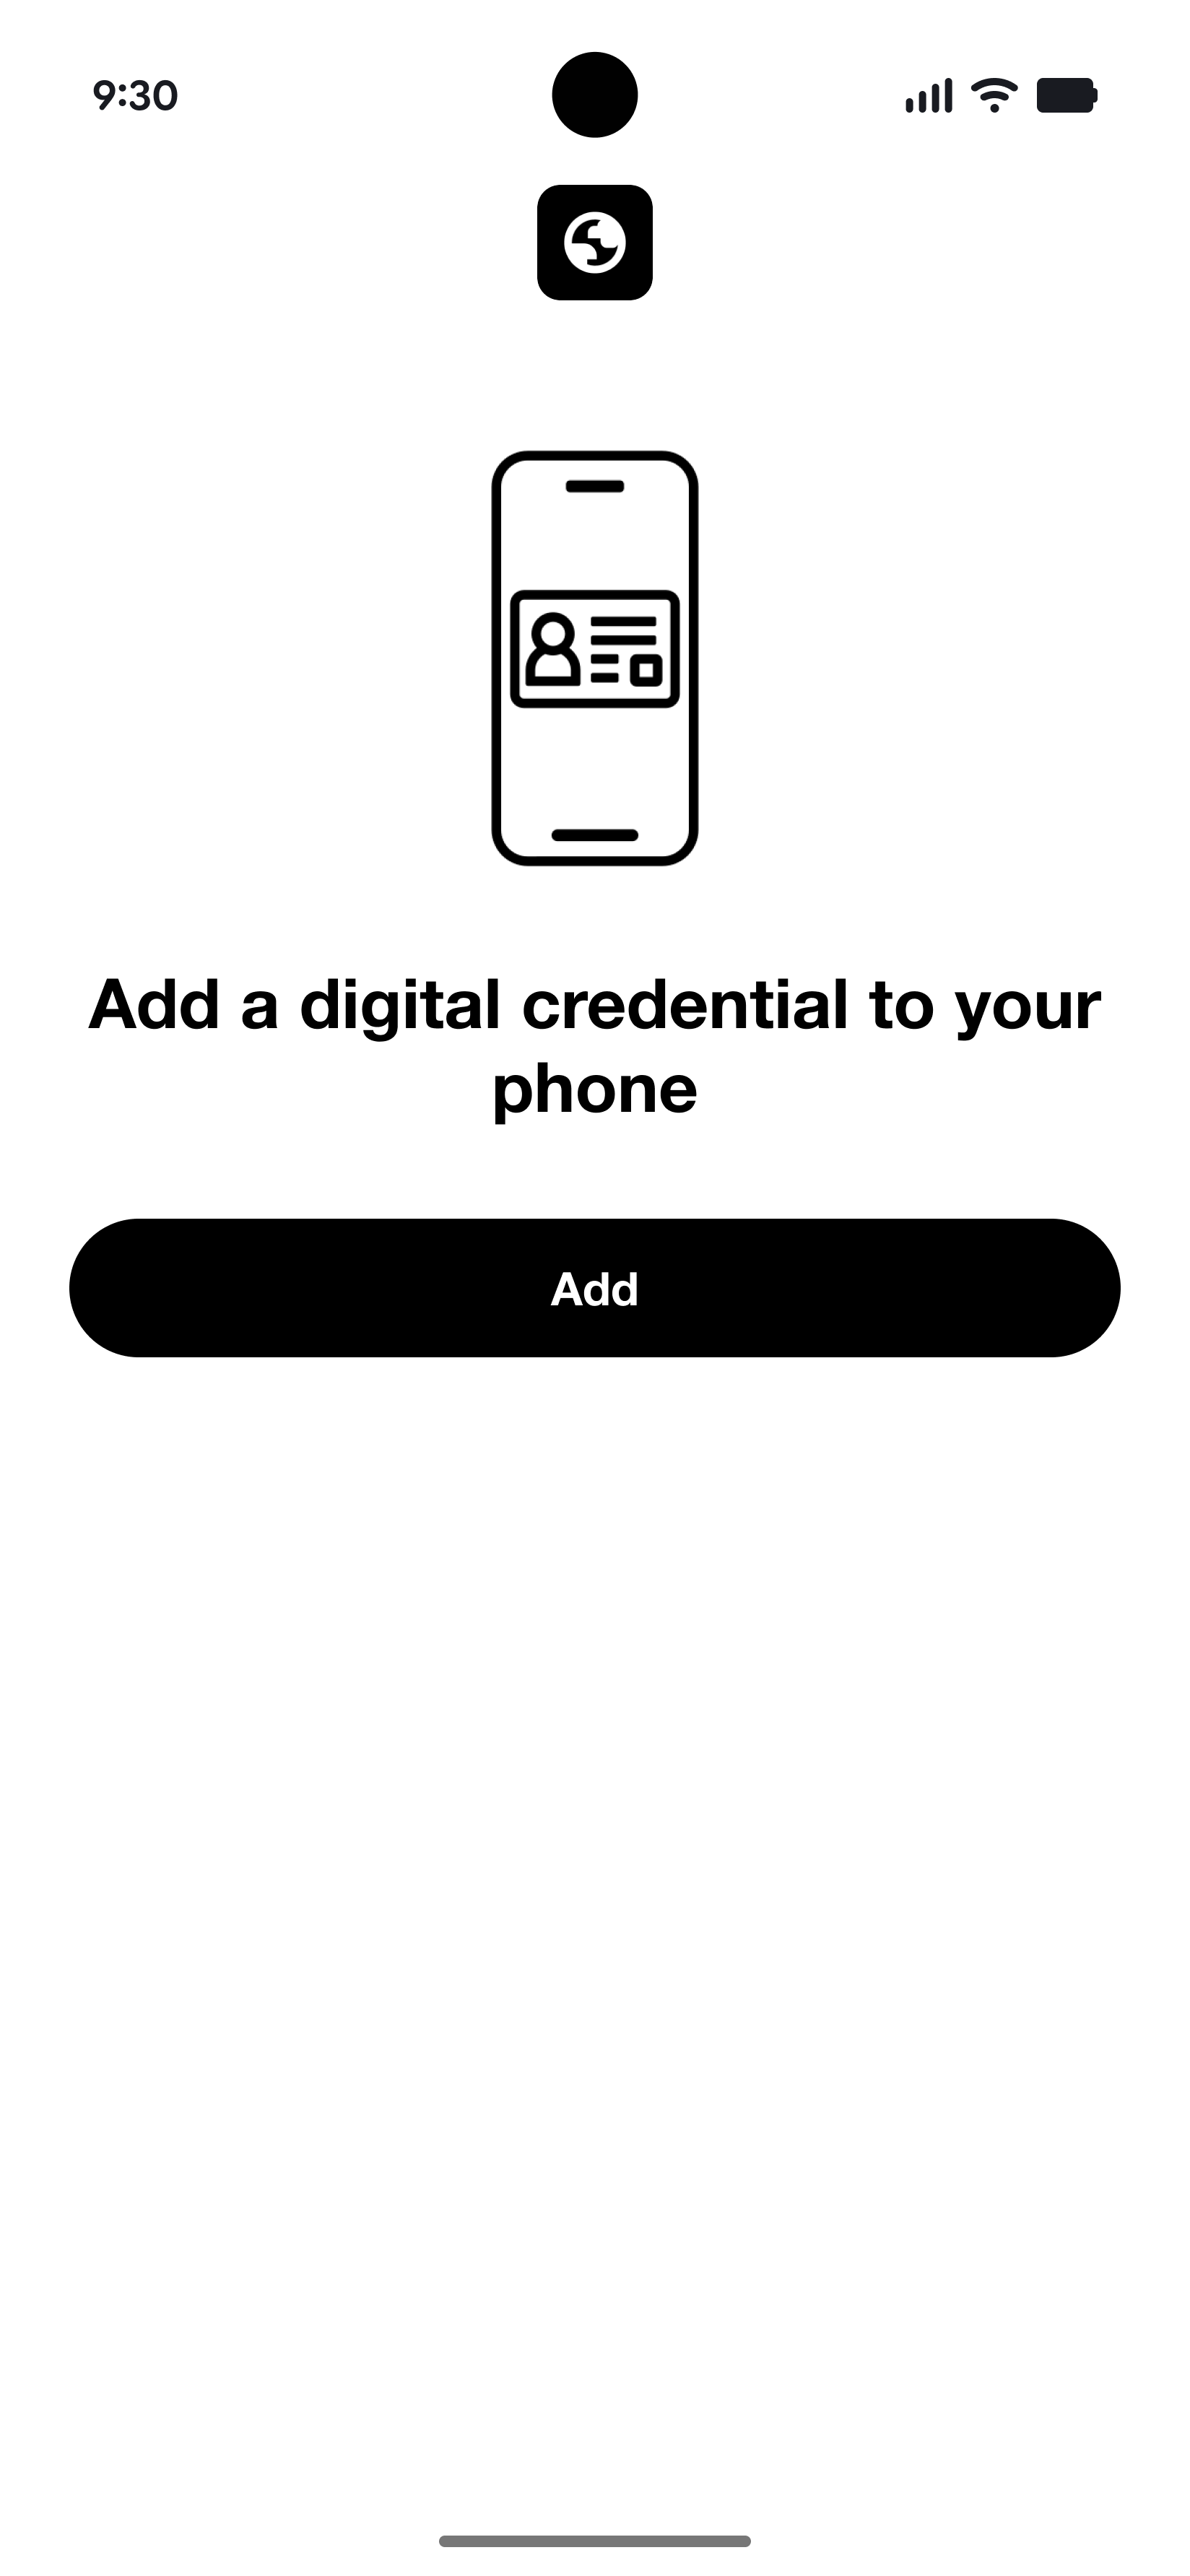
-
Accept Terms
The user accepts the terms and conditions.
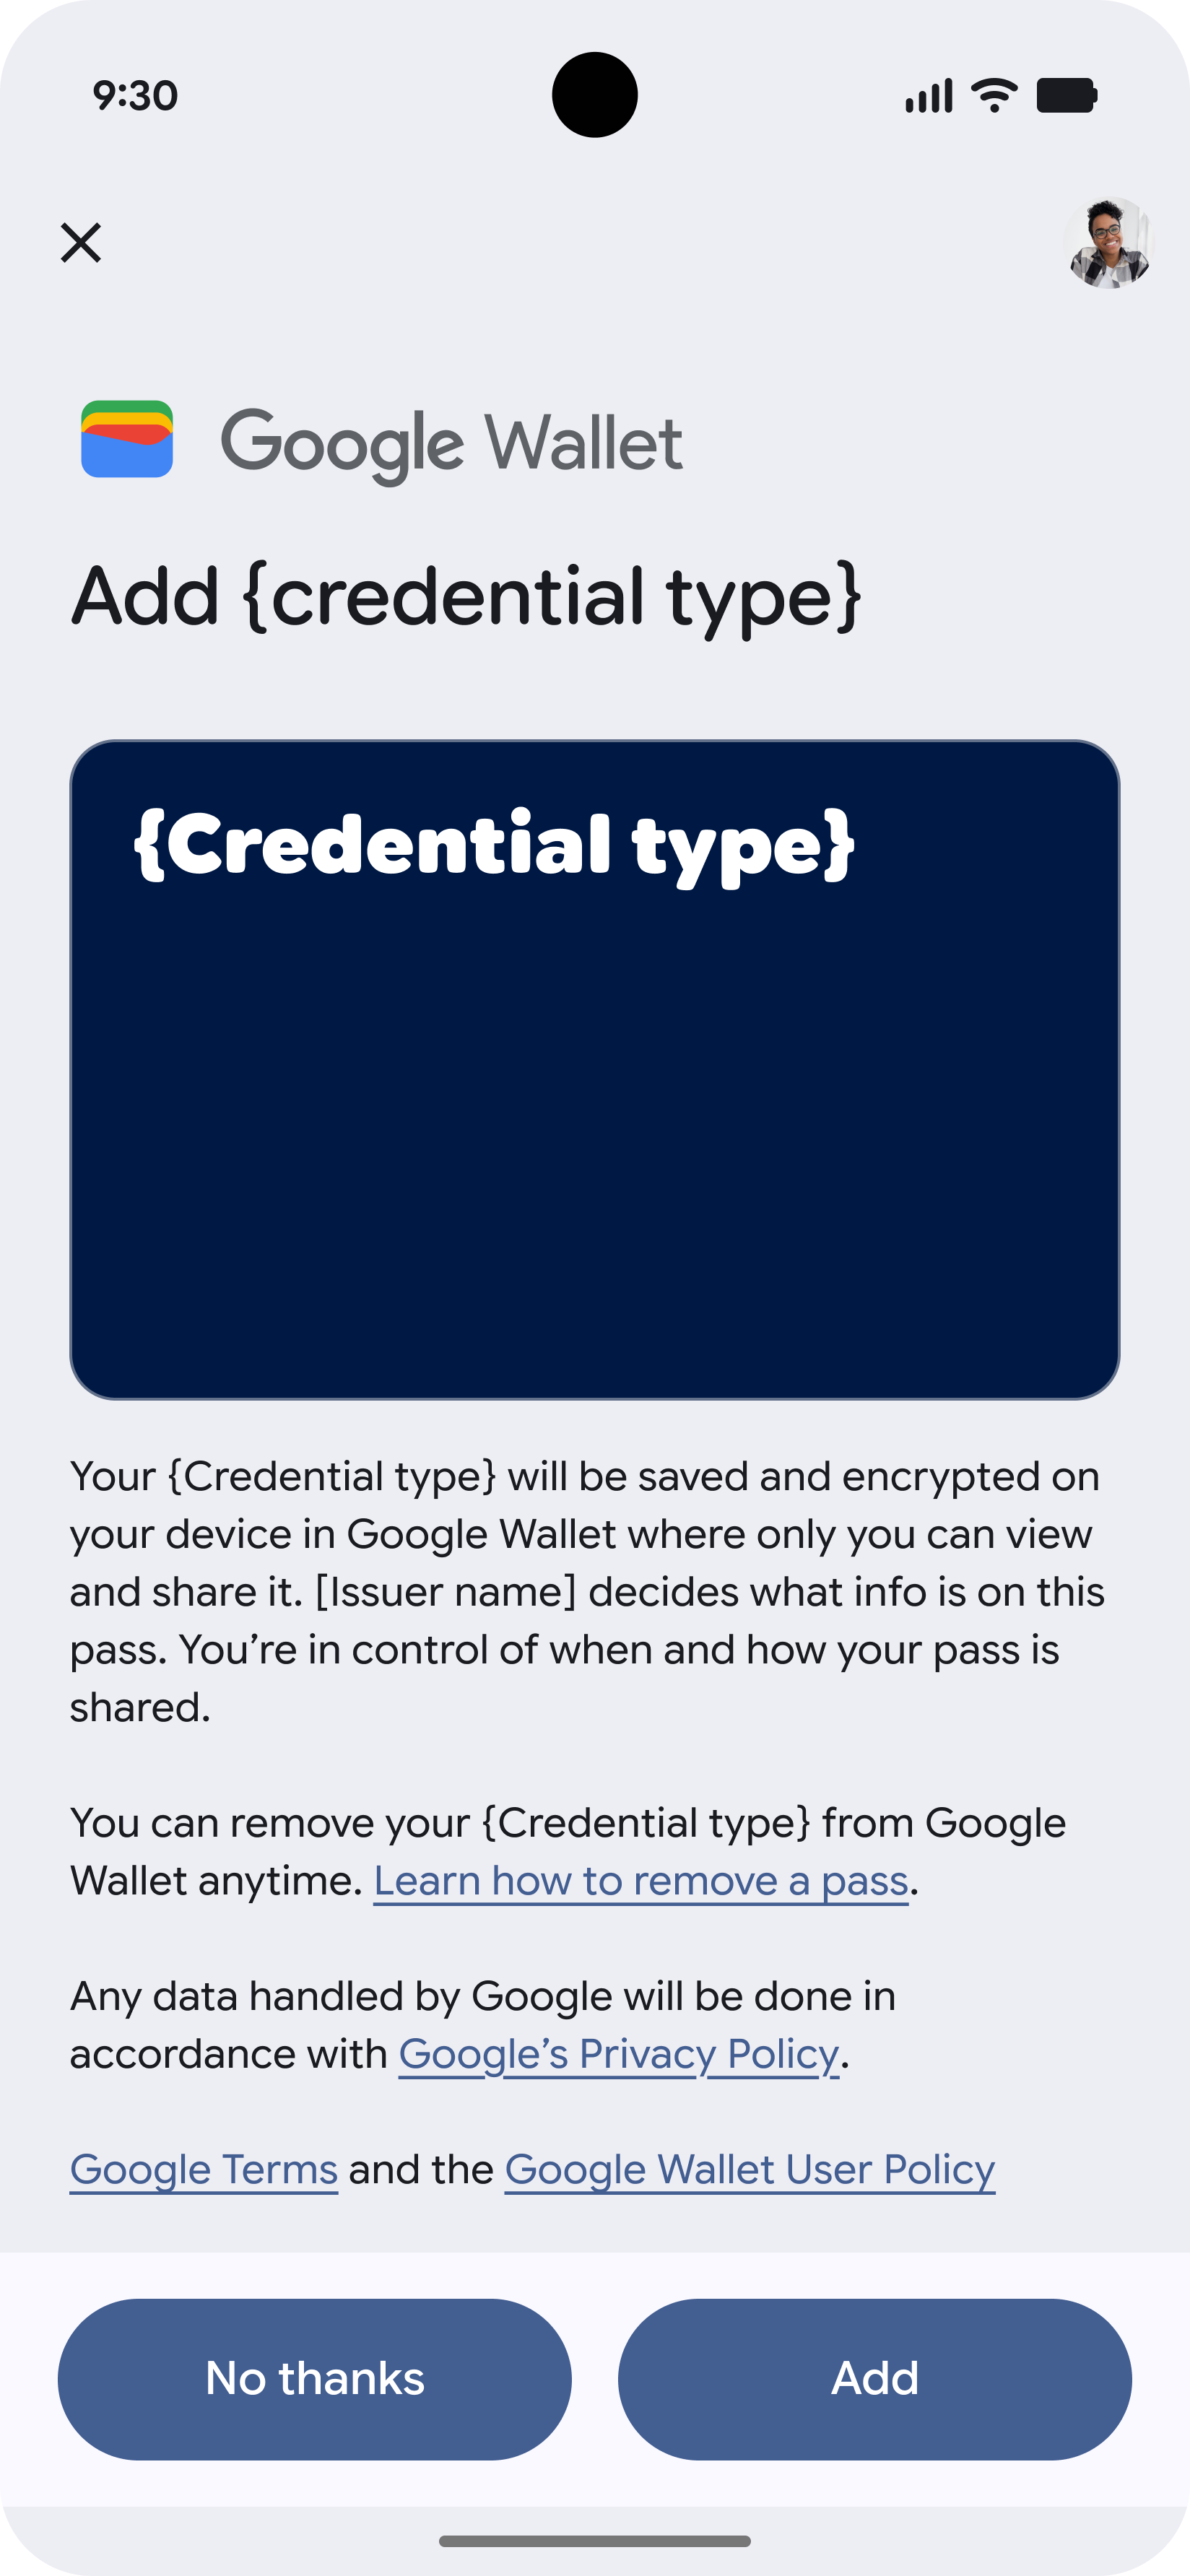
-
Adding Credential
The credential is being added to Wallet.

-
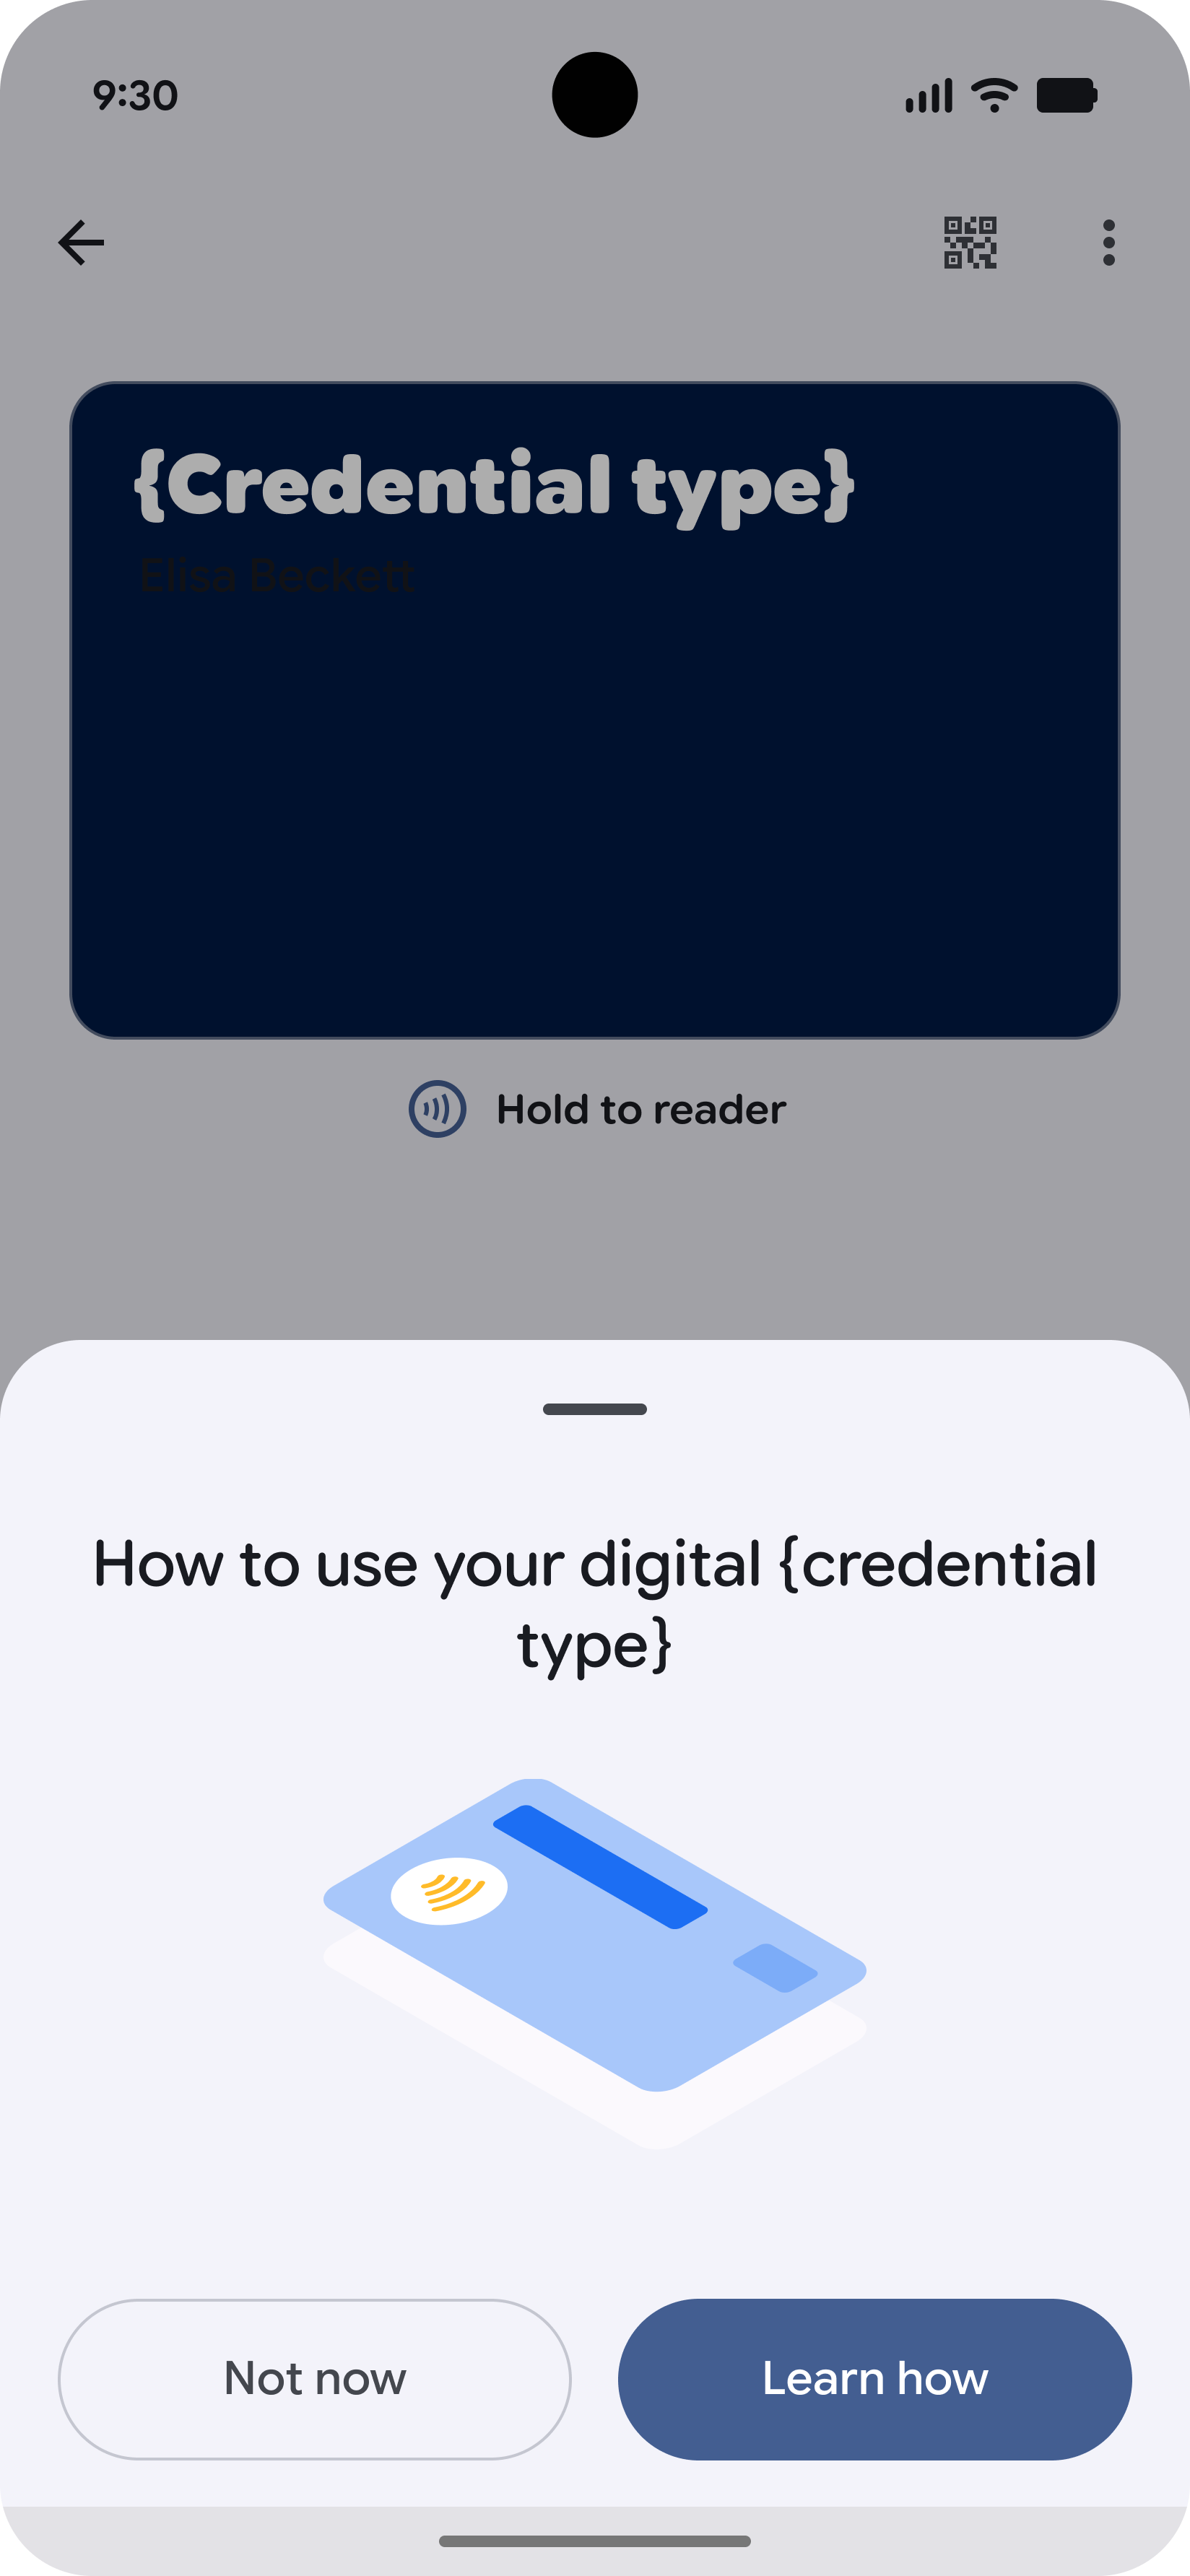
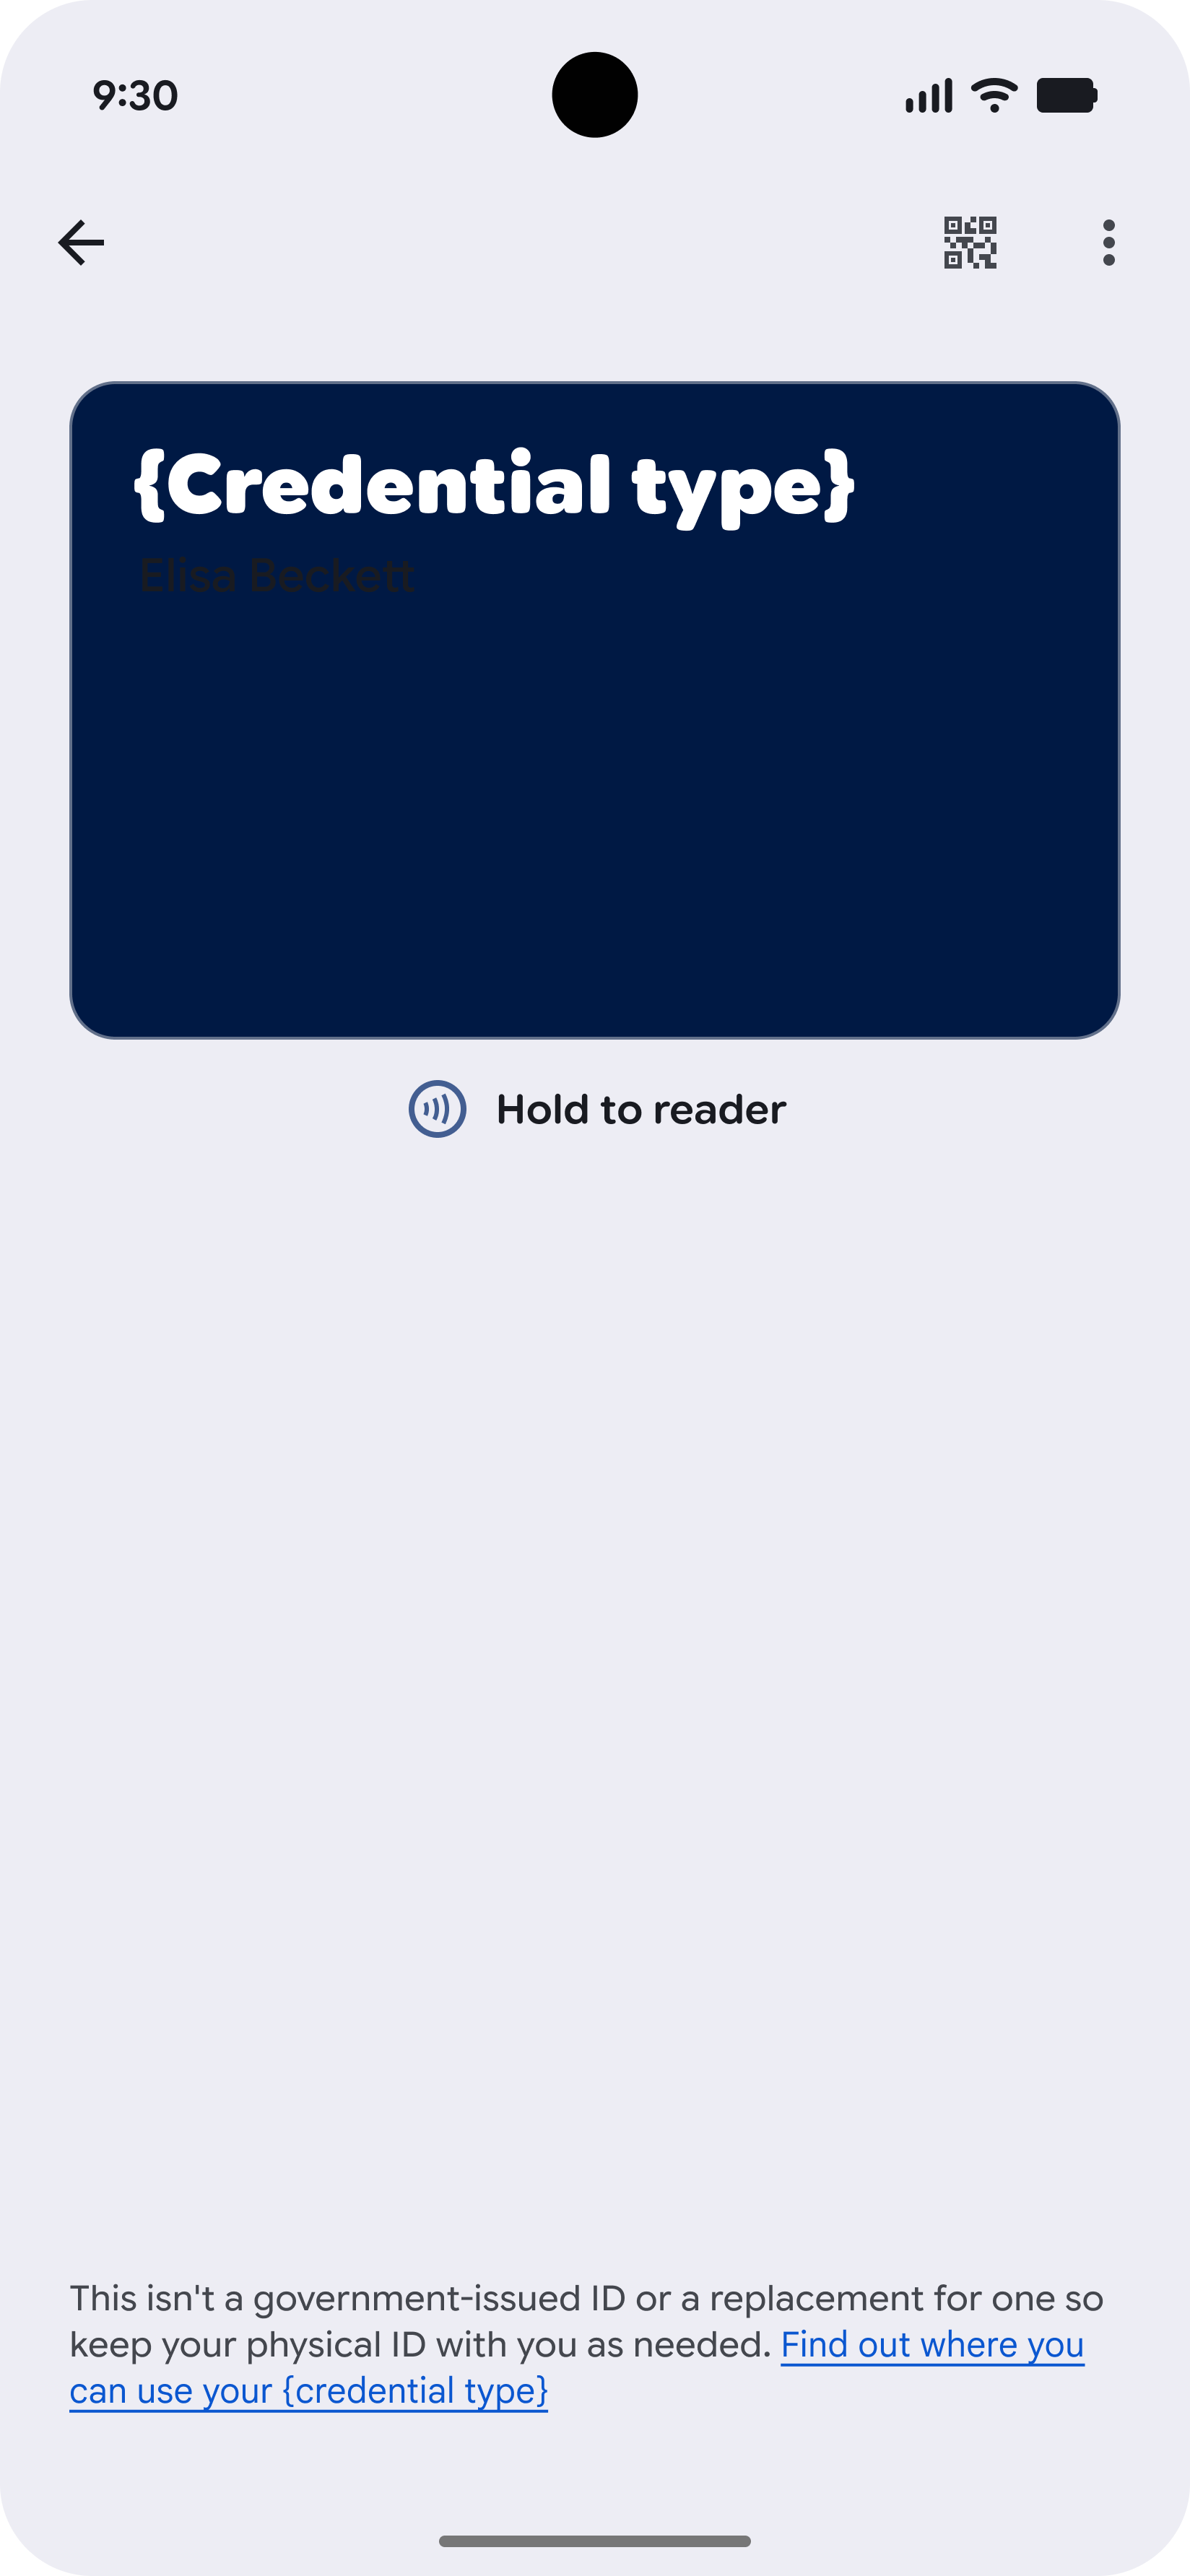
Learn More
The user is presented with educational screens explaining how to use their VDC.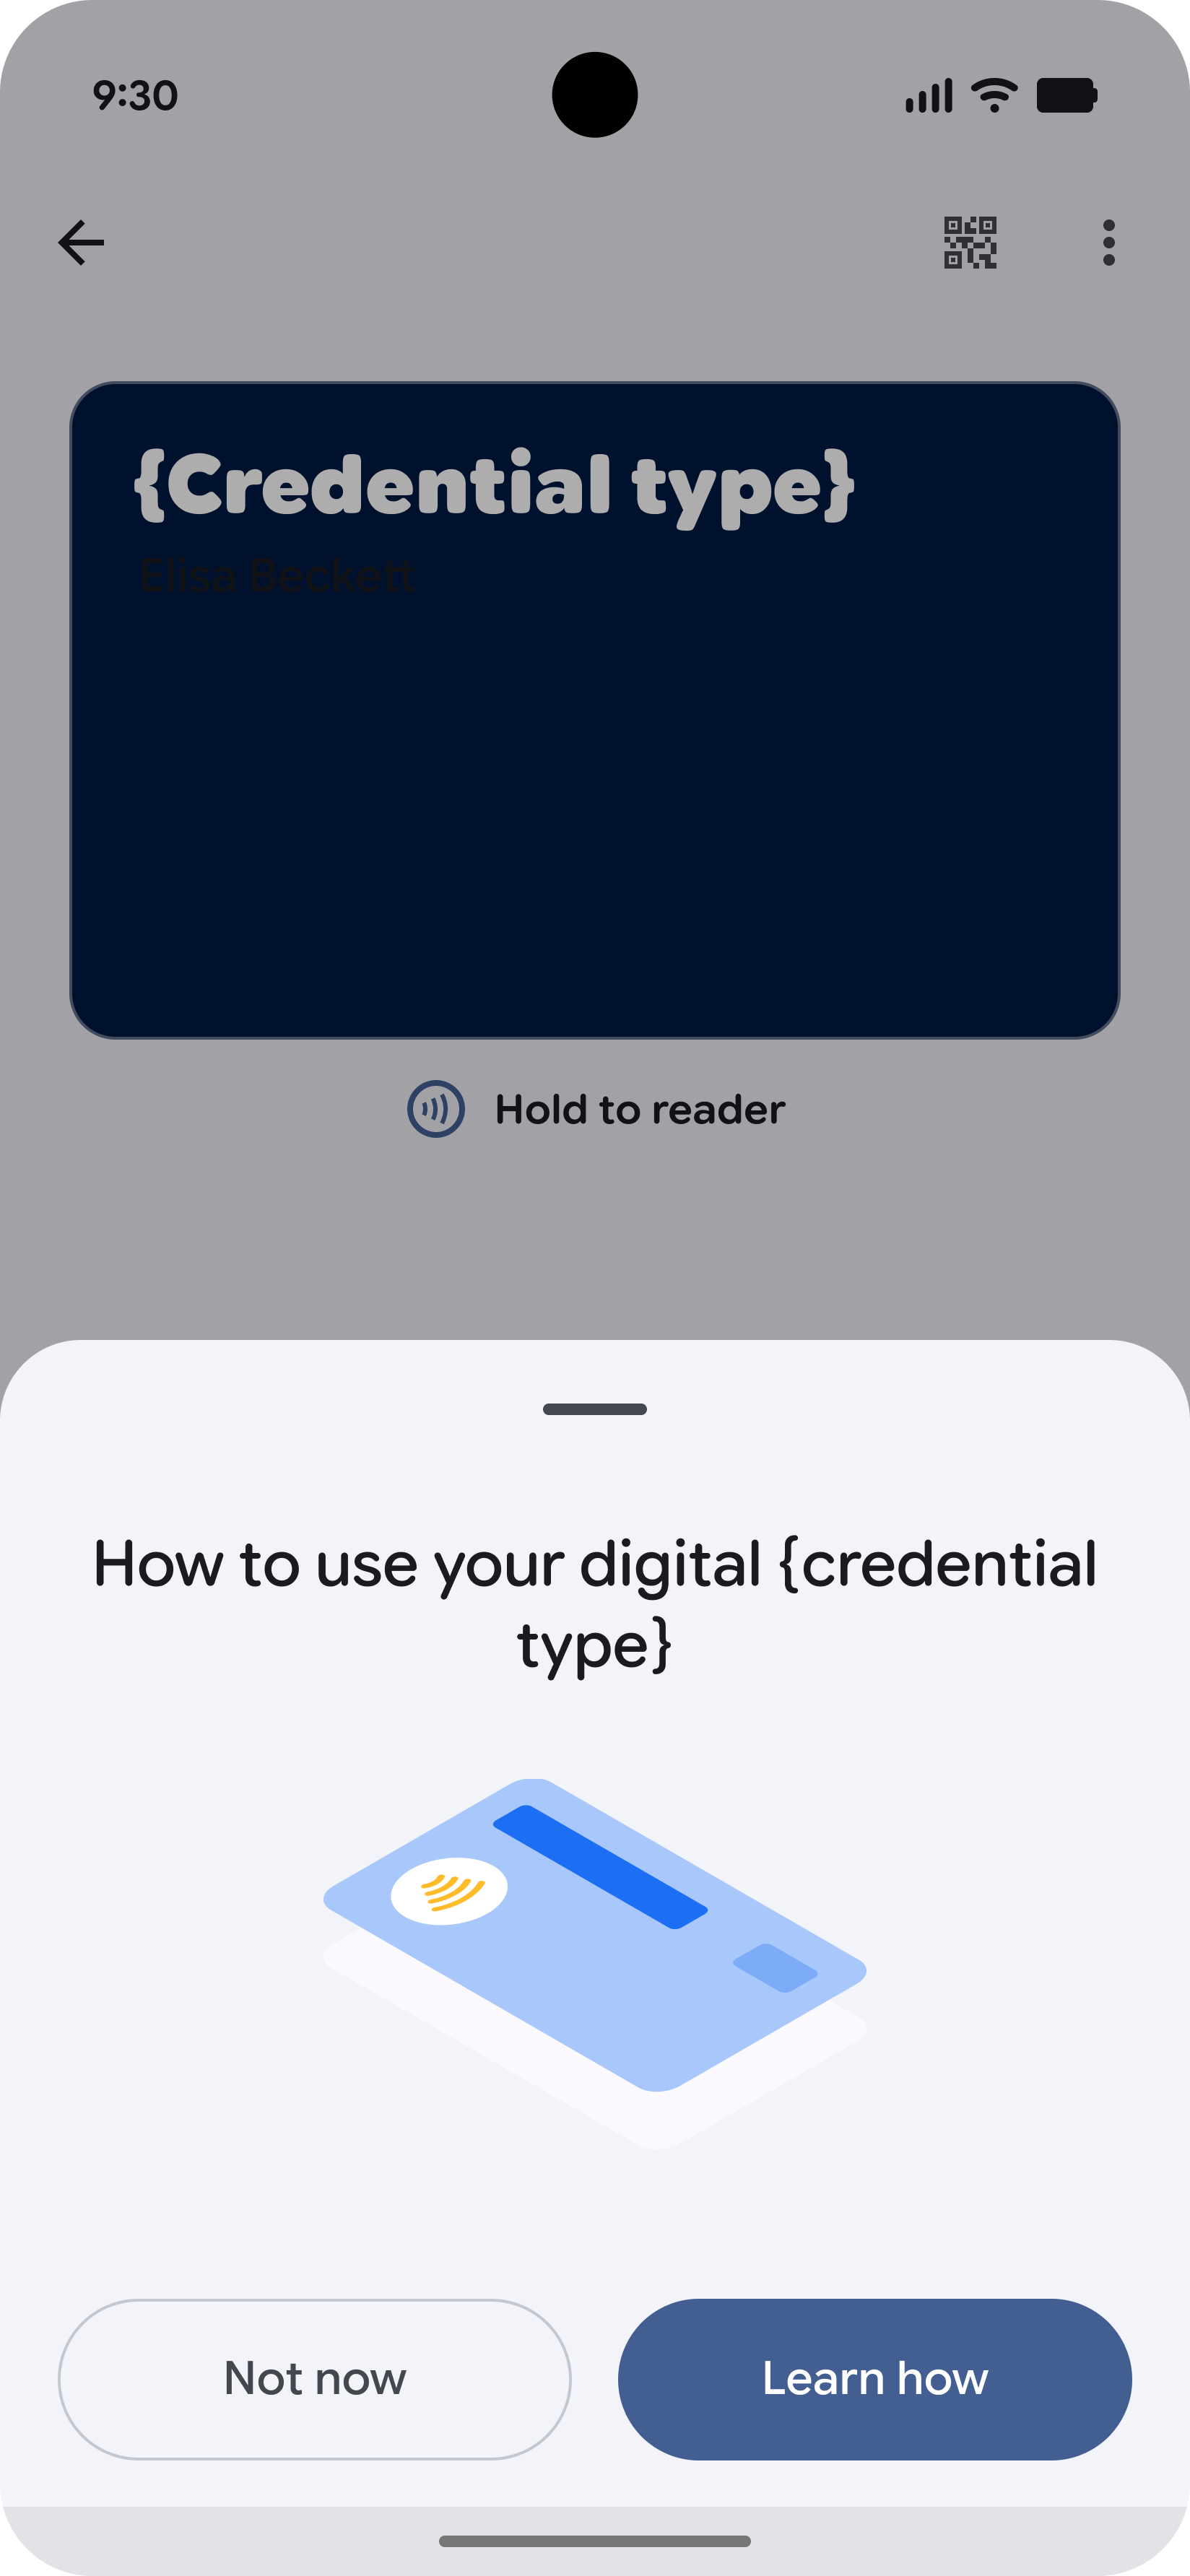

-
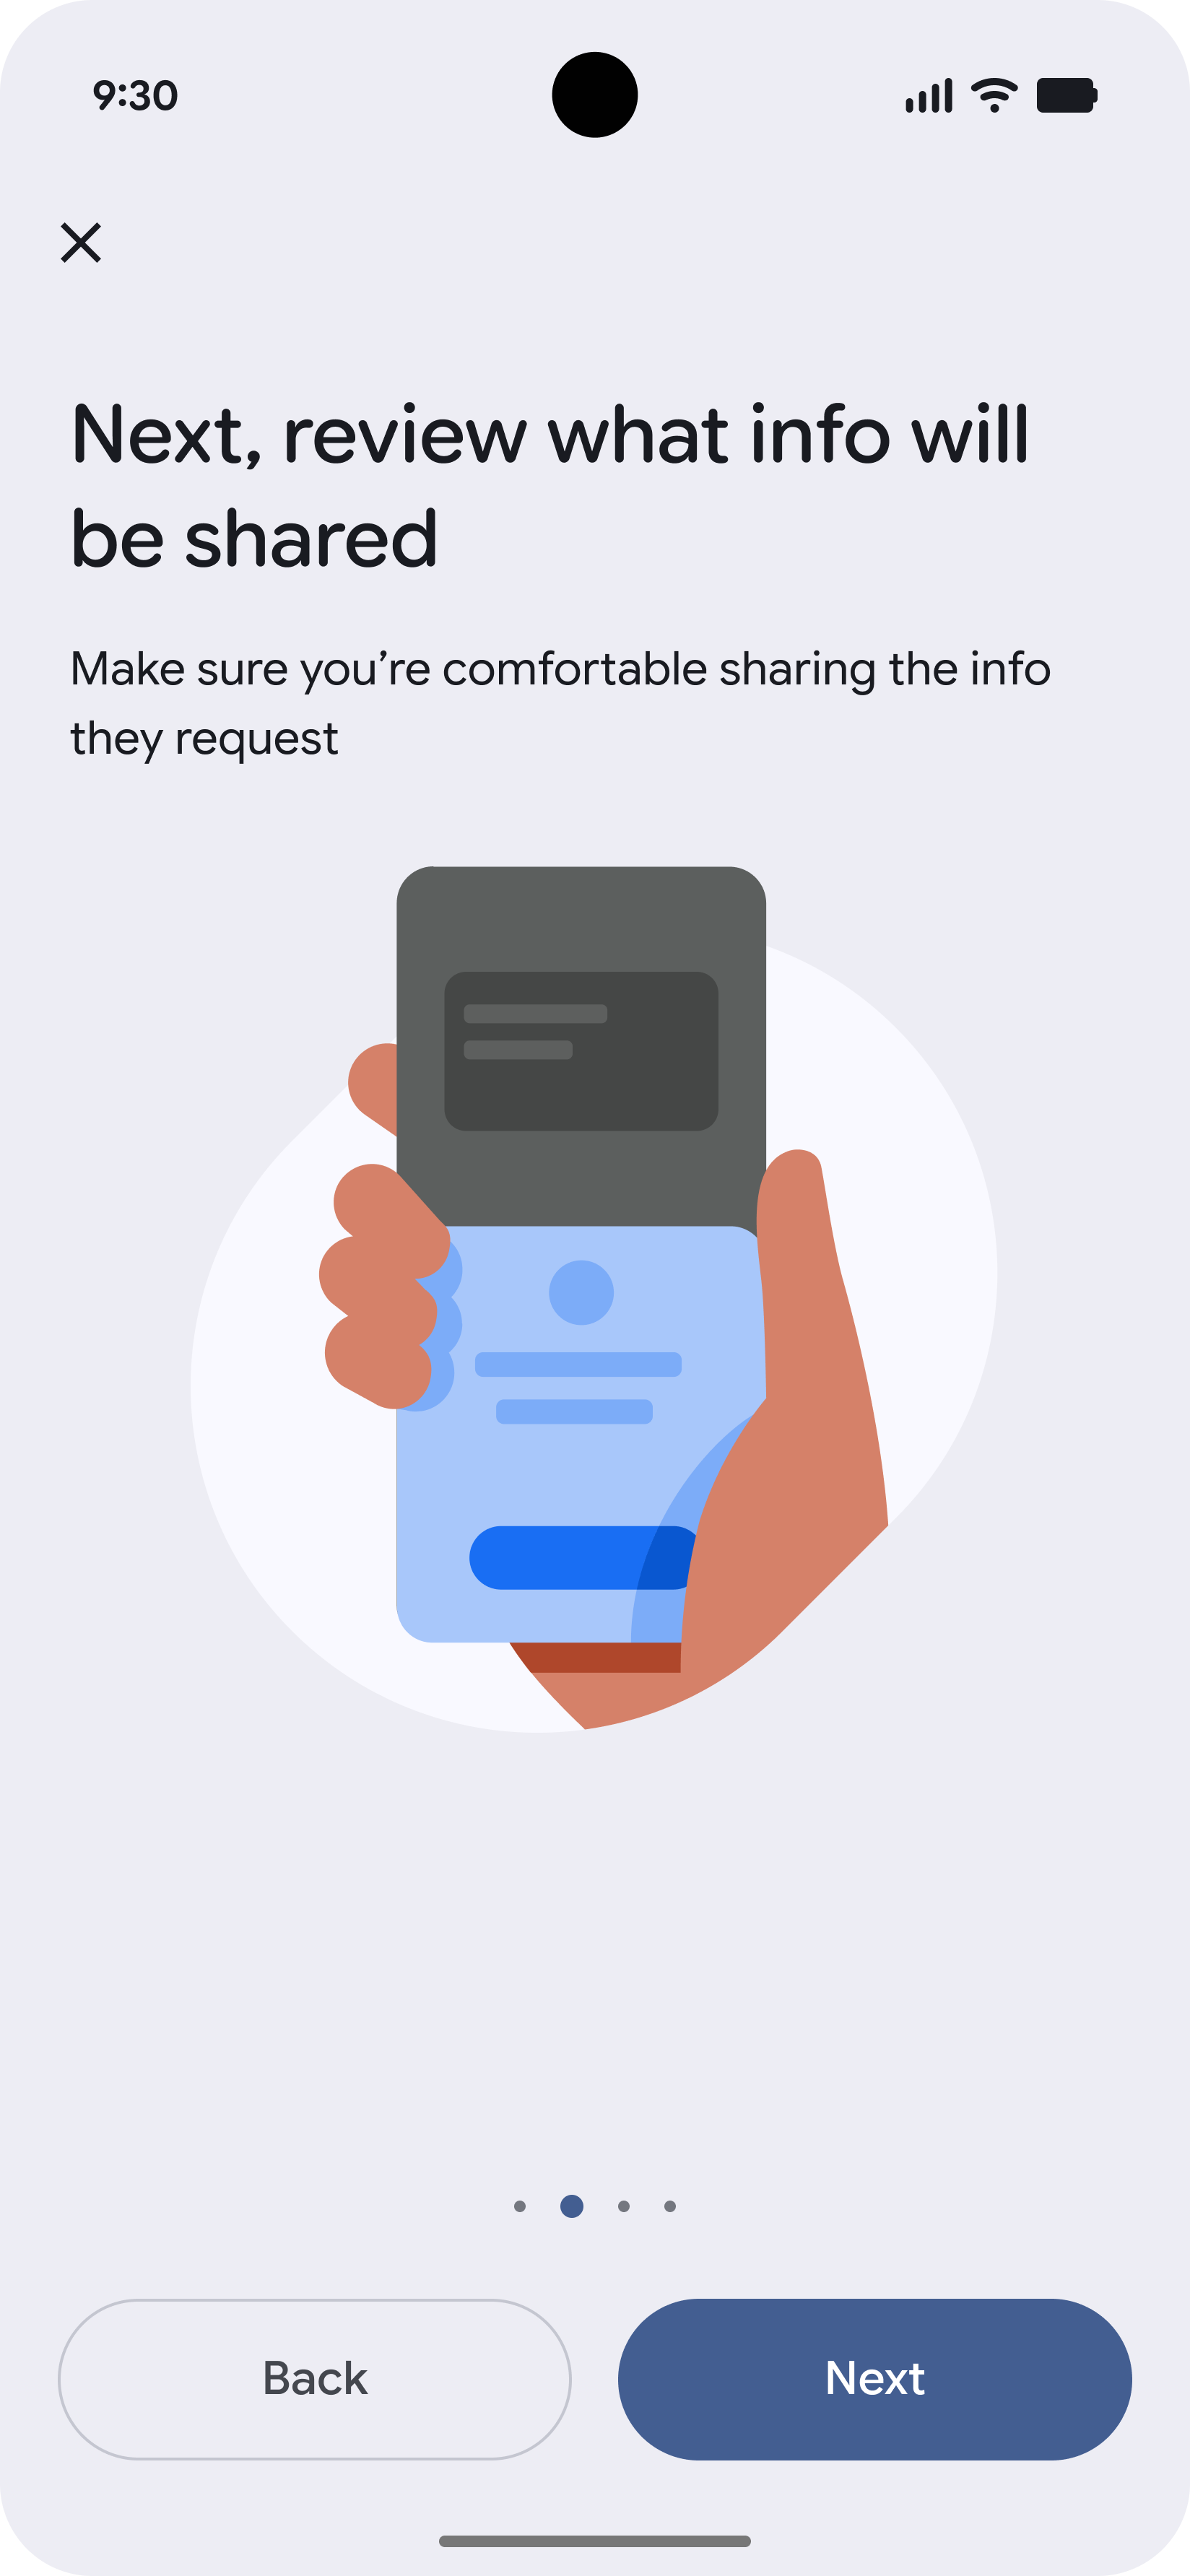
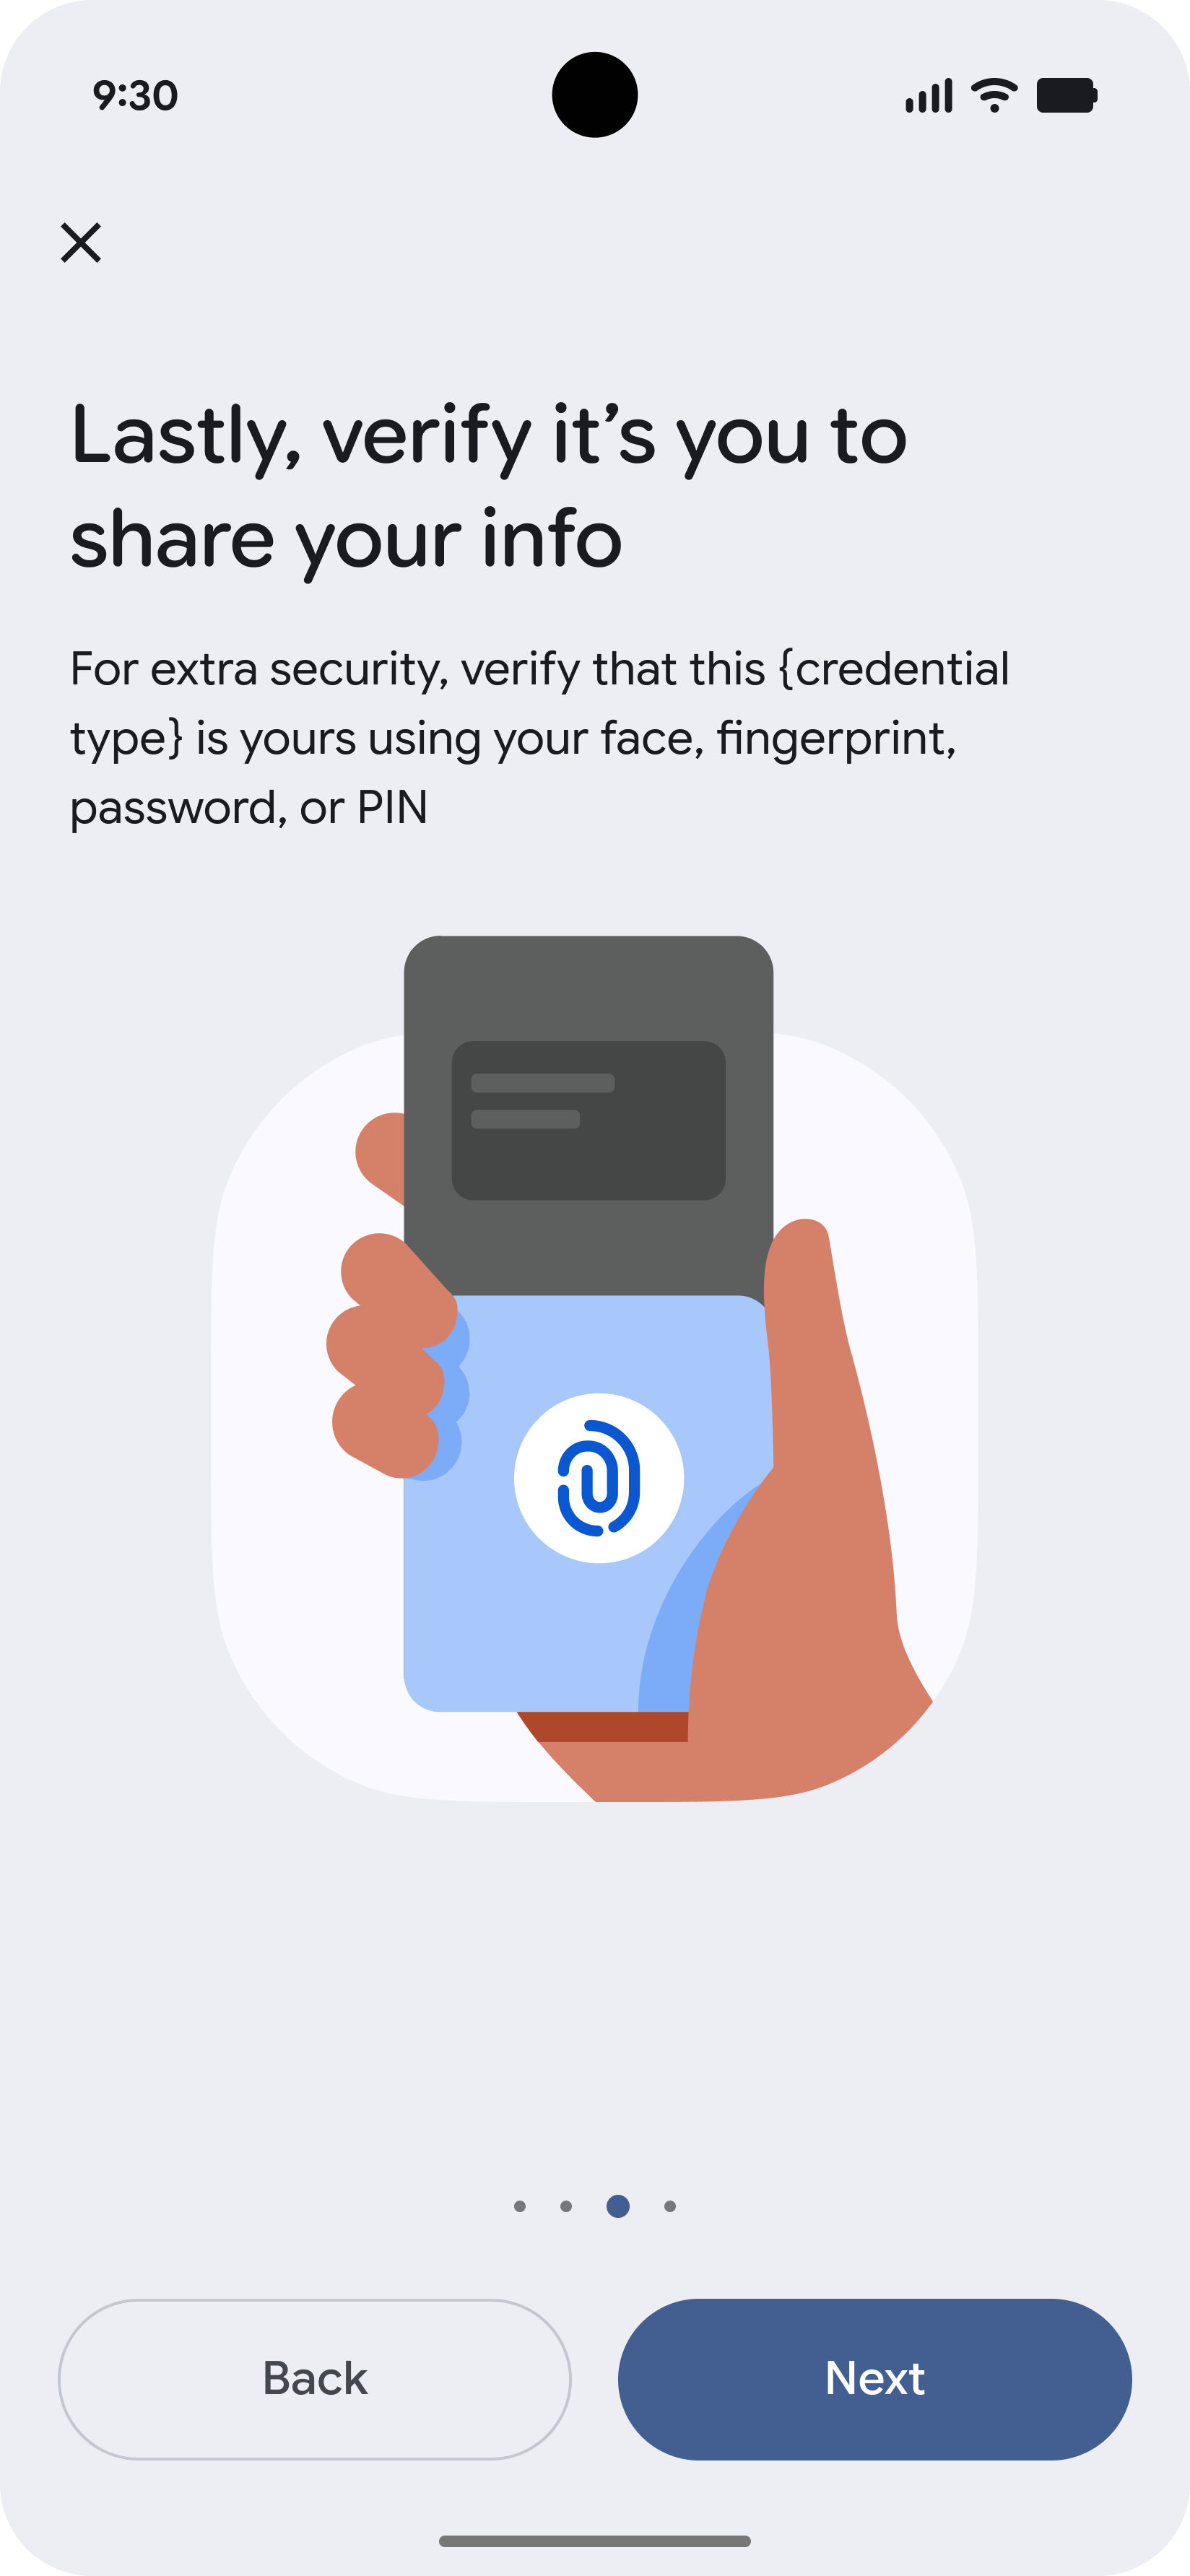
More Information
Additional information about when and where the VDC can be used.

-
Provisioning Complete
The VDC is successfully added and ready to use.