
1. Before you begin
Prerequisites
- You have completed steps 1 and 2 of the Implementation Process.
- You can host the provided Java server with TLS termination by using either Google App Engine or your own solution at the domain configured with Google.
- Java is installed on your environment.
What You'll Learn
- How to verify connectivity by making a valid request to the Google echo API.
- How to receive, decrypt, and parse a request from Google to the Partner Hosted echo API.
2. Setup and Requirements
Download the Application
Download the Java sample code.
Application Structure Overview
The Java sample code integrates with Google's Standard Payments APIs. The sample code project structure contains a outbound directory as well as a inbound directory to reflect the inbound echo request from Google to the partner and the outbound request from the partners implementation to Google.
Both of these directories contain a similar hierarchy in packaging by layer. The three main layers are controller, service, and domain.
- The
controllerpackage contains the APIs. - The
servicepackage is responsible for business logic, base64url encoding, and encryption. - The
domainpackage contains POJOs.
Install Dependencies
Navigate to the project directory and run the following command to install the required dependencies using the Maven Wrapper. If you are using App Engine, you can skip this step.
./mvnw install
3. Configure the Payment Integrator Account ID (PIAID)
The Payment Integrator Account ID (PIAID) is an identifier used to uniquely identify your integrations. You should have received your PIAID from Google by completing the prerequisites before starting this tutorial.
- Navigate to
src/main/resources/application.propertiesin the project directory. - Set the property
payment.integrator.account.idto the PIAID that was issued to you by Google.
payment.integrator.account.id={YOUR_PAYMENT_INTEGRATOR_ACCOUNT_ID}
4. Set the Google hosted echo URL
The Google hosted echo URL differs depending on which API you are integrating with. Visit the API reference documentation for your specific integration type and copy the URL for the diagnostic echo API. After copying the URL, proceed to the next steps to update it in the Java project.
- Navigate to
src/main/resources/application.propertiesin the project directory. - Set the property
API_SERVICE_NAMEto match what is found in the developer documentation.
google.hosted.echo.url=vgw.googleapis.com/gsp/{API_SERVICE_NAME}/echo/
5. Add PGP keys
As shown below, add your PGP keys to enable PGP encryption.
- Navigate to
src/resources/publicKey1.gpgand add the ASCII armored public key to the file. - Navigate to
src/resources/privateKey1.gpgand add the ASCII armored private key to the file. - Navigate to
src/resources/passphrase1.txtand add the secret passphrase to the file.
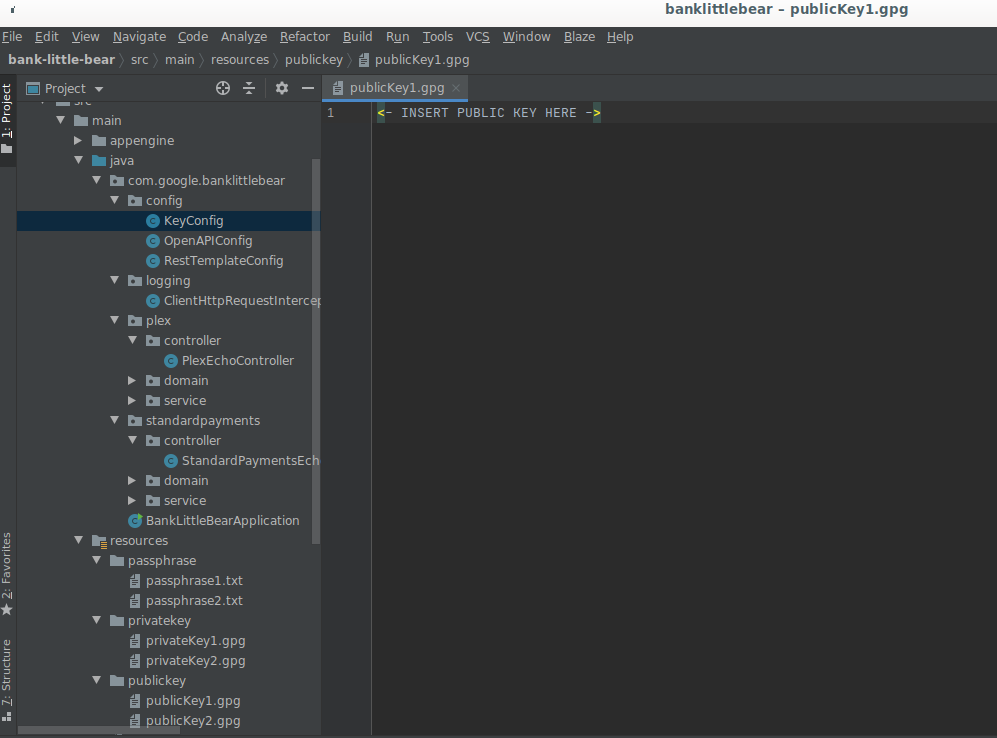
To enable dual key encryption, add your second public key to publicKey2.gpg add your second private key to privateKey2.gpg, and add your second passphrase to passphrase.txt. After ading the second keys, uncomment the commented out lines of code that are responsible for loading the second pair of keys in KeyConfig.addPrivateKeyAndPassphrase(...) and KeyConfig.addPublicKeys(...).
Great, you are all set to run the application!
6. Run the Application
To start the application, execute the following command.
$ ./mvnw spring-boot:run
If you are running a pre-configured App Engine instance, run this command instead.
$ gcloud app deploy
By default, the server will listen on port 8080. To view the Open API Swagger UI, navigate to the URL below.
https://{APPLICATION_HOST}/swagger-ui.html
7. Test Google Standard Payments Outbound API connectivity
Now that the application is running, it is time to test connectivity with the Google echo API.
Either Swagger UI or the CLI can be used to run the following command to initiate a call from your instance of the sample application to Google's servers. The sample application echo API accepts a POST request in plaintext. After receiving the request, a subsequent request is sent to the Google-hosted API.
Send a request through the command line
Replace the HOSTNAME with the name of your server host before executing the command.
$ curl -X POST -H 'Content-Type: text/plain' -d 'Hello from Partner Bank!' https://{HOSTNAME}/echo
Send a request in Swagger UI
To send a request with Swagger UI, go to https://{APPLICATION_HOST}/swagger-ui and set the client message in the request body. Click the ‘Execute' button when you are ready to send the request to Google.
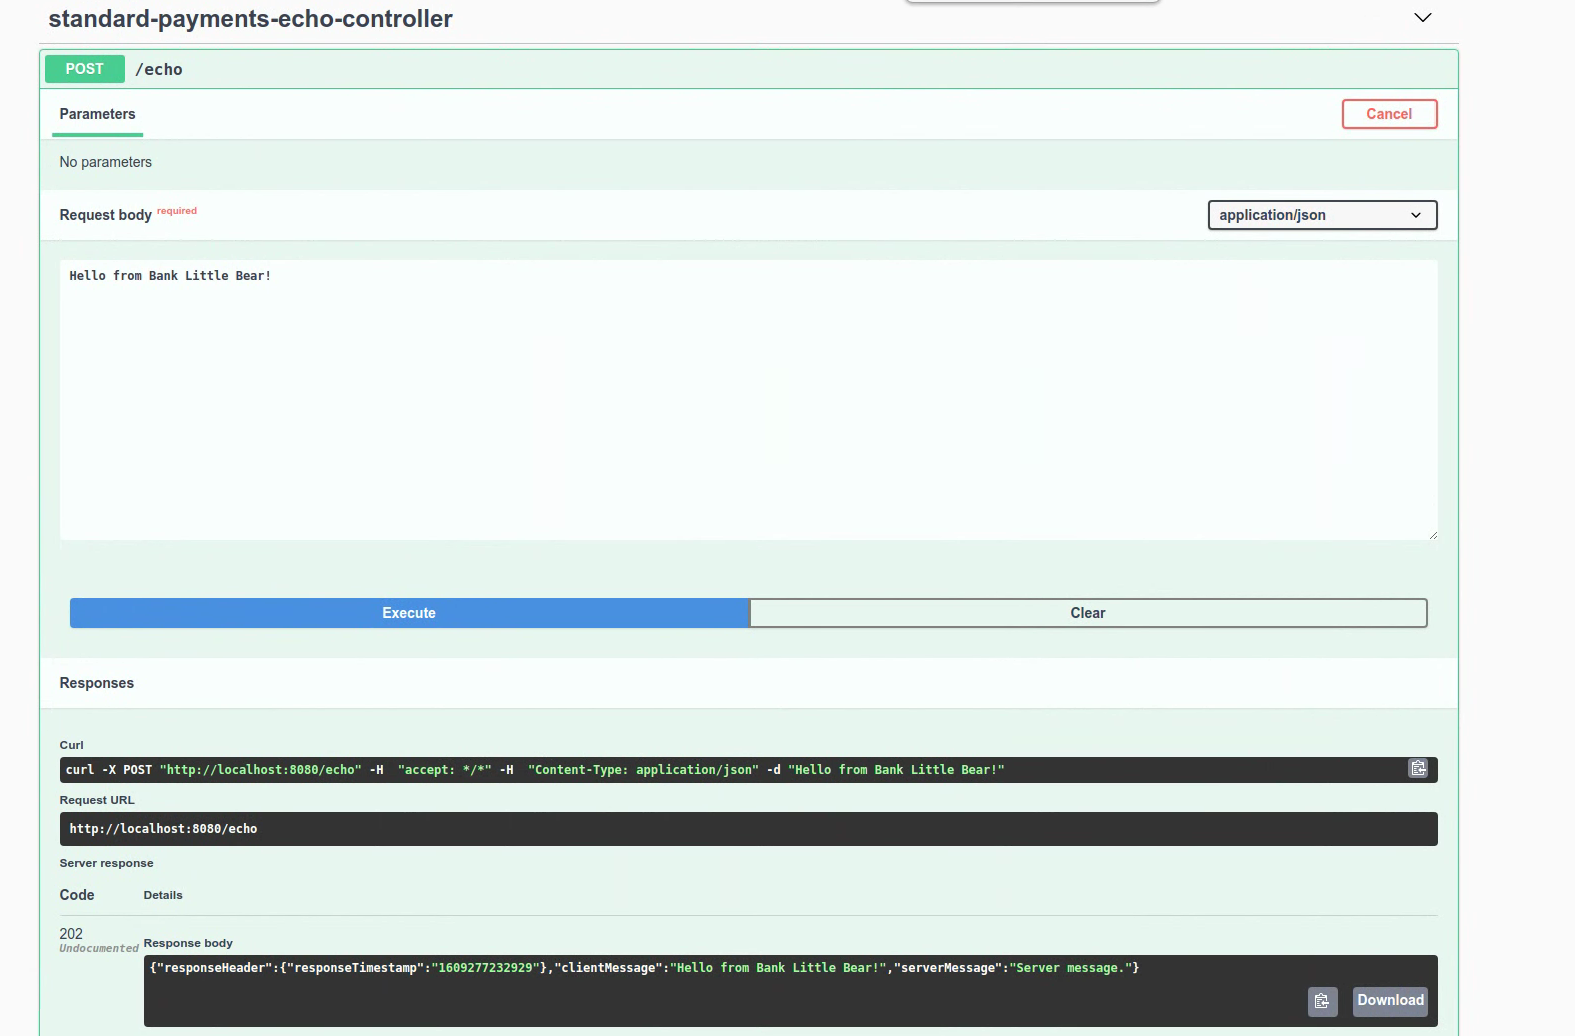
Receive the response
A successful API request will result in the following response from Google.
{
   "responseHeader":{
      "responseTimestamp":"1606710026723"
   },
   "clientMessage":"Hello from  Bank Little Bear!",
   "serverMessage":"Server message."
}
Step-by-step
Now that a request has been successfully sent by your server, let's review how that worked.
Build the request
createEchoRequestWithMessage in OutboundEchoService builds the echo request sent to Google's API.
String jsonEchoRequestMessage = objectMapper.writeValueAsString(createEchoRequestWithMessage(message));
The generated request includes the clientMessage, as well as several default value fields.
{
   "requestHeader":{
      "protocolVersion":{
         "major":1,
         "minor":0,
         "revision":0
      },
      "requestId":"ddfe0fd0-ffdc-4fcf-991a-f0611ec83970",
      "requestTimestamp":"1606715389040"
   },
   "clientMessage":"Hello from Bank Little Bear!"
}
Base64url encode and encrypt the request
All requests are encrypted and base64url encoded. In this sample, PgpEncryptor.java contains helper methods that perform encryption and decryption as well as base64url encoding for you. The below method encodes the request and performs encryption using Google's public key.
String encryptedMessage = pgpEncryptor.encrypt(jsonEchoRequestMessage);
Send the POST request
The encrypted message is sent via a POST request.
postStandardPaymentsEchoApi(encryptedMessage)
Decrypt and base64url decode the response and return the response
Google's successful response is base64url encoded and encrypted, so it needs to be decoded and decrypted as well before it can be returned in plaintext. The decrypt method base64url decodes and decrypts the response.
String decryptedData =
     pgpEncryptor.decrypt(postStandardPaymentsEchoApi(encryptedMessage).getBody());
Return the response
The response is returned with a 202 HTTP Response Status Code.
return new ResponseEntity<>(decryptedData, HttpStatus.ACCEPTED);
8. Test Inbound API connectivity
To test inbound echo API Connectivity, Google will send a request to the Partner Hosted echo API. When you are ready, please work with your Google point of contact to trigger this request from Google.
The echo test is complete when you are able to read the inbound echo request from Google and respond with a valid echo response.
Step-by-step
Now that a request has been successfully received and handled by your server, let's review how that worked.
Base64url decode and decrypt the request
When a request is received, PgpEncryptor.java will call decrypt which will base64url decode and decrypt the request.
String decryptedRequest = pgpEncryptor.decrypt(echoRequest);
Receive the request
Google sent a message payload that is similar to the following once it was decoded and decrypted.
{
  "requestHeader": {
    "protocolVersion": {
      "major": 1
    },
    "requestId": "G1MQ0YERJ0Q7LPM",
    "requestTimestamp": {
      "epochMillis":1481899949606
    },
    "paymentIntegratorAccountId": "abcdef123456"
  },
  "clientMessage": "echo Me"
}
Build the response
Once you have successfully read the inbound echo request, you are ready to build the response.
private EchoResponse convertEchoRequestStringToEchoResponse(String decryptedRequest);
The response includes the message from Google, as well as a timestamp and message from the server.
{
  "responseHeader": {
    "responseTimestamp": {
      "epochMillis":1481899950236
    }
  },
  "clientMessage": "echo Me",
  "serverMessage": "Debug ID 12345"
}
Base64url encode and encrypt the response
Since all requests are encrypted and base64url encoded, PgpEncryptor.java calls encrypt to base64url encode and encrypt the request.
pgpEncryptor.encrypt(echoResponseString)
Return the response
The response is returned with a 202 HTTP Response Status Code.
return new ResponseEntity<>(pgpEncryptor.encrypt(echoResponseString), HttpStatus.ACCEPTED);
9. Congratulations!
In this codelab, you've successfully established connectivity with the Payments API!