
1. Before you begin
This codelab teaches you how to create a 3D maps app in SwiftUI using the Maps 3D SDK for iOS.

You will learn:
- How to control the camera to view locations and fly around the map.
- How to add markers and models
- How to draw lines and polygons
- How to handle user clicks on Place markers.
Prerequisites
- A Google Console project with billing enabled
- An API key, optionally restricted to the Maps 3D SDK for iOS.
- Basic knowledge of iOS development with SwiftUI.
What you'll do
- Set up Xcode and bring in the SDK using Swift Package Manager
- Configure your app to use an API key
- Add a basic 3D Map to your app
- Control the camera to fly to and around specific locations
- Add markers, lines, polygons and models to your map
What you'll need
- Xcode 15 or later.
2. Get set up
For the following enablement step, you'll need to enable the Maps 3D SDK for iOS.
Set up Google Maps Platform
If you do not already have a Google Cloud Platform account and a project with billing enabled, please see the Getting Started with Google Maps Platform guide to create a billing account and a project.
- In the Cloud Console, click the project drop-down menu and select the project that you want to use for this codelab.

- Enable the Google Maps Platform APIs and SDKs required for this codelab in the Google Cloud Marketplace. To do so, follow the steps in this video or this documentation.
- Generate an API key in the Credentials page of Cloud Console. You can follow the steps in this video or this documentation. All requests to Google Maps Platform require an API key.
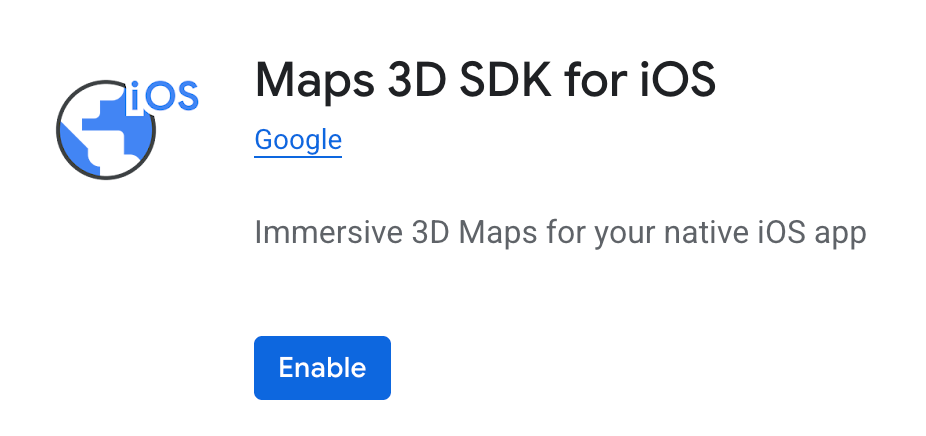
Enable the Maps 3D SDK for iOS
You can find the Maps 3D SDK for iOS by using the Google Maps Platform > APIs and Services menu link in the console.
Click Enable to enable the API on your selected project.
3. Create a basic SwiftUI app
Note: You can find solution code for each step in the codelab sample app repo on GitHub .
Create a new app in Xcode.
Code for this step can be found in the folder GoogleMaps3DDemo on GitHub.
Open Xcode and create a new app. Specify SwiftUI.
Call your app GoogleMaps3DDemo, with a package name com.example.GoogleMaps3DDemo.
Import the GoogleMaps3D library to your project
Add the SDK to your project using Swift Package Manager.
In your Xcode project or workspace, go to File > Add Package Dependencies. Enter https://github.com/googlemaps/ios-maps-3d-sdk as the URL, press Enter to pull in the package, and click "Add Package".
From the Choose Package Products window, verify that GoogleMaps3D will be added to your designated main target. Once complete, click Add Package.
To verify your installation, navigate to your target's General pane. In Frameworks, Libraries, and Embedded Content, you should see the installed packages. You can also view the Package Dependencies section of Project Navigator to verify the package and its version.
Add your API key
You can hard code your API key into the app, but this is not good practice. Adding a config file lets you keep your API Key secret and avoids checking it into source control.
Create a new config file in the project root folder
In Xcode, make sure you are viewing the project explorer window. Right-click the project root and select "New File from Template". Scroll until you see "Configuration Settings File". Select this and click "Next". Name the file Config.xcconfig and make sure the project root folder is selected. Click "Create" to create the file.
In the editor, add a line to the config file as follows: MAPS_API_KEY = YOUR_API_KEY
Replace YOUR_API_KEY with your API key.
Add this setting to Info.plist.
To do this, select the project root and click the "Info" tab.
Add a new property called MAPS_API_KEY with a value of $(MAPS_API_KEY).
The sample app code has an Info.plist file that specifies this property.
Add a map
Open the file called GoogleMaps3DDemoApp.swift. This is the entry point and main navigation for your app.
It calls ContentView() which shows a Hello World message.
Open ContentView.swift in the editor.
Add an import statement for GoogleMaps3D.
Delete the code inside the var body: some View {} code block. Declare a new Map() inside the body.
The minimum configuration you need to initialize a Map is a MapMode. This has two possible values:
.hybrid- satellite images with roads and labels, or.satellite- satellite images only.
Choose .hybrid.
Your ContentView.swift file should look like this.
import GoogleMaps3D
import SwiftUI

@main
struct ContentView: View {
    var body: some View {
      Map(mode: .hybrid)
    }
}
Set your API key.
The API key must be set before the Map initializes.
You can do this by setting Map.apiKey in the init() event handler of any View that contains a Map. You can also set it in GoogleMaps3DDemoApp.swift before it calls ContentView().
In GoogleMaps3DDemoApp.swift, set Map.apiKey in the onAppear event handler of the WindowGroup.
Fetch your API key from the config file
Use Bundle.main.infoDictionary to access the MAPS_API_KEY setting you created in your config file.
import GoogleMaps3D
import SwiftUI

@main
struct GoogleMaps3DDemoApp: App {
  var body: some Scene {
    WindowGroup {
      ContentView()
    }
    .onAppear {
      guard let infoDictionary: [String: Any] = Bundle.main.infoDictionary else {
        fatalError("Info.plist not found")
      }
      guard let apiKey: String = infoDictionary["MAPS_API_KEY"] as? String else {
        fatalError("MAPS_API_KEY not set in Info.plist")
      }
      Map.apiKey = apiKey
    }
  }
}
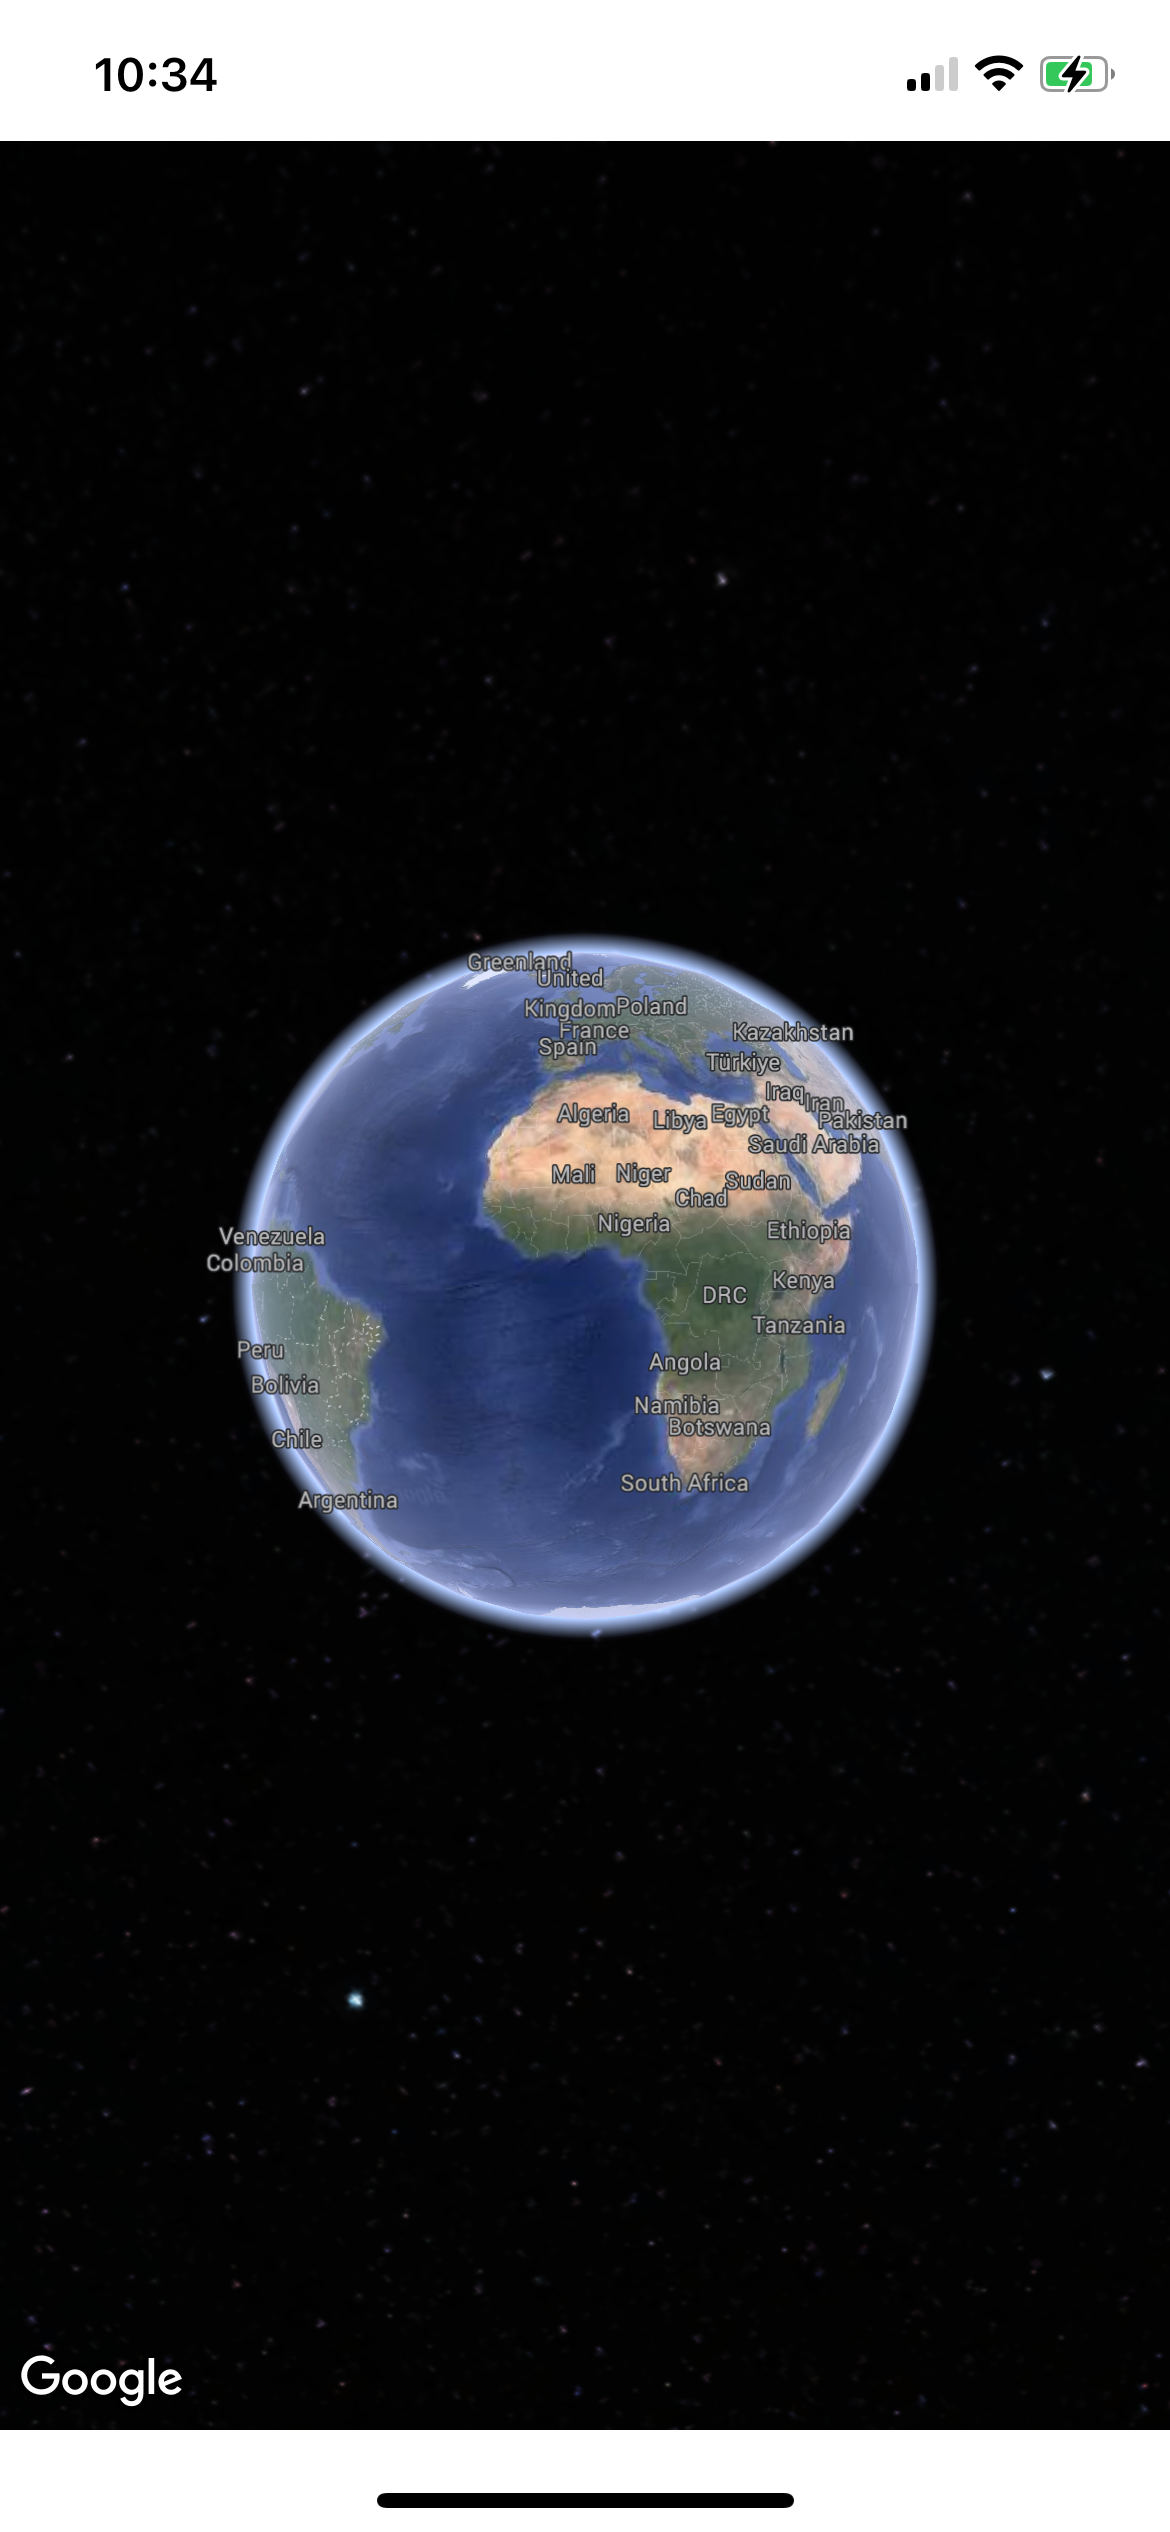
Build and run your app to check it loads correctly. You should see a map of the globe.
4. Use a camera to control the map view
Create a camera state object
3D Map views are controlled by the Camera class. In this step you will learn to specify the location, altitude, heading, tilt, roll and range to customize the map view.
Create a Helpers class to store Camera settings
Add a new empty file called MapHelpers.swift. In your new file, import GoogleMaps3D, and add an extension to the Camera class. Add a variable called sanFrancisco. Initialize this variable as a new Camera object. Locate the camera at latitude: 37.39, longitude: -122.08.
import GoogleMaps3D

extension Camera {
 public static var sanFrancisco: Camera = .init(latitude: 37.39, longitude: -122.08)
}
Add a new View to your App
Create a new file called CameraDemo.swift. Add the basic outline of a new SwiftUI View to the file.
Add a @State variable called camera of type Camera. Initialize it to the sanFrancisco camera you just defined.
Using @State lets you bind the Map to the camera state and use it as the source of truth.
@State var camera: Camera = .sanFrancisco
Change the Map() function call to include a camera property. Use the camera state binding $camera to initialise the camera property to your Camera @State object (.sanFrancisco).
import SwiftUI
import GoogleMaps3D

struct CameraDemo: View {
  @State var camera: Camera = .sanFrancisco
  var body: some View {
    VStack {
      Map(camera: $camera, mode: .hybrid)
    }
  }
}
Add basic navigation UI to your app
Add a NavigationView to the main app entry point, GoogleMaps3DDemoApp.swift.
This will allow users to see a list of demos and click each one to open it.
Edit GoogleMaps3DDemoApp.swift to add a new NavigationView.
Add a List containing two NavigationLink declarations.
The first NavigationLink should open ContentView() with a Text description Basic Map.
The second NavigationLink should open CameraDemo().
...
      NavigationView {
        List {
          NavigationLink(destination: ContentView()) {
            Text("Basic Map")
          }
          NavigationLink(destination: CameraDemo()) {
            Text("Camera Demo")
          }
        }
      }
...
Add an Xcode Preview
Previews are a powerful Xcode feature that let you see and interact with your app as you make changes to it.
To add a preview, open CameraDemo.swift. Add a #Preview {} code block outside the struct.
#Preview {
 CameraDemo()
}
Open or refresh the Preview pane in Xcode. The map should show San Francisco.
Set up custom 3D views
You can specify additional parameters to control the camera:
heading: the bearing in degrees from north to point the camera towards.tilt: the angle of tilt in degrees, where 0 is directly overhead and 90 is looking horizontally.roll: the angle of roll around the vertical plane of the camera, in degreesrange: the distance in metres of the camera from the latitude, longitude locationaltitude: the height of the camera above sea level
If you don't supply any of these additional parameters, default values will be used.
To make the camera view show more 3D data, set the initial parameters to show a closer, tilted view.
Edit the Camera you defined in MapHelpers.swift to include values for altitude, heading, tilt, roll and range
public static var sanFrancisco: Camera = .init(
  latitude: 37.7845812,
  longitude: -122.3660241,
  altitude: 585,
  heading: 288.0,
  tilt: 75.0,
  roll: 0.0,
  range: 100)
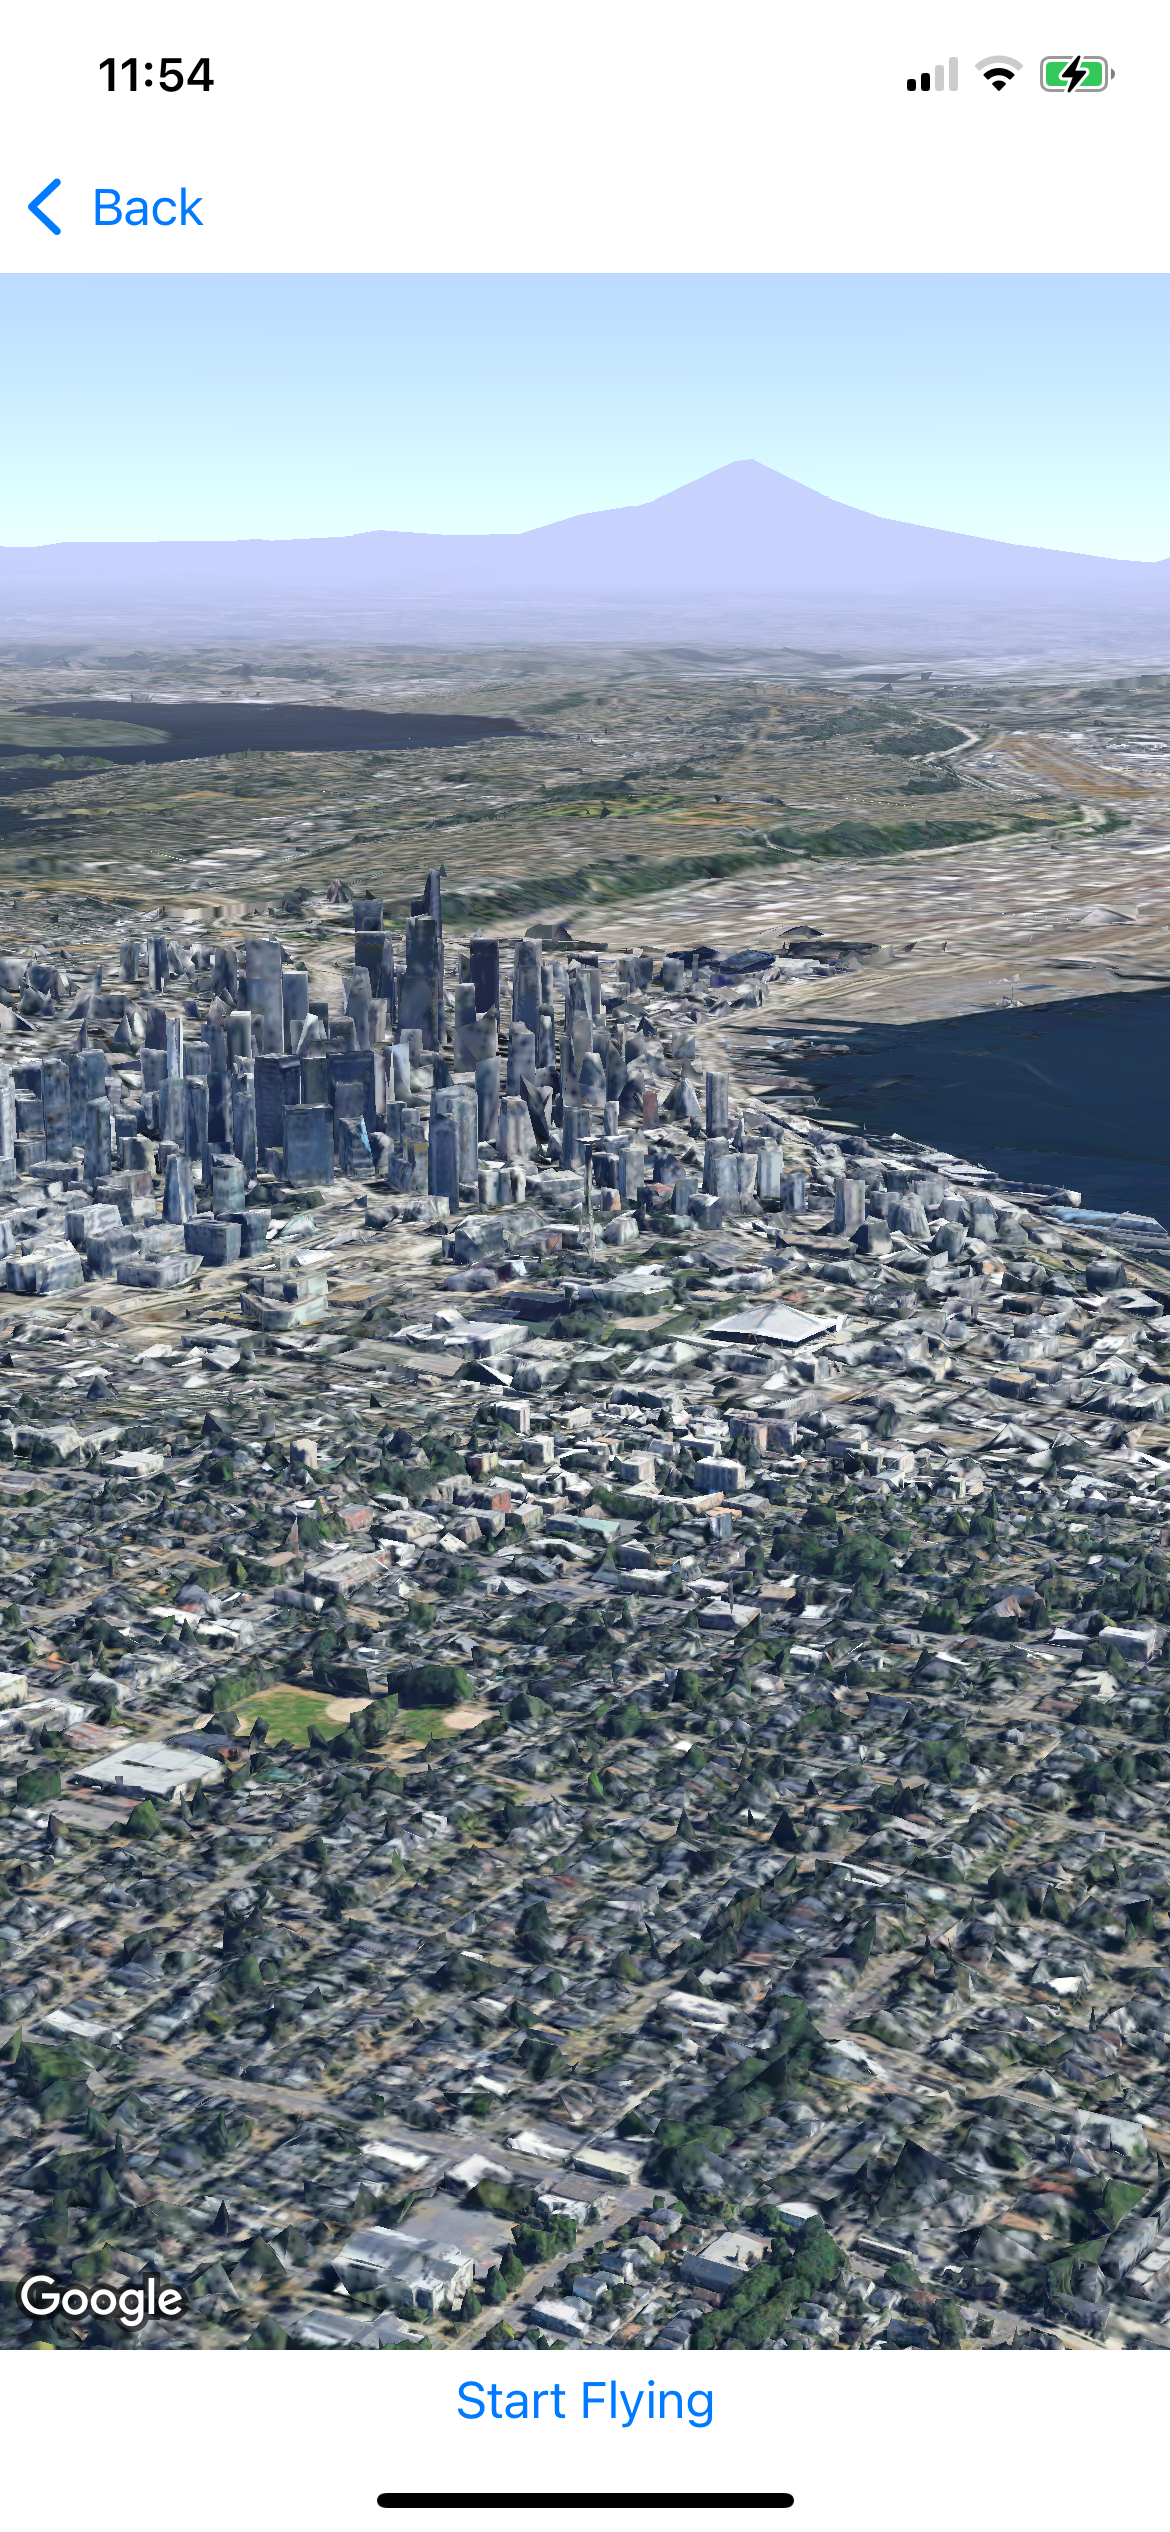
Build and run the app to see and explore the new 3D view.
5. Basic camera animations
So far you have used the camera to specify a single location with a tilt, altitude, heading and range. In this step you will learn how to move the camera view by animating these properties from an initial state to a new state.
Fly to a location
You will use the Map.flyCameraTo() method to animate the camera from the initial location to a new location.
The flyCameraTo() method takes a number of parameters:
- a
Camerarepresenting the end location. duration: How long the animation will run, in seconds.trigger: an observable object that will trigger the animation when its state changes.completion: code that will be executed when the animation completes.
Define a location to fly to
Open your MapHelpers.swift file.
Define a new camera object to show Seattle.
public static var seattle: Camera = .init(latitude:
47.6210296,longitude: -122.3496903, heading: 149.0, tilt: 77.0, roll: 0.0, range: 4000)
Add a button to trigger the animation.
Open your CameraDemo.swift. Declare a new Boolean variable inside the struct.
Call it animate with an initial value of false.
@State private var animate: Bool = false
Add a Button below the VStack. The Button will initiate the map animation.
Give the Button some appropriate Text such as "Start Flying".
import SwiftUI
import GoogleMaps3D

struct CameraDemo: View {
  @State var camera:Camera = .sanFrancisco
  @State private var animate: Bool = false

  var body: some View {
    VStack{
      Map(camera: $camera, mode: .hybrid)
      Button("Start Flying") {
      }
    }
  }
}
In the Button closure add code to toggle the state of the animate variable.
      Button("Start Flying") {
        animate.toggle()
      }
Start the animation.
Add the code to trigger the flyCameraTo() animation when the state of the animate variable changes.
  var body: some View {
    VStack{
      Map(camera: $camera, mode: .hybrid)
        .flyCameraTo(
          .seattle,
          duration: 5,
          trigger: animate,
          completion: {  }
        )
      Button("Start Flying") {
        animate.toggle()
      }
    }
  }
Fly around a location
Flying around a location can be achieved using the Map.flyCameraAround() method. This method takes several parameters:
- a
Cameradefining the location and view. - a
durationin seconds. rounds: the number of times to repeat the animation.trigger: an observable object that will trigger the animation.callback: code that will execute when the animation runs.
Define a new @State variable called flyAround, with an initial value of false.
When you have done that, add a call to flyCameraAround() immediately after the flyCameraTo() method call.
The fly around duration should be relatively long so that the view changes smoothly.
Make sure to trigger the flyCameraAround() animation by changing the state of the trigger object when flyCameraTo() completes.
Your code should look like this.
import SwiftUI
import GoogleMaps3D

struct CameraDemo: View {
  @State var camera:Camera = .sanFrancisco
  @State private var animate: Bool = false
  @State private var flyAround: Bool = false

  var body: some View {
    VStack{
      Map(camera: $camera, mode: .hybrid)
        .flyCameraTo(
          .seattle,
          duration: 5,
          trigger: animate,
          completion: { flyAround = true }
        )
        .flyCameraAround(
          .seattle,
          duration: 15,
          rounds: 0.5,
          trigger: flyAround,
          callback: {  }
        )
      Button("Start Flying") {
        animate.toggle()
      }
    }
  }
}

#Preview {
  CameraDemo()
}
Preview or run the app to see that the camera flies around the destination once the flyCameraTo() animation completes.
6. Add a Marker to your map.
In this step you will learn how to draw a marker pin on the map.
You will create a Marker object and add it to your map. The SDK will use a default icon for the marker. Finally you will adjust the marker altitude and other properties to change how it displays.

Create a new SwiftUI View for your Marker demo.
Add a new Swift file to your project. Call it MarkerDemo.swift.
Add the outline of a SwiftUI View and initialize the map as you did in your CameraDemo.
import SwiftUI
import GoogleMaps3D

struct MarkerDemo: View {
  @State var camera: Camera = .sanFrancisco
  var body: some View {
    VStack {
      Map(camera: $camera, mode: .hybrid)
    }
  }
}
Initialize a Marker object
Declare a new marker variable called mapMarker. At the top of the struct code block in MarkerDemo.swift.
Place the definition on the line below your camera declaration. This sample code initializes all available properties.
  @State var mapMarker: Marker = .init(
    position: .init(
      latitude: 37.8044862,
      longitude: -122.4301493,
      altitude: 0.0),
    altitudeMode: .absolute,
    collisionBehavior: .required,
    extruded: false,
    drawsWhenOccluded: true,
    sizePreserved: true,
    zIndex: 0,
    label: "Test"
  )
Add the Marker to your map.
To draw the marker, add it to a closure called when the Map is created.
struct MarkerDemo: View {
  @State var camera: Camera = .sanFrancisco
  var body: some View {
    VStack {
      Map(camera: $camera, mode: .hybrid) {
        mapMarker
      }
    }
  }
}
Add a new NavigationLink to GoogleMaps3DDemoApp.swift with a destination of MarkerDemo() and Text describing it as "Marker Demo".
...
      NavigationView {
        List {
          NavigationLink(destination: Map()) {
            Text("Basic Map")
          }
          NavigationLink(destination: CameraDemo()) {
            Text("Camera Demo")
          }
          NavigationLink(destination: MarkerDemo()) {
            Text("Marker Demo")
          }
        }
      }
...
Preview and run your App
Refresh the preview or run your app to see the marker.
Extruded Markers
Markers can be placed above the ground or the 3D mesh using altitude and altitudeMode.
Copy the mapMarker declaration in MarkerDemo.swift to a new Marker variable called extrudedMarker.
Set a non-zero value for altitude, 50 is sufficient.
Change the altitudeMode to .relativeToMesh, and set extruded to true. Use the latitude and longitude from the code snippet here to place the marker on top of a skyscraper.
  @State var extrudedMarker: Marker = .init(
    position: .init(
      latitude: 37.78980534,
      longitude:  -122.3969349,
      altitude: 50.0),
    altitudeMode: .relativeToMesh,
    collisionBehavior: .required,
    extruded: true,
    drawsWhenOccluded: true,
    sizePreserved: true,
    zIndex: 0,
    label: "Extruded"
  )
Run or preview the app again. The marker should appear on top of a 3D building.
7. Add a model to your map.
A Model can be added in the same way as a Marker. You will need a model file that can be accessed by URL or added as a local file in your project. For this step we will use a local file which you can download from the GitHub repository for this codelab.
Add a model file to your project
Create a new folder in your Xcode project called Models.
Download the model from the GitHub sample app repository. Add it to your project by dragging it to the new folder in Xcode project view.
Make sure you set the target to be the main target for your app.
Check the Build Phases > Copy Bundle Resources settings for your project. The model file should be in the list of resources copied to the bundle. If it's not there click "+" to add it.
Add the model to your app.
Create a new SwiftUI file called ModelDemo.swift.
Add import statements for SwiftUI and GoogleMaps3D as in the previous steps.
Declare a Map inside a VStack in your body.
import SwiftUI
import GoogleMaps3D

struct ModelDemo: View {
  @State var camera: Camera = .sanFrancisco

  var body: some View {
    VStack {
      Map(camera: $camera, mode: .hybrid) {

      }
    }
  }
}
Get the model path from your Bundle. Add the code for this outside the struct.
private let fileUrl = Bundle.main.url(forResource: "balloon", withExtension: "glb")
Declare a variable for your model inside the struct.
Supply a default value in case fileUrl is not supplied.
  @State var balloonModel: Model = .init(
    position: .init(
      latitude: 37.791376,
      longitude: -122.397571,
      altitude: 300.0),
    url: URL(fileURLWithPath: fileUrl?.relativePath ?? ""),
    altitudeMode: .absolute,
    scale: .init(x: 5, y: 5, z: 5),
    orientation: .init(heading: 0, tilt: 0, roll: 0)
  )
3. Use the model with your Map.
As with adding a Marker, just supply the reference to your Model in the Map declaration.
  var body: some View {
    VStack {
      Map(camera: $camera, mode: .hybrid) {
        balloonModel
      }
    }
  }
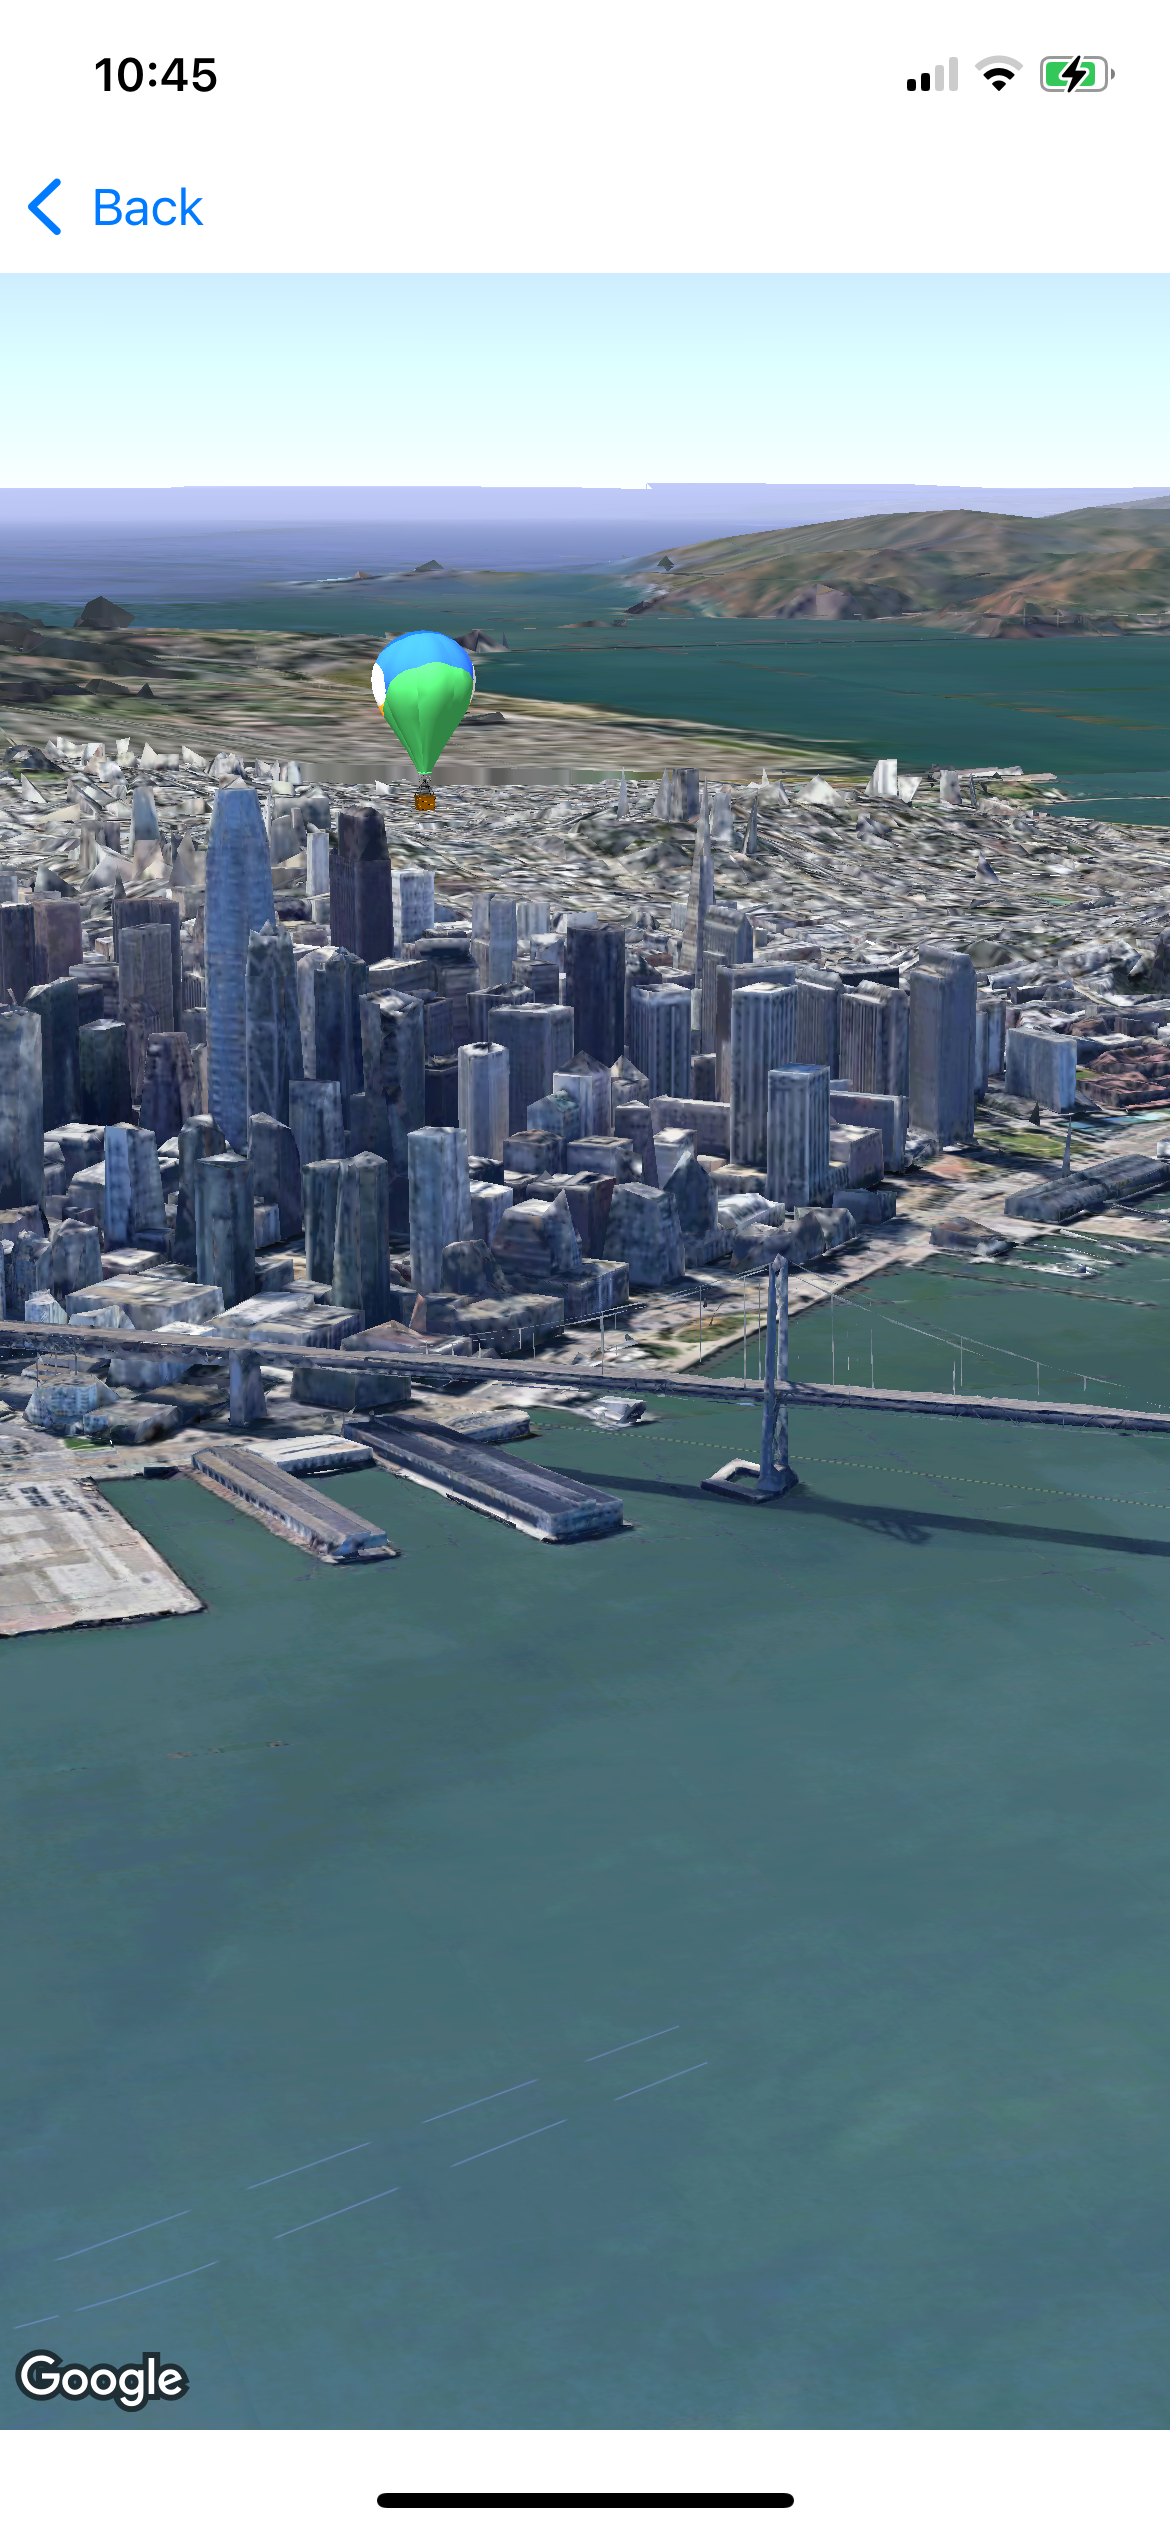
Preview and run your app
Add a new NavigationLink to GoogleMaps3DDemoApp.swift, with a destination of ModelDemo() and the Text "Model Demo".
...
          NavigationLink(destination: ModelDemo()) {
            Text("Model Demo")
          }
...
Refresh the preview or run your app to see the model.
8. Draw a line and a polygon on your map.
In this step you will learn how to add lines and polygon shapes to your 3D map.
For simplicity you will define the shapes as arrays of LatLngAltitude objects. In a real application the data might be loaded from a file, an API call or a database.

Create some shape objects to manage the shape data.
Add a new Camera definition to MapHelpers.swift that looks at downtown San Francisco.
public static var downtownSanFrancisco: Camera = .init(latitude: 37.7905, longitude: -122.3989, heading: 25, tilt: 71, range: 2500)
Add a new file to your project called ShapesDemo.swift. Add a struct called ShapesDemo that implements the View protocol, and add a body to it.
struct ShapesDemo: View {
  @State var camera: Camera = .downtownSanFrancisco

  var body: some View {
    VStack {
      Map(camera: $camera, mode: .hybrid) {

      }
    }
  }
}
The classes you will use to manage shape data are Polyline and Polygon. Open ShapesDemo.swift and add them to the struct as follows.
var polyline: Polyline = .init(coordinates: [
    LatLngAltitude(latitude: 37.80515638571346, longitude: -122.4032569467164, altitude: 0),
    LatLngAltitude(latitude: 37.80337073509504, longitude: -122.4012878349353, altitude: 0),
    LatLngAltitude(latitude: 37.79925208843463, longitude: -122.3976697250461, altitude: 0),
    LatLngAltitude(latitude: 37.7989102378512, longitude: -122.3983408725656, altitude: 0),
    LatLngAltitude(latitude: 37.79887832784348, longitude: -122.3987094864192, altitude: 0),
    LatLngAltitude(latitude: 37.79786443410338, longitude: -122.4066878788802, altitude: 0),
    LatLngAltitude(latitude: 37.79549248916587, longitude: -122.4032992702785, altitude: 0),
    LatLngAltitude(latitude: 37.78861484290265, longitude: -122.4019489189814, altitude: 0),
    LatLngAltitude(latitude: 37.78618687561075, longitude: -122.398969592545, altitude: 0),
    LatLngAltitude(latitude: 37.7892310309145, longitude: -122.3951458683092, altitude: 0),
    LatLngAltitude(latitude: 37.7916358762409, longitude: -122.3981969390652, altitude: 0)
  ])
  .stroke(GoogleMaps3D.Polyline.StrokeStyle(
    strokeColor: UIColor(red: 0.09803921568627451, green: 0.403921568627451, blue: 0.8235294117647058, alpha: 1),
    strokeWidth: 10.0,
    outerColor: .white,
    outerWidth: 0.2
    ))
  .contour(GoogleMaps3D.Polyline.ContourStyle(isGeodesic: true))

  var originPolygon: Polygon = .init(outerCoordinates: [
    LatLngAltitude(latitude: 37.79165766856578, longitude:  -122.3983762901255, altitude: 300),
    LatLngAltitude(latitude: 37.7915324439261, longitude:  -122.3982171091383, altitude: 300),
    LatLngAltitude(latitude: 37.79166617650914, longitude:  -122.3980478493319, altitude: 300),
    LatLngAltitude(latitude: 37.79178986470217, longitude:  -122.3982041104199, altitude: 300),
    LatLngAltitude(latitude: 37.79165766856578, longitude:  -122.3983762901255, altitude: 300 )
  ],
  altitudeMode: .relativeToGround)
  .style(GoogleMaps3D.Polygon.StyleOptions(fillColor:.green, extruded: true) )

  var destinationPolygon: Polygon = .init(outerCoordinates: [
      LatLngAltitude(latitude: 37.80515661739527, longitude:  -122.4034307490334, altitude: 300),
      LatLngAltitude(latitude: 37.80503794515428, longitude:  -122.4032633416024, altitude: 300),
      LatLngAltitude(latitude: 37.80517850164195, longitude:  -122.4031056058006, altitude: 300),
      LatLngAltitude(latitude: 37.80529346901115, longitude:  -122.4032622466595, altitude: 300),
      LatLngAltitude(latitude: 37.80515661739527, longitude:  -122.4034307490334, altitude: 300 )
  ],
  altitudeMode: .relativeToGround)
  .style(GoogleMaps3D.Polygon.StyleOptions(fillColor:.red, extruded: true) )
Notice the initialization parameters used.
altitudeMode: .relativeToGroundis used to extrude the polygons to a specific height above the ground.altitudeMode: .clampToGroundis used to make the polyline follow the shape of the earth's surface.- styles are set on the
Polygonobjects by chaining a method call tostyleOptions()after.init()is called
Add the shapes to the Map
Just like in the previous steps, the shapes can be directly added to the Map closure. Create your Map inside a VStack.
...
  var body: some View {
    VStack {
      Map(camera: $camera, mode: .hybrid) {
        polyline
        originPolygon
        destinationPolygon
      }
    }
  }
...
Preview and run your App
Add Preview code and inspect your app in the Preview pane in Xcode.
#Preview {
  ShapesDemo()
}
To run your app, add a new NavigationLink to GoogleMaps3DDemoApp.swift that opens the new demo View.
...
          NavigationLink(destination: ShapesDemo()) {
            Text("Shapes Demo")
          }
...
Run your app and explore the shapes you added.
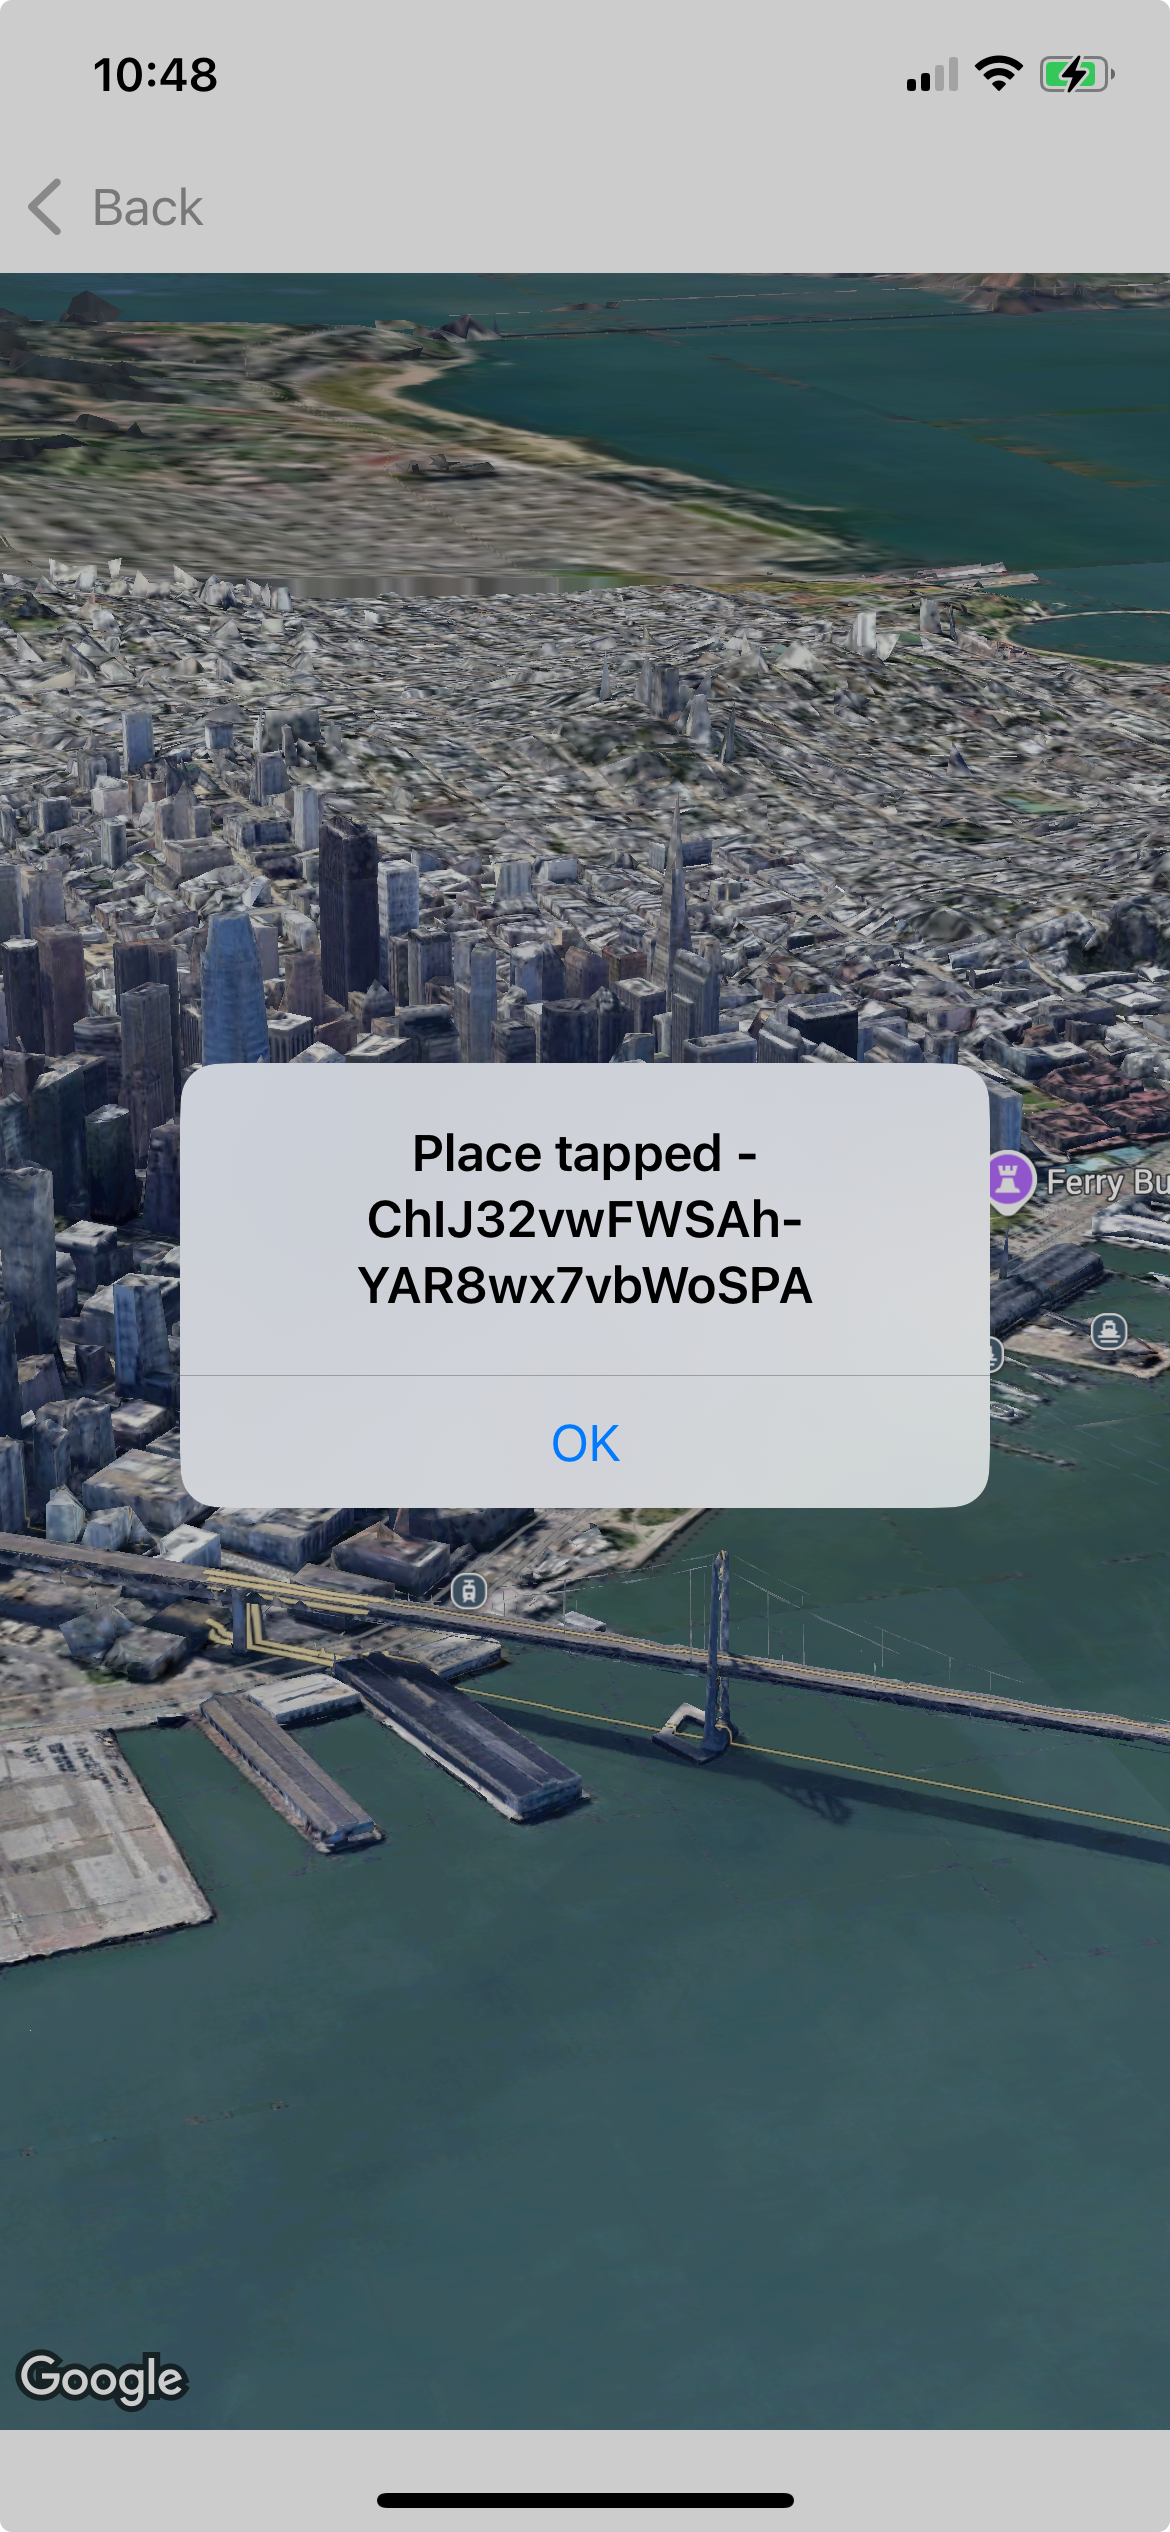
9. Handle tap events on Place markers
In this step you will learn how to respond to user taps on Place markers.
Note: To see Place markers on the map, you will need to set the MapMode to .hybrid.
Handling the tap requires implementing the Map.onPlaceTap method.
The onPlaceTap event provides a PlaceTapInfo object from which you can obtain the Place ID of the tapped Place marker.
You can use the Place ID to look up further details using the Places SDK or Places API.
Add a new Swift View
Add the following code to a new Swift file called PlaceTapDemo.swift.
import GoogleMaps3D
import SwiftUI

struct PlaceTapDemo: View {
  @State var camera: Camera = .sanFrancisco
  @State var isPresented = false
  @State var tapInfo: PlaceTapInfo?

  var body: some View {
    Map(camera: $camera, mode: .hybrid)
      .onPlaceTap { tapInfo in
        self.tapInfo = tapInfo
        isPresented.toggle()
      }
      .alert(
        "Place tapped - \(tapInfo?.placeId ?? "nil")",
        isPresented: $isPresented,
        actions: { Button("OK") {} }
      )
  }
}
#Preview {
  PlaceTapDemo()
}
Preview and run your App
Open the Preview pane to preview the app.
To run the app, add a new NavigationLink to GoogleMaps3DDemoApp.swift.
...
          NavigationLink(destination: PlaceTapDemo()) {
            Text("Place Tap Demo")
          }
...
10. (Optional) Take it further
Advanced Camera animations
Some use cases require animating smoothly along a sequence or list of locations or camera states, for example a flight simulator or replaying a hike or run.
In this step you will learn how to load a list of locations from a file, and animate through each location in sequence.
Load a file containing a sequence of locations.
Download flightpath.json from the GitHub sample app repo.
Create a new folder in your Xcode project called JSON.
Drag flightpath.json to your JSON folder in Xcode.
Set the target to be your app's main target. Check that your project Copy Bundle Resources settings include this file.
Create two new Swift files in your app called FlightPathData.swift and FlightDataLoader.swift.
Copy the following code into your app. This code creates structs and classes that read a local file called "flighpath.json" and decode it as JSON.
The FlightPathData and FlightPathLocation structs represent the data structure in the JSON file as Swift objects.
The FlightDataLoader class reads the data from the file and decodes it. It adopts the ObservableObject protocol to allow your app to observe changes to its data.
The parsed data is exposed through a published property.
FlightPaths.swift
import GoogleMaps3D

struct FlightPathData: Decodable {
  let flight: [FlightPathLocation]
}

struct FlightPathLocation: Decodable {
  let timestamp: Int64
  let latitude: Double
  let longitude: Double
  let altitude: Double
  let bearing: Double
  let speed: Double
}
FlightDataLoader.swift
import Foundation

public class FlightDataLoader : ObservableObject {

  @Published var flightPathData: FlightPathData = FlightPathData(flight:[])
  @Published var isLoaded: Bool = false

  public init() {
    load("flightpath.json")
  }

  public func load(_ path: String) {
    if let url = Bundle.main.url(forResource: path, withExtension: nil){
      if let data = try? Data(contentsOf: url){
        let jsondecoder = JSONDecoder()
        do{
          let result = try jsondecoder.decode(FlightPathData.self, from: data)
          flightPathData = result
          isLoaded = true
        }
        catch {
          print("Error trying to load or parse the JSON file.")
        }
      }
    }
  }
}
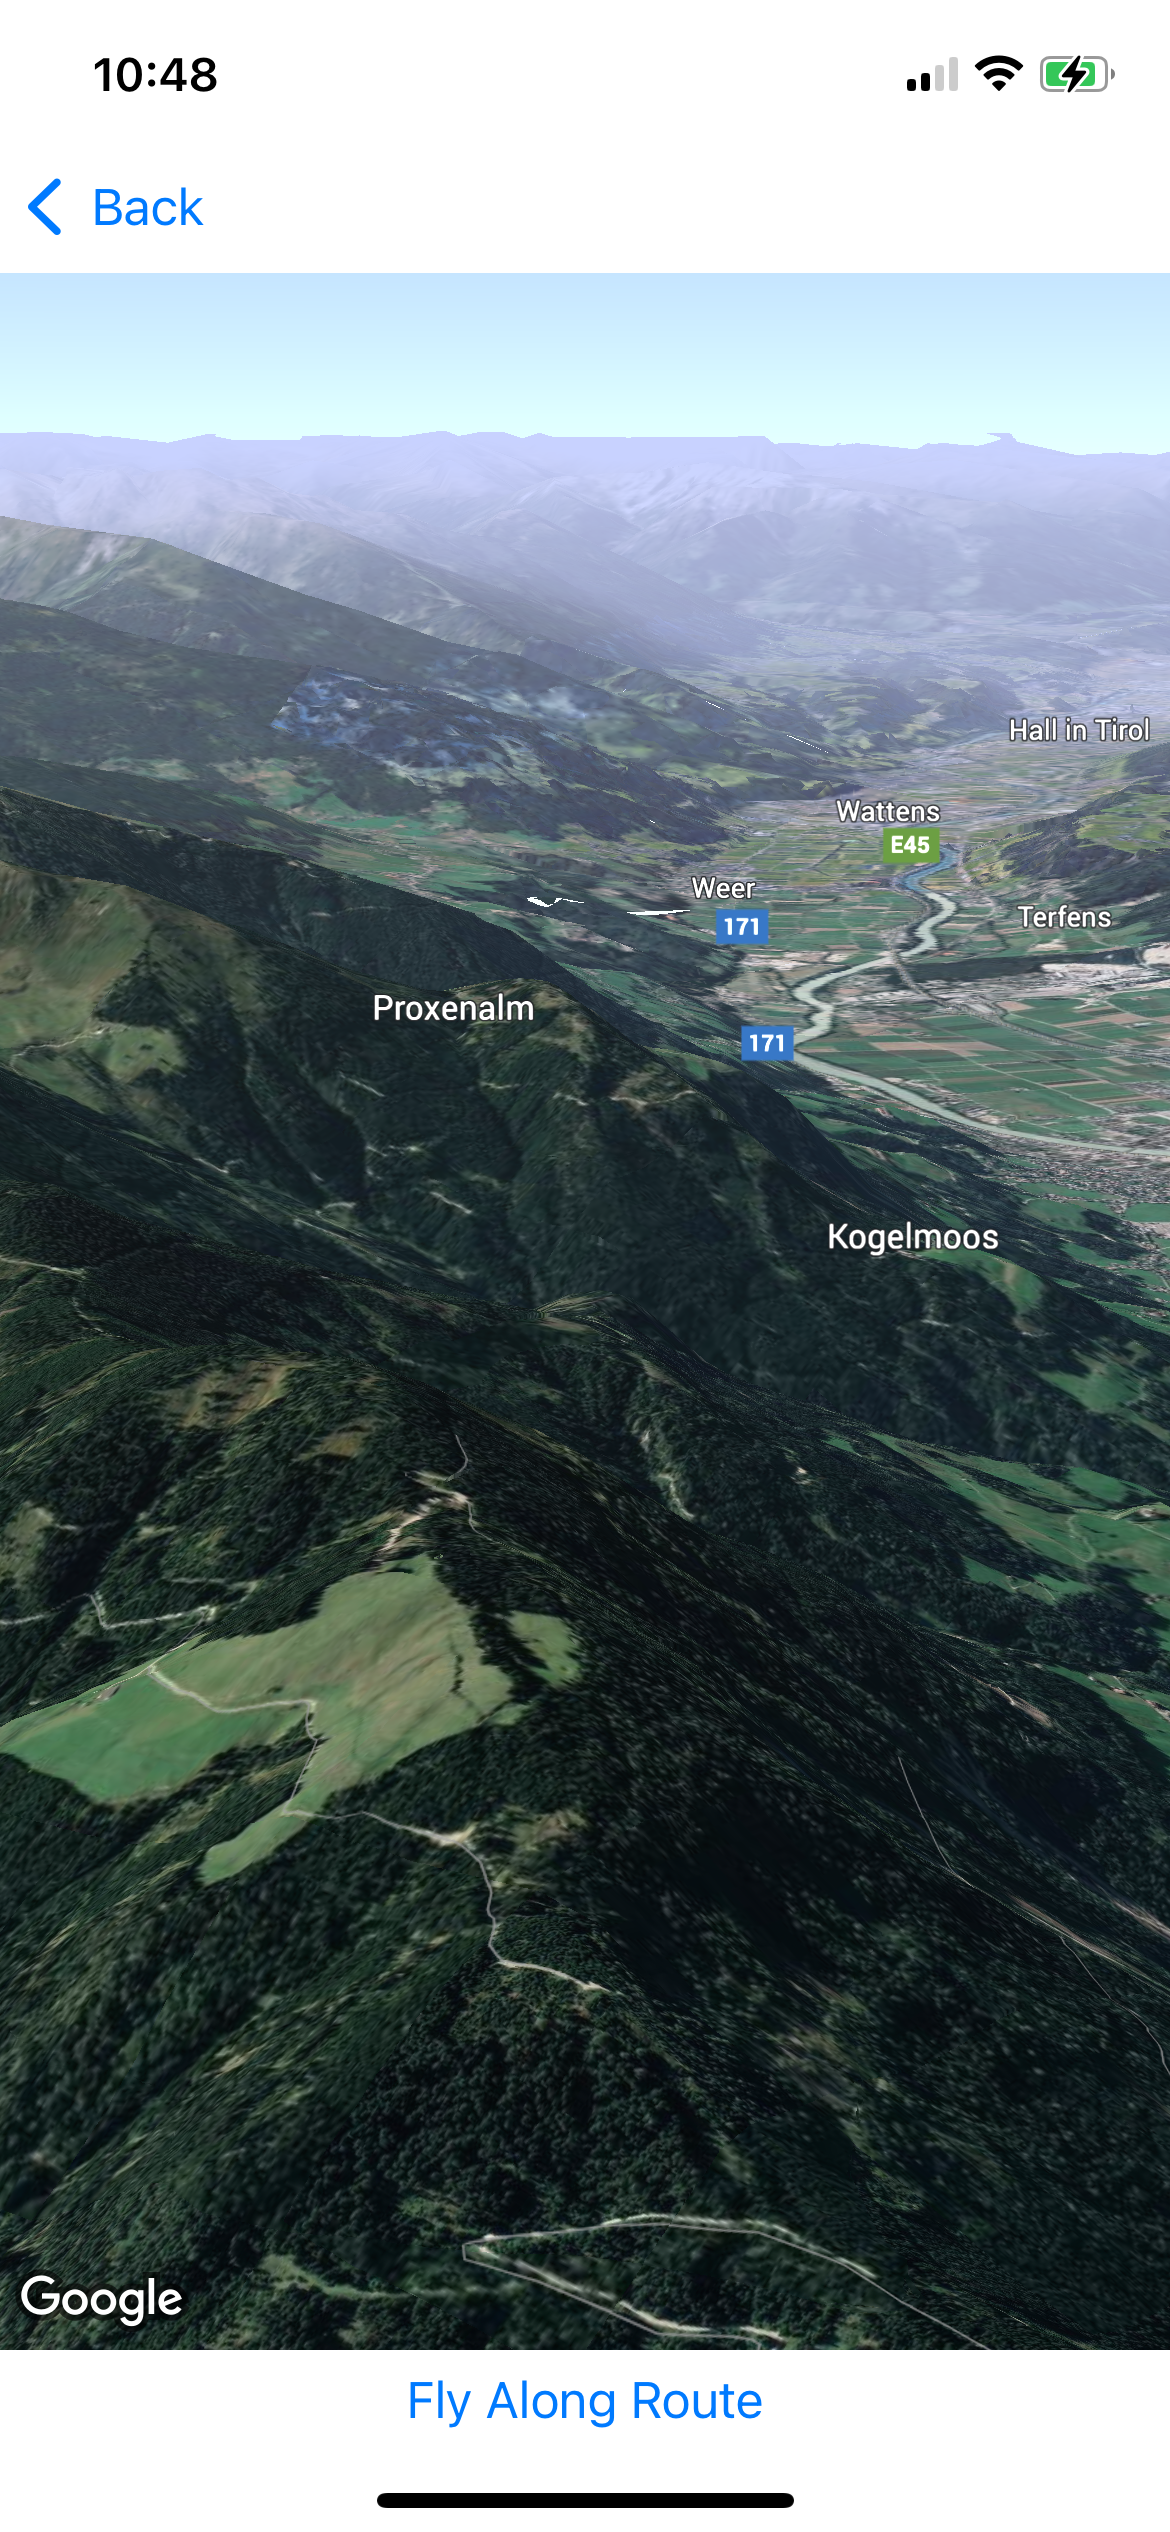
Animate the camera along each location
To animate the camera between a sequence of steps, you will use a KeyframeAnimator.
Each Keyframe will be created as a CubicKeyframe, so the changes in camera state are smoothly animated.
Using flyCameraTo() would cause the view to "bounce" between each location.
First of all declare a camera called "innsbruck" in MapHelpers.swift.
public static var innsbruck: Camera = .init(
  latitude: 47.263,
  longitude: 11.3704,
  altitude: 640.08,
  heading: 237,
  tilt: 80.0,
  roll: 0.0,
  range: 200)
Now set up a new View in a new file called FlyAlongRoute.swift.
Import SwiftUI and GoogleMaps3D. Add a Map and a Button inside a VStack. Set up the Button to toggle the state of the Boolean animation variable.
Declare a State object for FlightDataLoader, which will load the JSON file when it is initialized.
import GoogleMaps3D
import SwiftUI

struct FlyAlongRoute: View {
  @State private var camera: Camera = .innsbruck
  @State private var flyToDuration: TimeInterval = 5
  @State var animation: Bool = true

  @StateObject var flightData: FlightDataLoader = FlightDataLoader()

  var body: some View {
    VStack {
      Map(camera: $camera, mode: .hybrid)
      Button("Fly Along Route"){
        animation.toggle()
      }
    }
  }
}
Create the Keyframes
The basic process is to create a function that returns a new frame in the animation sequence. Each new frame defines the next camera state for the animator to animate to. Once this function is created, call it with each location from the file in sequence.
Add two functions to your FlyAlongRoute struct. The function makeKeyFrame returns a CubicKeyframe with a Camera state. The function makeCamera takes a step in the flight data sequence and returns a Camera object representing the step.
func makeKeyFrame(step: FlightPathLocation) -> CubicKeyframe<Camera> {
  return CubicKeyframe(
    makeCamera(step: step),
    duration: flyToDuration
  )
}

func makeCamera(step: FlightPathLocation) -> Camera {
  return .init(
    latitude: step.latitude,
    longitude: step.longitude,
    altitude: step.altitude,
    heading: step.bearing,
    tilt: 75,
    roll: 0,
    range: 200
  )
}
Put the animation together
Call the keyframeAnimator after Map initialization and set the initial values.
You will need an initial camera state based on the first location in the flight path.
The animation should trigger based on a variable changing state.
The keyframeAnimator content should be a Map.
The actual list of keyframes is generated by looping through each location in the flight path.
   VStack {
      Map(camera: $camera, mode: .hybrid)
        .keyframeAnimator(
          initialValue: makeCamera(step: flightData.flightPathData.flight[0]),
          trigger: animation,
          content: { view, value in
            Map(camera: .constant(value), mode: .hybrid)
          },
          keyframes: { _ in
            KeyframeTrack(content: {
              for i in  1...flightData.flightPathData.flight.count-1 {
                makeKeyFrame(step: flightData.flightPathData.flight[i])
              }
            })
          }
        )
   }
Preview and run your app.
Open the Preview pane to preview your View.
Add a new NavigationLink with a destination of FlightPathDemo() to GoogleMaps3DDemoApp.swift and run the app to try it out.
11. Congratulations
You've successfully built an application that
- Adds a basic 3D Map to your app.
- Adds markers, lines, polygons and models to your map.
- Implements code to control the camera to fly through the map and around specific locations.
What you learned
- How to add the
GoogleMaps3Dpackage to an Xcode SwiftUI App. - How to initialize a 3D Map with an API Key and a default view.
- How to add markers, 3D models, lines and polygons to your map.
- How to control the camera to animate movement to another location.
- How to handle click events on Place markers.
What's next?
- Check out the developer guide for more details on what you can do with the Maps 3D SDK for iOS.
- Help us create the content that you would find most useful by answering the following survey: