アド マネージャーでは、システム定義のネイティブ広告フォーマットに加え、アセットのカスタムリストを定義することで、独自のネイティブ広告フォーマットも作成できます。こうしたフォーマットはカスタム ネイティブ広告フォーマットと呼ばれ、予約済みの広告と一緒に使用できます。このフォーマットでは、任意の構造化データをアプリに渡すことが可能です。この広告は、NativeCustomFormatAd オブジェクトで表されます。
カスタム ネイティブ広告フォーマットを読み込む
このガイドでは、カスタム ネイティブ広告フォーマットの読み込みと表示方法について説明します。
カスタム ネイティブ広告を読み込む
カスタム ネイティブ広告を読み込む手順は次のとおりです。
NativeAdRequestの広告タイプとしてNativeAdType.CUSTOM_NATIVE型を含めます。カスタム ネイティブ広告のフォーマット ID を設定します。
Kotlin
Java
カスタム ネイティブ広告フォーマット ID
カスタム ネイティブ広告フォーマットの識別に使用されるフォーマット ID は、アド マネージャーの管理画面の [配信] プルダウンの [ネイティブ] セクションで確認できます。
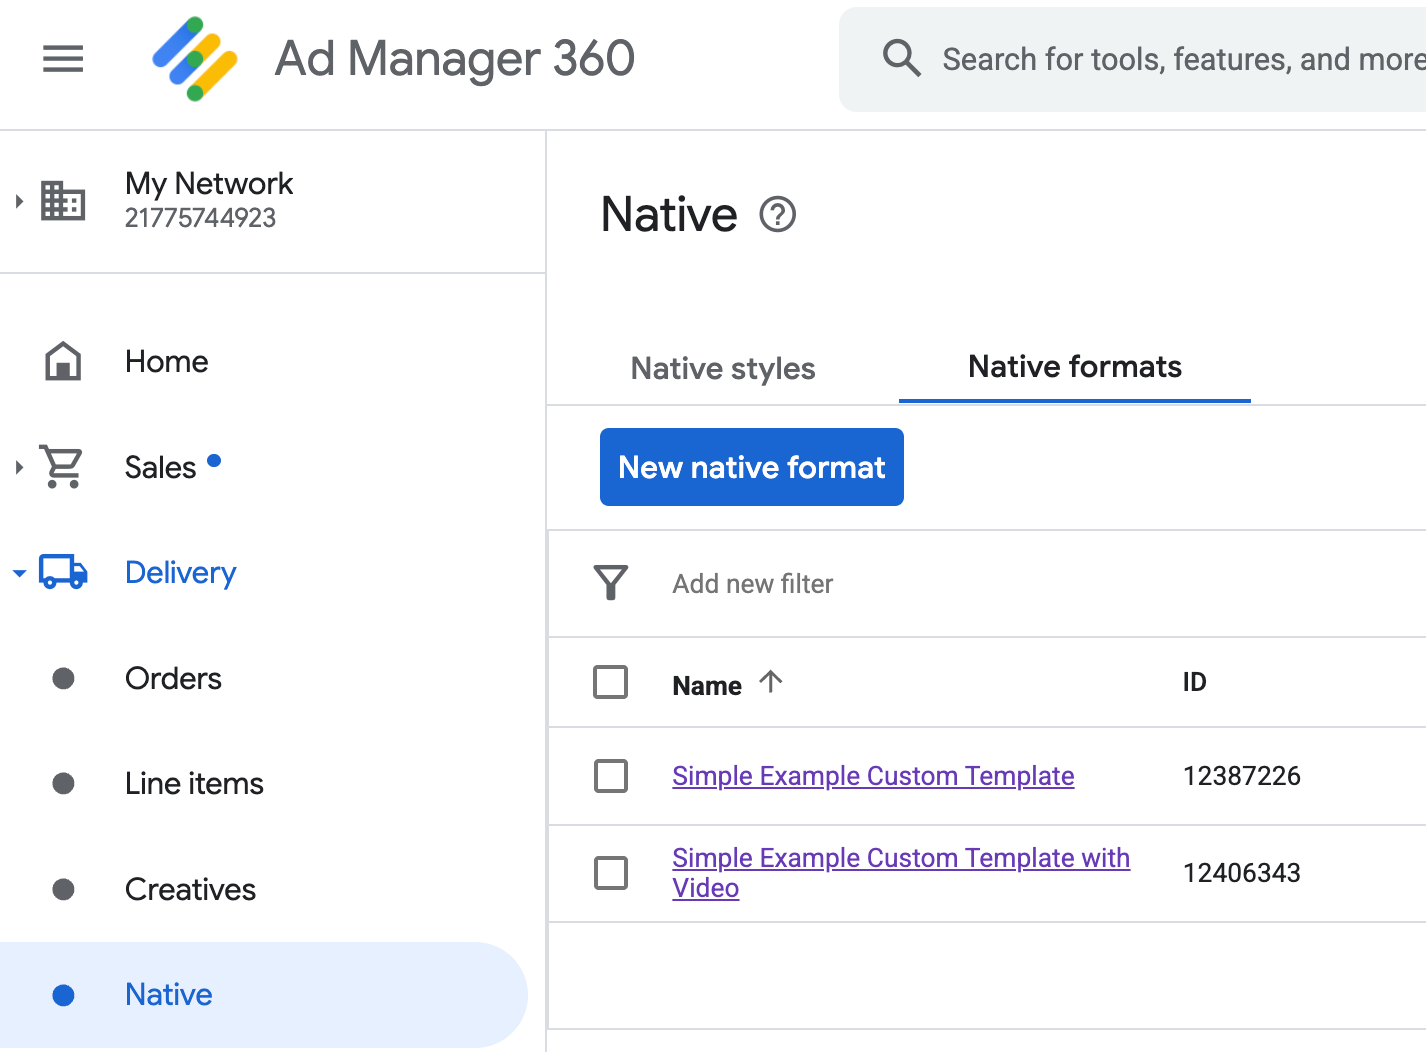
各カスタム ネイティブ広告フォーマットの ID は、それぞれの名前の横に表示されます。名前をクリックすると詳細画面が開き、フォーマットのフィールドに関する情報が表示されます。
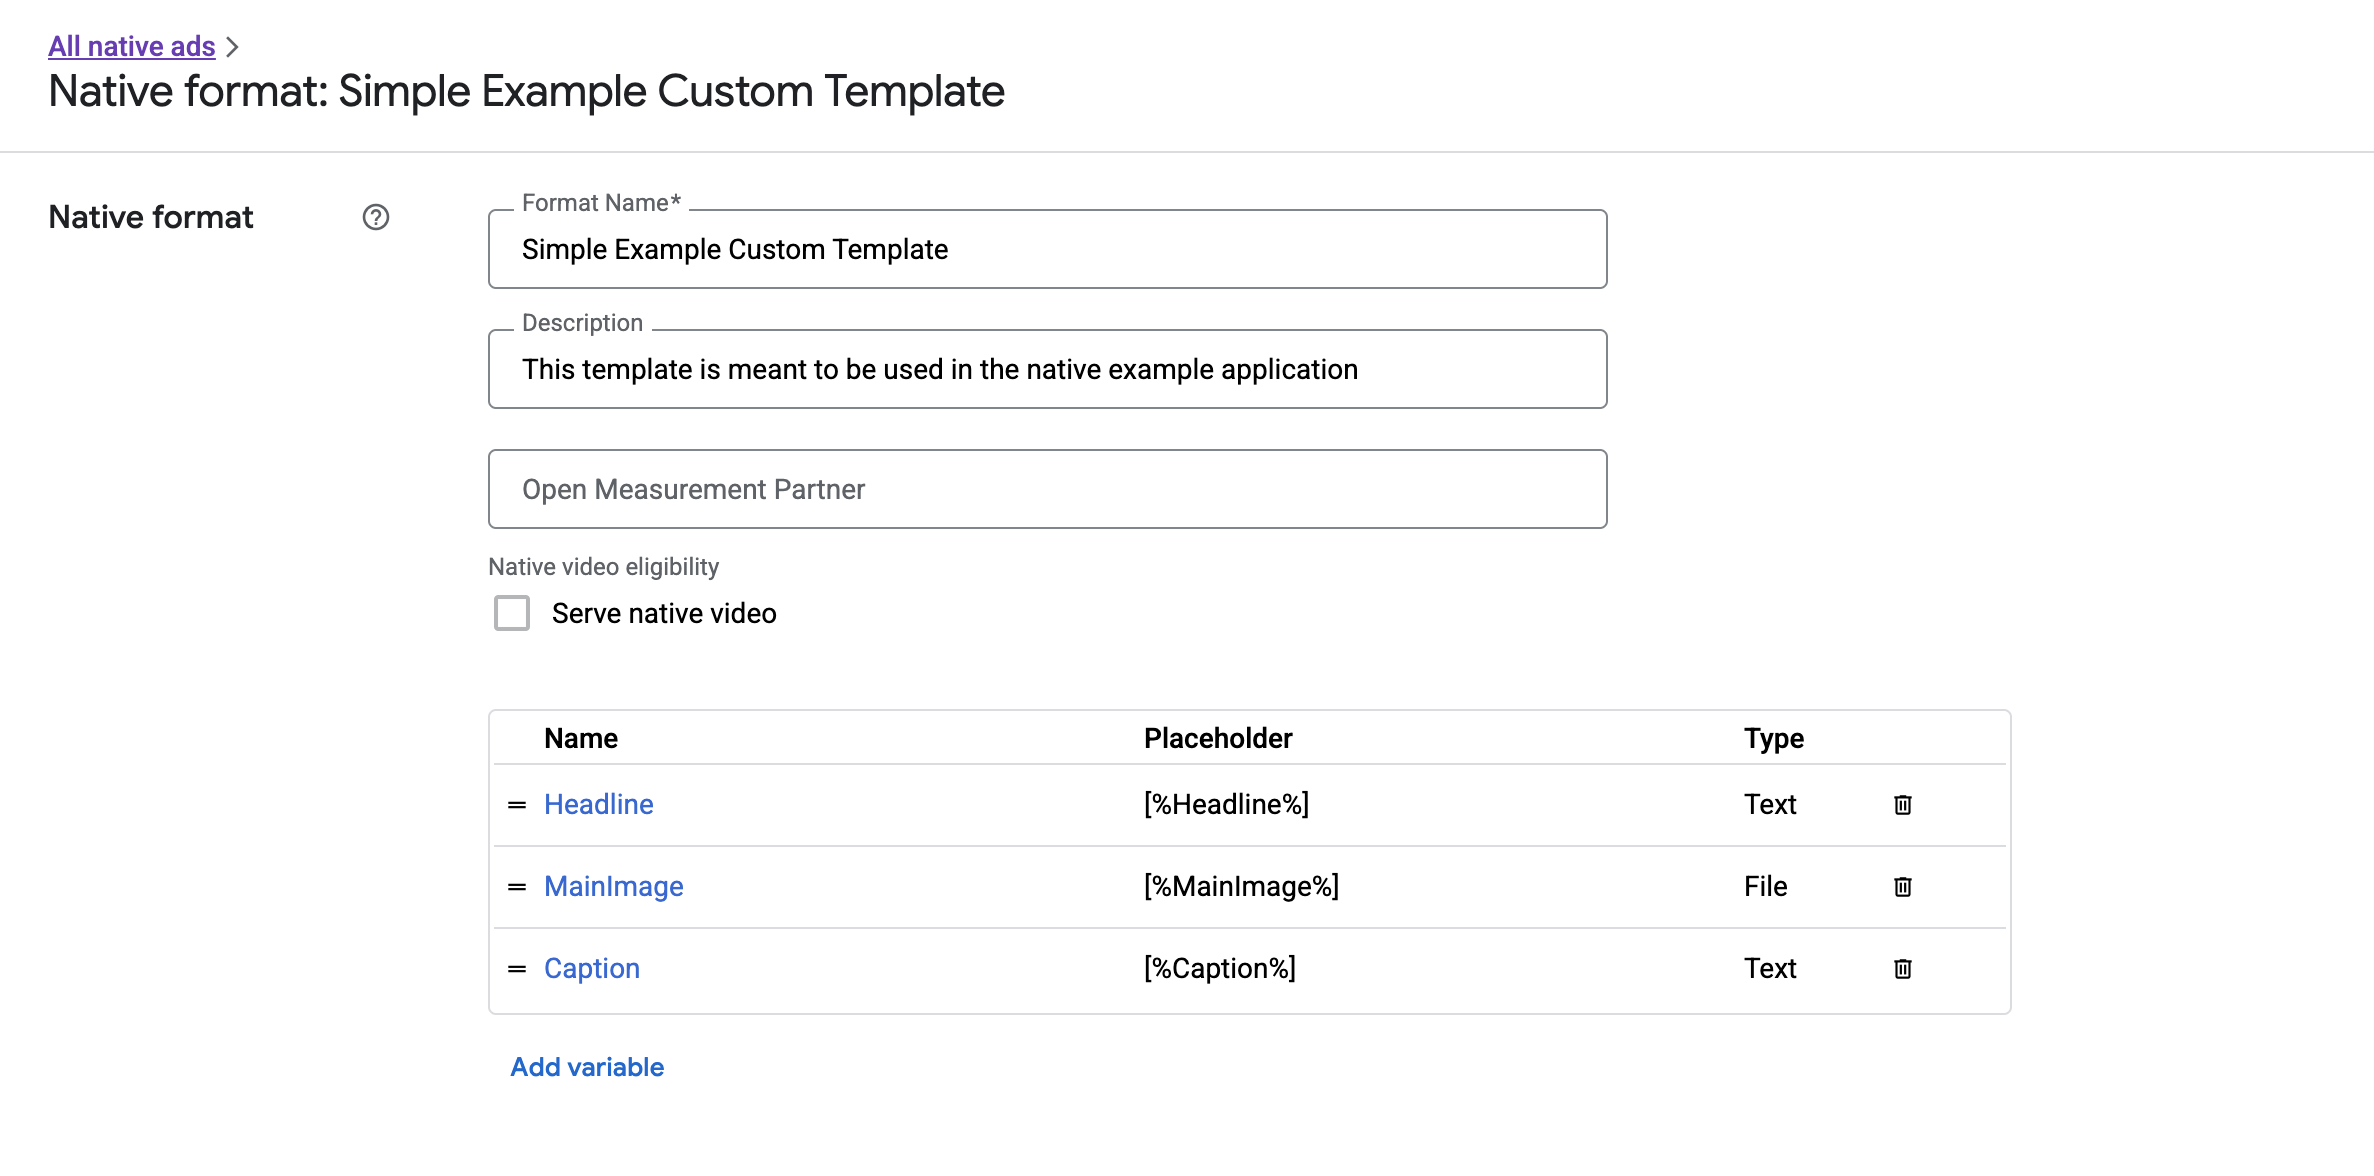
ここでは、個々のフィールドを追加、編集、削除できます。各アセットの名前をメモします。名前は、カスタムのネイティブ広告フォーマットを表示する際、各アセットのデータを取得するために使用されます。
カスタム ネイティブ広告フォーマットを表示する
カスタム ネイティブ広告フォーマットは、広告を構成するアセットの独自のリストをパブリッシャー様が定義できるという点で、システム定義のネイティブ広告フォーマットと異なります。そのため、カスタム ネイティブ広告フォーマットを表示するプロセスは、システム定義のフォーマットの場合と次の点で異なります。
- テキスト アセットと画像アセットは、フィールド名をパラメータとして取る
getText()およびgetImage()ゲッターを通じて利用できます。 - Google に登録する専用の
ViewGroupクラスはないため、インプレッションとクリックを手動で記録する必要があります。 - カスタム ネイティブ広告に動画アセットが含まれていない場合は、
nullメディア コンテンツが含められます。
この例では、CustomNativeAd を表示する方法を示します。
Kotlin
private fun displayCustomNativeAd(customNativeAd: CustomNativeAd, context: Context) {
  // Render the text elements.

  // The `customNativeAdBinding` is the layout binding for the ad container that
  // contains all `CustomNativeAd` assets.
  customNativeAdBinding.headline.text = customNativeAd.getText("Headline")
  customNativeAdBinding.caption.text = customNativeAd.getText("Caption")

  // If the main asset is an image, render it with an ImageView.
  val imageView = ImageView(context)
  imageView.adjustViewBounds = true
  imageView.setImageDrawable(customNativeAd.getImage("MainImage")?.drawable)
  imageView.setOnClickListener { customNativeAd.performClick("MainImage") }
  customNativeAdBinding.mediaPlaceholder.addView(imageView)

  // Render the ad choices icon.
  renderAdChoices(customNativeAd)

  // Record an impression.
  customNativeAd.recordImpression()
}
Java
private void displayCustomNativeAd(CustomNativeAd customNativeAd, Context context) {
  // Render the text elements.

  // The `customNativeAdBinding` is the layout binding for the ad container that
  // contains all `CustomNativeAd` assets.
  if (customNativeAdBinding != null) {
    customNativeAdBinding.headline.setText(customNativeAd.getText("Headline"));
    customNativeAdBinding.caption.setText(customNativeAd.getText("Caption"));

    ImageView imageView = new ImageView(context);
    imageView.setAdjustViewBounds(true);
    imageView.setImageDrawable(customNativeAd.getImage("MainImage").getDrawable());
    imageView.setOnClickListener(
        new View.OnClickListener() {
          @Override
          public void onClick(View v) {
            customNativeAd.performClick("MainImage");
          }
        });
    customNativeAdBinding.mediaPlaceholder.addView(imageView);

    // Render the ad choices icon.
    renderAdChoices(customNativeAd);

    // Record an impression.
    customNativeAd.recordImpression();
  }
}
カスタムのネイティブ広告フォーマットのネイティブ動画
カスタムのフォーマットを作成する際は、そのフォーマットを動画対応にすることもできます。
アプリに実装する際は、CustomNativeAd.getMediaContent() を使ってメディア コンテンツを取得できます。次に、setMediaContent() を呼び出して、メディアビューにメディア コンテンツを設定します。広告に null メディア コンテンツが含まれている場合は、動画なしで広告を表示する代替プランを作成します。
次の例では、広告に動画コンテンツがあるかどうかを確認し、動画がない場合はその表示対象位置に画像を表示しています。
Kotlin
private fun displayVideoCustomNativeAd(customNativeAd: CustomNativeAd, context: Context) {
  // Check whether the custom native ad has video content.
  val mediaContent = customNativeAd.mediaContent
  if (mediaContent != null && mediaContent.hasVideoContent) {
    // Render the media content in a MediaView.
    val mediaView = MediaView(context)
    mediaView.mediaContent = mediaContent
    customNativeAdBinding.mediaPlaceholder.addView(mediaView)
  } else {
    // Fall back to other assets defined on your custom native ad.
    val imageView = ImageView(context)
    imageView.adjustViewBounds = true
    imageView.setImageDrawable(customNativeAd.getImage("MainImage")?.drawable)
    customNativeAdBinding.mediaPlaceholder.addView(imageView)
  }

  // Record an impression.
  customNativeAd.recordImpression()
}
Java
private void displayVideoCustomNativeAd(CustomNativeAd customNativeAd, Context context) {
  // Check whether the custom native ad has video content.
  MediaContent mediaContent = customNativeAd.getMediaContent();
  if (mediaContent != null && mediaContent.getHasVideoContent()) {
    // Render the media content in a MediaView.
    MediaView mediaView = new MediaView(context);
    mediaView.setMediaContent(mediaContent);
    customNativeAdBinding.mediaPlaceholder.addView(mediaView);
  } else {
    // Fall back to other assets defined on your custom native ad.
    ImageView imageView = new ImageView(context);
    imageView.setAdjustViewBounds(true);
    imageView.setImageDrawable(customNativeAd.getImage("MainImage").getDrawable());
    customNativeAdBinding.mediaPlaceholder.addView(imageView);
  }

  // Record an impression.
  customNativeAd.recordImpression();
}
カスタム ネイティブ広告の動画エクスペリエンスをカスタマイズする方法について詳しくは、動画広告をご確認ください。
AdChoices アイコンを表示する
デジタル サービス法(DSA)への対応の一環として、欧州経済領域(EEA)で配信される純広告には、AdChoices アイコンと Google の [この広告について] ページへのリンクが必要です。カスタム ネイティブ広告を実装する場合は、AdChoices アイコンを表示する必要があります。メインの広告アセットを表示する際は、AdChoices アイコンを表示して、クリック リスナーを設定することをおすすめします。
次の例では、AdChoices ロゴを保持するためにビュー階層で <ImageView /> 要素を定義していることを前提としています。
<LinearLayout xmlns:android="http://schemas.android.com/apk/res/android">
    <ImageView
        android:id="@+id/adChoices"
        android:layout_width="15dp"
        android:layout_height="15dp"
        android:adjustViewBounds="true"
        android:contentDescription="AdChoices icon." />
</LinearLayout>
次の例では、AdChoices アイコンを表示して、適切なクリック動作を設定しています。
Kotlin
private fun renderAdChoices(customNativeAd: CustomNativeAd) {
  // Render the AdChoices image.
  val adChoiceAsset = customNativeAd.getImage(NativeAdAssetNames.ASSET_ADCHOICES_CONTAINER_VIEW)
  if (adChoiceAsset != null) {
    customNativeAdBinding.adchoices.setImageDrawable(adChoiceAsset.drawable)
    customNativeAdBinding.adchoices.visibility = View.VISIBLE
    customNativeAdBinding.adchoices.setOnClickListener {
      // Handle click. See the next section for more details.
      customNativeAd.performClick(NativeAdAssetNames.ASSET_ADCHOICES_CONTAINER_VIEW)
    }
  } else {
    customNativeAdBinding.adchoices.visibility = View.GONE
  }
}
Java
private void renderAdChoices(CustomNativeAd customNativeAd) {
  // Render the AdChoices image.
  Image adChoiceAsset =
      customNativeAd.getImage(NativeAdAssetNames.ASSET_ADCHOICES_CONTAINER_VIEW);
  if (adChoiceAsset != null) {
    if (customNativeAdBinding != null) {
      customNativeAdBinding.adchoices.setImageDrawable(adChoiceAsset.getDrawable());
      customNativeAdBinding.adchoices.setVisibility(View.VISIBLE);
      customNativeAdBinding.adchoices.setOnClickListener(
          new View.OnClickListener() {
            @Override
            public void onClick(View v) {
              // Handle click.
              customNativeAd.performClick(NativeAdAssetNames.ASSET_ADCHOICES_CONTAINER_VIEW);
            }
          });
    }
  } else {
    if (customNativeAdBinding != null) {
      customNativeAdBinding.adchoices.setVisibility(View.GONE);
    }
  }
}
インプレッションを記録し、クリックを報告する
インプレッションの記録と、Google Mobile Ads SDK(ベータ版)へのクリック イベントの報告は、アプリ側で行う必要があります。
インプレッションを記録する
カスタム ネイティブ広告のインプレッションを記録するには、広告の recordImpression() メソッドを呼び出します。
Kotlin
// Record an impression.
customNativeAd.recordImpression()
Java
// Record an impression.
customNativeAd.recordImpression();
アプリで誤って同じ広告に対してこのメソッドを 2 回呼び出すと、1 回のリクエストに対してインプレッションが繰り返し記録されないように SDK で自動的に処理されます。
クリックを報告する
アセットビューでクリックが発生したことを SDK に報告するには、広告の performClick() メソッドを呼び出します。アド マネージャーの管理画面で定義した文字列を使用して、クリックされたアセットの名前を渡します。
Kotlin
imageView.setOnClickListener { customNativeAd.performClick("MainImage") }
Java
imageView.setOnClickListener(
    new View.OnClickListener() {
      @Override
      public void onClick(View v) {
        customNativeAd.performClick("MainImage");
      }
    });
なお、広告に関連付けられているすべてのビューで、このメソッドを呼び出す必要はありません。表示するもののクリックまたはタップされることがない「Caption」というフィールドがある場合、そのアセットのビューで performClick を呼び出す必要はありません。
カスタム クリック アクションに対応する
カスタム フォーマットの広告がクリックされると、SDK は 3 つの応答を次の順序で試行します。
OnCustomClickListenerがある場合は呼び出す。- 広告の各ディープリンクの URL でコンテンツ リゾルバの特定を試み、最初に特定したリゾルバを開始する。
- ブラウザを開き、広告のリンク先 URL に移動する。
カスタム クリック アクションを実装するには、OnCustomClickListener を指定します。
Kotlin
customNativeAd.onCustomClickListener =
  object : OnCustomClickListener {
    override fun onCustomClick(assetName: String) {
      // Perform your custom action.
    }
  }
Java
customNativeAd.setOnCustomClickListener(
    new OnCustomClickListener() {
      @Override
      public void onCustomClick(@NonNull String assetName) {
        // Perform your custom action.
      }
    });
最初は、カスタム クリック リスナーがあることに違和感があるかもしれません。クリックの発生をアプリから SDK に伝えたばかりなのに、なぜ SDK からアプリにレポートを返す必要があるのか、疑問に思われるでしょう。
この情報フローはいくつかの理由で有益ですが、最大の理由は、このフローによって SDK がクリックに対するレスポンスを制御し続けられる点です。たとえば、クリエイティブに設定されている第三者のトラッキング URL を自動的に送信したり、コードを追加せずにバックグラウンドで他のタスクを処理したりすることができます。