
1. Before you begin
This codelab teaches you how to build an app to get video and take snapshots with your webcam, and share them peer-to-peer with WebRTC. You also learn how to use the core WebRTC APIs and set up a messaging server with Node.js.
Prerequisites
- Basic knowledge of HTML, CSS, and JavaScript
What you'll build
- Get video from your webcam.
- Stream video with
RTCPeerConnection. - Stream data with
RTCDataChannel. - Set up a signaling service to exchange messages.
- Combine peer connection and signaling.
- Take a photo and use a data channel to share it.
What you'll need
- Chrome 47 or higher
- Web Server for Chrome or a web server of your choice
- A text editor of your choice
- Node.js
2. Get the sample code
Download the code
- If you're familiar with Git, run this command to clone the code for this codelab from GitHub:
git clone https://github.com/googlecodelabs/webrtc-web
Alternatively, click this link to download a zip file of the code:
- Open the downloaded zip file to unpack a project folder named
webrtc-web-master, which contains one folder for each step of this codelab and all the resources that you need.
You do all your code work in the directory named work.
The step-nn folders contain a finished version for each step of this codelab. They're there for reference.
Install and verify web server
While you're free to use your own web server, this codelab is designed to work well with Web Server for Chrome.
- If you don't have Web Server for Chrome, click this link to install it from the Chrome Web Store:
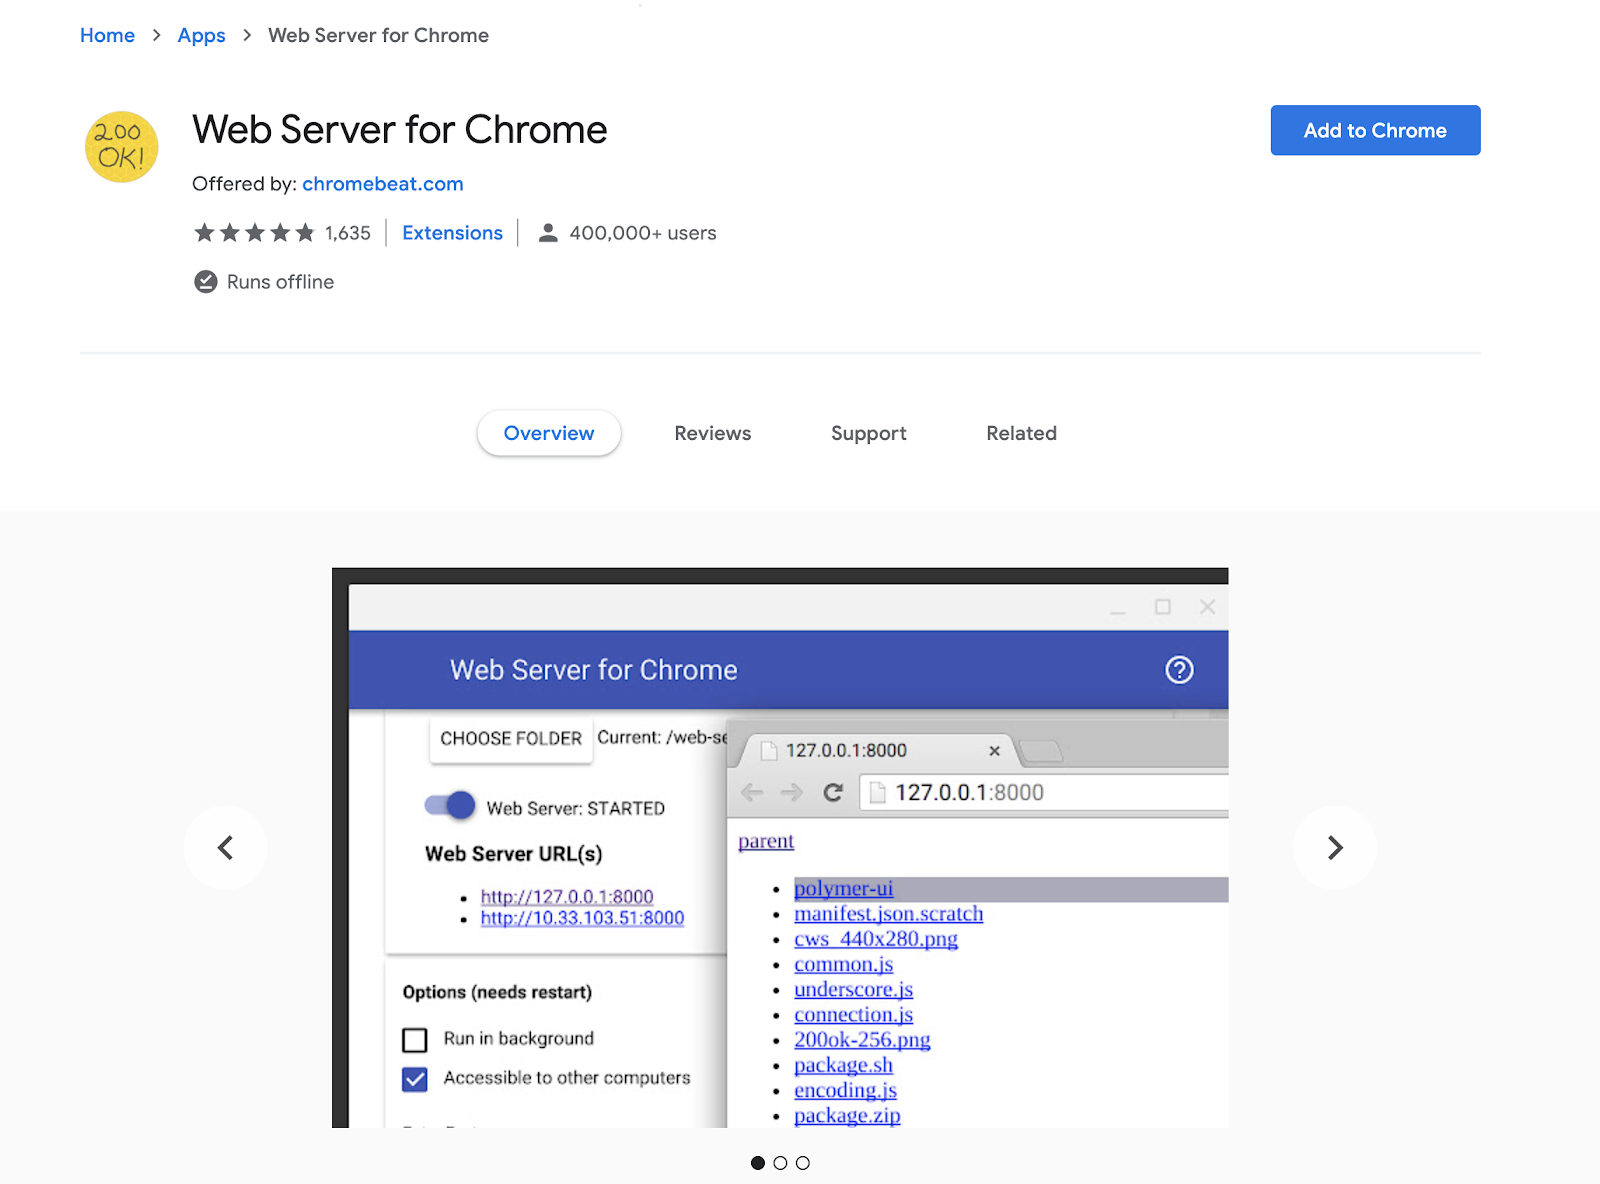
- Click Add to Chrome, which installs Web Server for Chrome and automatically opens your Google apps in a new tab.
- Click Web Server:
A dialog appears, which allows you to configure your local web server:
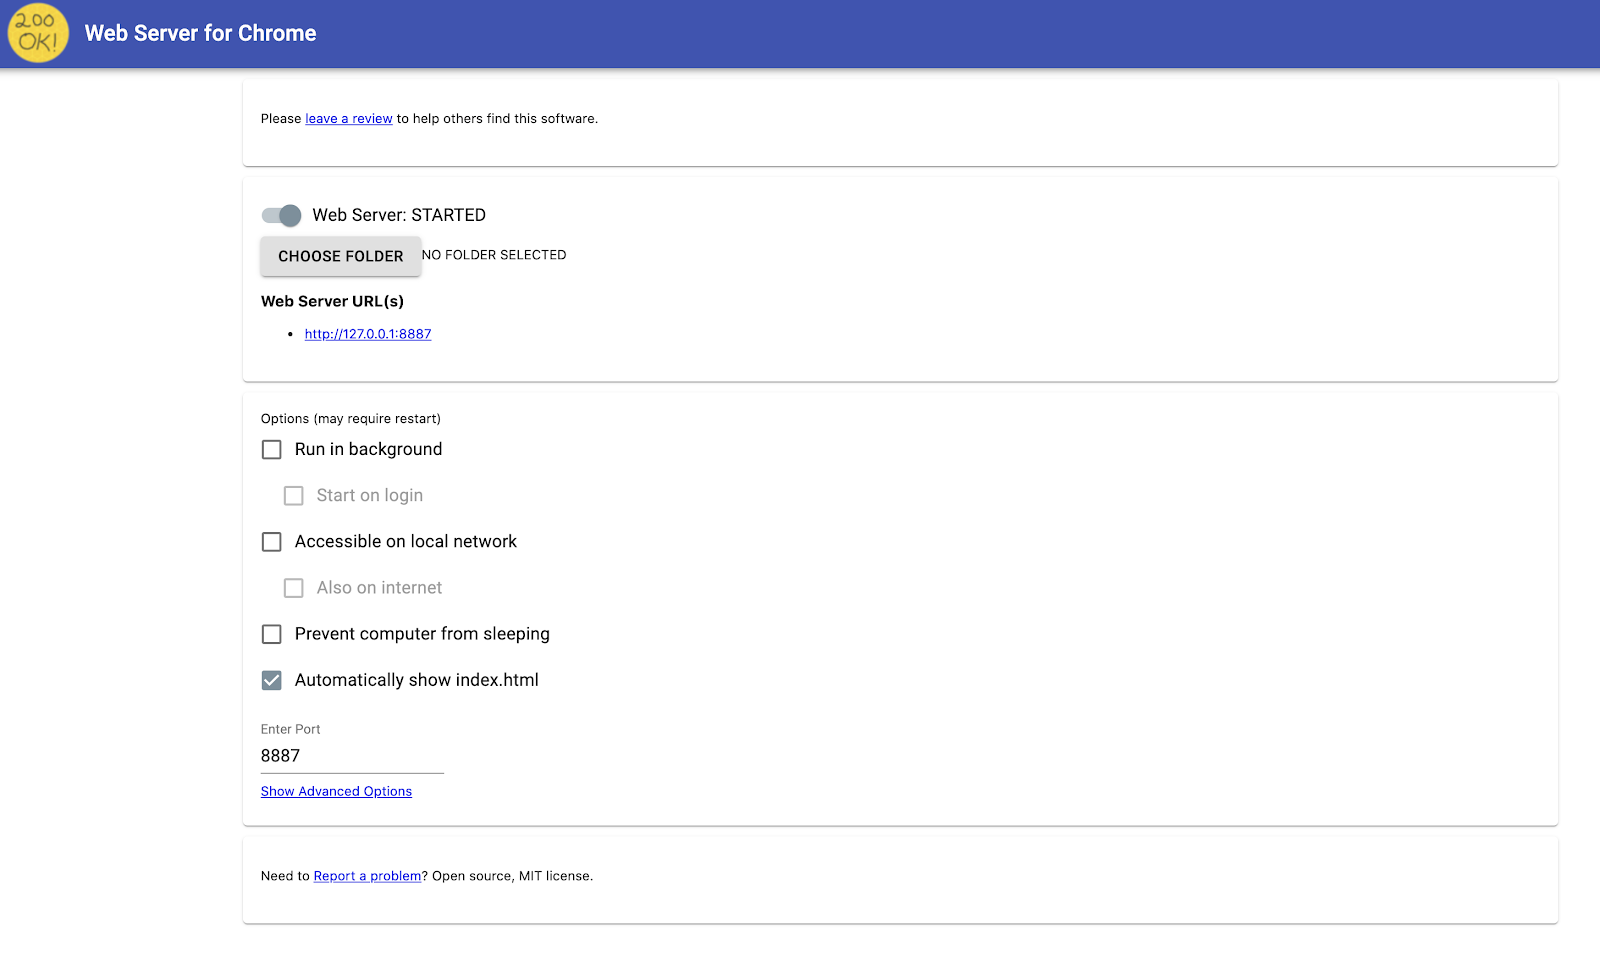
- Click Choose Folder.
- Select the
workfolder that you created.
Under Web Server URL(s), you see the URL where you can view your work in progress in
Chrome.
- Under Options (may require restart), select the Automatically show index.html checkbox.
- Toggle Web Server: Started twice to stop and restart the server.

- Click the URL under Web Server URL(s) to see your work in your web browser.
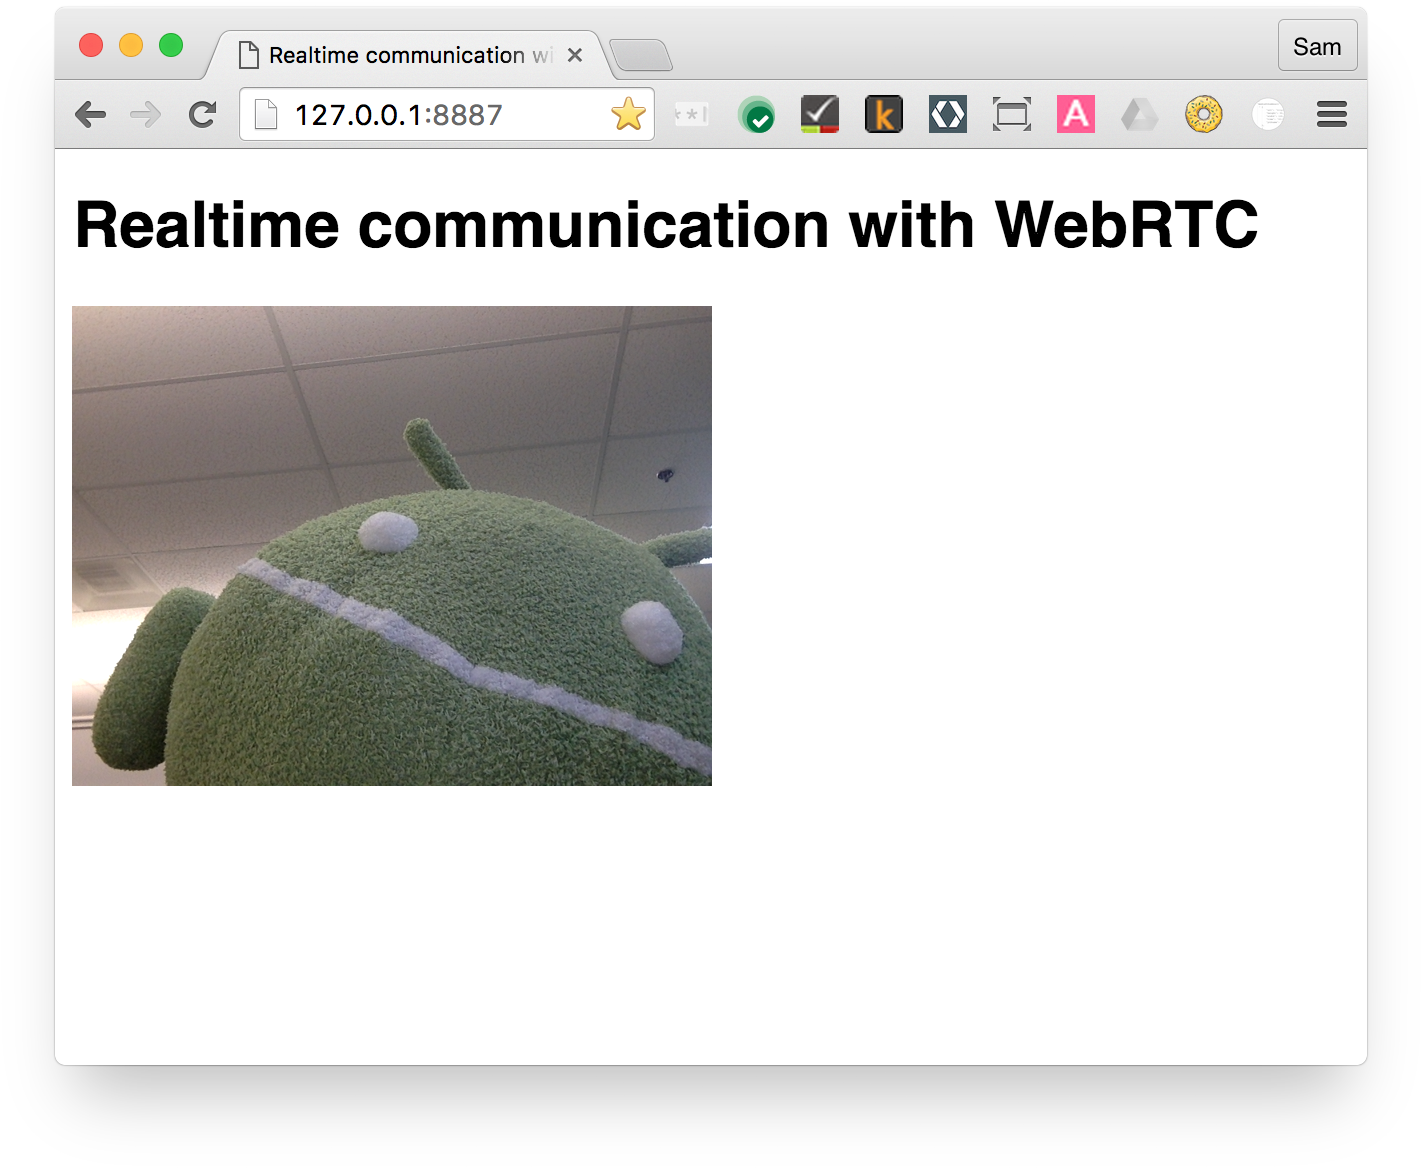
You should see a page that looks like this, which corresponds to work/index.html:
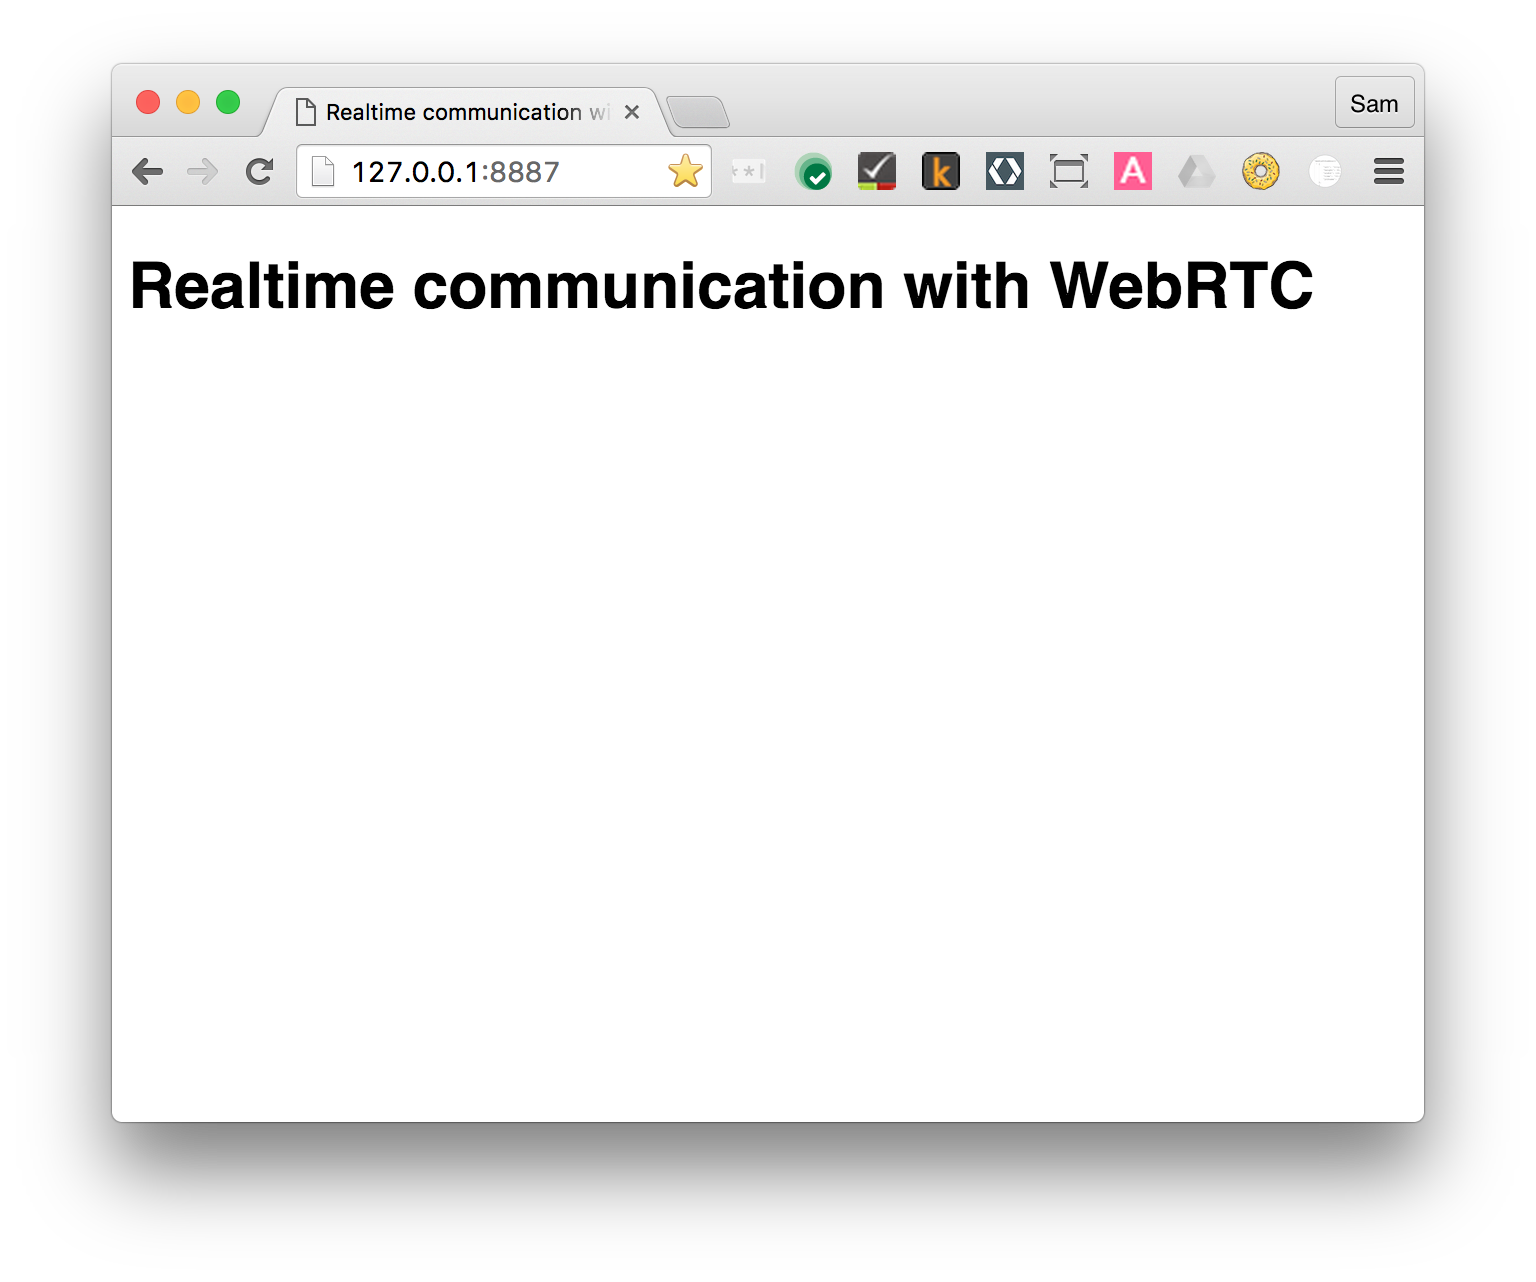
Obviously, this app isn't doing anything interesting yet. It's only a minimal skeleton to ensure that your web server works properly. You add functionality and layout features in subsequent steps.
3. Stream video from your webcam
A complete version of this step is in the step-01 folder.
Add a dash of HTML
Copy this code and paste it into the index.html file in your work directory to add a video and script element:
<!DOCTYPE html>
<html>

<head>

  <title>Real-time communication with WebRTC</title>

  <link rel="stylesheet" href="css/main.css" />

</head>

<body>

  <h1>Real-time communication with WebRTC</h1>

  <video autoplay playsinline></video>

  <script src="js/main.js"></script>

</body>

</html>
Add a pinch of JavaScript
Copy this code and paste it into the main.js file in your js folder:
'use strict';

// In this codelab, you  only stream video, not audio (video: true).
const mediaStreamConstraints = {
  video: true,
};

// The video element where the stream is displayed
const localVideo = document.querySelector('video');

// The local stream that's displayed on the video
let localStream;

// Handle success and add the MediaStream to the video element
function gotLocalMediaStream(mediaStream) {
  localStream = mediaStream;
  localVideo.srcObject = mediaStream;
}

// Handle error and log a message to the console with the error message
function handleLocalMediaStreamError(error) {
  console.log('navigator.getUserMedia error: ', error);
}

// Initialize media stream
navigator.mediaDevices.getUserMedia(mediaStreamConstraints)
  .then(gotLocalMediaStream).catch(handleLocalMediaStreamError);
Try it
Open the index.html file in your browser and you should see something like this, but with the view from your webcam, of course:
How it works
After the getUserMedia() call, the browser requests permission to access your camera if it's the first request for camera access for the current origin.
If successful, a MediaStream is returned, which a media element can use through the srcObject attribute:
navigator.mediaDevices.getUserMedia(mediaStreamConstraints)
  .then(gotLocalMediaStream).catch(handleLocalMediaStreamError);


}
function gotLocalMediaStream(mediaStream) {
  localVideo.srcObject = mediaStream;
}
The constraints argument allows you to specify what media to get. In this example, the media is only video because audio is disabled by default:
const mediaStreamConstraints = {
  video: true,
};
You can use constraints for additional requirements, such as video resolution:
const hdConstraints = {
  video: {
    width: {
      min: 1280
    },
    height: {
      min: 720
    }
  }
}
The MediaTrackConstraints specification lists all potential constraint types, though not all options are supported by all browsers. If the resolution requested isn't supported by the currently selected camera, getUserMedia() is rejected with an OverconstrainedError and you're prompted to give permission to access your camera.
If getUserMedia() is successful, the video stream from the webcam is set as the source of the video element:
function gotLocalMediaStream(mediaStream) {
  localVideo.srcObject = mediaStream;
}
Score bonus points
- The
localStreamobject passed togetUserMedia()is in global scope, so you can inspect it from the browser console. Open the console, typestream,and pressEnter(Returnon Mac). To view the console in Chrome, pressControl+Shift+J(orCommand+Option+Jon Mac). - What does
localStream.getVideoTracks()return? - Call
localStream.getVideoTracks()[0].stop(). - Look at the constraints object. What happens when you change it to
{audio: true, video: true}? - What size is the video element? How can you get the video's natural size from JavaScript, as opposed to display size? Use Google Chrome Developer Tools to check.
- Add CSS filters to the video element, like this:
video {
  filter: blur(4px) invert(1) opacity(0.5);
}
- Add SVG filters, like this:
video {
   filter: hue-rotate(180deg) saturate(200%);
 }
Tips
- Don't forget the
autoplayattribute on thevideoelement. Without that, you only see a single frame! - There are many more options for
getUserMedia()constraints. For more examples, see Constraints & statistics and More constraints & statistics on WebRTC samples.
Best practice
Make sure that your video element doesn't overflow its container. This codelab added width and max-width to set a preferred size and a maximum size for the video. Your browser calculates the height automatically.
video {
  max-width: 100%;
  width: 320px;
}
4. Stream video with RTCPeerConnection API
A complete version of this step is in the step-2 folder.
Add video elements and control buttons
In the index.html file, replace the single video element with two video and three button elements:
<video id="localVideo" autoplay playsinline></video>
<video id="remoteVideo" autoplay playsinline></video>


<div>
  <button id="startButton">Start</button>
  <button id="callButton">Call</button>
  <button id="hangupButton">Hang Up</button>
</div>
One video element displays the stream from getUserMedia()and the other shows the same video streamed through RTCPeerconnection. (In a real-world app, one video element would display the local stream and the other would display the remote stream.)
Add the adapter.js shim
Copy this script element and paste it above the script element for main.js:
<script src="https://webrtc.github.io/adapter/adapter-latest.js"></script>
Your index.html file should look like this now:
<!DOCTYPE html>
<html>

<head>
  <title>Real-time communication with WebRTC</title>
  <link rel="stylesheet" href="css/main.css" />
</head>

<body>
  <h1>Real-time communication with WebRTC</h1>

  <video id="localVideo" autoplay playsinline></video>
  <video id="remoteVideo" autoplay playsinline></video>

  <div>
    <button id="startButton">Start</button>
    <button id="callButton">Call</button>
    <button id="hangupButton">Hang Up</button>
  </div>

  <script src="https://webrtc.github.io/adapter/adapter-latest.js"></script>
  <script src="js/main.js"></script>
</body>
</html>
Install the RTCPeerConnection code
Replace main.js with the version in the step-02 folder.
Make the call
- Open the
index.htmlfile. - Click Start to get video from your webcam.
- Click Call to make the peer connection
You should see the same video from your webcam in both video elements.
- View the browser console to see WebRTC logging.
How it works
This step does a lot.
WebRTC uses the RTCPeerConnection API to set up a connection to stream video between WebRTC clients, known as peers.
In this example, the two RTCPeerConnection objects are on the same page: pc1 and pc2.
The call setup between WebRTC peers involves three tasks:
- Create an
RTCPeerConnectionfor each end of the call and, at each end, add the local stream fromgetUserMedia(). - Get and share network information.
Potential connection endpoints are known as ICE candidates.
- Get and share local and remote descriptions.
Metadata about local media is in Session Description Protocol (SDP) format.
Imagine that Alice and Bob want to use RTCPeerConnection to set up a video chat.
First, Alice and Bob exchange network information. The expression finding candidates refers to the process of finding network interfaces and ports using the ICE framework.
- Alice creates an
RTCPeerConnectionobject with anonicecandidate (addEventListener('icecandidate'))handler.
This corresponds to the following code from main.js:
let localPeerConnection;
localPeerConnection = new RTCPeerConnection(servers);
localPeerConnection.addEventListener('icecandidate', handleConnection);
localPeerConnection.addEventListener(
    'iceconnectionstatechange', handleConnectionChange);
- Alice calls
getUserMedia()and adds the stream passed to that:
navigator.mediaDevices.getUserMedia(mediaStreamConstraints).
  then(gotLocalMediaStream).
  catch(handleLocalMediaStreamError);
function gotLocalMediaStream(mediaStream) {
  localVideo.srcObject = mediaStream;
  localStream = mediaStream;
  trace('Received local stream.');
  callButton.disabled = false;  // Enable call button.
}
localPeerConnection.addStream(localStream);
trace('Added local stream to localPeerConnection.');
- The
onicecandidatehandler from the first step is called when network candidates become available. - Alice sends serialized candidate data to Bob.
In a real app, this process, known as signaling, takes place through a messaging service. You learn how to do that in a later step. Of course, in this step, the two RTCPeerConnection objects are on the same page and can communicate directly with no need for external messaging.
- When Bob gets a candidate message from Alice, he calls
addIceCandidate()to add the candidate to the remote peer description:
function handleConnection(event) {
  const peerConnection = event.target;
  const iceCandidate = event.candidate;

  if (iceCandidate) {
    const newIceCandidate = new RTCIceCandidate(iceCandidate);
    const otherPeer = getOtherPeer(peerConnection);

    otherPeer.addIceCandidate(newIceCandidate)
      .then(() => {
        handleConnectionSuccess(peerConnection);
      }).catch((error) => {
        handleConnectionFailure(peerConnection, error);
      });

    trace(`${getPeerName(peerConnection)} ICE candidate:\n` +
          `${event.candidate.candidate}.`);
  }
}
WebRTC peers also need to discover and exchange local and remote audio and video media information, such as resolution and codec capabilities. Signaling to exchange media configuration information proceeds with the exchange of blobs of metadata, known as an offer and answer, using the SDP format.
- Alice runs the
RTCPeerConnectioncreateOffer()method.
The promise returned provides an RTCSessionDescription—Alice's local session description:
trace('localPeerConnection createOffer start.');
localPeerConnection.createOffer(offerOptions)
  .then(createdOffer).catch(setSessionDescriptionError);
- If successful, Alice sets the local description using
setLocalDescription()and then sends this session description to Bob through their signaling channel. - Bob sets the description Alice sent him as the remote description with
setRemoteDescription(). - Bob runs the
RTCPeerConnectioncreateAnswer()method and passes it the remote description he got from Alice so a local session is generated that is compatible with hers. - The
createAnswer()promise passes anRTCSessionDescription, which Bob sets as the local description and sends to Alice. - When Alice gets Bob's session description, she sets it as the remote description with
setRemoteDescription().
// Logs offer creation and sets peer connection session descriptions
function createdOffer(description) {
  trace(`Offer from localPeerConnection:\n${description.sdp}`);

  trace('localPeerConnection setLocalDescription start.');
  localPeerConnection.setLocalDescription(description)
    .then(() => {
      setLocalDescriptionSuccess(localPeerConnection);
    }).catch(setSessionDescriptionError);

  trace('remotePeerConnection setRemoteDescription start.');
  remotePeerConnection.setRemoteDescription(description)
    .then(() => {
      setRemoteDescriptionSuccess(remotePeerConnection);
    }).catch(setSessionDescriptionError);

  trace('remotePeerConnection createAnswer start.');
  remotePeerConnection.createAnswer()
    .then(createdAnswer)
    .catch(setSessionDescriptionError);
}

// Logs answer to offer creation and sets peer-connection session descriptions
function createdAnswer(description) {
  trace(`Answer from remotePeerConnection:\n${description.sdp}.`);

  trace('remotePeerConnection setLocalDescription start.');
  remotePeerConnection.setLocalDescription(description)
    .then(() => {
      setLocalDescriptionSuccess(remotePeerConnection);
    }).catch(setSessionDescriptionError);

  trace('localPeerConnection setRemoteDescription start.');
  localPeerConnection.setRemoteDescription(description)
    .then(() => {
      setRemoteDescriptionSuccess(localPeerConnection);
    }).catch(setSessionDescriptionError);
}
Score bonus points
- Navigate to chrome://webrtc-internals.
This page provides WebRTC stats and debugging data. (You can find a full list of Chrome URLs at chrome://about.)
- Style the page with CSS:
- Put the videos side by side.
- Make the buttons the same width with bigger text.
- Make sure the layout works on mobile.
- From the Chrome Developer Tools console, look at
localStream,localPeerConnection, andremotePeerConnection. - From the console, look at
localPeerConnectionpc1.localDescription.
What does SDP format look like?
Tips
- For more information about the adapter.js shim, see the adapter.js GitHub repository.
- Take a look at AppRTC and its code, the WebRTC project's canonical app for WebRTC calls. Call setup time is less than 500ms.
Best practice
To future-proof your code, use the new Promise-based APIs and enable compatibility with browsers that don't support them with adapter.js.
5. Use a data channel to exchange data
A complete version of this step is in the step-03 folder.
Update your HTML
For this step, you use WebRTC data channels to send text between two textarea elements on the same page. That's not very useful, but does demonstrate how WebRTC can be used to share data, as well as stream video.
Remove the video and button elements from index.html, and replace them with the following HTML:
<textarea id="dataChannelSend" disabled
    placeholder="Press Start, enter some text, then press Send."></textarea>
<textarea id="dataChannelReceive" disabled></textarea>

<div id="buttons">
  <button id="startButton">Start</button>
  <button id="sendButton">Send</button>
  <button id="closeButton">Stop</button>
</div>
One textarea is for entering text, while the other is for displaying the text as streamed between peers.
Your index.html file should look like this now:
<!DOCTYPE html>
<html>

<head>

  <title>Real-time communication with WebRTC</title>

  <link rel="stylesheet" href="css/main.css" />

</head>

<body>

  <h1>Real-time communication with WebRTC</h1>

  <textarea id="dataChannelSend" disabled
    placeholder="Press Start, enter some text, then press Send."></textarea>
  <textarea id="dataChannelReceive" disabled></textarea>

  <div id="buttons">
    <button id="startButton">Start</button>
    <button id="sendButton">Send</button>
    <button id="closeButton">Stop</button>
  </div>

  <script src="https://webrtc.github.io/adapter/adapter-latest.js"></script>
  <script src="js/main.js"></script>

</body>

</html>
Update your JavaScript
- Replace
main.jswith the contents ofstep-03/js/main.js.
- Try streaming data between peers:
- Open
index.html. - Click Start to set up the peer connection.
- Enter some text in the
textareaon the left. - Click Send to transfer the text using a WebRTC data channel.
How it works
This code uses RTCPeerConnection and RTCDataChannel to enable exchange of text messages.
Much of the code in this step is the same as for the RTCPeerConnection example. The sendData() and createConnection() functions have most of the new code:
function createConnection() {
  dataChannelSend.placeholder = '';
  var servers = null;
  pcConstraint = null;
  dataConstraint = null;
  trace('Using SCTP based data channels');
  // For SCTP, reliable and ordered delivery is true by default.
  // Add localConnection to global scope to make it visible
  // from the browser console.
  window.localConnection = localConnection =
      new RTCPeerConnection(servers, pcConstraint);
  trace('Created local peer connection object localConnection');

  sendChannel = localConnection.createDataChannel('sendDataChannel',
      dataConstraint);
  trace('Created send data channel');

  localConnection.onicecandidate = iceCallback1;
  sendChannel.onopen = onSendChannelStateChange;
  sendChannel.onclose = onSendChannelStateChange;

  // Add remoteConnection to global scope to make it visible
  // from the browser console.
  window.remoteConnection = remoteConnection =
      new RTCPeerConnection(servers, pcConstraint);
  trace('Created remote peer connection object remoteConnection');

  remoteConnection.onicecandidate = iceCallback2;
  remoteConnection.ondatachannel = receiveChannelCallback;

  localConnection.createOffer().then(
    gotDescription1,
    onCreateSessionDescriptionError
  );
  startButton.disabled = true;
  closeButton.disabled = false;
}

function sendData() {
  var data = dataChannelSend.value;
  sendChannel.send(data);
  trace('Sent Data: ' + data);
}
The syntax of RTCDataChannel is deliberately similar to WebSocket with a send() method and a message event.
Notice the use of dataConstraint. Data channels can be configured to enable different types of data sharing, such as prioritizing reliable delivery over performance.
Score bonus points
- With SCTP, the protocol used by WebRTC data channels, reliable and ordered data delivery is on by default. When might
RTCDataChannelneed to provide reliable delivery of data and when might performance be more important, even if that means losing some data? - Use CSS to improve page layout and add a placeholder attribute to the
dataChannelReceivetextarea. - Test the page on a mobile device.
Find out more
6. Set up a signaling service to exchange messages
You learned how to exchange data between peers on the same page, but how do you do it between different machines? First, you need to set up a signaling channel to exchange metadata messages.
A complete version of this step is in the step-04 folder.
About the app
WebRTC uses a client-side JavaScript API, but for real-world usage also requires a signaling (messaging) server, as well as STUN and TURN servers. You can find out more here.
In this step, you build a simple Node.js signaling server using the Socket.IO Node.js module and JavaScript library for messaging.
In this example, the server (the Node.js app) is implemented in index.js and the client that runs on it (the web app) is implemented in index.html.
The Node.js app in this step has two tasks.
First, it acts as a message relay:
socket.on('message', function (message) {
  log('Got message: ', message);
  socket.broadcast.emit('message', message);
});
Second, it manages WebRTC video chat rooms:
if (numClients === 0) {
  socket.join(room);
  socket.emit('created', room, socket.id);
} else if (numClients === 1) {
  socket.join(room);
  socket.emit('joined', room, socket.id);
  io.sockets.in(room).emit('ready');
} else { // max two clients
  socket.emit('full', room);
}
Your simple WebRTC app permits a maximum of two peers to share a room.
HTML and JavaScript
- Update
index.htmlso that it looks like this:
<!DOCTYPE html>
<html>

<head>

  <title>Real-time communication with WebRTC</title>

  <link rel="stylesheet" href="css/main.css" />

</head>

<body>

  <h1>Real-time communication with WebRTC</h1>

  <script src="/socket.io/socket.io.js"></script>
  <script src="js/main.js"></script>

</body>

</html>
You won't see anything on the page in this step. All logging is done to the browser console. To view the console in Chrome, press Control+Shift+J (or Command+Option+J on Mac).
- Replace
js/main.jswith the following:
'use strict';

var isInitiator;

window.room = prompt("Enter room name:");

var socket = io.connect();

if (room !== "") {
  console.log('Message from client: Asking to join room ' + room);
  socket.emit('create or join', room);
}

socket.on('created', function(room, clientId) {
  isInitiator = true;
});

socket.on('full', function(room) {
  console.log('Message from client: Room ' + room + ' is full :^(');
});

socket.on('ipaddr', function(ipaddr) {
  console.log('Message from client: Server IP address is ' + ipaddr);
});

socket.on('joined', function(room, clientId) {
  isInitiator = false;
});

socket.on('log', function(array) {
  console.log.apply(console, array);
});
Set up Socket.IO file to run on Node.js
In the HTML file, you may have seen that you are using a Socket.IO file:
<script src="/socket.io/socket.io.js"></script>
- At the top level of your
workdirectory, create a file namedpackage.jsonwith the following contents:
{
  "name": "webrtc-codelab",
  "version": "0.0.1",
  "description": "WebRTC codelab",
  "dependencies": {
    "node-static": "^0.7.10",
    "socket.io": "^1.2.0"
  }
}
This is an app manifest that tells Node Package Manager (npm) what project
dependencies to install.
- To install dependencies, such as
/socket.io/socket.io.js, run the following from the command-line terminal in yourworkdirectory:
npm install
You should see an installation log that ends with something like this:
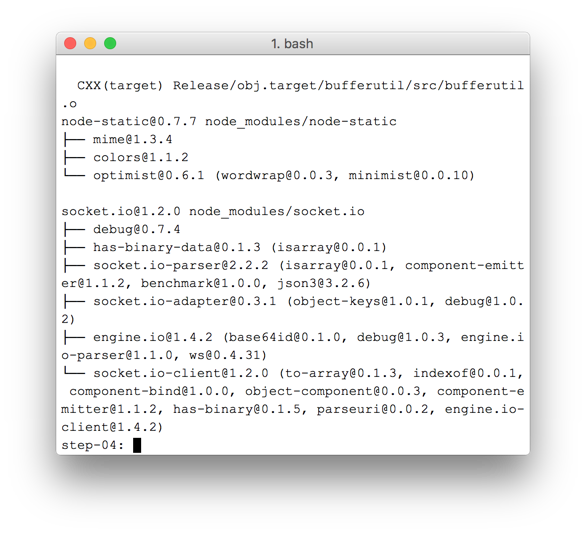
As you can see, npm installed the dependencies defined in package.json.
- Create a new file
index.jsat the top level of yourworkdirectory (not thejsdirectory) and add the following code:
'use strict';

var os = require('os');
var nodeStatic = require('node-static');
var http = require('http');
var socketIO = require('socket.io');

var fileServer = new(nodeStatic.Server)();
var app = http.createServer(function(req, res) {
  fileServer.serve(req, res);
}).listen(8080);

var io = socketIO.listen(app);
io.sockets.on('connection', function(socket) {

  // Convenience function to log server messages on the client
  function log() {
    var array = ['Message from server:'];
    array.push.apply(array, arguments);
    socket.emit('log', array);
  }

  socket.on('message', function(message) {
    log('Client said: ', message);
    // For a real app, would be room-only (not broadcast)
    socket.broadcast.emit('message', message);
  });

  socket.on('create or join', function(room) {
    log('Received request to create or join room ' + room);

    var clientsInRoom = io.sockets.adapter.rooms[room];
    var numClients = clientsInRoom ? Object.keys(clientsInRoom.sockets).length : 0;

    log('Room ' + room + ' now has ' + numClients + ' client(s)');

    if (numClients === 0) {
      socket.join(room);
      log('Client ID ' + socket.id + ' created room ' + room);
      socket.emit('created', room, socket.id);

    } else if (numClients === 1) {
      log('Client ID ' + socket.id + ' joined room ' + room);
      io.sockets.in(room).emit('join', room);
      socket.join(room);
      socket.emit('joined', room, socket.id);
      io.sockets.in(room).emit('ready');
    } else { // max two clients
      socket.emit('full', room);
    }
  });

  socket.on('ipaddr', function() {
    var ifaces = os.networkInterfaces();
    for (var dev in ifaces) {
      ifaces[dev].forEach(function(details) {
        if (details.family === 'IPv4' && details.address !== '127.0.0.1') {
          socket.emit('ipaddr', details.address);
        }
      });
    }
  });

});
- From the command-line terminal, run the following command in the
workdirectory:
node index.js
- From your browser, navigate to http://localhost:8080.
Each time you navigate to this URL, you're prompted to enter a room name.
To join the same room, enter the same room name each time, such as foo.
- Open a new tab navigate to http://localhost:8080 again, and enter the same room name again.
- Open another new tab, navigate to http://localhost:8080 again, and enter the same room name again.
- Check the console in each of the tabs.
You should see logging from the JavaScript.
Score bonus points
- What alternative messaging mechanisms might be possible? What problems might you encounter using pure WebSocket?
- What issues might be involved with scaling this app? Can you develop a method for testing thousands or millions of simultaneous room requests?
- This app uses a JavaScript prompt to get a room name. Figure out how to get the room name from the URL. For example, http://localhost:8080/foo would give the room name
foo.
Find out more
7. Combine peer connection and signaling
A complete version of this step is in the step-05 folder.
Replace HTML and JavaScript
- Replace the contents of
index.htmlwith the following:
<!DOCTYPE html>
<html>

<head>

  <title>Real-time communication with WebRTC</title>

  <link rel="stylesheet" href="/css/main.css" />

</head>

<body>

  <h1>Real-time communication with WebRTC</h1>

  <div id="videos">
    <video id="localVideo" autoplay muted></video>
    <video id="remoteVideo" autoplay></video>
  </div>

  <script src="/socket.io/socket.io.js"></script>
  <script src="https://webrtc.github.io/adapter/adapter-latest.js"></script>
  <script src="js/main.js"></script>

</body>

</html>
- Replace
js/main.jswith the contents ofstep-05/js/main.js.
Run the Node.js server
If you are not following this codelab from your work directory, you may need to install the dependencies for the step-05 folder or your current working folder.
- Run the following command from your working directory:
npm install
- Once installed, if your Node.js server is not running, start it by running the following command in the
workdirectory:
node index.js
Make sure that you're using the version of index.js from the previous step that implements Socket.IO. For more information on Node and Socket IO, review the section Set up a signaling service to exchange messages.
- From your browser, navigate to http://localhost:8080.
- Open a new tab and navigate to http://localhost:8080 again.
One video element displays the local stream from getUserMedia()and the other shows the remote video streamed through RTCPeerconnection.
- View logging in the browser console.
Score b****onus points
- This app supports only one-to-one video chat. How might you change the design to enable more than one person to share the same video chat room?
- The example has the room name
foohard coded. What would be the best way to enable other room names? - How would users share the room name? Try to build an alternative to sharing room names.
- How could you change the app?
Tips
- Find WebRTC stats and debug data at chrome://webrtc-internals.
- Use WebRTC Troubleshooter to check your local environment, and test your camera and microphone.
- If you have odd troubles with caching, try the following:
- Press
Controland click Reload this page. - Restart the browser.
- Run
npm cache cleanfrom the command line.
8. Take a photo and share it through a data channel
A complete version of this step is in the step-06 folder.
How it works
Previously, you learned how to exchange text messages using RTCDataChannel. This step makes it possible to share entire files. In this example, photos are captured with getUserMedia().
The core parts of this step are as follows:
- Establish a data channel.
You don't add any media streams to the peer connection in this step.
- Capture your webcam video stream with
getUserMedia():
var video = document.getElementById('video');

function grabWebCamVideo() {
  console.log('Getting user media (video) ...');
  navigator.mediaDevices.getUserMedia({
    video: true
  })
  .then(gotStream)
  .catch(function(e) {
    alert('getUserMedia() error: ' + e.name);
  });
}
- Click Snap to get a snapshot (a video frame) from the video stream and display it in a
canvaselement:
var photo = document.getElementById('photo');
var photoContext = photo.getContext('2d');

function snapPhoto() {
  photoContext.drawImage(video, 0, 0, photo.width, photo.height);
  show(photo, sendBtn);
}
- Click Send to convert the image to bytes and send them through a data channel:
function sendPhoto() {
  // Split the data-channel message in chunks of this byte length.
  var CHUNK_LEN = 64000;
  var img = photoContext.getImageData(0, 0, photoContextW, photoContextH),
    len = img.data.byteLength,
    n = len / CHUNK_LEN | 0;

  console.log('Sending a total of ' + len + ' byte(s)');
  dataChannel.send(len);

  // Split the photo and send in chunks of approximately 64KB.
  for (var i = 0; i < n; i++) {
    var start = i * CHUNK_LEN,
      end = (i + 1) * CHUNK_LEN;
    console.log(start + ' - ' + (end - 1));
    dataChannel.send(img.data.subarray(start, end));
  }

  // Send the reminder, if applicable.
  if (len % CHUNK_LEN) {
    console.log('last ' + len % CHUNK_LEN + ' byte(s)');
    dataChannel.send(img.data.subarray(n * CHUNK_LEN));
  }
}
The receiving side converts data-channel message bytes to an image and displays the image to the user:
function receiveDataChromeFactory() {
  var buf, count;

  return function onmessage(event) {
    if (typeof event.data === 'string') {
      buf = window.buf = new Uint8ClampedArray(parseInt(event.data));
      count = 0;
      console.log('Expecting a total of ' + buf.byteLength + ' bytes');
      return;
    }

    var data = new Uint8ClampedArray(event.data);
    buf.set(data, count);

    count += data.byteLength;
    console.log('count: ' + count);

    if (count === buf.byteLength) {
      // we're done: all data chunks have been received
      console.log('Done. Rendering photo.');
      renderPhoto(buf);
    }
  };
}

function renderPhoto(data) {
  var canvas = document.createElement('canvas');
  canvas.width = photoContextW;
  canvas.height = photoContextH;
  canvas.classList.add('incomingPhoto');
  // The trail is the element that holds the incoming images.
  trail.insertBefore(canvas, trail.firstChild);

  var context = canvas.getContext('2d');
  var img = context.createImageData(photoContextW, photoContextH);
  img.data.set(data);
  context.putImageData(img, 0, 0);
}
Get the code
- Replace the contents of your
workfolder with the contents ofstep-06.
Your index.html file in work should look like this now**:**
<!DOCTYPE html>
<html>
<head>
<title>Real-time communication with WebRTC</title>
<link rel="stylesheet" href="/css/main.css" />
</head>
<body>
<h1>Real-time communication with WebRTC</h1>
<h2>
<span>Room URL: </span><span id="url">...</span>
</h2>
<div id="videoCanvas">
<video id="camera" autoplay></video>
<canvas id="photo"></canvas>
</div>
<div id="buttons">
<button id="snap">Snap</button><span> then </span><button id="send">Send</button>
<span> or </span>
<button id="snapAndSend">Snap & Send</button>
</div>
<div id="incoming">
<h2>Incoming photos</h2>
<div id="trail"></div>
</div>
<script src="/socket.io/socket.io.js"></script>
<script src="https://webrtc.github.io/adapter/adapter-latest.js"></script>
<script src="js/main.js"></script>
</body>
</html>
- If you are not following this codelab from your
workdirectory, you may need to install the dependencies for thestep-06folder or your current working folder. Simply run the following command from your working directory:
npm install
- Once installed, if your Node.js server is not running, start it by running the following command from your
workdirectory:
node index.js
Make sure that you're using the version of `index.js` that implements Socket.IO and
remember to restart your Node.js server if you make changes.
For more information on Node and Socket.IO, review the section Set up a signaling
service to exchange messages.
- If necessary, click Allow to let the app use your webcam.
The app creates a random room ID and adds the ID to the URL.
- Open the URL from the address bar in a new browser tab or window.
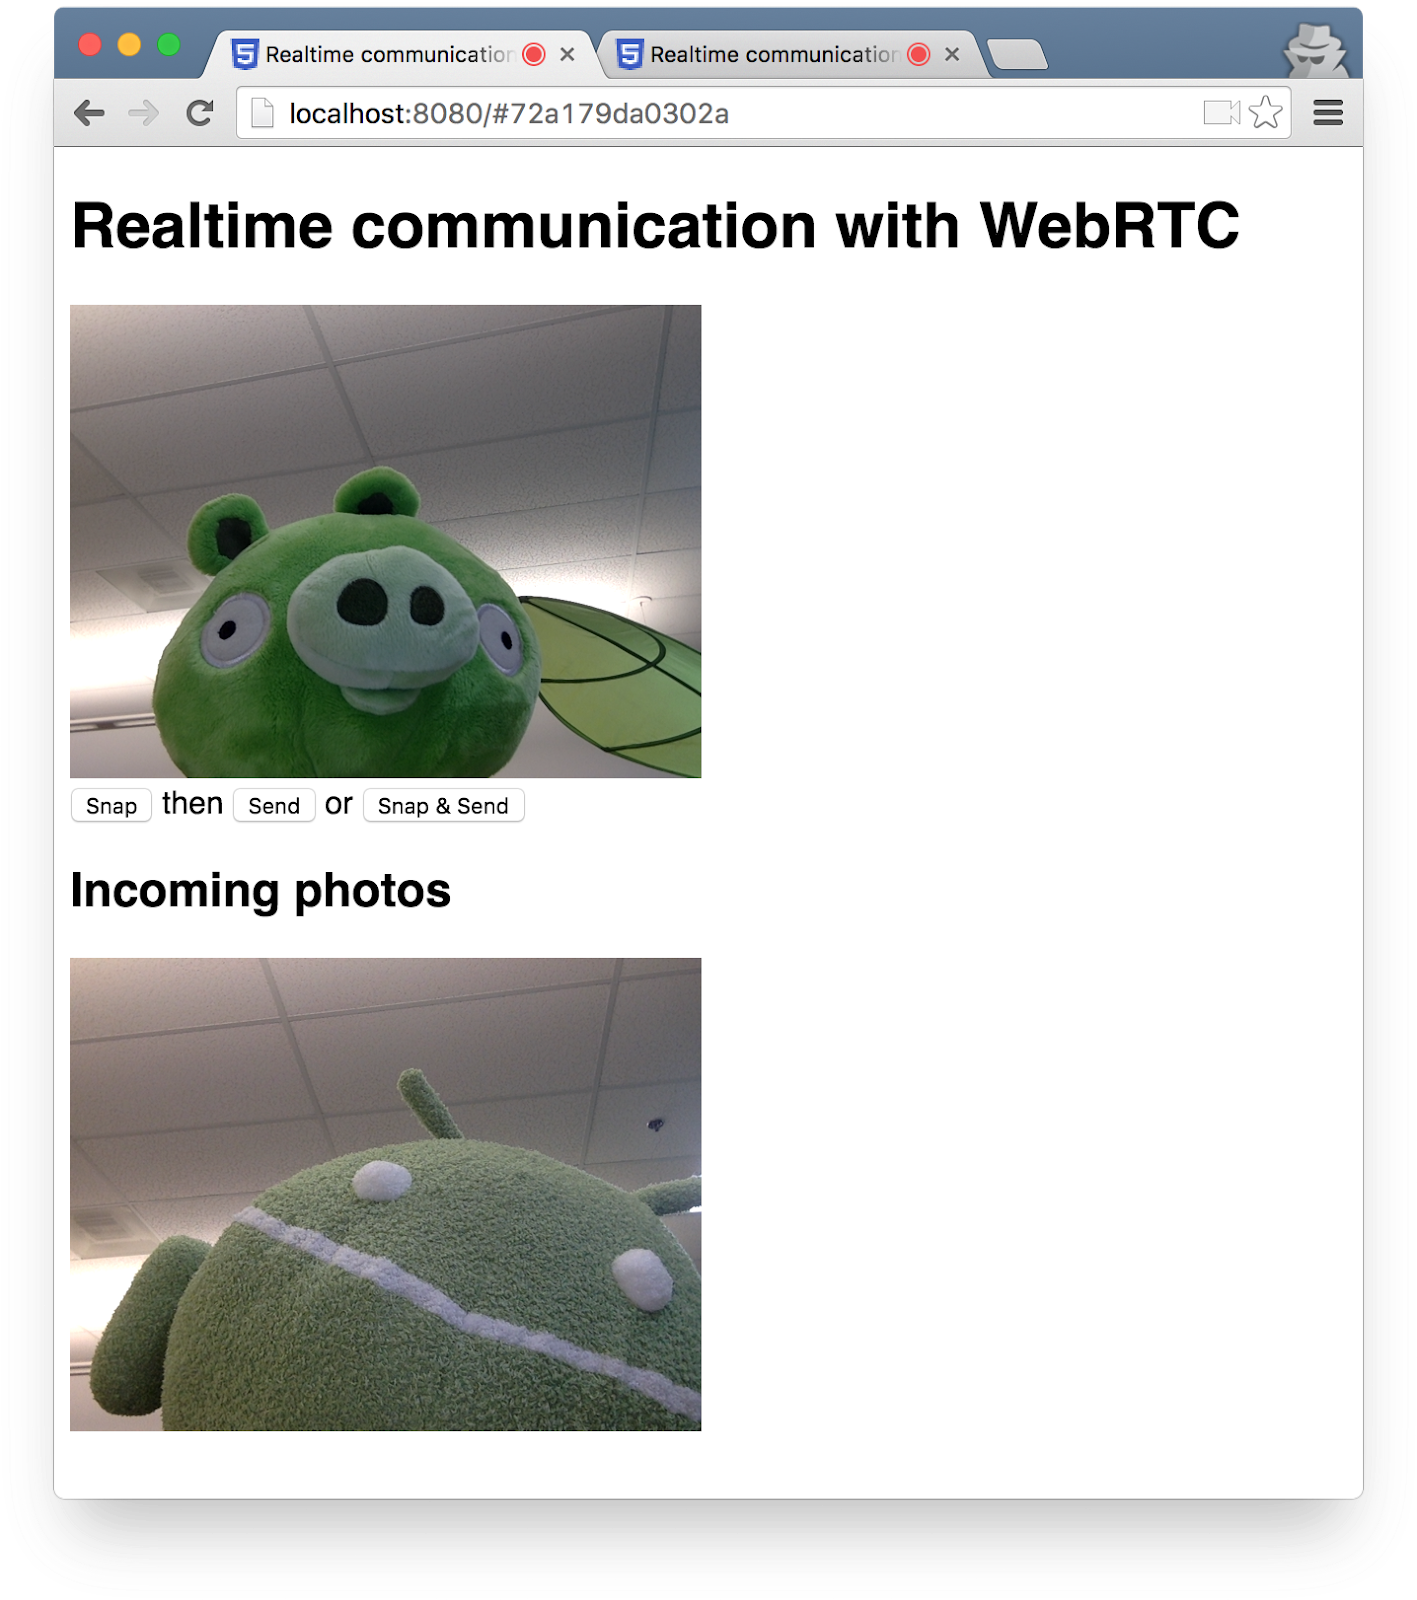
- Click Snap & Send, then look at Incoming photos in the other tab at the bottom of the page.
The app transfers photos between tabs.
You should see something like this:
Score bonus points
How can you change the code to make it possible to share any file type?
Find out more
9. Congratulations
You built an app for real-time video streaming and data exchange!