
1. Before you begin
This codelab teaches you how to complete HTML and JavaScript code exercises with Vue, a JavaScript framework that you can use to create user interfaces in web apps.
In this codelab, you enhance existing code to add features to a to-do web app. You may wonder, "What is a to-do app and why should I build one?". A to-do app lets you create and view tasks similar to reminders, such as buy bread and exercise.
This table shows you some constraints of the to-do app in this codelab versus how a to-do app might work in the real world. The to-do app in this codelab isn't a reference implementation of how you should build a to-do app, but rather a minimal example to demonstrate the framework features of Vue.
To-do app in this codelab | To-do app in the real world |
The app is bare-bones. For example, you can't edit the to-dos. | The app would likely have more features, such as the ability to edit, search for, and filter to-dos. |
The app isn't tested extensively for accessibility standards. However, it's keyboard navigable. | The app should work for users of different abilities in different environments on a variety of devices. |
The app doesn't store to-dos and a page refresh discards any additional to-dos. | The app would store to-dos in persistent storage, such as the browser's local storage, or a database. |
The app doesn't have much visual design. | The app would have more design and styling consideration. |
Framework authors and community members often use to-do apps to demonstrate framework features in a way that's more comprehensive than "Hello, World!" programs, which are too trivial and don't convey much information about JavaScript frameworks even though they're often the first program that you create when you learn something new in software engineering.
Not all web apps require a framework, but you may find that you're more effective when you use frameworks as many web developers do. If so and you opt to regularly use frameworks, ensure that you refresh your knowledge of web-development fundamentals throughout your learning journey and career because the more that you rely on the abstractions that a framework provides, the less exposure you get to the underlying mechanisms. Even when you're an experienced web developer who uses frameworks, you can still forget foundational web-development concepts. For example, if you use the event-handling features of a modern framework, ensure that you still understand the fundamentals of how JavaScript events work.
Prerequisites
What you'll learn
- The basics of the Vue framework.
- How to manage interactivity in a Vue app.
- How to use Vue template features.
What you'll need
- A desktop browser
- An internet connection
2. Understand the to-do app
This section familiarizes you with the to-do app that you create, but it doesn't provide you with the code behind the demo or require you to write any code. You can use the app and think about how you might implement such features in plain JavaScript without a framework. You can consider this section complete after you finish the tasks and understand the final version of the app.

Familiarize yourself with the to-do app:
- Navigate to the final version of the to-do app. The app's UI includes the following:
- A header that includes a title, a text box, and an Add button.
- A list of to-dos, each of which includes a checkbox, text, and a Remove button.
- A footer that specifies the number of incomplete to-dos.
- Add a to-do. For example, you can enter
Wash vegetablesin the text box and then press Add. - Select the checkbox next to a to-do. The number of incomplete to-dos in the footer decreases by one.
- Click Remove next to a to-do. The to-do disappears from the list.
- If possible, use these common keyboard shortcuts to interact with the app:
- Press
Tabto move forward through the UI. - Press
Shift+Tabto move backward through the UI. - Press
Spaceto select a part of the UI. - Press
Enterto submit a form input.

3. Display to-dos
In this section, you render a list of to-dos and ignore any interactive elements, such as a checkbox or Remove button. Your solution code includes HTML and JavaScript.
Render a list of to-dos:
- Navigate to this demo, and then read through the HTML and JavaScript code.
- In the JS pane, notice that the
initialTodosarray variable includes to-dos that are already written for you. - In the
todosproperty of theVue.createApp()method, replace the empty array placeholder with theinitialTodosarray variable. - Optional: Click
 > Minimize JavaScript Editor to close the JS pane. You don't need to edit any more JavaScript code in this section.
 - In the opening tag of the
<li>element in the HTML pane, insert thev-fordirective and then set it to atodo in todosdirective expression. An "Update this!" message appears three times, which indicates that the loop construct worked and created three<li>elements for each item in thetodosproperty. - In the
v-fordirective, add a:keyattribute and then set it to a"todo.id"value:
HTML snippet for the v-for directive:
<li v-for="todo in todos" :key="todo.id">
  ...
</li>
- In the
<p>element, add a set of double mustache tags and then call thecontentsproperty on thetodovariable inside them:
HTML snippet showing the double mustache tags:
<p>{{ todo.contents }}</p>
This technique uses text interpolation. The app now displays the three to-dos, but you shouldn't assume that there will always be three items available. For example, the todos variable might contain an empty array. If you don't handle this case, the <ul> element could render without any <li> elements!
- Add the
v-showdirective to the<ul>element and then set it to a "todos.length > 0"condition. You can simplify yourv-showdirective as shown in this code snippet:
HTML snippet using v-show:
<ul v-show="todos.length">
The reason that this works is because values in JavaScript can be truthy or falsy. If the todos.length directive expression is a 0 value, it's considered a falsy value, which then tells the v-show directive to hide the element.
- Observe that the page displays three to-dos. If you don't see three to-dos, compare the solution code to what you wrote.
To view the solution code for this section, see the solution code in its entirety or take note of the relevant parts of the solution code in these code snippets:
JavaScript code solution
Vue.createApp({
  data() {
    return {
      todos: initialTodos
    };
  }
}).mount("#app");
HTML code solution
<ul v-show="todos.length">
  <li v-for="todo in todos" :key="todo.id">
    <p>{{ todo.contents }}</p>
  </li>
</ul>
Nice work! In this challenge, you configured Vue to render a list of items and used these techniques:
- Pass data from JavaScript code to HTML code.
- Use loop constructs in Vue.
- Conditionally show and hide an element.
4. Display incomplete to-dos
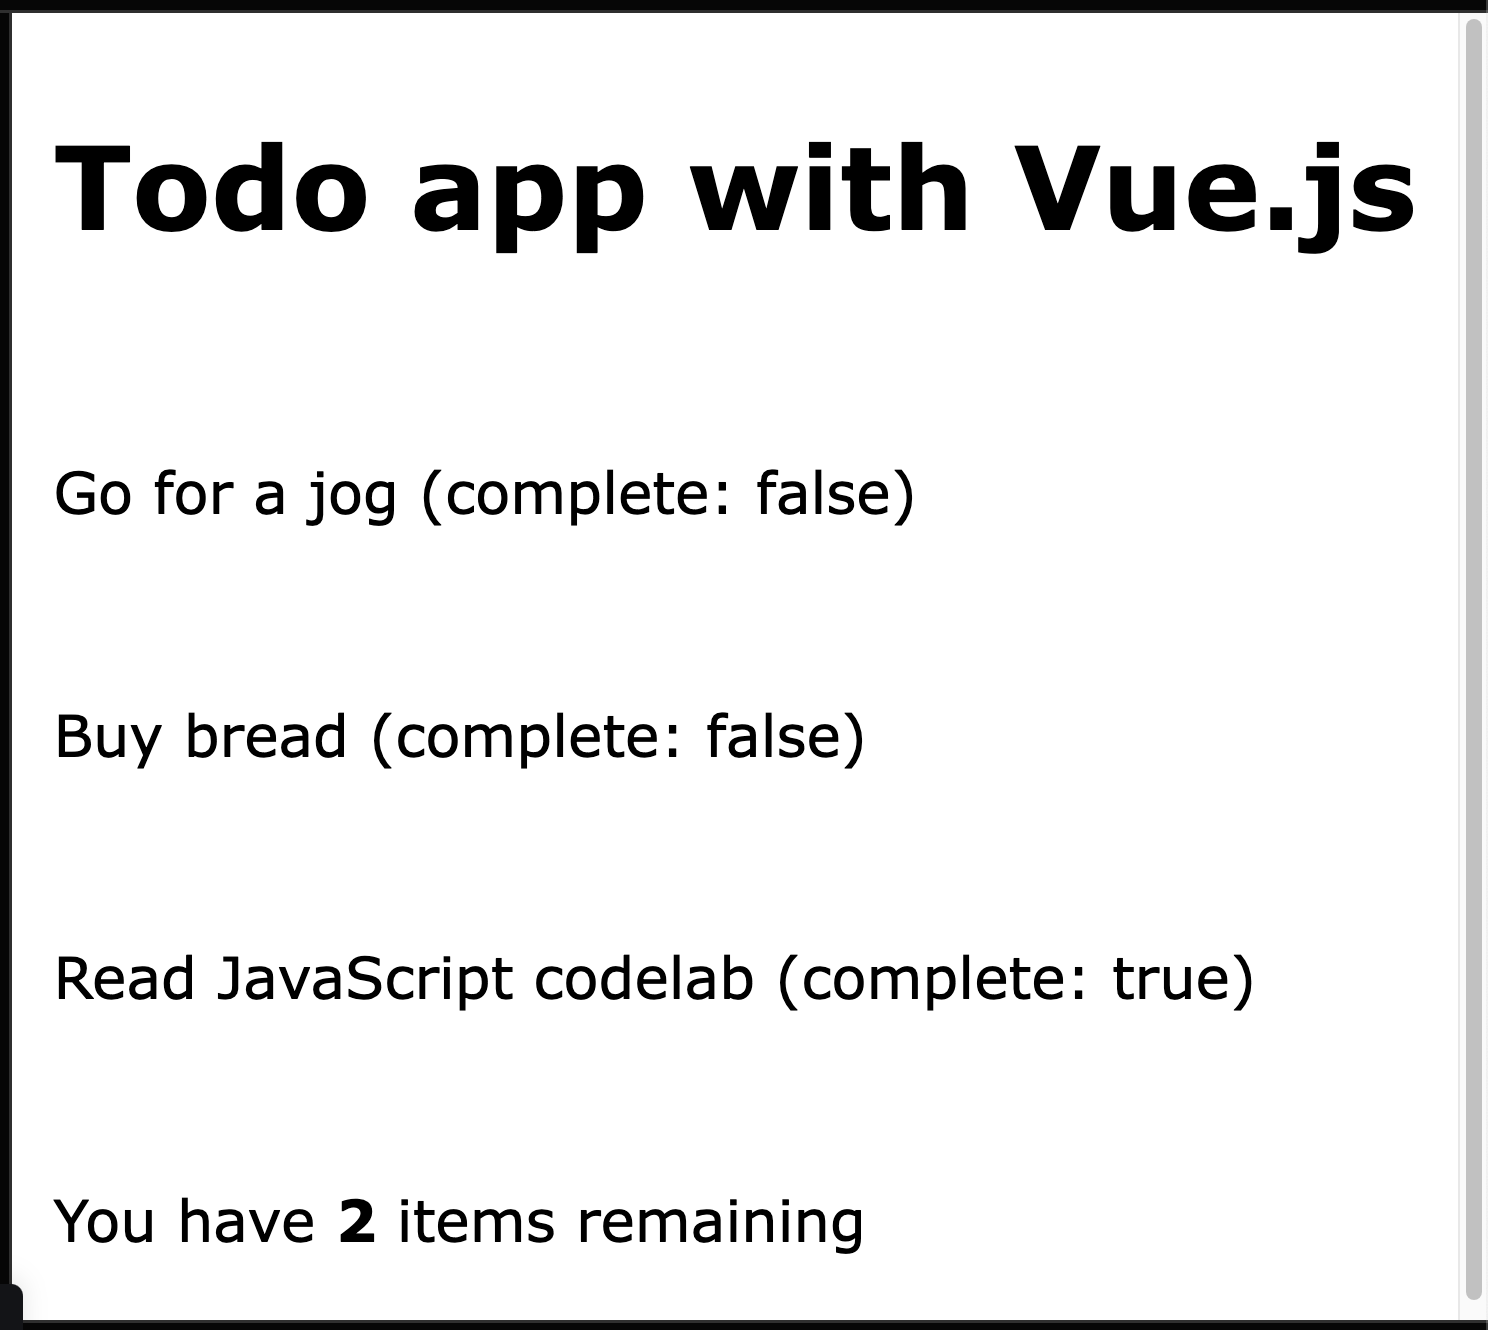
In this section, you write code to correctly display the number of incomplete to-dos in a list of to-dos. For example, you show a You have 2 items remaining message.
Display the number of incomplete to-dos:
- Navigate to this demo.
- In the HTML pane, notice the part that displays the number of remaining items:
HTML code snippet to show the number of remaining items:
<p v-show="todos.length">
  <span>You have </span>
  <strong>{{ remaining }}</strong>
  <span>{{ remaining === 1 ? ' item' : ' items' }} remaining</span>
</p>
The number is inaccurate; you correct the number by the end of this section, but you don't write any HTML code. The template uses a variety of Vue and JavaScript features, such as the v-show directive, text interpolation, and a JavaScript expression that uses the ternary operator.
- Optional: Click > Minimize HTML Editor to close the HTML pane. You don't edit any more HTML code in this section.
- In the JS pane, notice the
computedproperty. It returns an object that includes aremaining()method, which returns a hardcoded number and displays it on the page. - In the body of the
remaining()method, replace thereturnstatement and hardcoded number with the.filter()method on thethis.todosproperty to return an array of to-dos that aren't completed and then return the length of this array. Each to-do contains acompletedproperty that specifies whether it's complete.
- Observe that the page now displays the correct number of incomplete to-dos.
To view the solution code for this section, see the solution code in its entirety or take note of the relevant part of the solution code in this code snippet:
JavaScript code solution:
remaining() {
  const incompleteTodos = this.todos.filter(
    (todo) => !todo.completed
  );
  return incompleteTodos.length;
}
5. Remove to-dos
Throughout this codelab, you add more functionality to the to-do app. In this section, you add some HTML and JavaScript code to add a Remove button to each to-do. When you press the Remove button next to a specific to-do, it deletes the to-do from the page.

Add a Remove button next to each to-do:
<button></button>
- In between the opening and closing tags of the
<button>element, enterRemoveas the text that appears on the button on the web page:
<button>Remove 🗑️</button>
- In the opening tag of the
<button>element, add the@clickattribute and specify an attribute value of "removeTodo(todo)":
<button @click="removeTodo(todo)">Remove 🗑️</button>
Vue executes this code in response to a click event. The todo variable is the iterator used in the v-for="todo in todos" directive expression. The removeTodo() method is a method handler that you can see in the JS pane, which exposes the removeTodo() method to the HTML code when the app loads.
- Optional: Click > Minimize HTML Editor to close the HTML pane. You don't edit any more HTML code in this section.
- In the preview pane, press Remove next to any to-do. The to-do is still there because the
removeTodo()method in the JS pane is empty and needs logic to update the to-dos array so that the intended to-do is removed. - In the JS pane in the body of the
removeTodo()method, apply these instructions:
- Access all the to-dos with the
this.todosproperty. - Use the JavaScript
filter()method on thethis.todosproperty. This method filters the to-do with atodo.idproperty that matches theidproperty from the to-do that's passed to theremoveTodo()argument list. The new filtered array should have all the to-dos, except one. - Reassign the
this.todosproperty to the new array that you created in the previous step. - In the Preview pane, press Remove next to any to-do. The to-do is removed and the message about the number of incomplete to-dos decreases by one.
To view the solution code for this section, see the solution code in its entirety or take note of the relevant parts of the solution code in these code snippets:
HTML code solution
<button @click="removeTodo(todo)">Remove 🗑️</button>
JavaScript code solution
methods: {
  removeTodo({ id }) {
    this.todos = this.todos.filter((todo) => todo.id !== id);
  }
}
You may wonder how the page knows to automatically update when a to-do is removed. In a plain JavaScript solution that doesn't use a framework, you might write code like this code snippet:
function removeTodo({ id }) {
  // Remove a particular to-do from the array of to-dos.
  const updatedTodos = this.todos.filter((todo) => todo.id !== id);

  // Generate the new 'X items remaining' message.
  /*
  Assume the getUpdatedMessage() function is outside of this function.
  */
  const updatedMessage = getUpdatedMessage();

  /*
  Perform the actual update to the page
  with the updated data.
  */
  updatePage(updatedTodos, updatedMessage);
}
A selling point of JavaScript frameworks is that they often abstract this logic and wiring away from you. With the example of Vue, it has reactive features that let you update a property like the this.todos property, and Vue automatically updates the template and, in turn, the web page.
Also note that Vue works well with computed properties. In this step, you didn't need to manually invoke the remaining() method when the todos array changed. Instead, Vue automatically recomputed the method and updated the You have 2 items remaining message.
6. Change a to-do
So far, you made a Vue app with some functionality. You can remove to-dos and observe that the You have 2 items remaining message updates in response to changes with the to-dos.
In this section, you add the ability to change the completed status of a to-do. At the end of this section, you can select a checkbox to mark a to-do as complete.

Add checkboxes next to each to-do:
- Navigate to this demo. In the HTML pane, the
<label>element now includes the{{ todo.contents }}value. The opening tag of the<label>element contains a:forattribute that's set to a JavaScript expression as its value. For a to-do with anidproperty set to a2value, the expression evaluates to atodo-2string, which keeps the generated markup more readable. - On the line before the
<label>element, add an<input>element with an:idattribute set to a"'todo-' + todo.id"string and atypeattribute set to a"checkbox"string.
<input :id="'todo-' + todo.id" type="checkbox">
After you add the checkbox, each to-do has a checkbox that you can select, but it doesn't reflect whether a to-do is complete. If you select a checkbox next to a to-do, the You have 2 items remaining message doesn't update because it has no binding to the todo.completed property.
- In the
<input>element, add thev-modeldirective as an attribute and then set it to a"todo.completed"value. The checkbox status now reflects thecompletedstate of a to-do. - Select the checkboxes of various to-dos. The
You have 2 items remainingmessage updates as expected.
To view the solution code for this section, see the solution code in its entirety or take note of the relevant part of the solution code in this code snippet:
HTML code solution:
<li v-for="todo in todos" :key="todo.id">
  <input :id="'todo-' + todo.id" v-model="todo.completed" type="checkbox" />
  <label :for="'todo-'+todo.id">{{ todo.contents }}</label>
  <button @click="removeTodo(todo)">Remove 🗑️</button>
</li>
7. Add a to-do
In this section, you add HTML and JavaScript code to enable the functionality that lets you add to-dos.

Add functionality that lets you add to-dos:
- Navigate to this demo.
- Read the HTML and JavaScript code, and then note the extra code that wasn't present in previous sections:
HTML code snippet:
<form @submit.prevent="addTodo">
  <input autofocus placeholder="Wash fruit">
  <input type="submit" value="Add">
</form>
JavaScript code snippet:
data() {
  return {
    todos: initialTodos,
    newTodoText: "",
  };
}

// This appears later in the JavaScript code

addTodo() {
  const newTodo = {
    id: Date.now(),
    contents: this.newTodoText,
    completed: false
  };
}
- In the preview pane, enter a to-do in the text box and then press Add. The to-do isn't added to the web page because the
addTodo()method includes some initial code, but it doesn't insert a to-do into thethis.todosarray. - In the JS pane in the
addTodo()method, add thenewTodoobject to thethis.todosarray with thepush()method. ThenewTodoobject is already constructed for you. - In the preview pane, enter a to-do in the text box and then press Add. The to-do is added to the web page, but it doesn't have a label because the
this.newTodoTextproperty isn't bound to the input field. - In the HTML pane in the
<form>element's first<input>element, add av-modelattribute and then set it to the"newTodoText"attribute value. - In the preview pane, enter a to-do in the text box and then press Add. The to-do is added to the web page. However, you may notice some strange behavior with the functionality, which you solve in the next section.
To view the solution code for this section, see the solution code in its entirety or take note of the relevant parts of the solution code in these code snippets:
HTML code solution:
<form @submit.prevent="addTodo">
  <input autofocus placeholder="Wash fruit" v-model="newTodoText">
  <input type="submit" value="Add">
</form>
JavaScript code solution:
addTodo() {
  const newTodo = {
    id: Date.now(),
    contents: this.newTodoText,
    completed: false
  };
  this.todos.push(newTodo);
}
8. Improve the addition of to-dos
Well done! You're almost finished with this codelab, but you still need to fix these two issues in the app:
- When you add a to-do, the previous text in the text box doesn't clear. Users would consider this a bug.
- If you press the Add button next to a to-do without any text in the text box, the app inserts an empty to-do with no text! Users would also consider this a bug.
In this section, you fix these two bugs. If you feel confident, you can try to fix these bugs in the demo and then compare your solution with this section's instructions.
Improve the user experience when users add to-dos:
- Navigate to this demo.
- In the JS pane at the end of the
addTodo()method, add athis.newTodoTextproperty and then set it to an empty string. - In the preview pane, enter a to-do in the text box and then press Add. The text box is cleared after the to-do is added.
- In the JS pane at the beginning of the
addTodo()method, add a conditional check of whether thethis.newTodoTextproperty is empty. - If the
this.newTodoTextproperty is empty, exit the function and don't push any to-dos onto an array. - In the preview pane, ensure that the text input is empty and press Add. A to-do isn't added to the list.
To view the solution code for this section, see the solution code in its entirety or take note of the relevant parts of the solution code in this code snippet:
JavaScript code solution:
addTodo() {
  if (!this.newTodoText) {
    return;
  }

  this.todos.push({
    id: Date.now(),
    contents: this.newTodoText,
    completed: false
  });

  this.newTodoText = "";
},
9. Conclusion
Great work! You learned how to use Vue to create a basic to-do app.