OAuth-based App Flip Linking (App Flip) allows your users to quickly link their accounts in your authentication system to their Google Accounts. If your app is installed on your user's phone when they initiate the account linking process, they are seamlessly flipped to your app to obtain user authorization.
This approach provides a faster linking process since the user does not have to re-enter their username and password to authenticate; instead, App Flip leverages the credentials from the user's account on your app. Once a user has linked their Google Account with your app, they can take advantage of any integrations that you have developed.
You can set up App Flip for both iOS and Android apps.
Requirements
To implement App Flip, you must fulfill the following requirements:
- You must have an Android or iOS app.
- You must own, manage and maintain an OAuth 2.0 server which supports the OAuth 2.0 authorization code flow.
OAuth-based App Flip Flow
The following sequence diagram details the interaction between the User, Google App, Your App, and Your Authorization Server for App Flip.
Roles and responsibilities
The following table defines the roles and responsibilities of the actors in the App Flip flow.
| Actor / Component | GAL Role | Responsibilities |
|---|---|---|
| Google App / Server | OAuth Client | Initiates the linking process, triggers a deep link to your mobile app, exchanges the authorization code for tokens, and securely stores them to access your service's APIs. |
| Your App | Authorization Agent | Authenticates the user (typically using existing app credentials), obtains consent, and retrieves an authorization code from your server. |
| Your Authorization Server | Authorization Server | Validates authorization codes and refresh tokens, and issues access tokens to the Google Server. |
Design guidelines
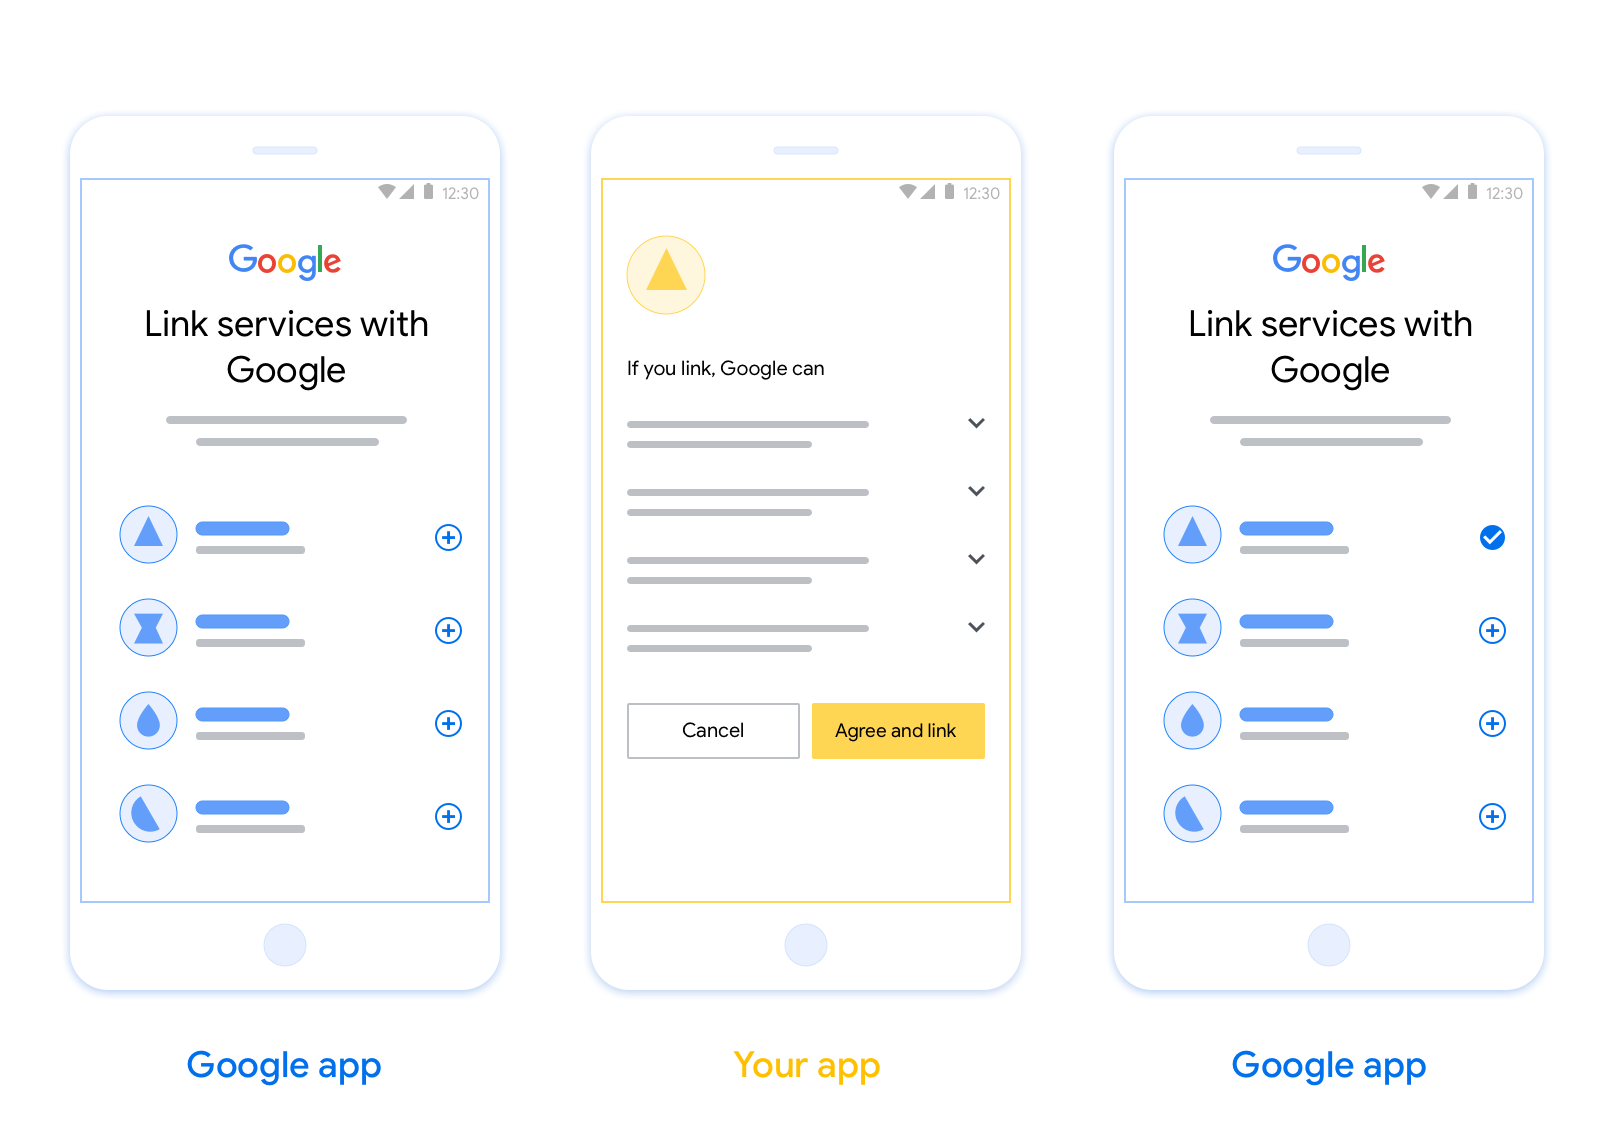
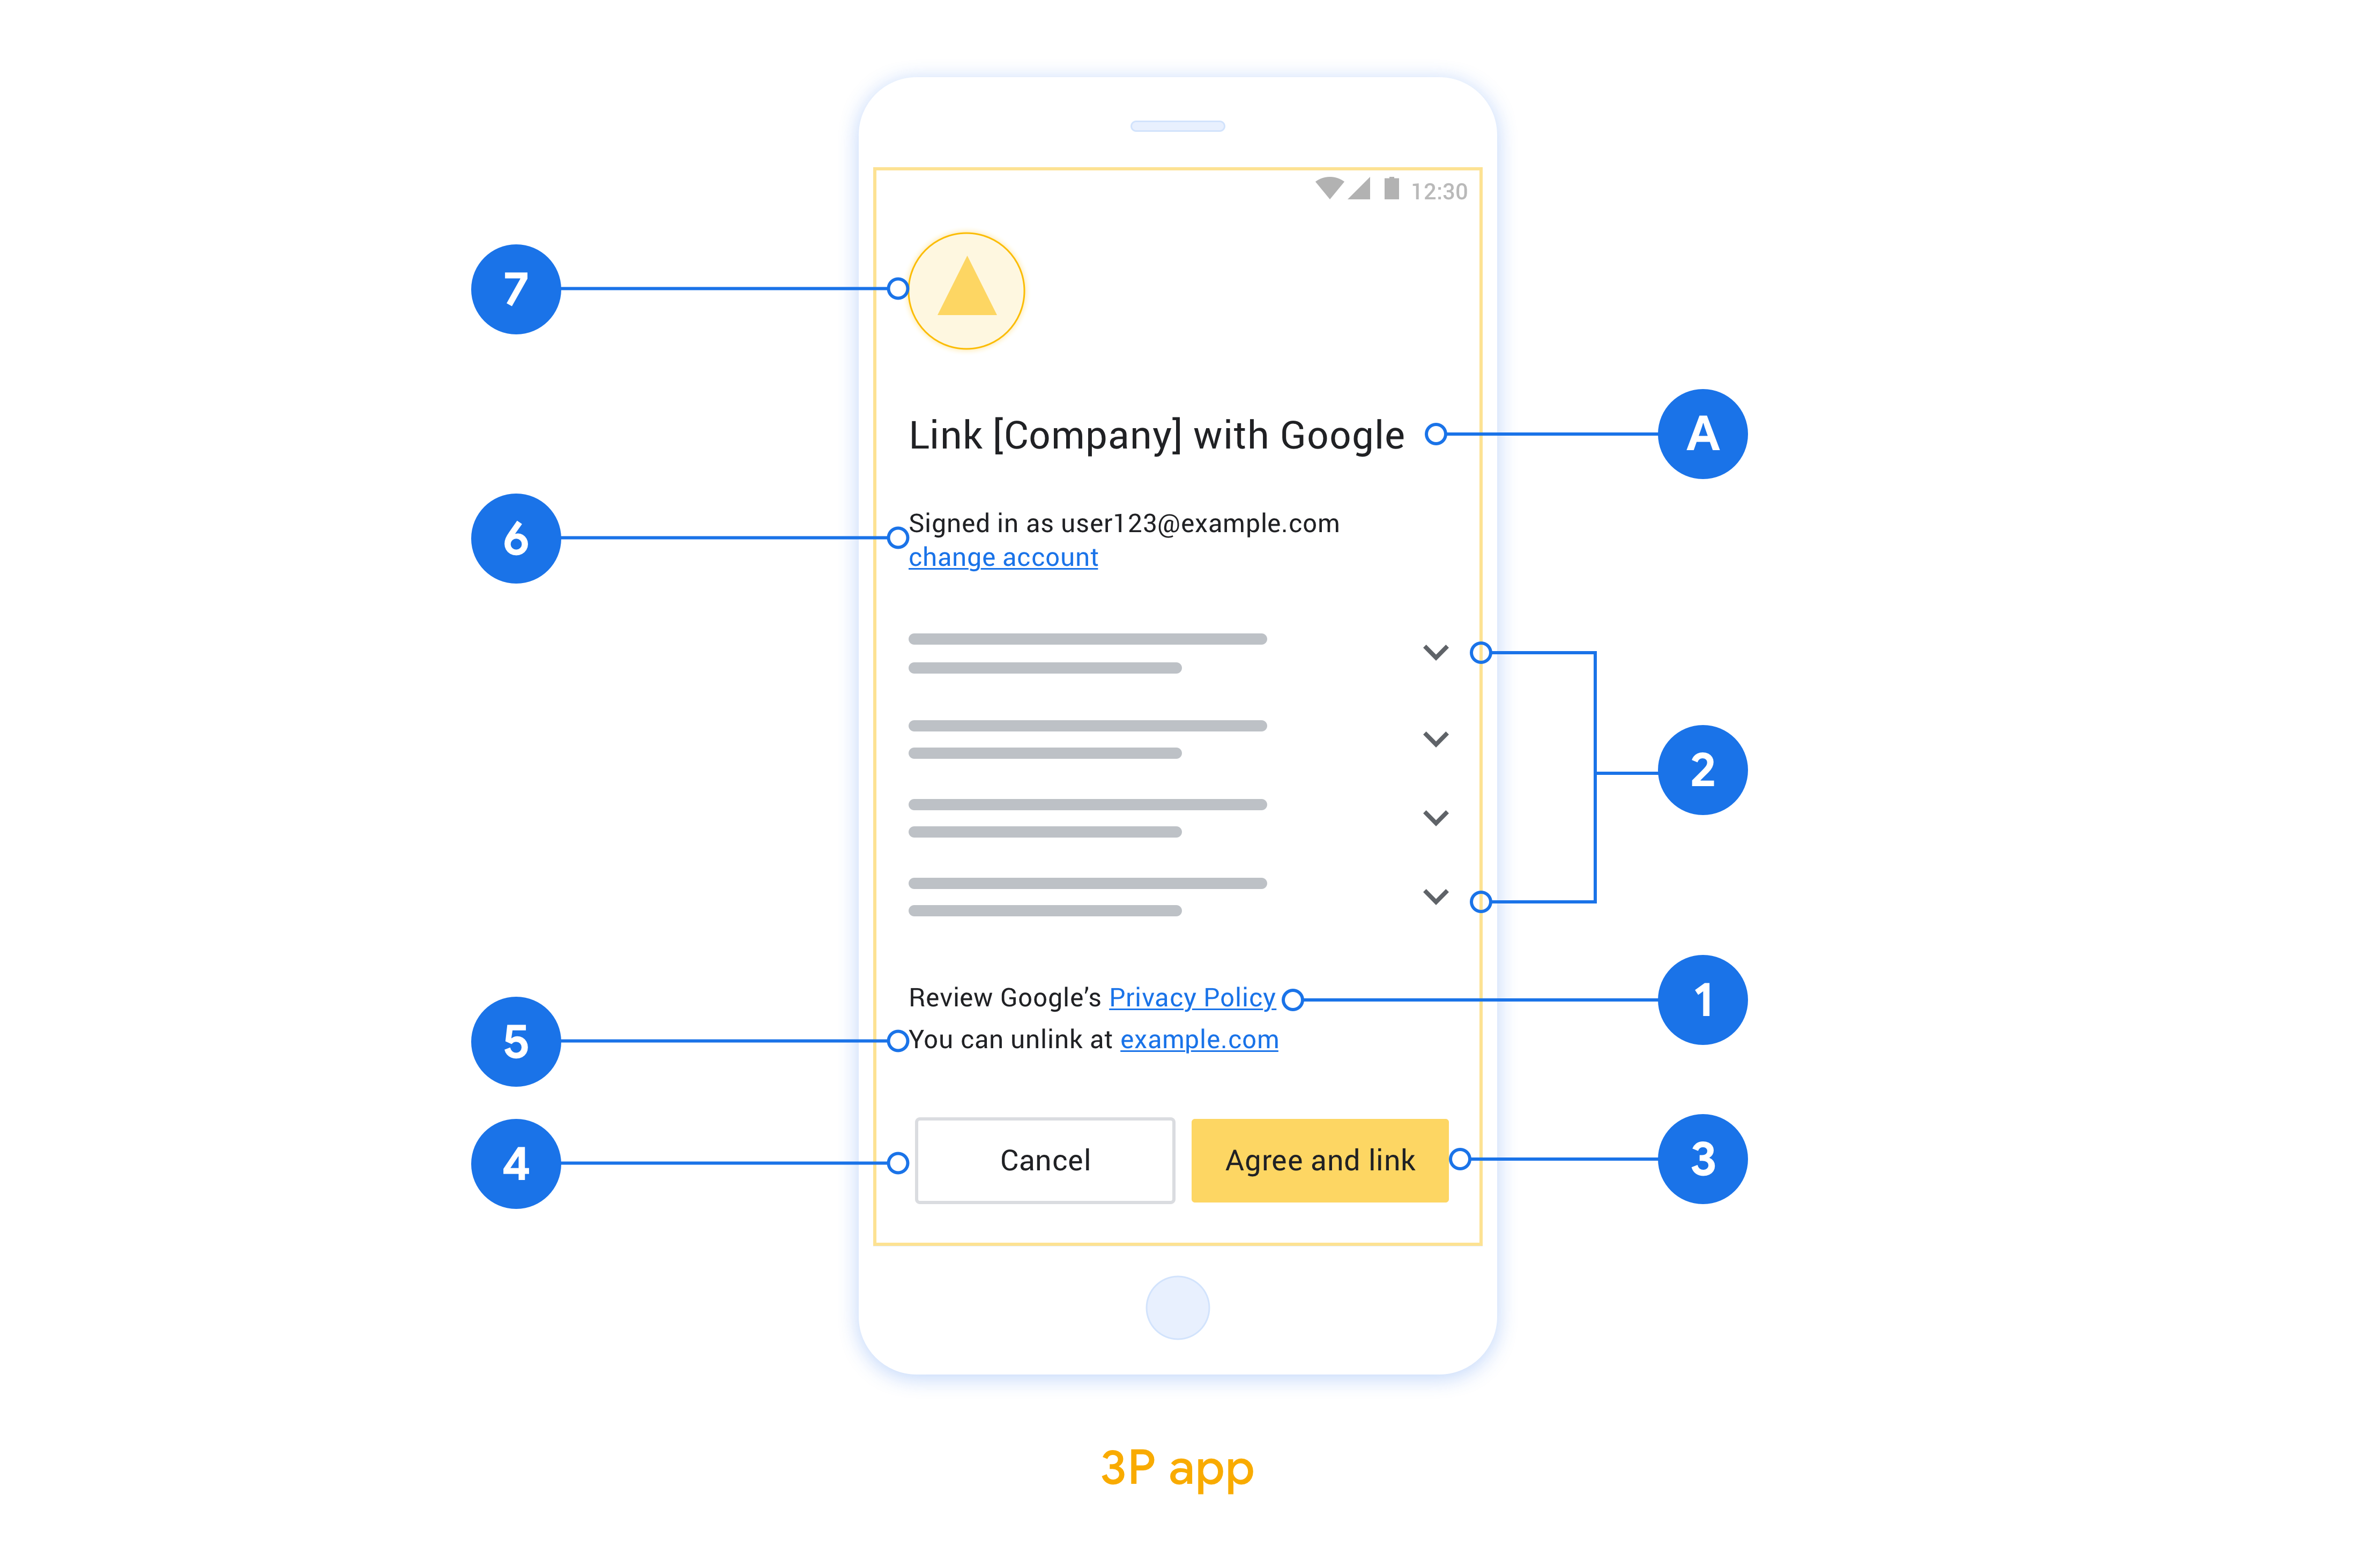
This section describes the design requirements and recommendations for the App Flip account linking consent screen. After Google calls your app, your app displays the consent screen to the user.
Requirements
- You must communicate that the user’s account is being linked to Google, not to a specific Google product, such as Google Home or Google Assistant.
Recommendations
We recommend that you do the following:
Display Google's Privacy Policy. Include a link to Google’s Privacy Policy on the consent screen.
Data to be shared. Use clear and concise language to tell the user what data of theirs Google requires and why.
Clear call-to-action. State a clear call-to-action on your consent screen, such as “Agree and link.” This is because users need to understand what data they're required to share with Google to link their accounts.
Ability to deny or cancel. Provide a way for users to go back, deny, or cancel, if they choose not to link.
Ability to unlink. Offer a mechanism for users to unlink, such as a URL to their account settings on your platform. Alternatively, you can include a link to Google Account where users can manage their linked account.
Ability to change user account. Suggest a method for users to switch their account(s). This is especially beneficial if users tend to have multiple accounts.
- If a user must close the consent screen to switch accounts, send a recoverable error to Google so the user can sign in to the desired account with OAuth linking and the implicit flow.
Include your logo. Display your company logo on the consent screen. Use your style guidelines to place your logo. If you wish to also display Google's logo, see Logos and trademarks.
앱에서 앱 전환 구현
앱 전환을 구현하려면 Google의 딥 링크를 수락하도록 앱에서 사용자 승인 코드를 수정해야 합니다.
Android 앱에서 앱 전환을 지원하려면 Android 구현 가이드의 안내를 따르세요.
iOS 앱에서 앱 전환을 지원하려면 iOS 구현 가이드의 안내를 따르세요.
앱 전환 테스트
검증된 프로덕션 앱과 작동하는 OAuth 2.0 서버를 사용할 수 있기 전에 샘플 및 테스트 앱을 사용하여 앱 전환을 시뮬레이션할 수 있습니다.
앱 전환 중에 Google 앱이 먼저 앱을 열고 앱이 OAuth 2.0 서버에서 승인 코드 응답을 요청합니다. 마지막 단계에서 응답이 Google 앱으로 반환됩니다.
기본 요건
Google 앱을 시뮬레이션하고 앱을 실행하는 인텐트를 트리거하려면 다음에서 앱 전환 테스트 도구를 다운로드하여 설치하세요. Android 및 iOS.
테스트 시퀀스
- 앱 전환 테스트 도구를 엽니다.
Try Flip!을 눌러 앱 전환 샘플 앱을 실행합니다.- 샘플 앱의 라디오 버튼에서 응답을 선택합니다.
Send를 눌러 시뮬레이션된 OAuth 2.0 응답을 테스트 도구로 다시 반환합니다.- 테스트 도구 로그 메시지에서 auth_code 또는 오류 세부정보를 확인합니다.
프로덕션 테스트
등록 및 OAuth 2.0 서버 구현을 완료한 후 프로덕션에서 앱 전환을 테스트할 수 있습니다.
자동화된 테스트에는 단일 Google 계정과 작업별 이메일 주소 를 사용하는 것이 좋습니다.
Google 계정 소유자로 로그인하면 연결된 계정을 사용하여 계정 연결 상태를 볼 수 있습니다. 여기에서 반복 테스트 간에 계정 연결을 해제할 수도 있습니다.
선택적으로 RISC를 구현하여 프로그래매틱 방식으로 연결을 해제하고 Google에 변경사항을 알릴 수 있습니다.