Faire bénéficier les utilisateurs d'un accès rapide et sécurisé aux essentiels du quotidien
Avec Google Wallet, vos clients peuvent payer sans contact partout où Google Pay est accepté, faire des achats avec des cartes de fidélité, embarquer à bord d'un avion et plus encore, juste avec leur téléphone Android.
Présentation de Google Wallet et des fonctionnalités de l'API pour les développeurs
Google crée un portefeuille numérique privé et sécurisé pour les utilisateurs d'Android et de Chrome. Découvrez les changements.
Numériser tous les objets Wallet avec l'API Google Wallet
Suivez un atelier détaillé pour savoir comment numériser n'importe quel objet Wallet à l'aide de l'API Google Wallet.
Cas d'utilisation
Nous avons personnalisé nos guides du développeur pour répondre à vos besoins spécifiques. Choisissez votre cas d'utilisation pour commencer.
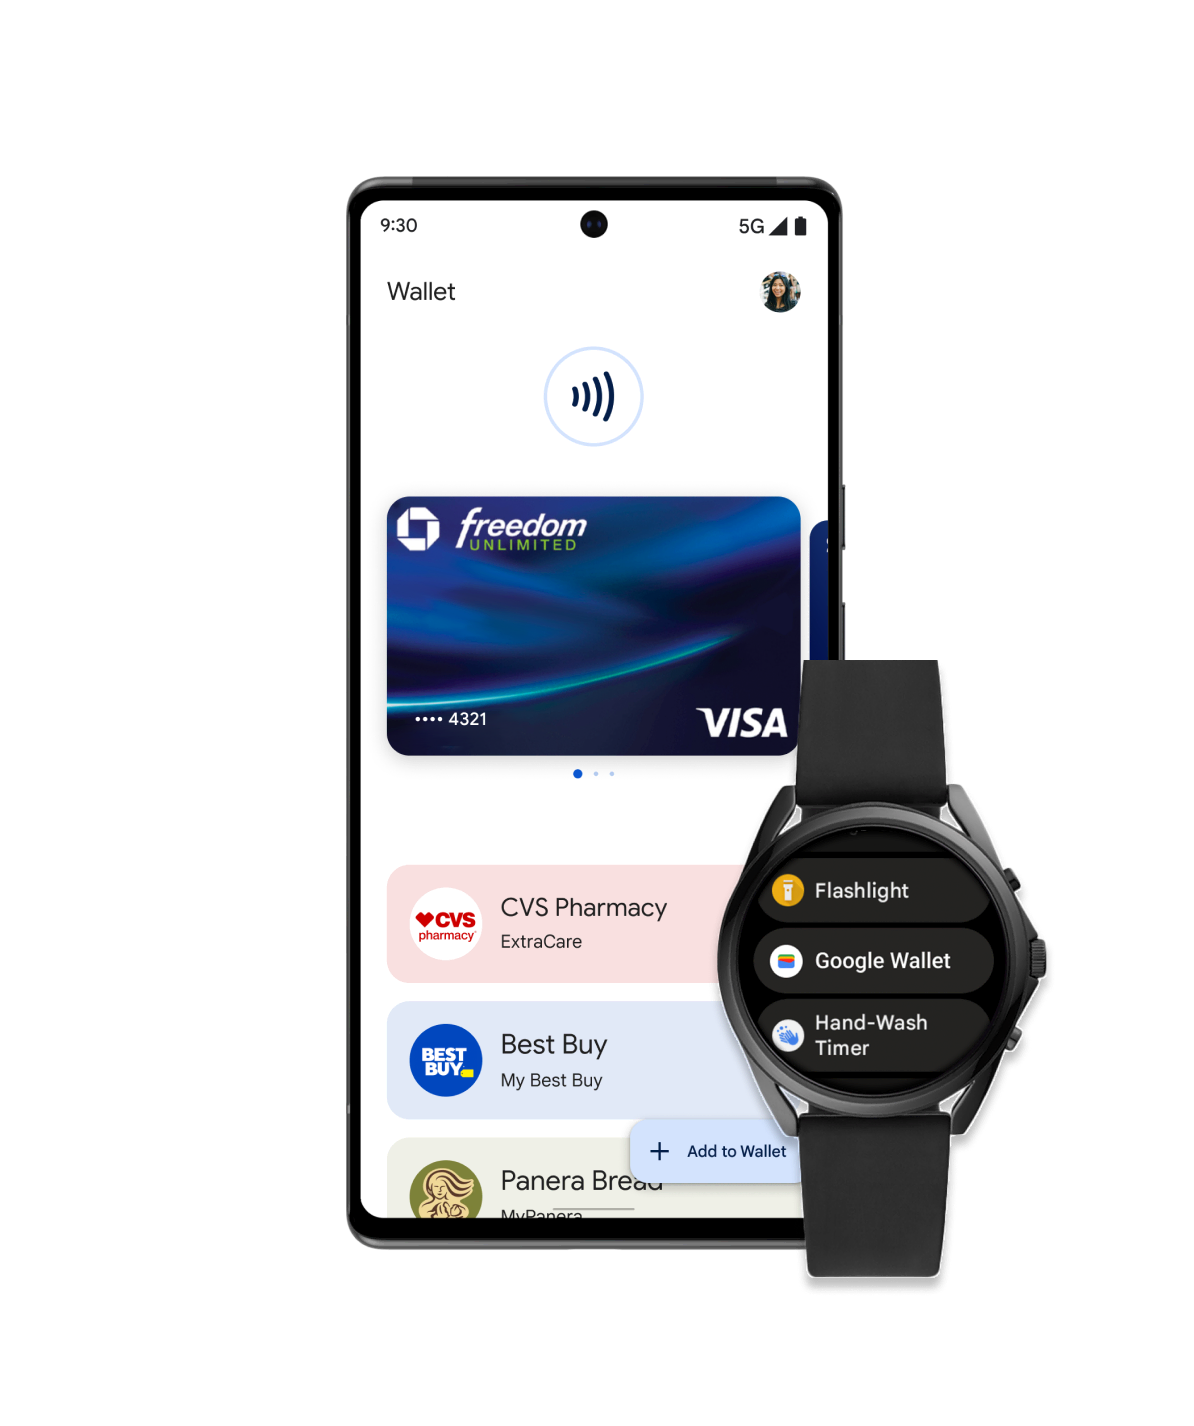
Commerce
Proposez à vos clients d'ajouter facilement des cartes de fidélité, des offres ou des cartes cadeaux, ou d'effectuer des paiements en magasin depuis leur appareil mobile. Intégrez Google Wallet et interagissez avec les utilisateurs via des notifications basées sur la position, des informations en temps réel et plus encore.
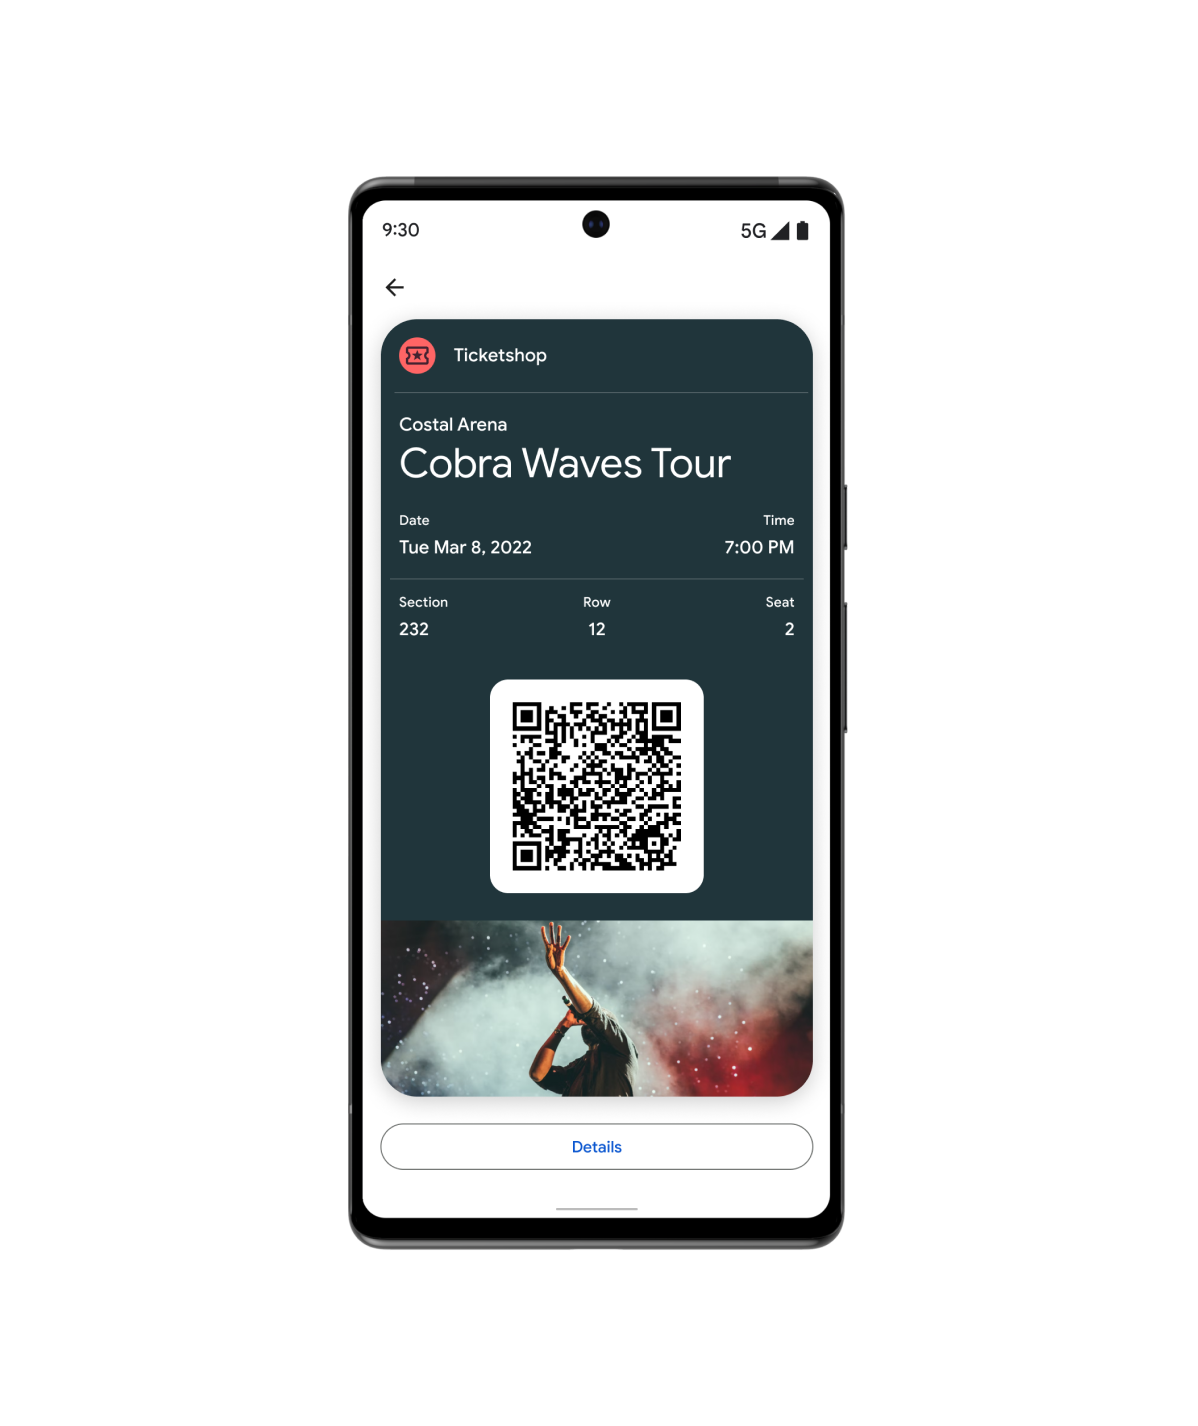
Billets
Vos utilisateurs peuvent ajouter des billets et des cartes pour aller voir des films, prendre l'avion et plus encore, directement dans Google Wallet.
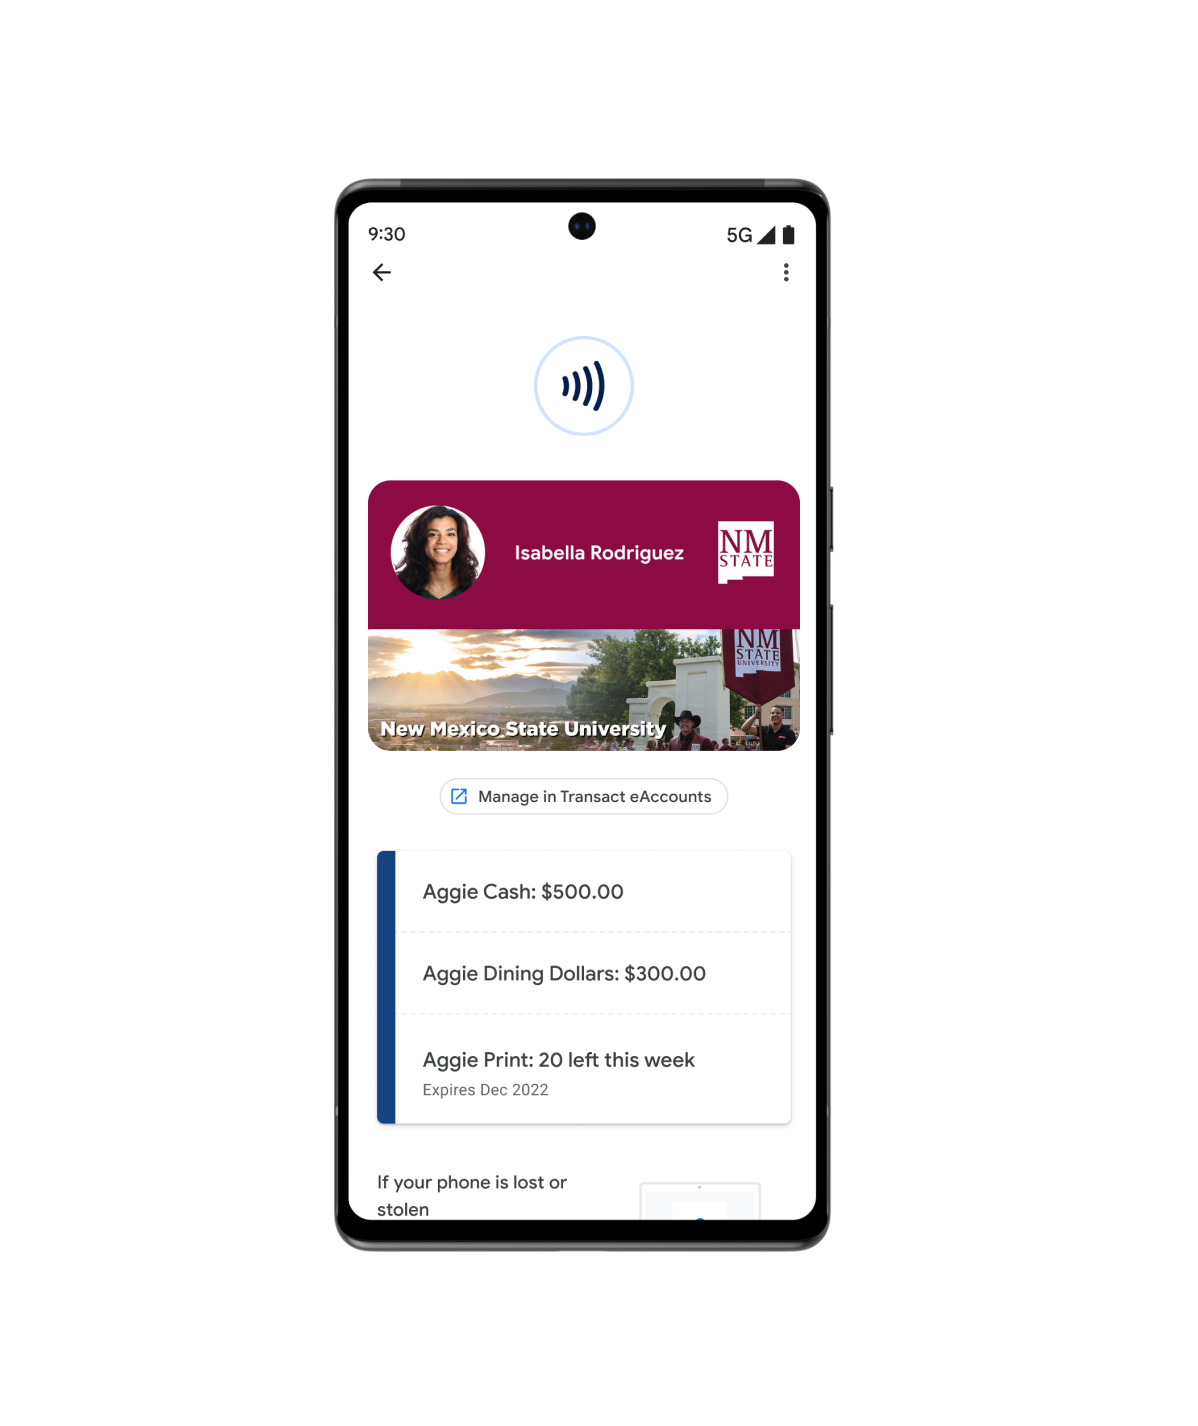
Accès
Google Wallet est une solution simple, sécurisée et pratique. Vos utilisateurs peuvent ajouter toutes sortes de contenus dans Google Wallet, des clés de voiture numériques aux cartes d'étudiant.
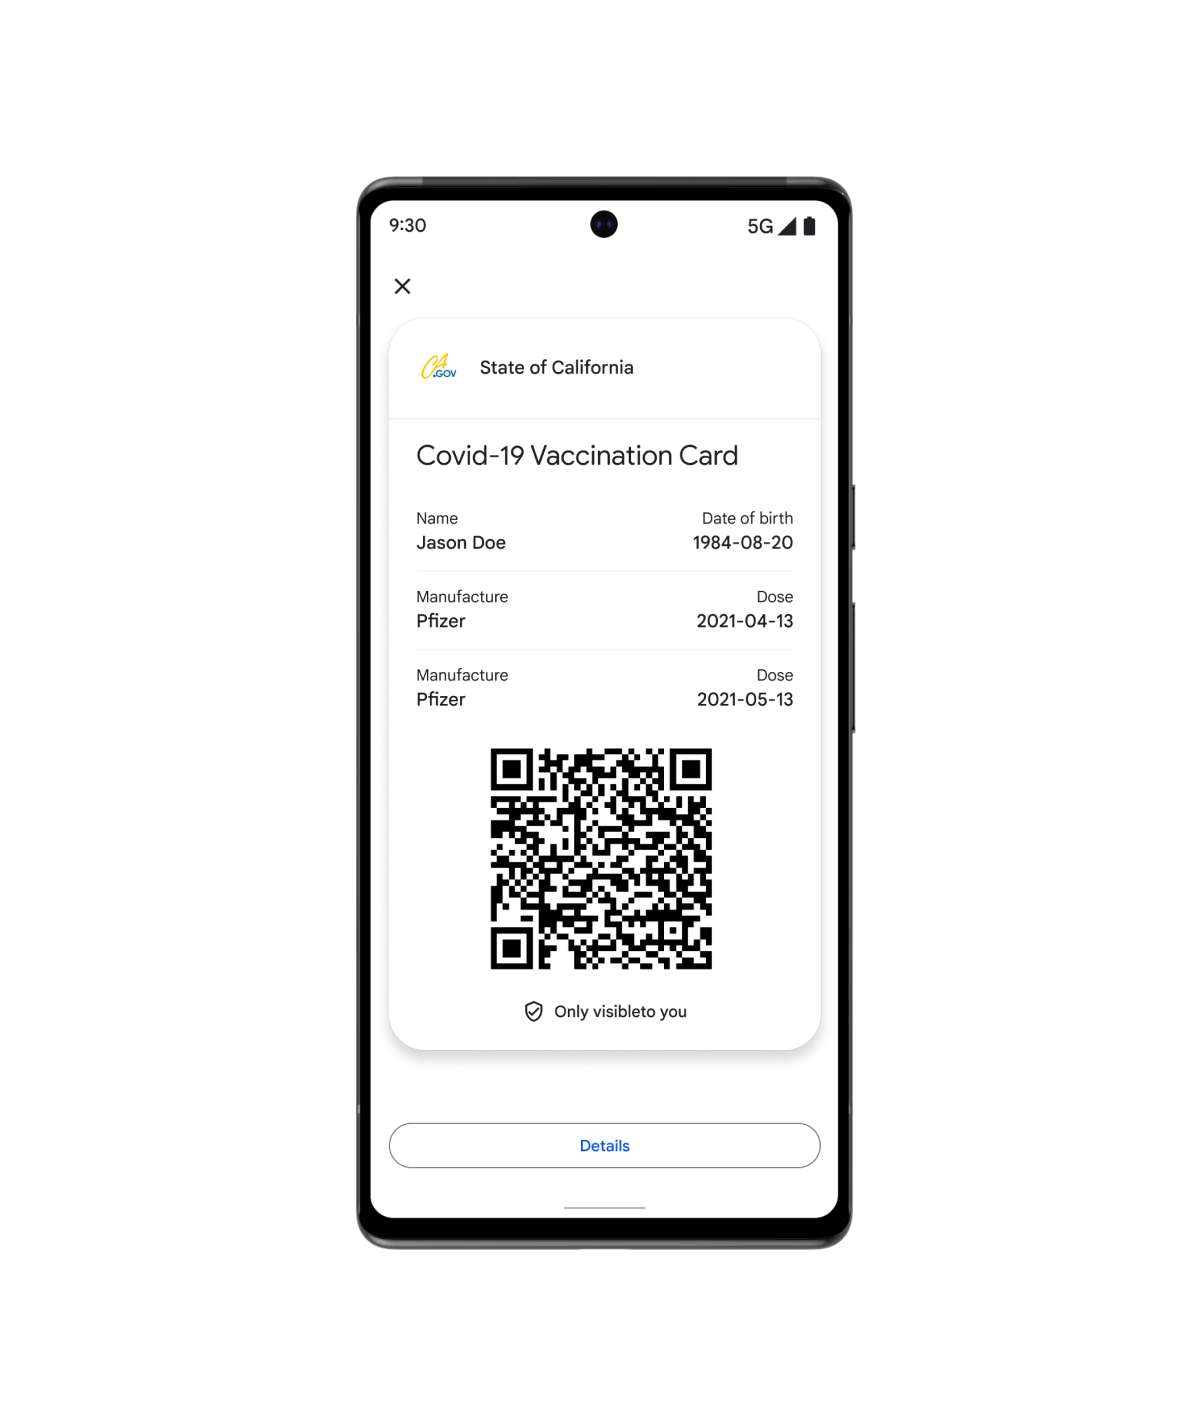
Santé
Offrez à vos patients un accès rapide et sécurisé à leurs données de santé protégées avec Google Wallet. Les utilisateurs peuvent ajouter toutes sortes de contenus sur leur appareil, des cartes de vaccination aux résultats de test, et les faire figurer sur leur écran d'accueil Android.
Et plus encore…
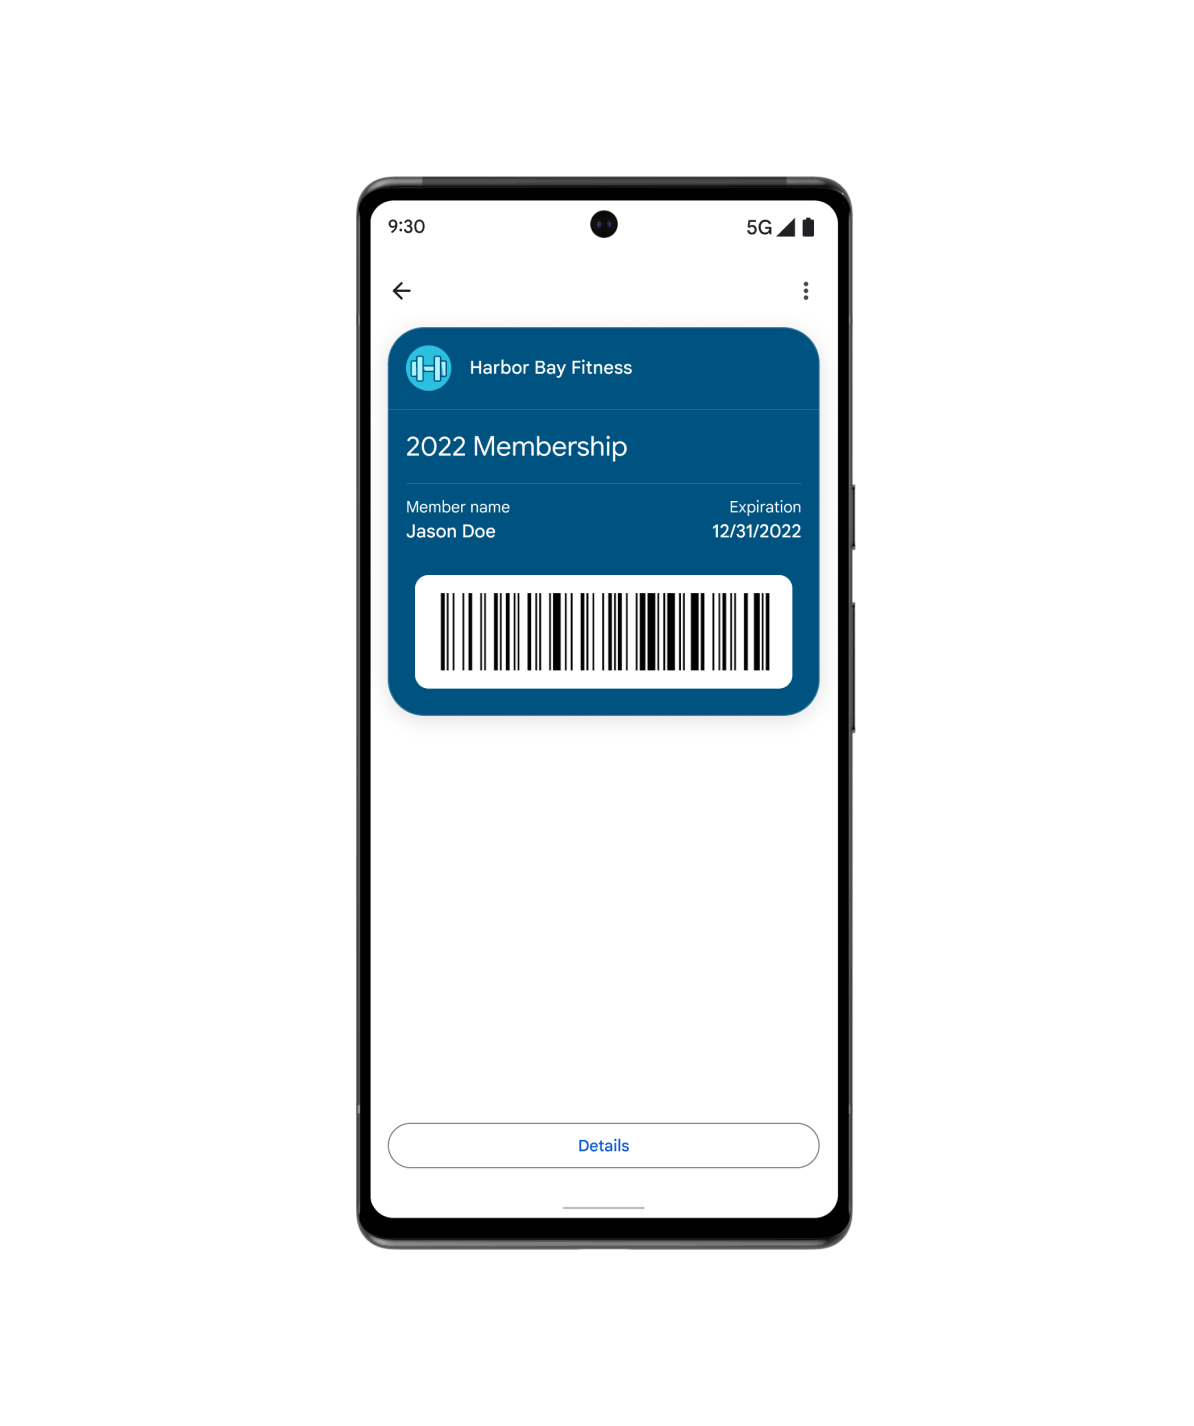
Utilisez la carte générique lorsque votre cas d'utilisation ne correspond à aucun de nos autres types prédéfinis. Vous pouvez personnaliser des cartes génériques pour répondre aux besoins de vos clients, qu'il s'agisse d'abonnements à des salles de sport ou à des bibliothèques, ou encore de cartes d'assurance ou de stationnement.
Sélection de ressources
Découvrez les derniers outils et exemples pour les développeurs qui peuvent vous aider à créer des objets Wallet.

Démonstration visuelle des cartes
Modifiez rapidement l'aspect de votre carte de fidélité dans Google Wallet et obtenez l'extrait de code dans le langage de votre choix.

Exemples de code
Parcourez et clonez des exemples d'intégration pour chaque secteur et langage de programmation (Java, C#, Python, PHP, JavaScript).

Ateliers de programmation
Consultez les ateliers de programmation autonomes et familiarisez-vous avec les API Google Wallet.
Actualités produits
Restez informé grâce aux développeurs Google Wallet.
Testez les nouveaux exemples de code de l'API Google Wallet
Le dépôt d'exemples de code de l'API Google Wallet indique comment créer des classes, des objets, des liens "Ajouter à Google Wallet" et des comptes d'émetteurs gérés. Pour chaque langage compatible avec les IDE les plus courants, une documentation détaillée est disponible.
Intégration simplifiée de Google Wallet pour les développeurs Android
Découvrez les avantages du nouveau SDK Android qui permet de numériser des objets Google Wallet sur Android. Consultez également les ressources destinées aux développeurs qui vous aideront à intégrer vos produits.
Présentation de l'API Google Wallet
L'API Google Wallet permet de créer facilement des cartes numériques à ajouter à Google Wallet. Les nouvelles fonctionnalités de l'API permettent de personnaliser vos objets, de regrouper des objets et plus encore avec davantage de flexibilité.
Google Pay & Wallet Console
Proposez une expérience de règlement simple et rapide, des cartes, et plus encore depuis votre application Android ou votre site Web.