Brinda a los usuarios acceso rápido y seguro a elementos esenciales para el día a día
Con la Billetera de Google, tus clientes pueden pagar sin contacto en cualquier lugar donde se acepte Google Pay, comprar con tarjetas de lealtad, abordar vuelos y mucho más, solo con sus teléfonos Android.
Presentamos la Billetera de Google y las funciones de la API para desarrolladores
Google está creando una billetera digital segura y privada para los usuarios de Android y Chrome. Obtenga más información sobre los cambios.
Digitaliza cualquier objeto de la billetera con la API de la Billetera de Google
Sigue un taller paso a paso sobre cómo digitalizar cualquier objeto de la billetera con la API de la Billetera de Google.
Casos de uso
Personalizamos nuestras guías para desarrolladores en función de tus necesidades específicas. Elige un caso de uso para comenzar.

Venta minorista
Facilita a tus clientes agregar tarjetas de lealtad, ofertas y tarjetas de regalo, o hacer pagos en tiendas con sus dispositivos móviles. Integra la Billetera de Google para interactuar con los usuarios mediante notificaciones basadas en la ubicación, actualizaciones en tiempo real y mucho más.
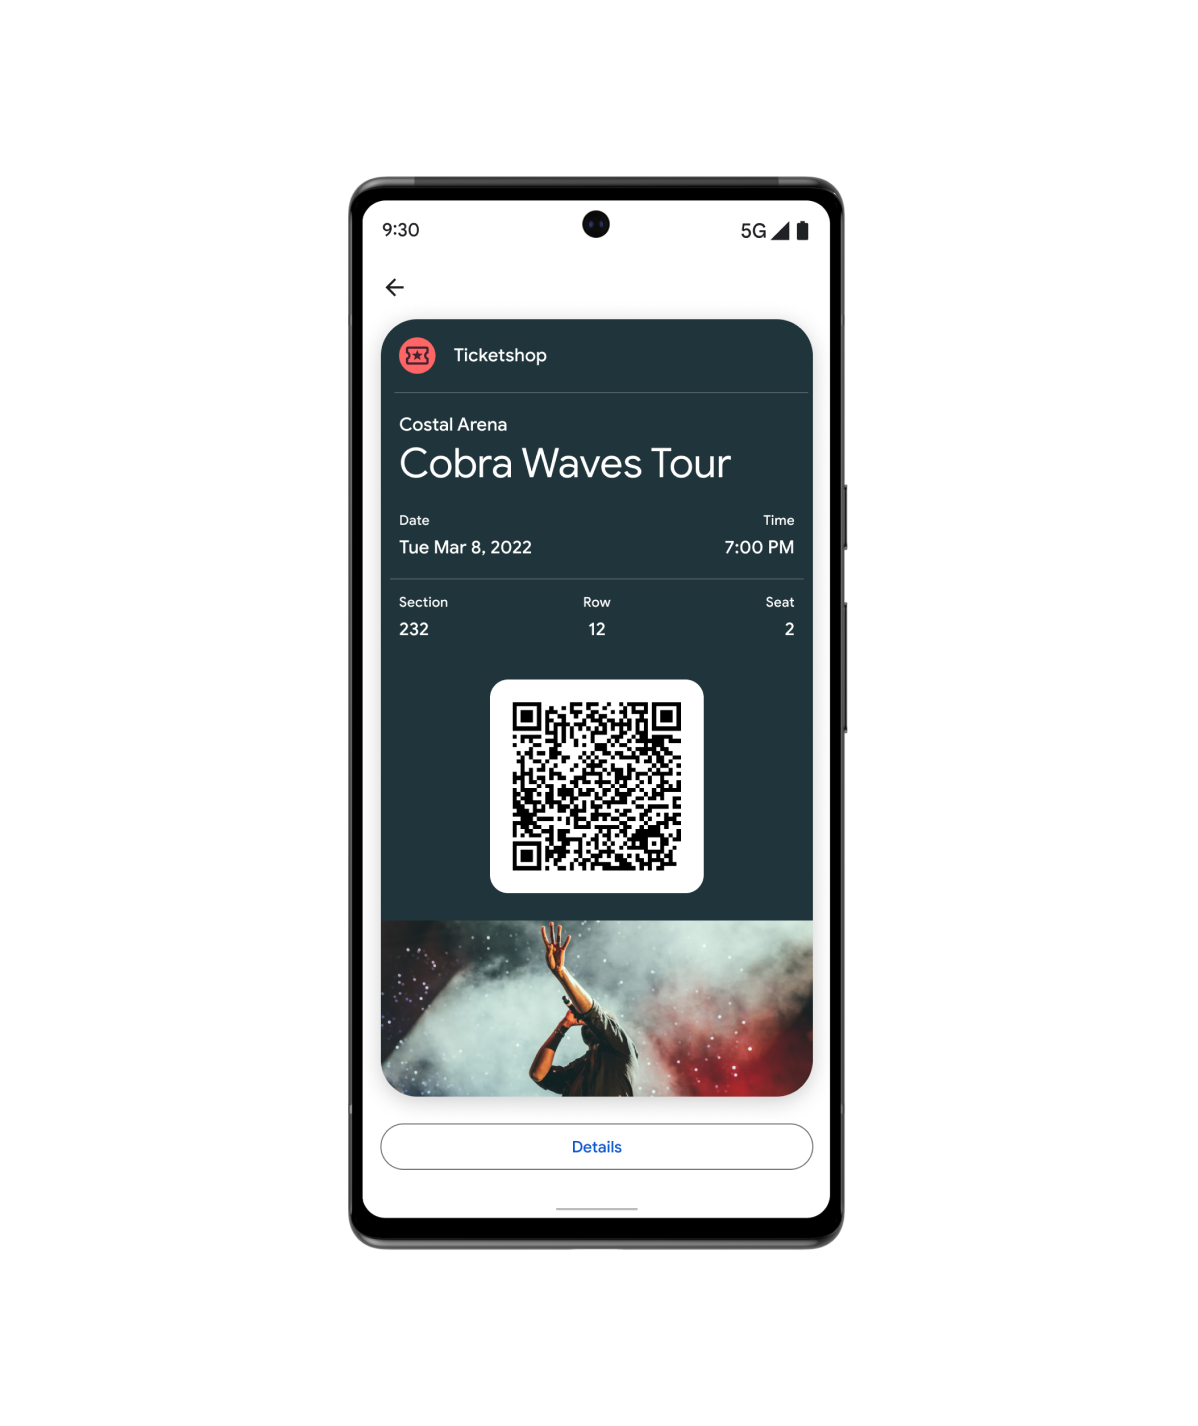
Tickets
Los usuarios pueden agregar boletos y pases para películas, vuelos y mucho más directamente en la Billetera de Google.
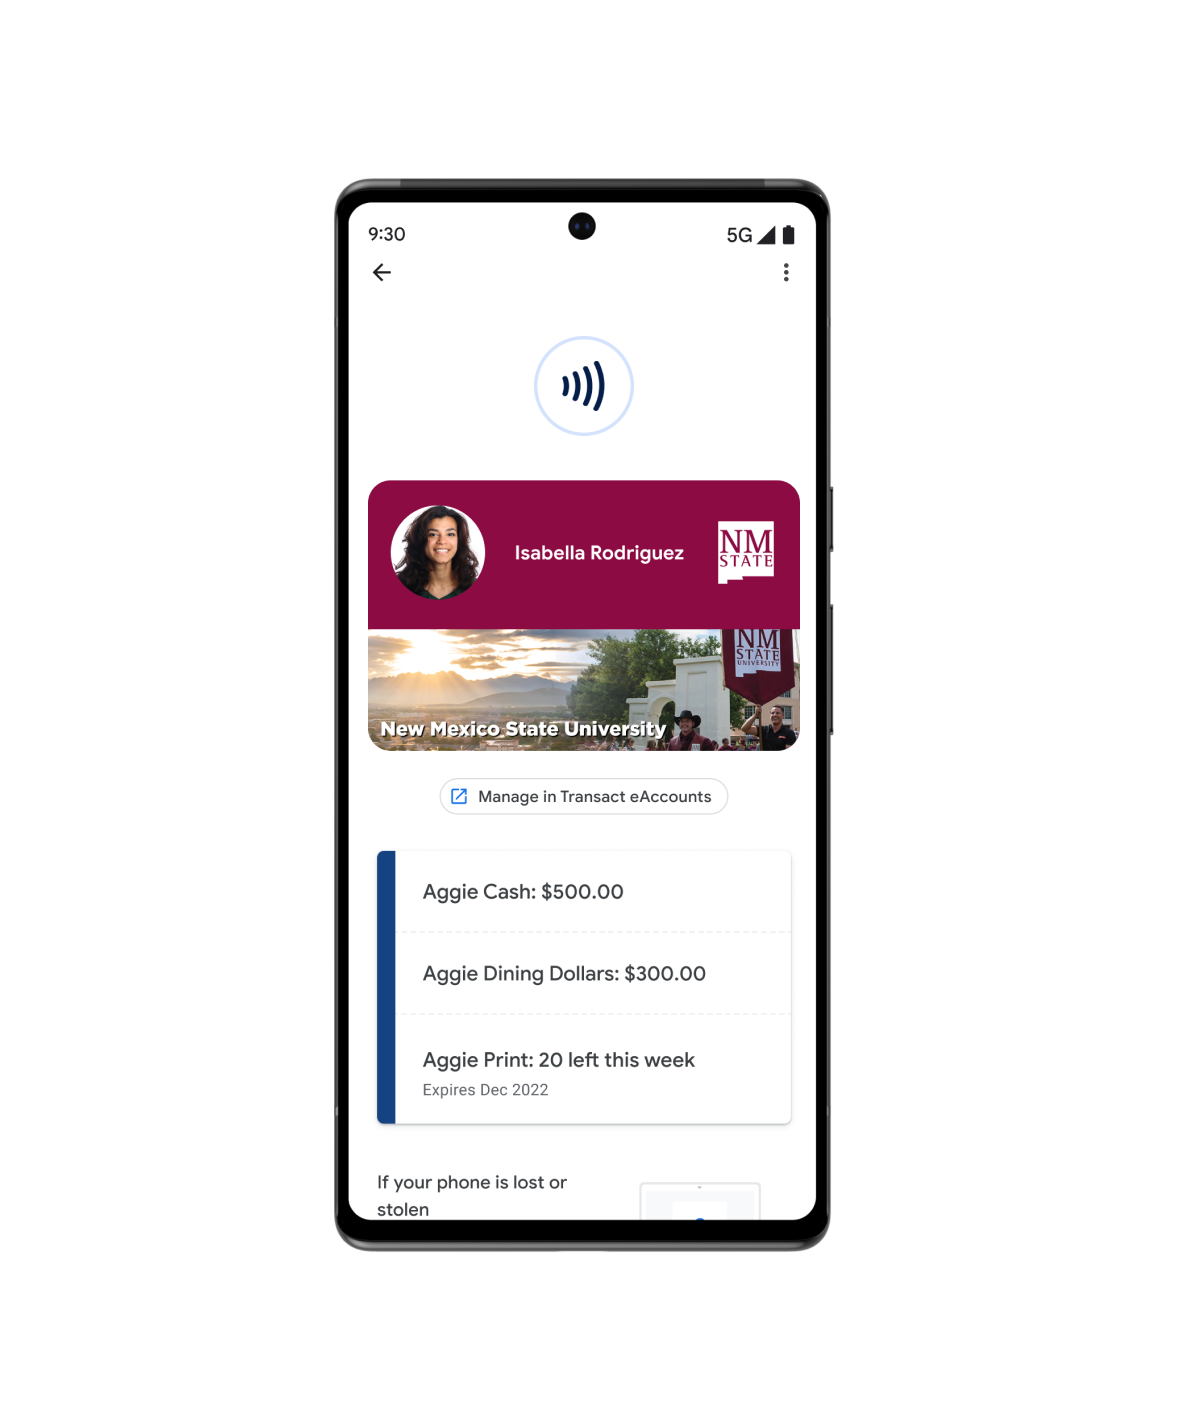
Acceso
La Billetera de Google es simple, segura y conveniente. Desde llaves digitales para automóviles hasta tarjetas de ID del campus, los usuarios pueden agregarlas todas a su Billetera de Google.
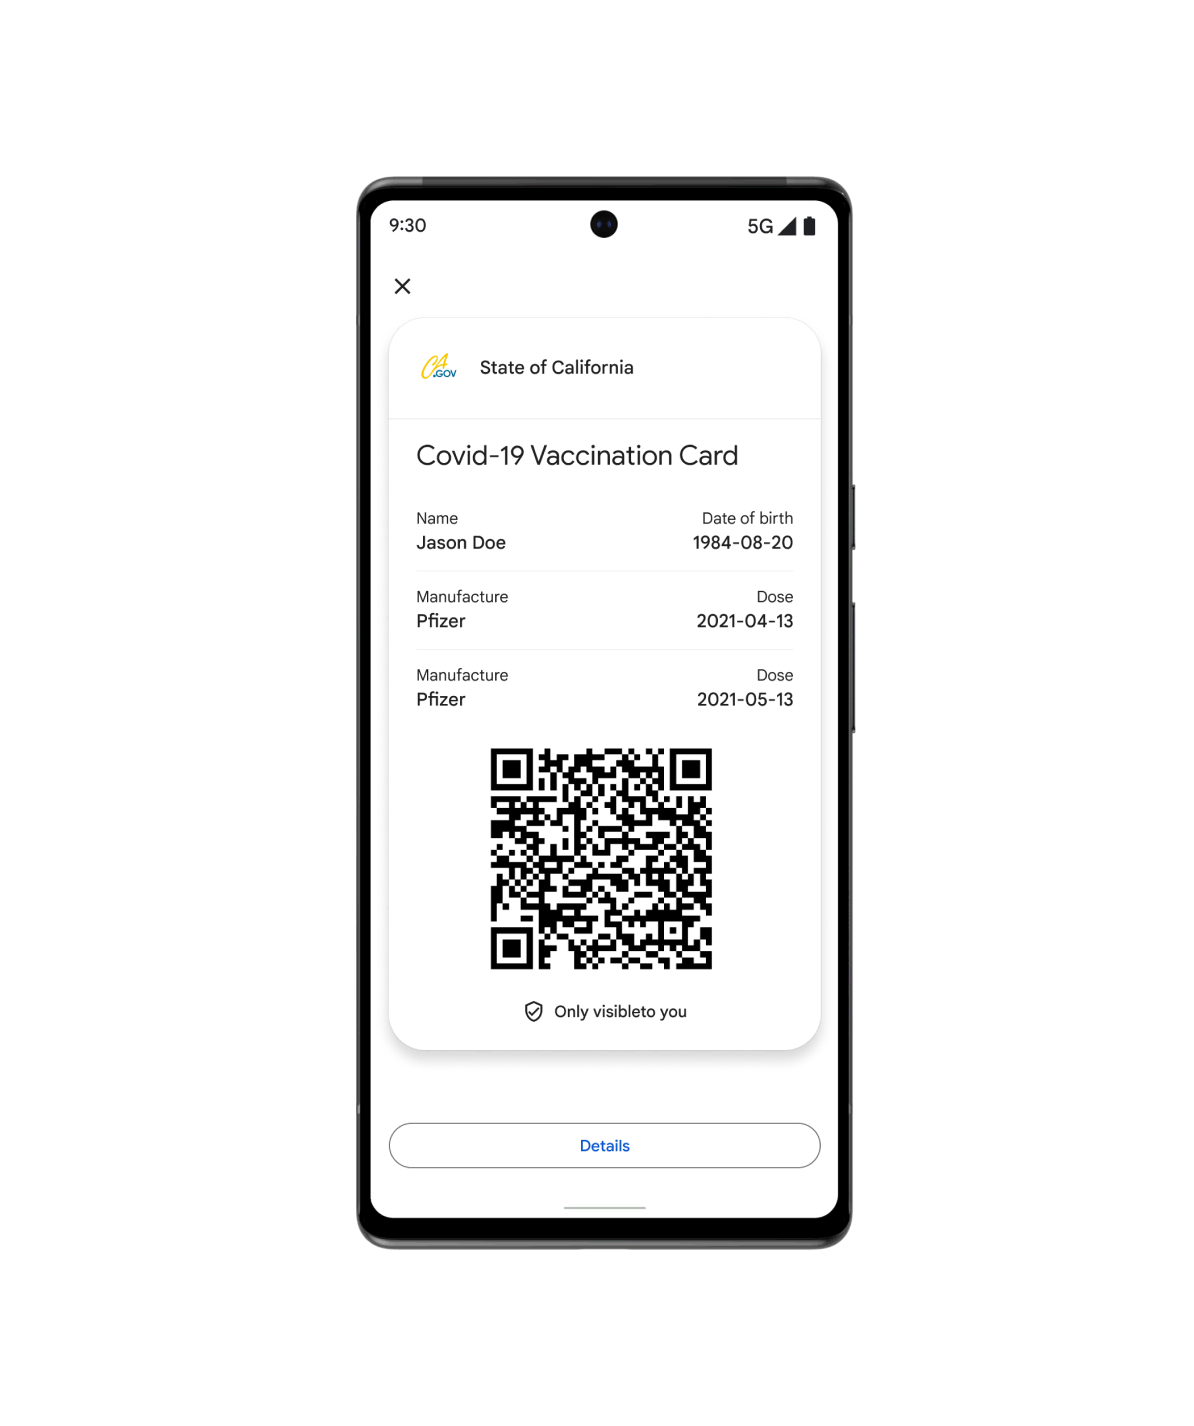
Estado
Ofrece a tus pacientes acceso rápido y seguro a su salud protegida con la Billetera de Google. Desde tarjetas de vacunación hasta registros de pruebas, los usuarios pueden agregar todo a su dispositivo y a la pantalla principal de Android.

Y mucho más...
Usa el pase genérico cuando tu caso de uso no se ajuste a ninguno de nuestros otros tipos predefinidos. Puedes personalizar pases genéricos según las necesidades de tus clientes, como membresías de gimnasios, tarjetas de biblioteca, tarjetas de seguro y pases de estacionamiento.
Recursos destacados
Encuentra las herramientas y muestras para desarrolladores más recientes que te ayudarán a crear objetos de billetera.

Aprueba la demostración visual
Realiza ajustes rápidos en el diseño de la tarjeta de fidelización en Google Wallet y obtén el fragmento de código en el idioma de tu preferencia.

Muestras de código
Explora y clona ejemplos de integraciones para cada vertical y lenguaje de programación (Java, C#, Python, PHP, JavaScript)

Codelabs
Explora codelabs autoguiados y obtén experiencia de primera mano con las APIs de la Billetera de Google.
Novedades sobre productos
Mantente al tanto de las novedades de los desarrolladores de la Billetera de Google.
Aumenta la adopción multiplataforma con el Convertidor de pases
El Convertidor de pases te permite tomar pases existentes para una aplicación de billetera, convertirlos y ponerlos a disposición en tu aplicación web o para dispositivos móviles para otra plataforma de billetera.
Prueba las nuevas muestras de código de la API de la Billetera de Google
El repositorio de muestras de código de la API de la Billetera de Google muestra cómo crear clases, objetos, vínculos Agregar a la Billetera de Google y administrar cuentas de entidades emisoras. Cada lenguaje admitido incluye comentarios de documentación detallados compatibles con los IDE más populares.
Integración más simple con la Billetera de Google para los desarrolladores de Android
Conoce los beneficios de usar el nuevo SDK de la Billetera de Google para Android a fin de digitalizar objetos de billetera en Android y explora los recursos para desarrolladores que te ayudarán a realizar la integración.
Consola de Google Pay y la Billetera de Google
Permite confirmar compras, pases y mucho más de manera rápida y sencilla en tu sitio web o app para Android.