मार्कर की मदद से मैप जोड़ें
इस ट्यूटोरियल में बताया गया है कि अपने iOS ऐप्लिकेशन में मार्कर के साथ एक आसान Google मैप कैसे जोड़ा जाए. यह ऐसे लोगों के लिए फ़ायदेमंद है जिन्हें Swift या Objective-C का शुरुआती या इंटरमीडिएट लेवल के साथ-साथ Xcode का सामान्य ज्ञान है. मैप बनाने की बेहतर गाइड के लिए, डेवलपर की गाइड पढ़ें.
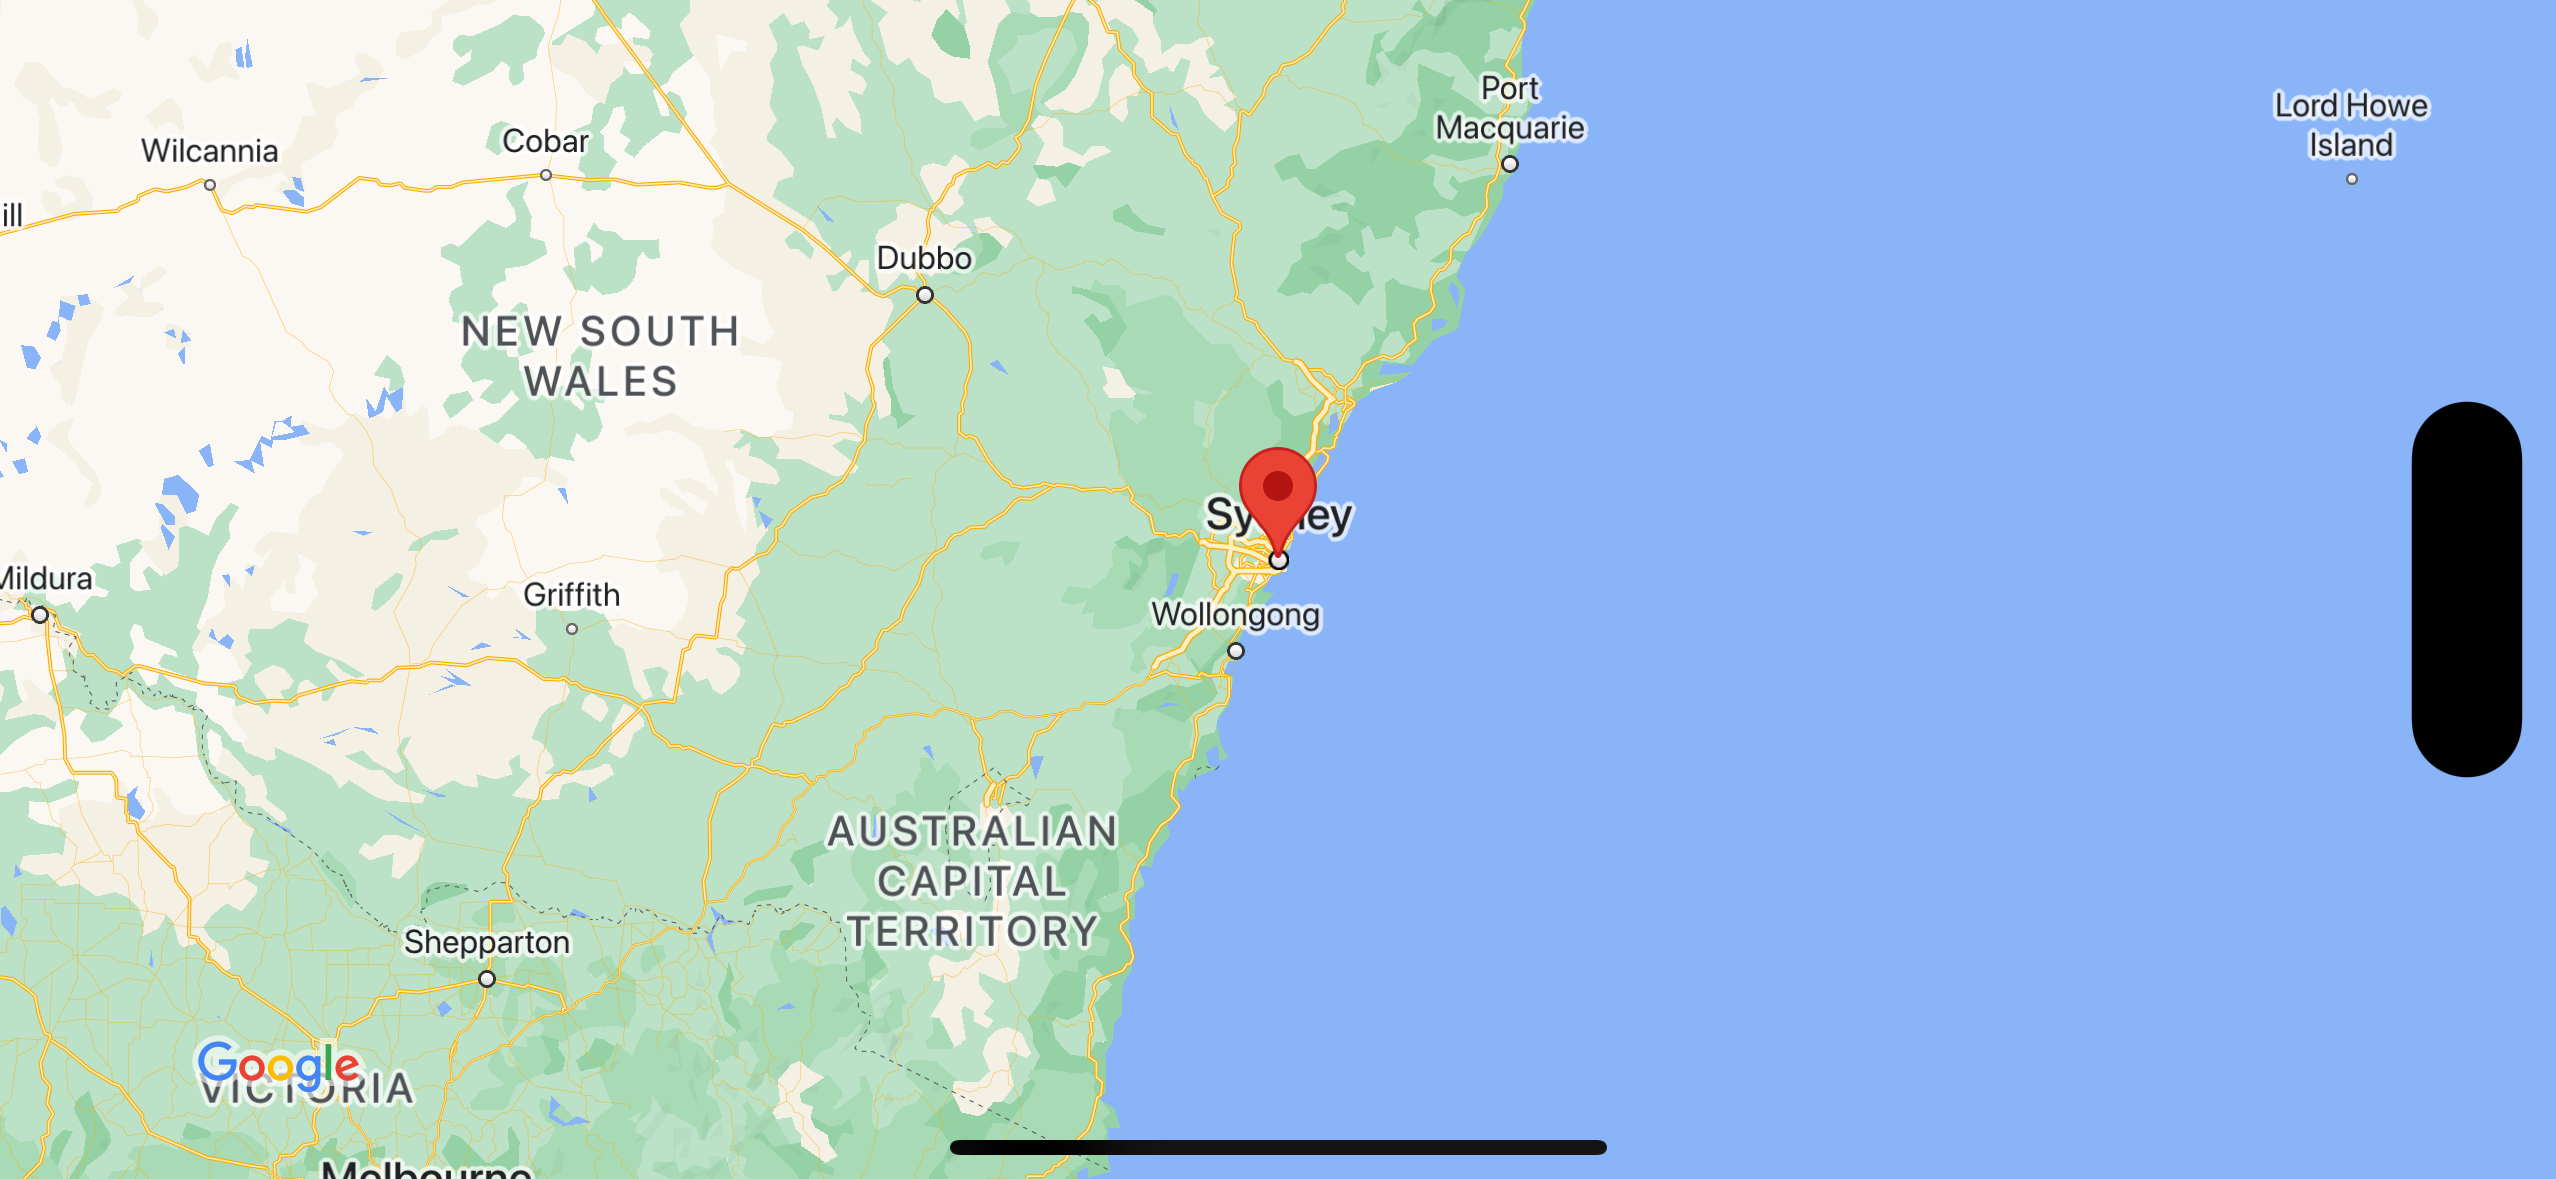
इस ट्यूटोरियल का इस्तेमाल करके आप नीचे दिया गया मैप बनाएंगे. मार्कर को ऑस्ट्रेलिया के सिडनी में रखा गया है.
कोड पाएं
GitHub पर, Google Maps iOS सैंपल डेटा स्टोर करने की जगह का क्लोन बनाएं या उसे डाउनलोड करें.
इसके अलावा, सोर्स कोड को डाउनलोड करने के लिए, नीचे दिए गए बटन पर क्लिक करें:
Swift
/*
 * Copyright 2020 Google Inc. All rights reserved.
 *
 *
 * Licensed under the Apache License, Version 2.0 (the "License"); you may not use this
 * file except in compliance with the License. You may obtain a copy of the License at
 *
 *     http://www.apache.org/licenses/LICENSE-2.0
 *
 * Unless required by applicable law or agreed to in writing, software distributed under
 * the License is distributed on an "AS IS" BASIS, WITHOUT WARRANTIES OR CONDITIONS OF
 * ANY KIND, either express or implied. See the License for the specific language governing
 * permissions and limitations under the License.
 */

import UIKit
import GoogleMaps

class ViewController: UIViewController {

    override func viewDidLoad() {
        super.viewDidLoad()
        // Do any additional setup after loading the view.
        // Create a GMSCameraPosition that tells the map to display the
        // coordinate -33.86,151.20 at zoom level 6.
        let camera = GMSCameraPosition.camera(withLatitude: -33.86, longitude: 151.20, zoom: 6.0)
        let mapView = GMSMapView.map(withFrame: self.view.frame, camera: camera)
        self.view.addSubview(mapView)

        // Creates a marker in the center of the map.
        let marker = GMSMarker()
        marker.position = CLLocationCoordinate2D(latitude: -33.86, longitude: 151.20)
        marker.title = "Sydney"
        marker.snippet = "Australia"
        marker.map = mapView
  }
}
Objective-C
/*
* Copyright 2020 Google Inc. All rights reserved.
*
*
* Licensed under the Apache License, Version 2.0 (the "License"); you may not use this
* file except in compliance with the License. You may obtain a copy of the License at
*
*     http://www.apache.org/licenses/LICENSE-2.0
*
* Unless required by applicable law or agreed to in writing, software distributed under
* the License is distributed on an "AS IS" BASIS, WITHOUT WARRANTIES OR CONDITIONS OF
* ANY KIND, either express or implied. See the License for the specific language governing
* permissions and limitations under the License.
*/

#import "ViewController.h"
#import <GoogleMaps/GoogleMaps.h>

@interface ViewController ()

@end

@implementation ViewController

- (void)viewDidLoad {
    [super viewDidLoad];
  // Do any additional setup after loading the view.
  // Create a GMSCameraPosition that tells the map to display the
  // coordinate -33.86,151.20 at zoom level 6.
  GMSCameraPosition *camera = [GMSCameraPosition cameraWithLatitude:-33.86
                                                          longitude:151.20
                                                               zoom:6];
  GMSMapView *mapView = [GMSMapView mapWithFrame:self.view.frame camera:camera];
  mapView.myLocationEnabled = YES;
  [self.view addSubview:mapView];

  // Creates a marker in the center of the map.
  GMSMarker *marker = [[GMSMarker alloc] init];
  marker.position = CLLocationCoordinate2DMake(-33.86, 151.20);
  marker.title = @"Sydney";
  marker.snippet = @"Australia";
  marker.map = mapView;
}

@end
शुरू करें
स्विफ़्ट पैकेज मैनेजर
iOS के लिए Maps SDK टूल को Swift Package Manager का इस्तेमाल करके इंस्टॉल किया जा सकता है.
- पक्का करें कि आपने iOS डिपेंडेंसी के लिए, Maps SDK टूल के सभी मौजूदा वर्शन हटा दिए हैं.
- टर्मिनल विंडो खोलें और
tutorials/mapwithmarkerडायरेक्ट्री पर जाएं. -
पक्का करें कि आपका Xcode फ़ाइल फ़ोल्डर बंद है और इन निर्देशों को चलाएं:
sudo gem install cocoapods-deintegrate cocoapods-clean
pod deintegrate
pod cache clean --all
rm Podfile
rm map-with-marker.xcworkspace
- अपना Xcode प्रोजेक्ट खोलें और पॉडफ़ाइल को मिटाएं.
- फ़ाइल > पैकेज डिपेंडेंसी जोड़ें पर जाएं.
- यूआरएल के तौर पर https://github.com/googlemaps/ios-maps-sdk डालें, पैकेज पाने के लिए Enter दबाएं, और पैकेज जोड़ें पर क्लिक करें.
- आपको फ़ाइल > पैकेज > पैकेज कैश मेमोरी रीसेट करें में जाकर, पैकेज की कैश मेमोरी को रीसेट करना पड़ सकता है.
CocoaPods का इस्तेमाल करना
- Xcode 14.0 वर्शन या इसके बाद का वर्शन डाउनलोड और इंस्टॉल करें.
- अगर आपके पास पहले से CocoaPods नहीं है, तो
इसे macOS पर इंस्टॉल करें. इसके लिए, टर्मिनल से यह कमांड दें:
sudo gem install cocoapods
tutorials/map-with-markerडायरेक्ट्री पर जाएं.pod installनिर्देश चलाएं. इससेPodfileमें बताए गए Maps SDK टूल को अपनी डिपेंडेंसी के साथ इंस्टॉल कर दिया जाएगा.- इंस्टॉल किए गए पॉड वर्शन की तुलना किसी भी नए अपडेट से करने के लिए,
pod outdatedचलाएं. अगर नए वर्शन का पता चलता है, तोPodfileको अपडेट करने के लिएpod updateचलाएं और SDK टूल का नया वर्शन इंस्टॉल करें. ज़्यादा जानकारी के लिए, CocoaPods गाइड देखें. - प्रोजेक्ट की map-with-marker.xcworkspace फ़ाइल को Xcode में खोलने के लिए, उसे खोलें (दो बार क्लिक करें). प्रोजेक्ट खोलने के लिए, आपको
.xcworkspaceफ़ाइल का इस्तेमाल करना होगा.
एपीआई पासकोड पाएं और ज़रूरी एपीआई चालू करें
इस ट्यूटोरियल को पूरा करने के लिए, आपको एक Google API कुंजी की ज़रूरत होगी जिसे iOS के लिए Maps SDK टूल का इस्तेमाल करने की अनुमति हो. कुंजी पाने और एपीआई को चालू करने के लिए, इस बटन पर क्लिक करें.
शुरू करेंज़्यादा जानकारी के लिए, एपीआई पासकोड पाना देखें.
अपने ऐप्लिकेशन में API कुंजी जोड़ें
अपने AppDelegate.swift में अपनी एपीआई कुंजी इस तरह जोड़ें:
- ध्यान दें कि फ़ाइल में यह इंपोर्ट स्टेटमेंट जोड़ दिया गया है:
import GoogleMaps
- अपने
application(_:didFinishLaunchingWithOptions:)तरीके में, यहां दी गई लाइन में बदलाव करें. इसमें YOUR_API_KEY को अपनी एपीआई कुंजी से बदलें:GMSServices.provideAPIKey("YOUR_API_KEY")
अपना ऐप्लिकेशन बनाना और चलाना
- अपने कंप्यूटर से iOS डिवाइस कनेक्ट करें या Xcode स्कीम मेन्यू में से सिम्युलेटर चुनें.
- अगर किसी डिवाइस का इस्तेमाल किया जा रहा है, तो पक्का करें कि जगह की जानकारी की सुविधा चालू हो. अगर सिम्युलेटर का इस्तेमाल किया जा रहा है, तो सुविधाएं मेन्यू में से कोई जगह चुनें.
- Xcode में, प्रॉडक्ट/रन मेन्यू विकल्प (या चलाएं बटन आइकॉन) पर क्लिक करें.
- Xcode से ऐप्लिकेशन बनता है. इसके बाद, यह ऐप्लिकेशन को डिवाइस या सिम्युलेटर पर चलाता है.
- आपको ऑस्ट्रेलिया के पूर्वी तट पर सिडनी पर स्थित मार्कर के साथ एक मैप दिखना चाहिए, जो इस पेज पर दिखाई गई इमेज जैसा है.
समस्या का हल:
- अगर आपको कोई मैप नहीं दिखता है, तो देख लें कि आपने एपीआई पासकोड लिया हो और उसे ऐप्लिकेशन में जोड़ा हो. जैसा कि पहले बताया गया है. एपीआई पासकोड से जुड़ी गड़बड़ी के मैसेज के लिए, Xcode के डीबगिंग कंसोल पर जाएं.
- अगर आपने iOS बंडल आइडेंटिफ़ायर की मदद से एपीआई पासकोड को सीमित किया है, तो ऐप्लिकेशन के लिए बंडल आइडेंटिफ़ायर जोड़ने के लिए, कुंजी में बदलाव करें:
com.google.examples.map-with-marker. - पक्का करें कि आपका वाई-फ़ाई या जीपीएस कनेक्शन अच्छा हो.
- लॉग देखने और ऐप्लिकेशन को डीबग करने के लिए, Xcode डीबग करने वाले टूल का इस्तेमाल करें.
कोड को समझना
- मैप बनाएं और उसे
viewDidLoad()में व्यू के तौर पर सेट करें.Swift
// Create a GMSCameraPosition that tells the map to display the
// coordinate -33.86,151.20 at zoom level 6.
let camera = GMSCameraPosition.camera(withLatitude: -33.86, longitude: 151.20, zoom: 6.0)
let mapView = GMSMapView.map(withFrame: CGRect.zero, camera: camera)
view = mapView
Objective-C
// Create a GMSCameraPosition that tells the map to display the // coordinate -33.86,151.20 at zoom level 6. GMSCameraPosition *camera = [GMSCameraPosition cameraWithLatitude:-33.86 longitude:151.20 zoom:6.0]; GMSMapView *mapView = [[GMSMapView alloc] initWithFrame: CGRectZero camera:camera]; self.view = mapView; viewDidLoad()में मैप पर एक मार्कर जोड़ें.Swift
// Creates a marker in the center of the map.
let marker = GMSMarker()
marker.position = CLLocationCoordinate2D(latitude: -33.86, longitude: 151.20)
marker.title = "Sydney"
marker.snippet = "Australia"
marker.map = mapView
Objective-C
// Creates a marker in the center of the map.
GMSMarker *marker = [[GMSMarker alloc] init];
marker.position = CLLocationCoordinate2DMake(-33.86, 151.20);
marker.title = @"Sydney";
marker.snippet = @"Australia";
marker.map = mapView;
डिफ़ॉल्ट रूप से, iOS के लिए Maps SDK टूल, जानकारी विंडो की सामग्री तब दिखाता है, जब उपयोगकर्ता किसी मार्कर पर टैप करता है. अगर आप डिफ़ॉल्ट व्यवहार का इस्तेमाल करने के लिए तैयार हैं, तो मार्कर के लिए क्लिक लिसनर जोड़ने की कोई ज़रूरत नहीं है.
बधाई हो! आपने एक ऐसा iOS ऐप्लिकेशन बनाया है जो किसी खास जगह को दिखाने के लिए मार्कर के साथ Google मैप दिखाता है. आपने iOS के लिए Maps SDK टूल इस्तेमाल करने का तरीका भी सीखा है.
अगले चरण
मैप ऑब्जेक्ट के बारे में ज़्यादा जानें. साथ ही, यह भी जानें कि मार्कर की मदद से क्या-क्या किया जा सकता है.