
In this codelab you will learn how to add images to your app using an ImageView.
Prerequisites
- How to create and run a new app in Android Studio.
- How to add and remove, and set attributes on
TextViewsusing the Layout Editor.
What you'll learn
- How to add an image or photo to your Android app.
- How to display an image in your app using an
ImageView. - How to extract text into a string resource to make it easier to translate your app and to reuse strings.
- How to make your app usable for the largest number of people.
What you'll build
- Extend the Happy Birthday app to add an image.
What you need
- A computer with Android Studio installed.
- The app from the "Create a Birthday Card app" codelab.
- Open your project from the previous codelab, Create a Birthday Card app, in Android Studio.
When you run the app, it should look like this.
Add an image to your project
In this task, you'll download an image from the internet and add it to your Happy Birthday app.
- Go to this website to find an image for your birthday card.
- Click the Download button on the right. This displays the image by itself.
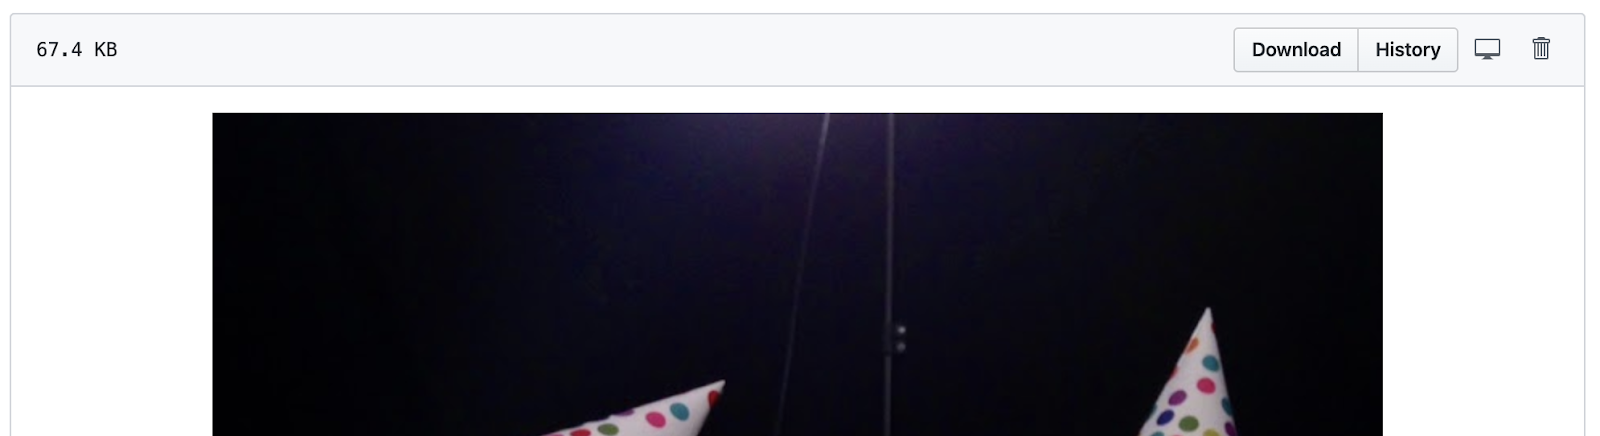
- Right-click on the image and save the file to your computer as androidparty.jpg. Make note of where you saved it (for example, the Downloads folder).
- In Android Studio, click on View > Tool Windows > Resource Manager in the menus or click on the Resource Manager tab to the left of the Project window.
- Click the + below Resource Manager, and select Import Drawables. This opens a file browser.
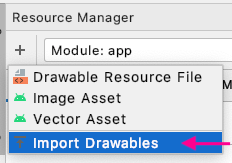
- In the file browser find the image file you downloaded and click Open.
- Click Next.
Android Studio shows you a preview of the image. - Click Import.
- If the image has been imported successfully, Android Studio adds the image to your Drawable list. This list includes all your images and icons for the app. You can now use this image in your app.

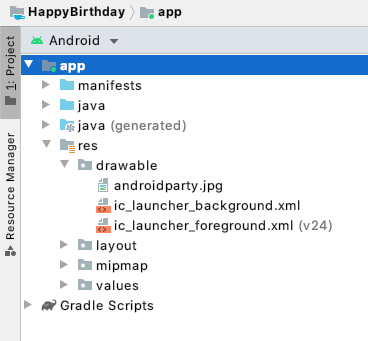
- Switch back to the project view by clicking on View > Tool Windows > Project in the menus or the Project tab on the far left.
- Confirm the image is in the drawable folder of your app by expanding app > res > drawable.
In order to display an image in your app, it needs a place to be displayed. Just like you use a TextView to display text, you can use an ImageView to display images.
In this task, you'll add an ImageView to your app, and set its image to the cake image you downloaded. Then you'll position it and adjust its size so it fills the screen.
Add an ImageView and set its image
- In the Project window open activity_main.xml ( app > res > layout > activity_main.xml ).
- In the Layout Editor, go to the Palette and drag an
ImageViewto your app. Drop it near the center and not overlapping any of the text
The Pick a Resource dialog opens. This dialog lists all the image resources available to your app. Notice the birthday image listed under the Drawable tab. A drawable resource is a general concept for a graphic that can be drawn to the screen. It includes images, bitmaps, and icons and many other types of drawn resources.
- In the Pick a Resource dialog find the cake image in the Drawable list.
- Click on the image and then click OK.

This adds the image to your app, but it's probably not in the right place and it doesn't fill the screen. You'll fix that in the next step.
Position and size the ImageView
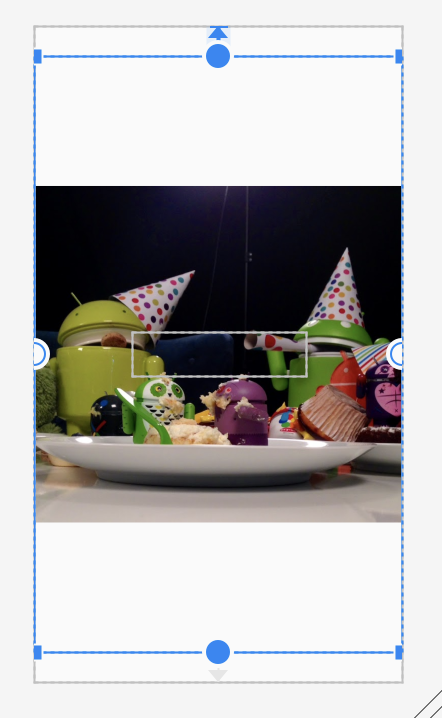
- Click and drag the
ImageViewaround in the Layout Editor, and note that as you drag, a pink rectangle appears around the app screen in the Design view. The pink rectangle indicates the boundaries of the screen for positioning yourImageView. - Drop the
ImageViewso that the left and right edges align with the pink rectangle. Android Studio will "snap" the image to the edges when you're close. (You'll take care of the top and bottom in a moment.)
Views in a ConstraintLayout need to have horizontal and vertical constraints to tell the ConstraintLayout how to position them. You'll add those next.
- Hold the pointer over the circle at the top of the outline of the
ImageView, and it highlights with another circle. - Drag the circle towards the top of the app screen, and an arrow connects the circle to your pointer as you are dragging. Drag until it snaps to the top of the screen. You've added a constraint from the top of the
ImageViewto the top of theConstraintLayout.
- Add a constraint from the bottom of the
ImageViewto the bottom of theConstraintLayout.
- In the Attributes pane, use the Constraint Widget to add a margin of 0 to the left and to the right sides. This automatically creates a constraint in that direction.

The image is now centered, but it isn't taking up the whole screen yet. You'll fix that in the next steps.
- Below the Constraint Widget in the Constraints section, set the layout_width to 0dp (match constraint).
0dp is a shorthand to tell Android Studio to use match constraint for the width of theImageView. "match constraints means.... Because of constraints you just added, this makes it as wide as theConstraintLayout, minus any margins.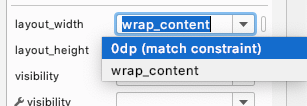
- Set the layout_height to 0dp (match constraint).
Because of the constraints you added, this makes theImageViewas tall as theConstraintLayout, minus any margins.
- The
ImageViewis as wide and tall as the app screen, but the photo is centered inside theImageViewand there is a bunch of whitespace above and below the photo. Since that doesn't look very attractive, you will adjust the scaleType of theImageView, which says how to size and align the image. Read more aboutScaleTypein the developer reference guide. Your app should now look as shown below.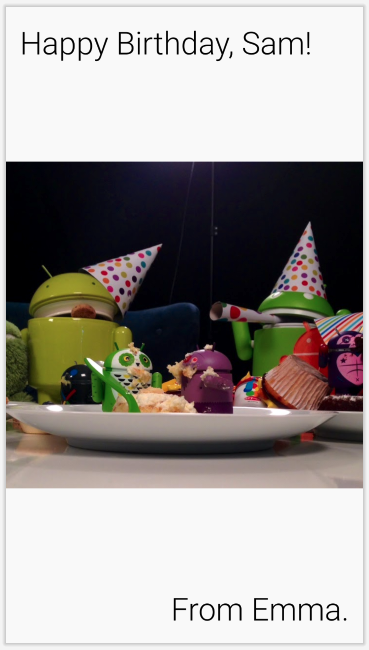
- Find the scaleType attribute. You may need to scroll down or search for this attribute. Try setting different values for the scaleType to see what they do.
- When you're done, set the scaleType to centerCrop because that makes the image fill the screen without distorting it.

The cake image should now fill the entire screen, as shown below.
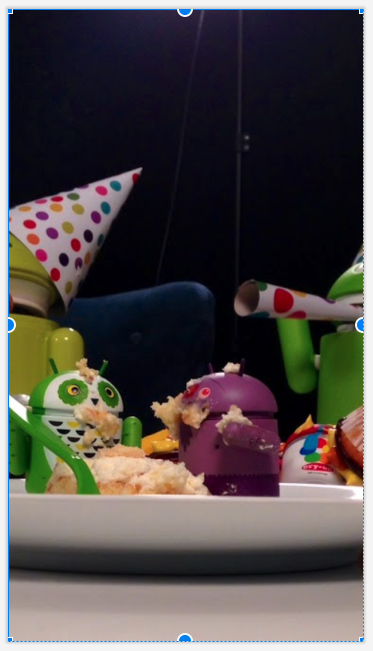
But now you can't see your birthday greeting and signature. You'll fix that in the next step.
Move the ImageView behind the text
After making the ImageView fill the screen, you can't see the text anymore. This is because the image now covers up the text. It turns out that the order of your UI elements matters. You added the TextViews first, then you added the ImageView, which means it went on top. When you add views to a layout, they are added at the end of a list of views, and they get drawn in the order they are in the list. The ImageView was added to the end of the list of Views in the ConstraintLayout, which means it's drawn last, and draws over the TextViews. To fix that, you'll change the order of the views and move the ImageView to the beginning of the list so it's drawn first.

- In the Component Tree, click on the
ImageView, and drag it above theTextViewsto just below theConstraintLayout. A blue line with a triangle appears showing where theImageViewwill go. Drop theImageViewjust below theConstraintLayout.
The ImageView should now be first in the list below the ConstraintLayout, with the TextViews after it. Both the "Happy Birthday, Sam!" and the "From Emma." text should now be visible, but "Happy Birthday, Sam!" might be hard to read because it's dark text on a dark background. (Ignore the warning for the missing content description for now.)
Change the text color
Your greeting text and signature are now in front of the image. But they might still be hard to see, depending on the text color you chose. In this step you'll set the color of the text so it shows up better with the image behind it.
- Select the first
TextViewby clicking on it in the Component Tree. - In Attributes, click on the textColor attribute and start typing white.
Notice that as you type, Android Studio shows a list of colors that contain the text you've typed so far.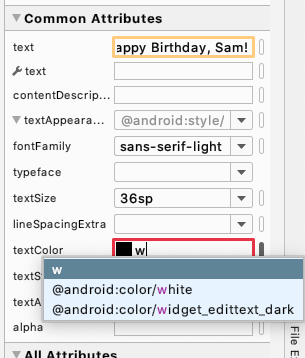
- Select @android:color/white from the list of colors and press Enter. Android defines a number of colors so you can use them consistently in different parts of your app.
- Do the same to the other
TextView. - Run your app and observe that the text is now much easier to read.

Congratulations! You've added an image to your Android app, and your text looks great on it!!
When you added the TextViews in the previous codelab, Android Studio flagged them with warning triangles. In this step, you'll fix those warnings and also fix the warning on the ImageView.
Translating
When you write apps, it's important to remember that they may be translated into another language at some point. As you learned in an earlier codelab, a string is a sequence of characters like "Happy Birthday, Sam!".
A hardcoded string is one that is written directly in the code of your app. Hardcoded strings make it more difficult to translate your app into other languages, and harder to reuse a string in different places in your app. You can deal with those issues by "extracting strings into a resource file". That means instead of hardcoding the string in your code, you put the string into a file, give it a name, and then use the name whenever you want to use this string. The name will stay the same, even if you change the string or translate it to a different language.
- Click on the orange triangle next to the first
TextViewwith "Happy Birthday, Sam!"
Android Studio opens a window with more information and a suggested fix. You may need to scroll down to see the Suggested Fix.
- Click the Fix button.
Android Studio opens the Extract Resource dialog. In this dialog, you can customize what your string resource is called, and some details on how to store it. The Resource name is what the string is going to be called. The Resource value will be the actual string itself. - In the Extract Resource dialog, change the Resource name to happy_birthday_text. String resources should have lowercase names, and multiple words should be separate with an underscore. Leave the other settings with the defaults.

- Click the OK button.
- In the Attributes pane, find the text attribute, and notice that Android Studio has automatically set it to @string/happy_birthday_text for you.
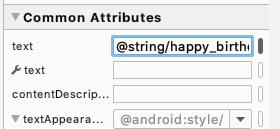
- Open strings.xml (app > res > values > strings.xml) and notice that Android Studio has created a string resource called happy_birthday_text.
<resources>
    <string name="app_name">Happy Birthday</string>
    <string name="happy_birthday_text">Happy Birthday, Sam!</string>
</resources>
The strings.xml file has a list of strings that the user will see in your app. Note that the name of your app is also a string resource. By putting the strings all in one place, you can more easily translate all the text in your app, and more easily reuse a string in different parts of your app.
- Follow the same steps to extract the text for the signature
TextView, and name the string resource signature_text.
Your finished file should look like this.
<resources>
    <string name="app_name">Happy Birthday</string>
    <string name="happy_birthday_text">Happy Birthday, Sam!</string>
    <string name="signature_text">From Emma.</string>
</resources>
Check your app for accessibility
Following good coding practices for accessibility allows all of your users, including users with disabilities, to navigate and interact with your app more easily.
Android Studio provides hints and warnings to help you make your app more accessible.
- In the Component Tree, notice the orange triangle next to the
ImageViewthat you added earlier. If you hover the pointer over it, you'll see a tooltip with a warning about a missing 'contentDescription' attribute on the image. A content description can help make your app more usable with TalkBack by defining the purpose of the UI element.
However, the image in this app is only for decoration. It doesn't do anything if the user taps on it, and has no special meaning for accessibility. Instead of setting the content description, you'll mark the ImageView so the system knows it isn't important for accessibility. Then a screen reader knows to skip over it.
- In the Component Tree, select the
ImageView. - In the Attributes window, in the All Attributes section, find importantForAccessibility and set it to no.
The orange triangle next to the ImageView disappears.
- Run your app again to make sure it still works.
Congratulations! You've added an image to your Happy Birthday app, followed the accessibility guidelines, and made it easier to translate to other languages!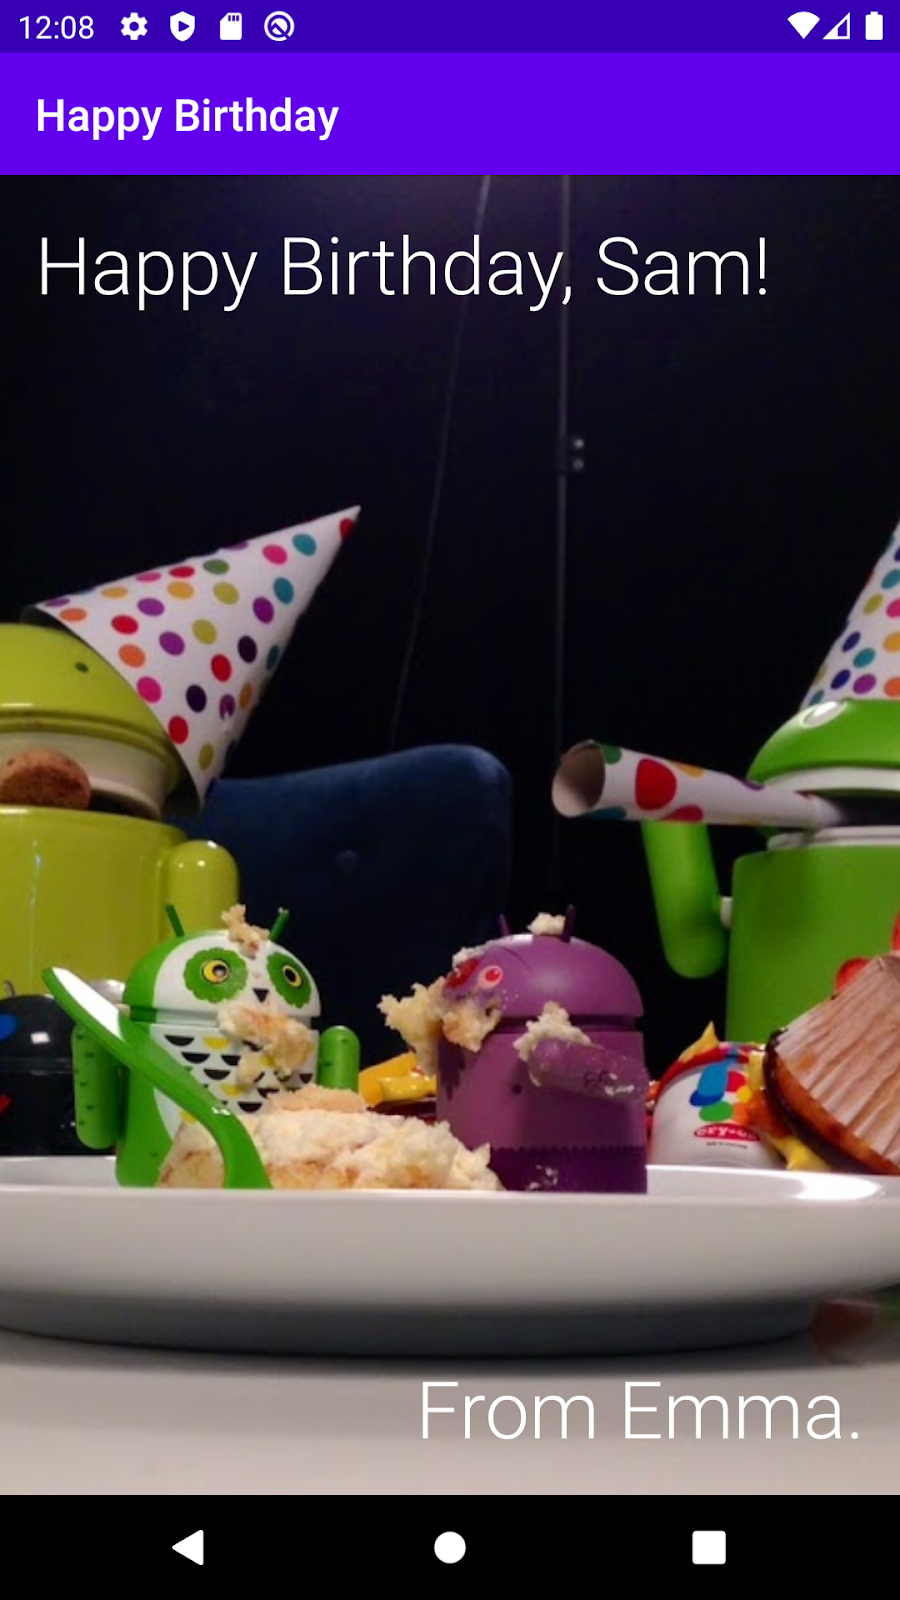
The solution code for the Happy Birthday app has been uploaded to GitHub, in case you'd like to see the code that we ended up with.
GitHub is a service that allows developers to manage code for their software projects. It uses Git, which is a version control system that keeps track of the changes made for each version of the code. If you've ever seen the version history of a Google Doc, you can see when and what edits were made on the document in the past. Similarly, you can track the version history of the code in a project. This is very helpful if you are working on a project as an individual or with a team.
GitHub also has a website where you can view and manage your project. This GitHub link allows you to browse the Happy Birthday project files online or download them to your computer.
To get the code for this codelab and open it in Android Studio, do the following.
Get the code
- Click on the Solution Code URL. This opens the GitHub page for the project in a browser.
- On the GitHub page for the project, click the Clone or download button, which brings up a Clone dialog.

- In the dialog, click the Download ZIP button to save the project to your computer. Wait for the download to complete.
- Locate the file on your computer (likely in the Downloads folder).
- Double-click the ZIP file to unpack it. This creates a new folder that contains the project files.
Open the project in Android Studio
- Start Android Studio.
- In the Welcome to Android Studio window, click Open an existing Android Studio project.

Note: If Android Studio is already open, instead, select the File > New > Import Project menu option.

- In the Import Project dialog, navigate to where the unzipped project folder is located (likely in your Downloads folder).
- Double-click on that project folder.
- Wait for Android Studio to open the project.
- Click the Run button
to build and run the app. Make sure it works as expected.
- Browse the project files in the Project tool window to see how the app was implemented.
- The Resource Manager in Android Studio helps you add and organize your images and other resources.
- An
ImageViewis a UI element for displaying images in your app. ImageViewsshould have a content description to help make your app more accessible.- Text that is shown to the user like the birthday greeting should be extracted into a string resource to make it easier to translate your app into other languages.
- Resource Manager in Android Studio
ImageViewclass- Accessibility
- Support different languages
- Getting started with GitHub
Do the following:
- Create your own birthday card app based on your design.
- Start by thinking about what
Viewsyou will need. - What order would be easiest to add them?
- What images do you need to add to the drawable folder?
There are two types of bitmap images commonly used for Android apps, JPEG files and PNG files. PNG files can have transparent (empty) areas in them. Read more about image formats in the developer reference.
- Remember to position the
Viewsfirst with constraints and margins, then style them. - To make the text stand out more on some images, try experimenting with the shadowColor, shadowDx, shadowDy and shadowRadius.

Check your work:
Your finished app should run without errors and show the birthday card you designed.