
In this codelab, you will build a simple Android app that displays text. You will be able to position the text on the screen by understanding more about User Interface (UI) components in Android.
Prerequisites
- How to create a new app in Android Studio.
- How to run an app in the emulator or on your Android device.
What you will learn
- What are user interface elements, such as
ViewsandViewGroups. - How to display text in a
TextViewin an app. - How to set attributes, such as text, font, and margin on a
TextView.
What you will build
- An Android app that displays a birthday greeting in text format.
This is what your app will look like when you're done.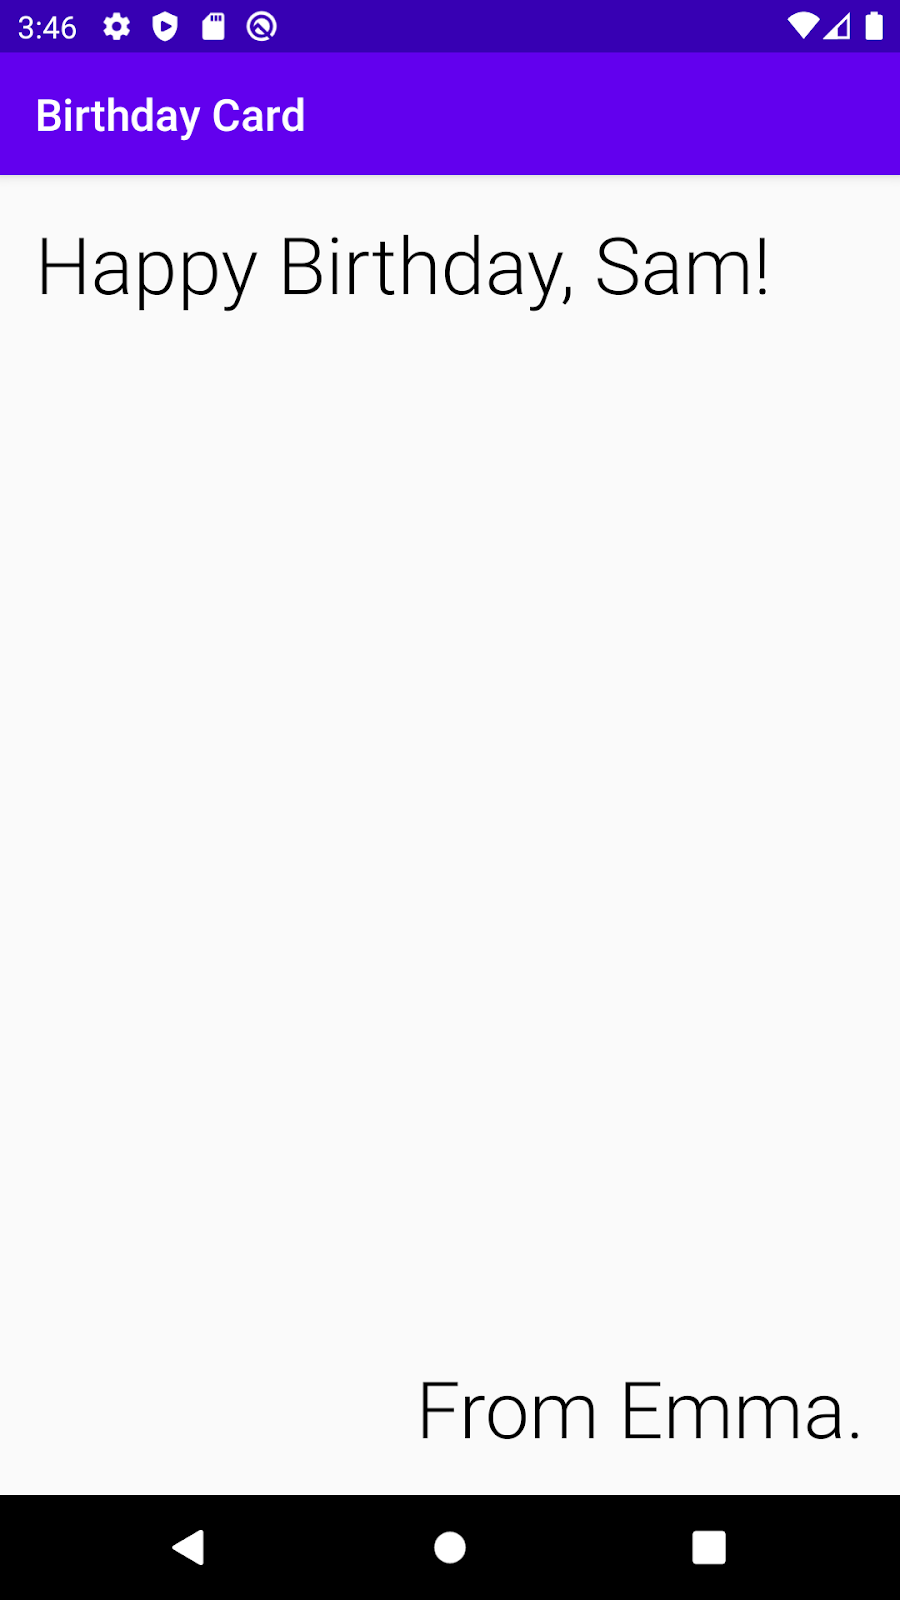
What you need
- A computer with Android Studio installed.
Create an Empty Activity project
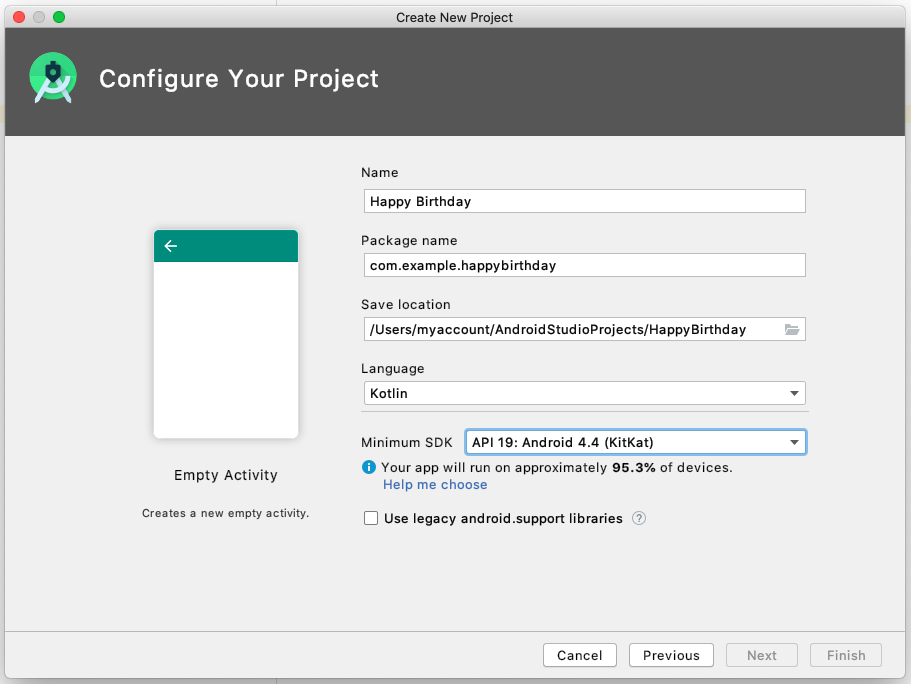
- To start, create a new Kotlin project in Android Studio using the Empty Activity template.
- Call the app "Happy Birthday", with a minimum API level of 19 (KitKat).
Important: If you're not familiar with creating a new project in Android Studio, see Create and run your first Android app for details.
- Run your app. The app should look like the screenshot below.

When you created this Happy Birthday app with the Empty Activity template, Android Studio set up resources for a basic Android application, including a "Hello World!" message in the middle of the screen. In this codelab, you will learn how that message gets there, how to change its text to be more of a birthday greeting, and how to add and format additional messages.
About user interfaces
The user interface (UI) of an app is what you see on the screen: text, images, buttons, and many other types of elements. It's how the app shows things to the user, and how the user interacts with the app.
Each of these elements is what's called a View. Almost everything you see on the screen of your app is a View. Views can be interactive, like a clickable button or an editable input field.
In this codelab, you will work with a kind of View that is for displaying text and is called a TextView.
The Views in an Android app don't just float on the screen by themselves. Views have relationships to each other. For example, an image may be next to some text, and buttons may form a row. To organize Views, you put them in a container. A ViewGroup is a container that View objects can sit in, and is responsible for arranging the Views inside it. The arrangement, or layout, can change depending on the size and aspect ratio of the screen of the Android device that the app is running on, and the layout can adapt to whether the device is in portrait or landscape mode.
One kind of ViewGroup is a ConstraintLayout, which helps you arrange the Views inside it in a flexible way.

About the Layout Editor
Creating the user interface by arranging Views and ViewGroups is a big part of creating an Android App. Android Studio provides a tool that helps you do this, called the Layout Editor. You'll use the Layout Editor to change the "Hello World!" text to "Happy Birthday!", and later, to style the text.
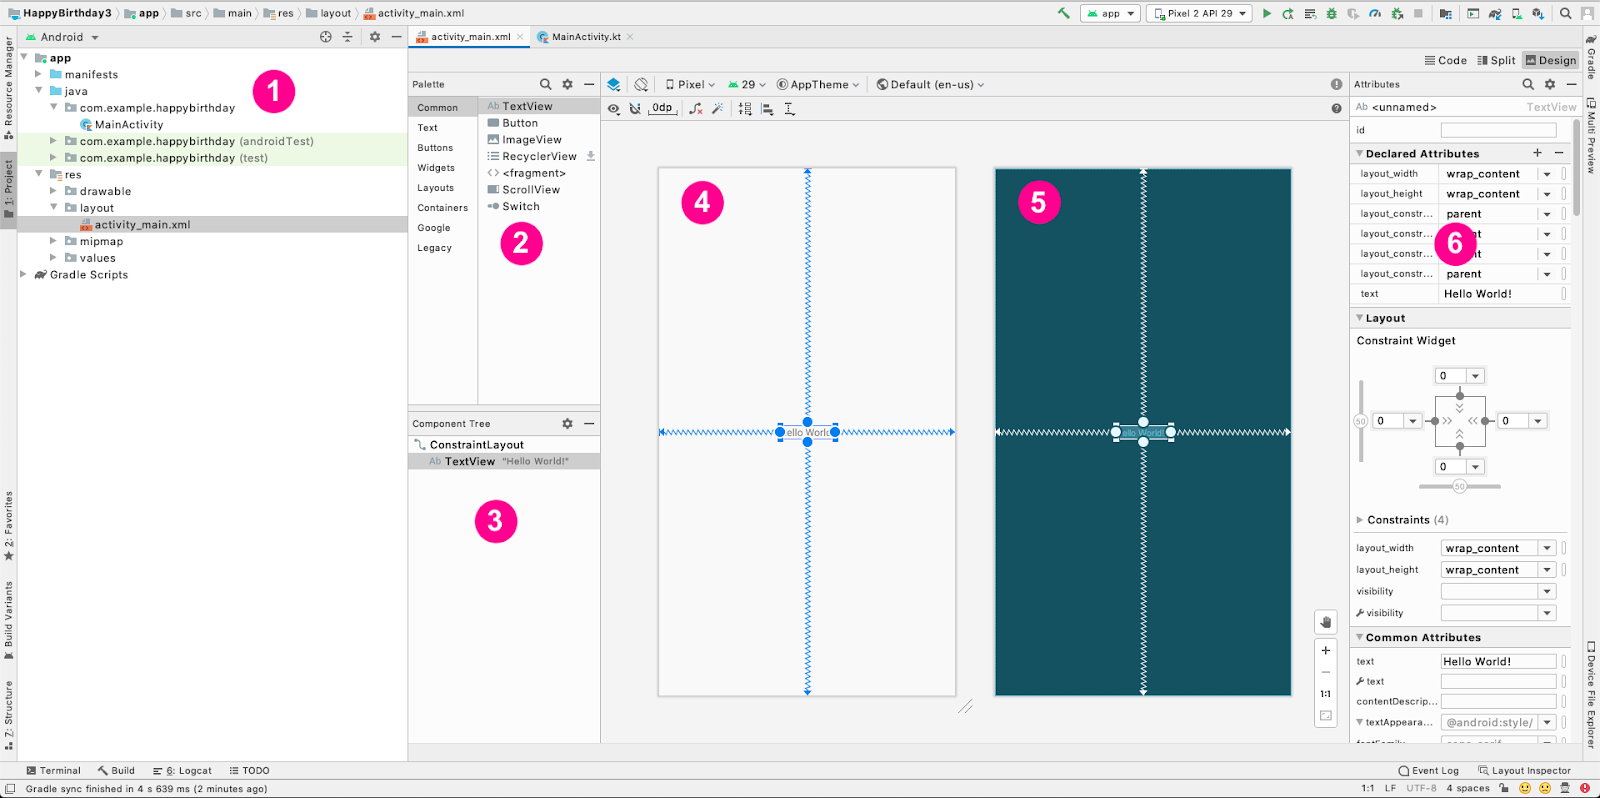
When the Layout Editor opens, it has a lot of parts. You will learn to use most of them in this codelab. Use the annotated screenshot below for help recognizing the windows in the Layout Editor. You will learn more about each part as you make changes to your app.
- On the left (1) is the Project window, which you have seen before. It lists all the files that make up your project.
- At the center you can see two drawings (4) and (5) that represent the screen layout for your app. The representation on the left (4) is a close approximation of what your screen will look like when the app runs. It's called the Design view.
- The representation on the right (5) is the Blueprint view, which can be useful for specific operations.
- The Palette (2) contains lists of different types of
Viewswhich you can add to your app. - The Component Tree (3) is a different representation of the views of your screen. It lists all the views of your screen.
- On the far right (6) are Attributes. It shows you the attributes of a
Viewand lets you change them.
Read more about the Layout Editor and how to configure it in the developer reference guide.
Annotated screenshot of the whole Layout Editor:
Let's go make some changes in the Layout Editor to make your app more like a birthday card!
Change the Hello World message
- In Android Studio find the Project window on the left.
- Take note of these folders and files: The app folder has most of the files for the app that you will change. The res folder is for resources, such as images or screen layouts. The layout folder is for screen layouts. The
activity_main.xmlfile contains a description of your screen layout. - Expand the app folder, then the res folder, and then the layout folder.
- Double-click on
activity_main.xml.
This opensactivity_main.xmlin the Layout Editor and shows the layout it describes in the Design view.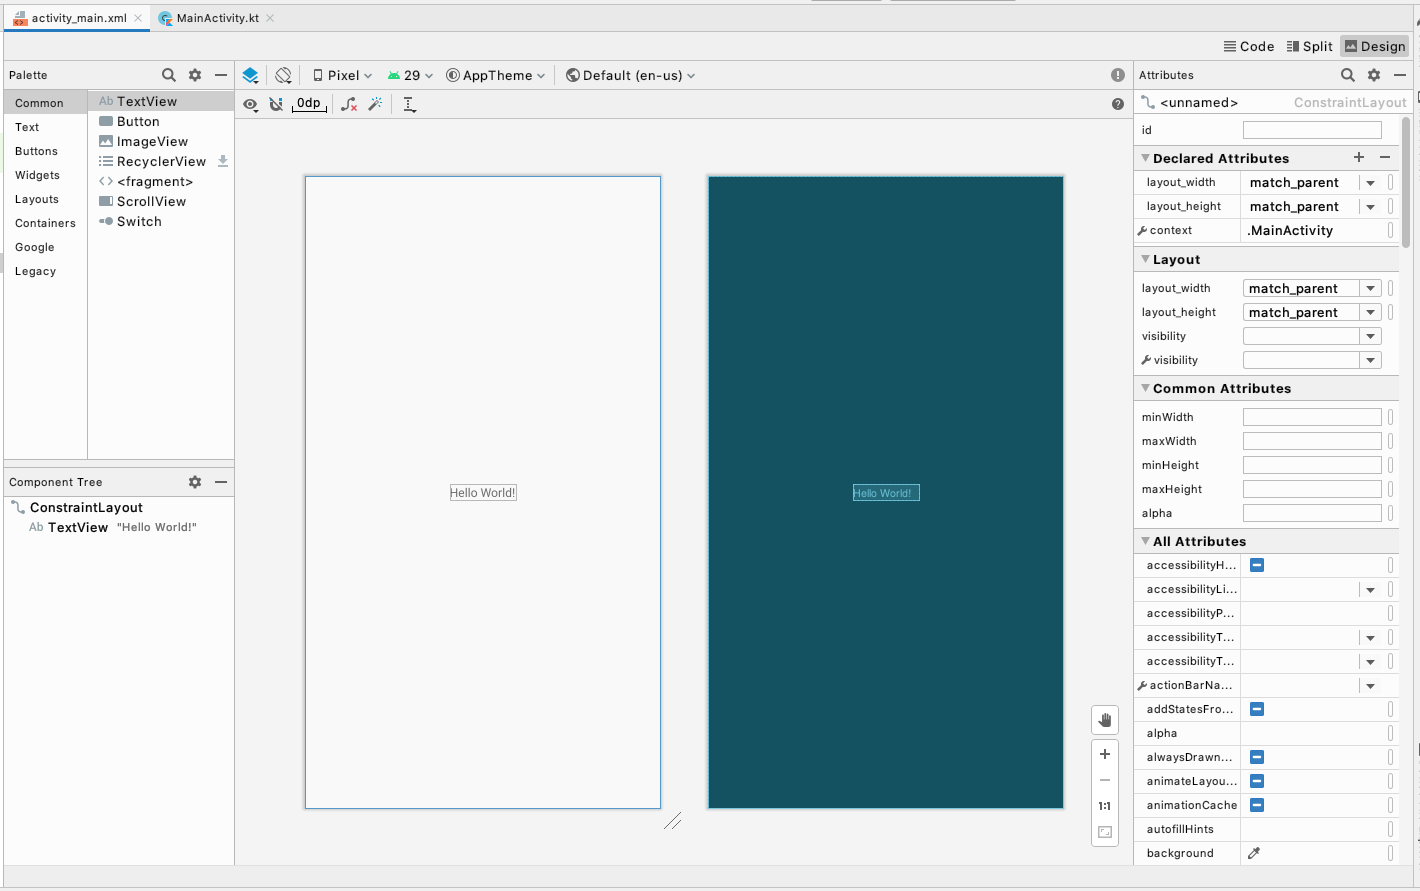
- Look at the list of views in the Component Tree. Notice that there is a
ConstraintLayout, and aTextViewunderneath it.
These represent the UI of your app. TheTextViewis indented because it is inside theConstraintLayout. As you add moreViewsto theConstraintLayout, they will be added to this list. - Notice that the
TextViewhas "Hello World!" next to it, which is the text you see when you run the app.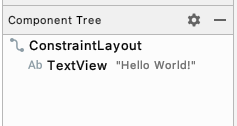
- In the Component Tree, click on the
TextView. - Find Attributes on the right.
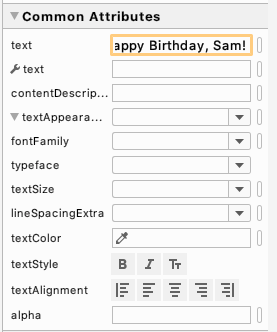
- Find the Declared Attributes section.
- Notice that the text attribute in the Declared Attributes section contains Hello World!.
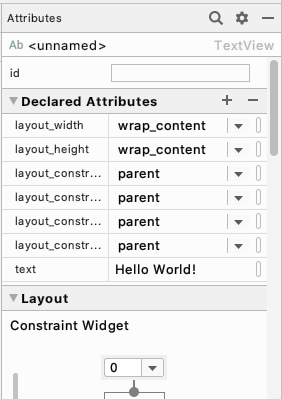
The text attribute shows the text that is printed inside a TextView.
- Click on the text attribute where the Hello World! text is.
- Change it to say Happy Birthday!, then press the Enter key. If you see a warning about a hardcoded string, don't worry about it for now. You will learn how to get rid of that warning in the next codelab.
- Notice that the text has changed in the Design View.....(this is cool, you can see your changes right away!)
- Run your app, and now it says Happy Birthday!

Nice work! You made your first changes to an Android app.
The birthday card you are building looks different than what you have in your app now. Instead of the small text in the center, you need two larger messages, one in the upper left and one in the lower right corner. In this task you'll delete the existing TextView, and add two new TextViews, and learn how to position them within the ConstraintLayout.
Delete the current TextView
- In the Layout Editor, click to select the
TextViewat the center of the layout.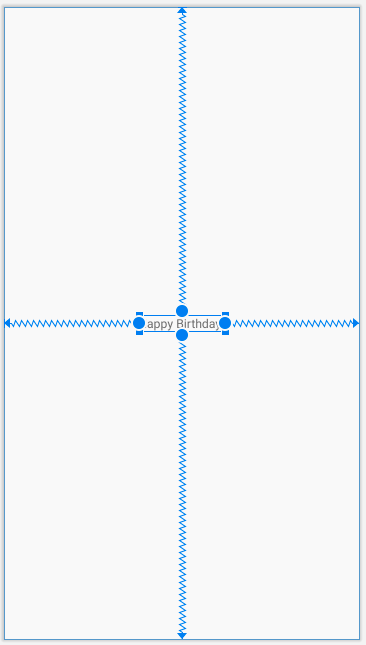
- Press the Delete key.
Android Studio deletes theTextView, and your app now shows just aConstraintLayoutin the Layout Editor and the Component Tree.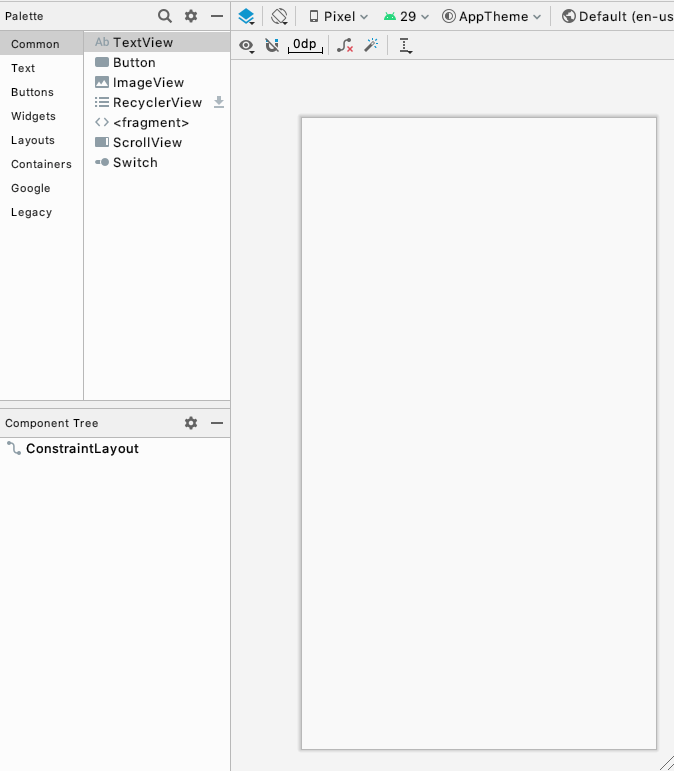
Add a TextView
In this step, you'll add a TextView in the upper left of your app to hold the birthday greeting.
The Palette in the upper left of the Layout Editor contains lists of different types of Views, organized by category, which you can add to your app.
- Find
TextView. It appears both in the Common category and the Text category.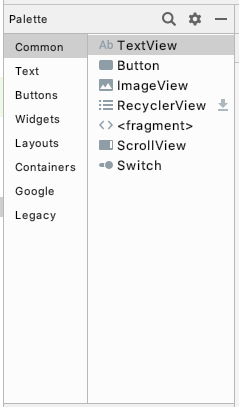
- Drag a
TextViewfrom the Palette to the upper left of the design surface in the Layout Editor and drop it.
You don't need to be exact, just drop it near the upper left corner.
- Notice that there's a
TextViewadded, and notice a red exclamation mark in the Component Tree. - Hover your pointer over the exclamation mark, and you'll see a warning message that the view is not constrained and will jump to a different position when you run the app. You'll fix that in the next step.

Position the TextView
For the birthday card, the TextView needs to be near the upper left corner with some space around it. To fix the warning, you'll add some constraints to the TextView, which tell your app how to position it. Constraints are directions and limitations for where a View can be in a layout.
The constraints you add to the top and left will have margins. A margin specifies how far a View is from an edge of its container.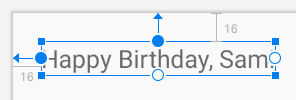
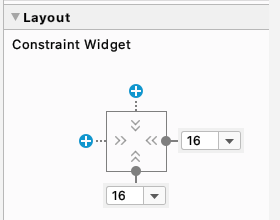
- In Attributes on the right, find the Constraint Widget in the Layout section. The square represents your view.
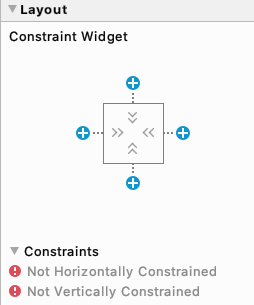
- Click on the + at the top of the square. This is for the constraint between the top of your text view and the top edge of the constraint layout.
- A field with a number appears for setting the top margin. The margin is the distance from the
TextViewto the edge of the container, theConstraintLayout. The number you see will be different depending on where you dropped theTextView. When you set the top margin, Android Studio automatically also adds a constraint from the top of the text view to the top of theConstrainLayout.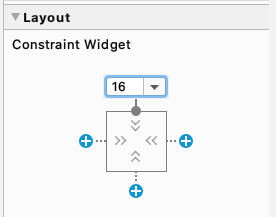
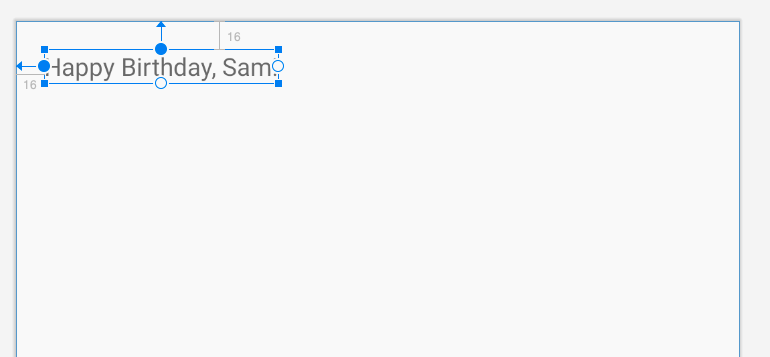
- Change the top margin to 16.
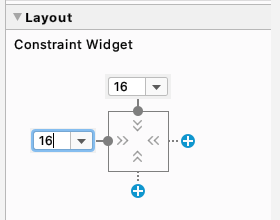
- Do the same for the left margin.
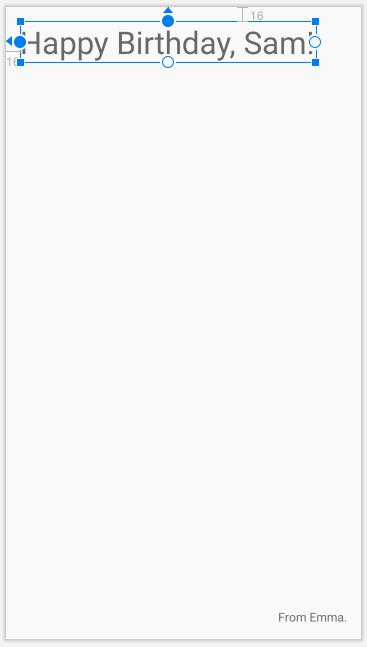
- Set the text to wish your friend a happy birthday, for example "Happy Birthday, Sam!" and press Enter.
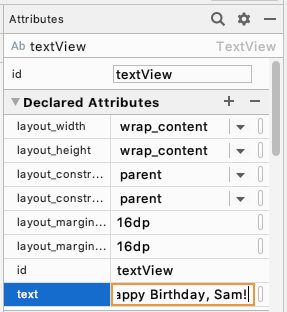
- Notice that the Design view updates to show what your app will look like.
Add and position another TextView
Your birthday card needs a second line of text near the bottom right corner, which you'll add in this step in the same way as in the previous task. What do you think the margins of this TextView should be?
- Drag a new
TextViewfrom the Palette and drop it near the bottom right of the app view in the Layout Editor.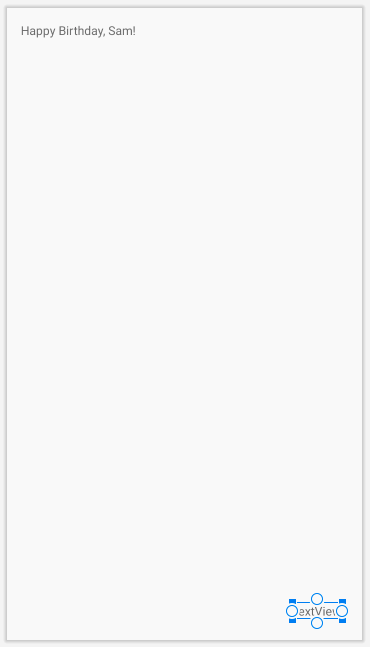
- Set a right margin of 16.
- Set a bottom margin of 16.
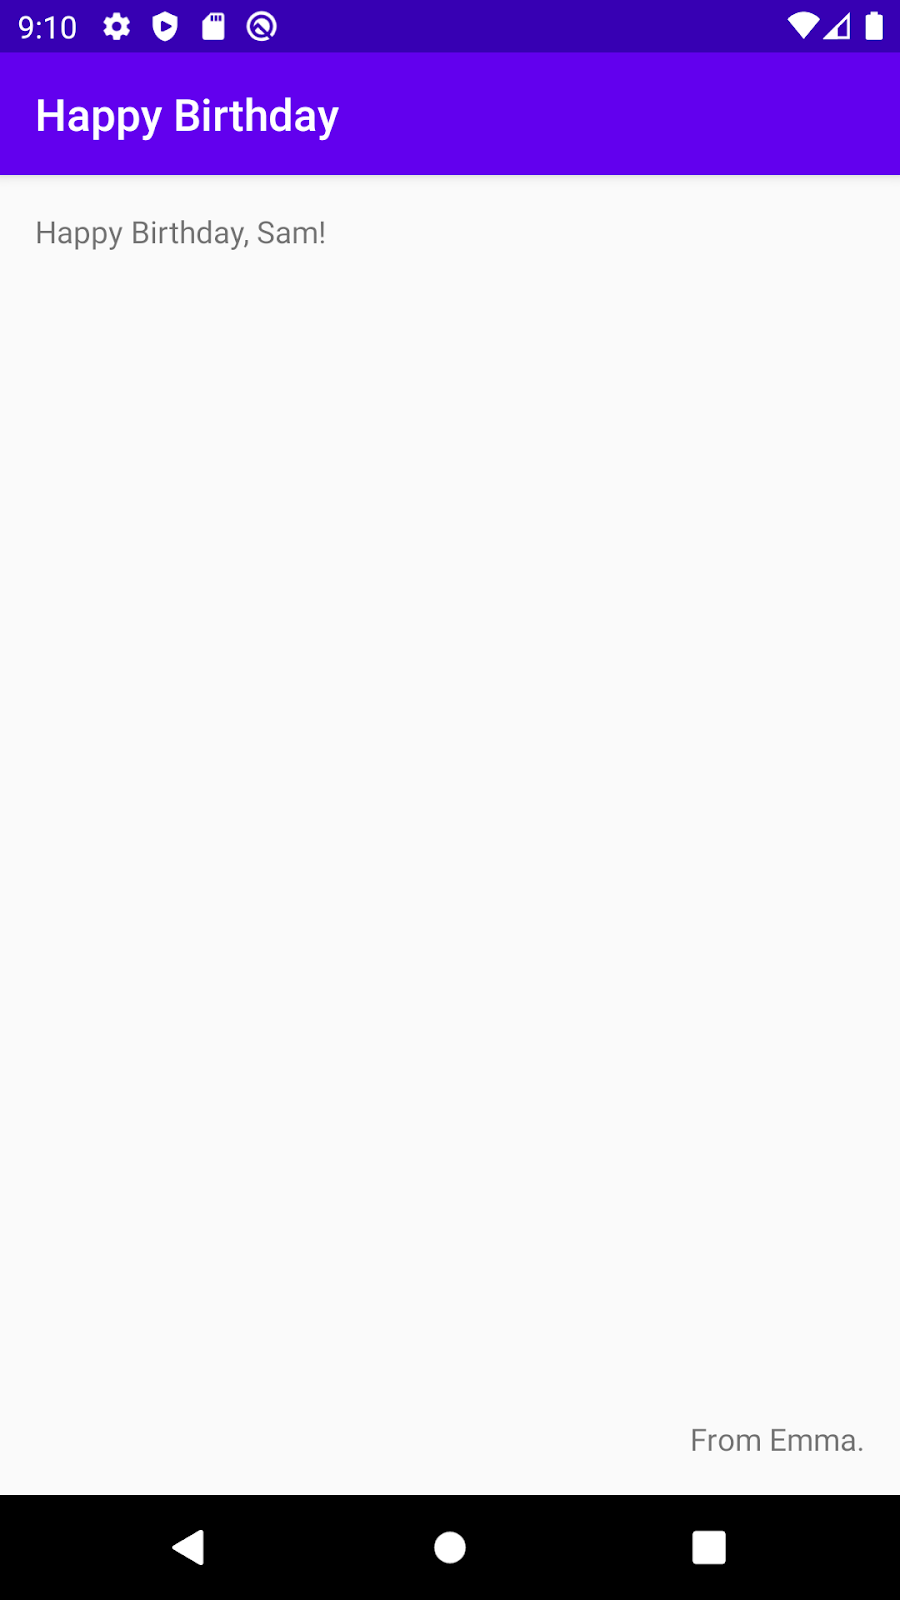
- In Attributes, set the text attribute to sign your card, for example "From Emma."
- Run your app. You should see your birthday wish in the upper left and your signature in the lower right.
Congratulations! You've added and positioned some UI elements in your app.
You added text to your user interface, but it doesn't look like the final app yet. In this task, you'll learn how to change the size, text color, and other attributes that affect the appearance of the TextView. You can also experiment with different fonts.
- Click on the first
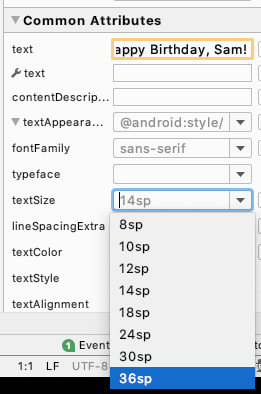
TextViewin the Component Tree and find the Common Attributes section of the Attributes window. You may need to scroll down to find it. - Notice the various attributes including fontFamily, textSize, and textColor.
- Look for textAppearance.
- If textAppearance is not expanded, click on the down triangle.
- Set the textSize to 36sp.
- Notice the change in the Layout Editor.
- Change the fontFamily to casual.
- Try some different fonts to see what they look like. There are even more choices for fonts at the bottom of the list, under More Fonts...
- When you're done trying different fonts, set the fontFamily to sans-serif-light.
- Click on the textColor attribute's edit box and start typing black.
Notice that as you type, Android Studio shows a list of colors that contain the text you've typed so far.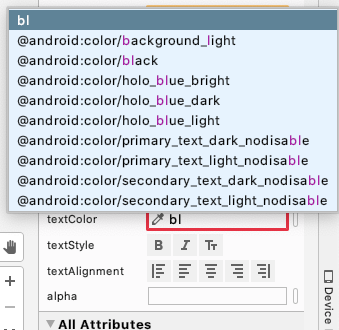
- Select @android:color/black from the list of colors and press Enter.
- In the
TextViewwith your signature, change the textSize, textColor and fontFamily to match. - Run your app and look at the result.

Congratulations, you've taken the first steps to creating a birthday card app!
- The Layout Editor helps you create the UI for your Android app.
- Almost everything you see on the screen of your app is a
View. - A
TextViewis a UI element for displaying text in your app. - A
ConstraintLayoutis a container for other UI elements. Viewsneed to be constrained horizontally and vertically within aConstraintLayout.- One way to position a
Viewis with a margin. - A margin says how far a
Viewis from an edge of the container it's in. - You can set attributes on a
TextViewlike the font, text size, and color.
ViewTextViewConstraintLayout- dp vs. sp
- Layout Editor in Android Studio